Firstly, what’s new from Stampin’ Up!?

Get ready to craft like never before with Craft Classes. These classes are a great way for you to craft with the latest products. During the virtual classes, you will:
- Make unique projects using detailed instructions as you craft along with our Stampin’ Up! product experts.
- Learn exciting tips and techniques to further your crafting experience.
- Be inspired to continue crafting long after the class is over!
Craft Classes are designed for crafters to buy their own class—this ensures you receive the full experience.
Class: Lovely Blossoms Craft Class (170929)
Class Price: $44 AUD | $53 NZD (Suite not included)
Class Purpose: Elevated crafting techniques for clean and simple projects.
Product: Lovely Blossoms Suite Collection (167193 – $157.25AUD)

Who: Demonstrators and customers
Available for Purchase: 3 February
Livestream: 20 February at 8:00 a.m. (AEDT)
- The class will be available for purchase before and after the livestream.
Where: An exclusive Facebook group
Language: The class will be presented in English. Attendees will have access to supply lists and project instructions in English, French, German, and Dutch.
Video on Demand: We will record this live class, which will be available as a video on demand immediately after the livestream. Videos with English, French, German, and Dutch captioning will be available through the Facebook page one week after the livestream.
Last Friday and Saturday I enjoyed a live Virtual Cardmaking Retreat and made 15 gorgeous cards deisgned and taught by the amazing design team form Stampin’ Up!.
I imagine this will be equally inspiring.
I have two more cards to share with you, featurning the Days Like These Memories & More Card Pack.
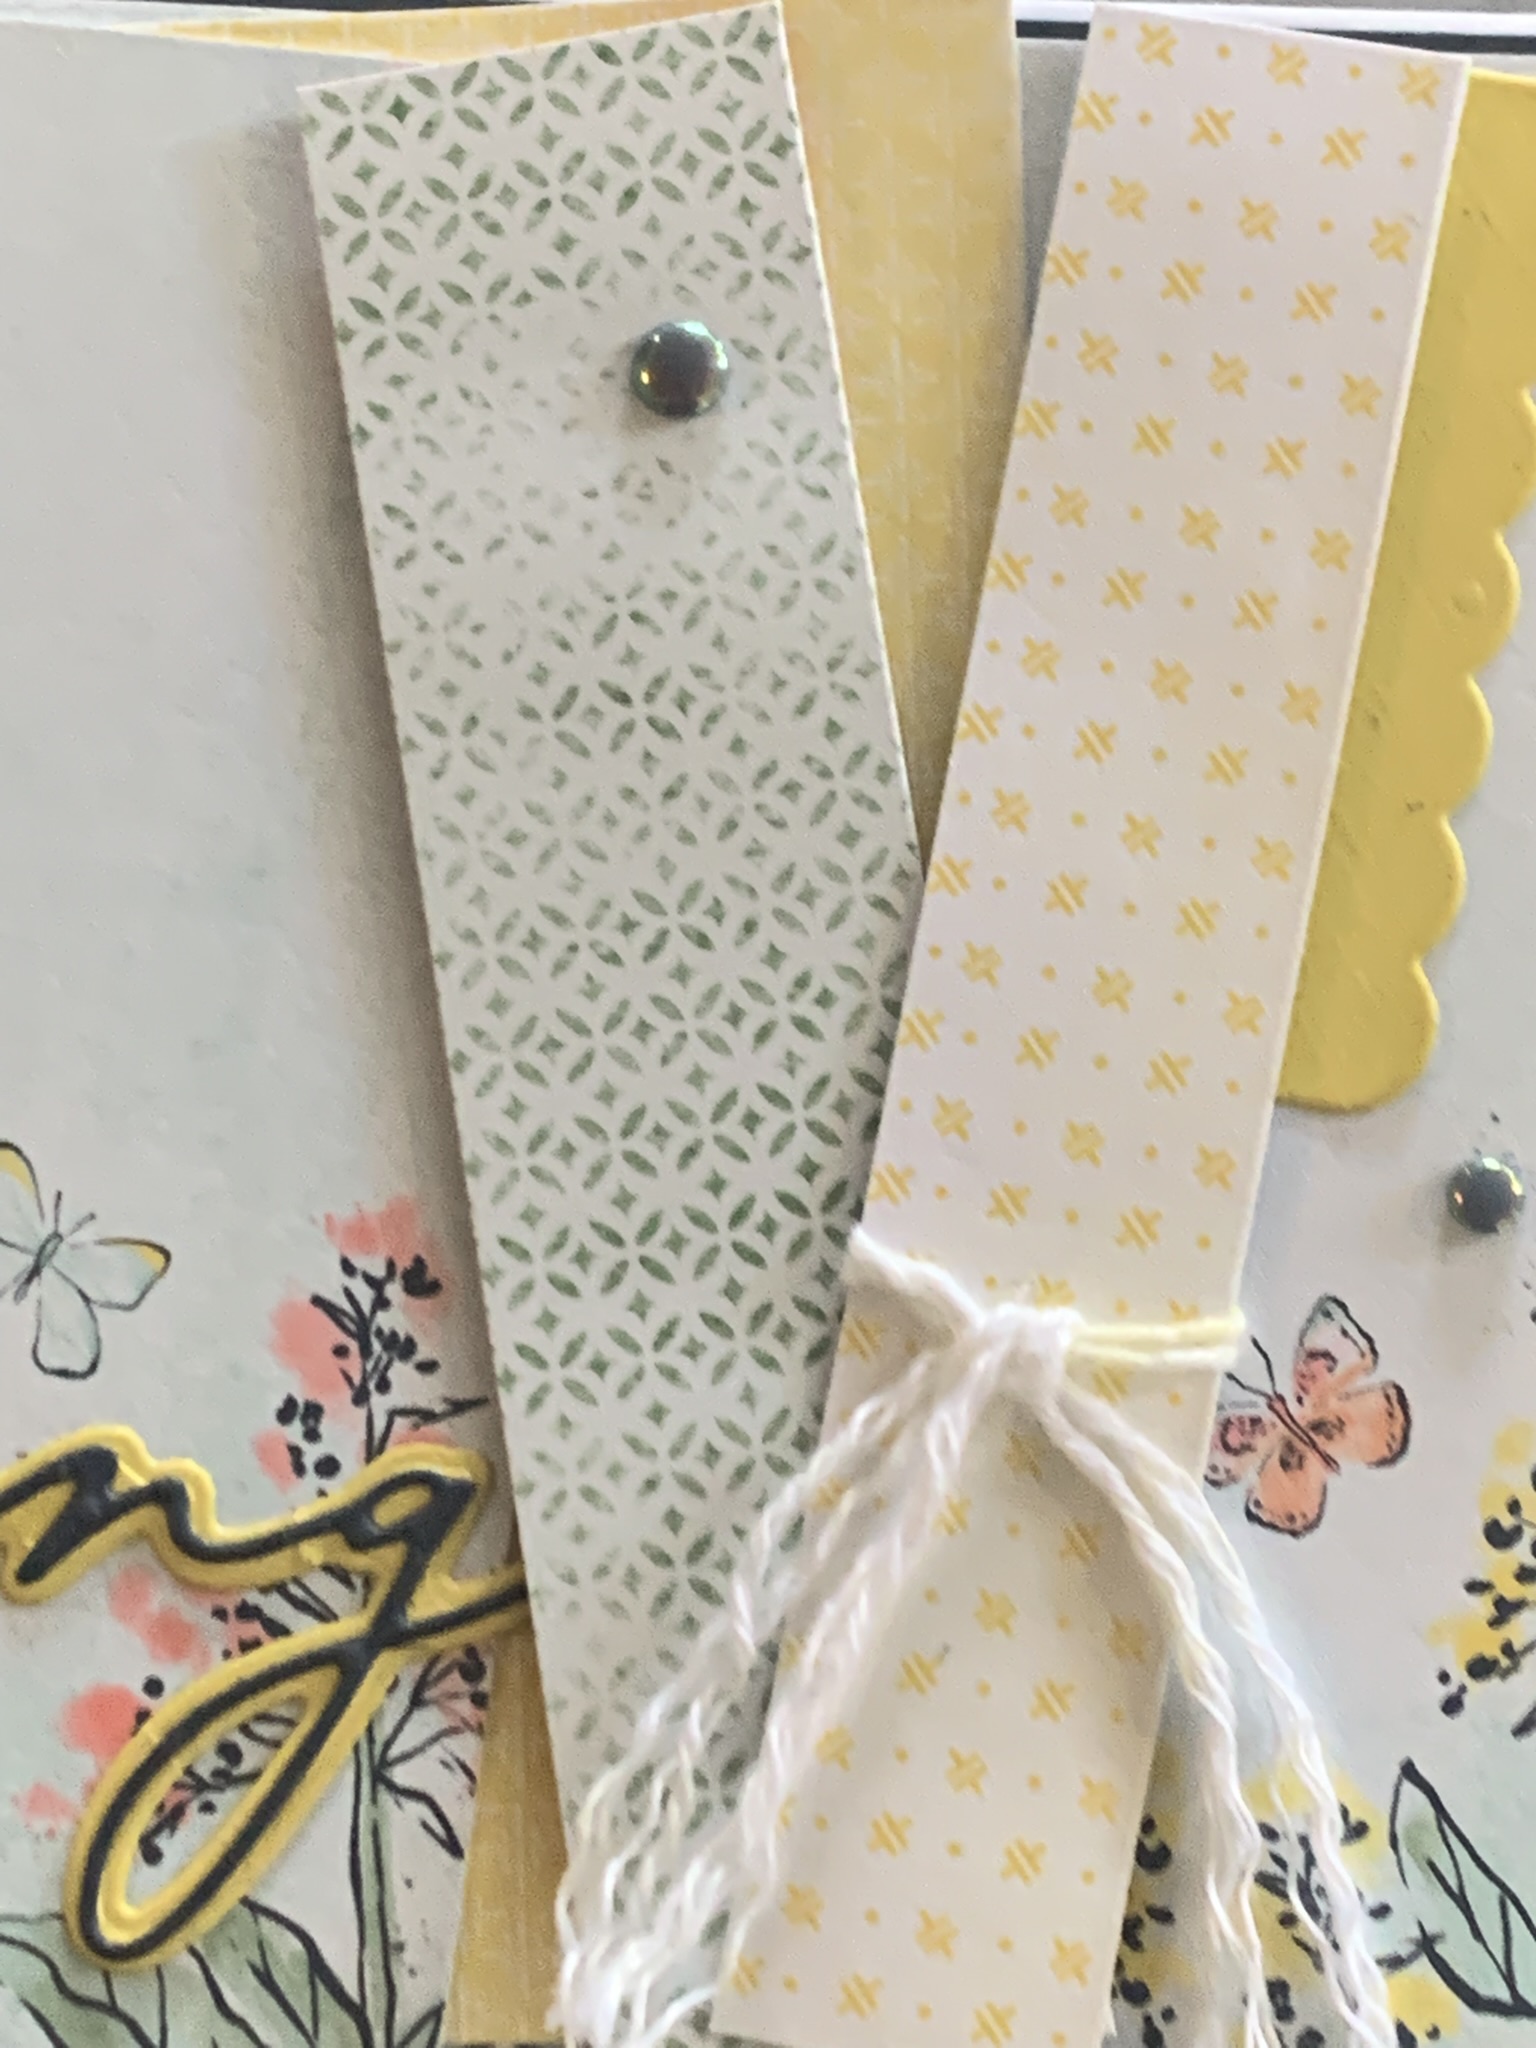
This first card continues my LAYERING tecnique focus.

Although I have used layering, overlapping and angles; this is still a super simple card.
The Garden Green grid M&M card was adhered to a Garden Green matte and then attached to the Basic White card base.
The smaller paptterned M&M card was adhered, at an agle, to a Garden Green layer, and then positioned on the card front at an angle.
I love the way that angled designs draw your eye across the card in so many directions.

The greeting came from one of the M&M cards and was die cut using one of the banner dies from the Stylish Shapes Die set.
Before attaching it to the card front with dimensionals, I took a length of Garden Green & White Chevron Ribbon and folded it into three and secured it behind the greeting.
I added a thin strip of Garden Green card and a rectangle of patterned Garden Green card inside the card and a banner cut element ot the back of the envelope.

My second card today uses six die cut squares from coloured card and M&M card designs.
They have been equally spaced across the card front, some adhered directly to the base and others have been added using dimensionals.

Then I die cut a piece of Daffodil Delight M&M card into a frame and added it to the card front using Multipurpose Glue and Stampin’ Dimensionals.
The greeting was stamped and cut using the slightly off circular die.
After stamping the greeting a second time in another colour, I cut ‘snippets’ as strip before popping it up from the background circle.

I used the geometric design from the Joyful Squared Stamp Set – bottom row, second from the left, to stamp inside the card.

I stamped the same greeting on the back of the envelope.
Finally, I added some Secret Sea Flat Pearls to the card front.
For my next couple of posts I will share some more cards using the smaller M&M cards and envelopes.
Until then, happy stamping and scrapbooking.

If you live in Australia, you can order any of the products I used to make this card by going to my online store. Just click on any of the images below.

![Joyful Squares Bundle (English) [ 166850 ]](https://i0.wp.com/assets1.tamsnetwork.com/images/EC042017NF/166850s.jpg?w=140&ssl=1 "Joyful Squares Bundle (English) [ 166850 ]") | ![Joyful Squares Dies [ 166849 ]](https://i0.wp.com/assets1.tamsnetwork.com/images/EC042017NF/166849s.jpg?w=140&ssl=1 "Joyful Squares Dies [ 166849 ]") | |||
![2025–2027 In Color™ Flat Pearls [ 165192 ]](https://i0.wp.com/assets1.tamsnetwork.com/images/EC042017NF/165192s.jpg?w=140&ssl=1 "2025–2027 In Color™ Flat Pearls [ 165192 ]") | ![Basic White A4 Cardstock [ 166781 ]](https://i0.wp.com/assets1.tamsnetwork.com/images/EC042017NF/166781s.jpg?w=140&ssl=1 "Basic White A4 Cardstock [ 166781 ]") | ![Daffodil Delight A4 Card Stock [ 121680 ]](https://i0.wp.com/assets1.tamsnetwork.com/images/EC042017NF/121680s.jpg?w=140&ssl=1 "Daffodil Delight A4 Card Stock [ 121680 ]") | ![Pool Party A4 Card Stock [ 124391 ]](https://i0.wp.com/assets1.tamsnetwork.com/images/EC042017NF/124391s.jpg?w=140&ssl=1 "Pool Party A4 Card Stock [ 124391 ]") | |
![Secret Sea A4 Cardstock [ 165296 ]](https://i0.wp.com/assets1.tamsnetwork.com/images/EC042017NF/165296s.jpg?w=140&ssl=1 "Secret Sea A4 Cardstock [ 165296 ]") | ![Strawberry Slush A4 Cardstock [ 165297 ]](https://i0.wp.com/assets1.tamsnetwork.com/images/EC042017NF/165297s.jpg?w=140&ssl=1 "Strawberry Slush A4 Cardstock [ 165297 ]") | ![Multipurpose Liquid Glue [ 110755 ]](https://i0.wp.com/assets1.tamsnetwork.com/images/EC042017NF/110755s.jpg?w=140&ssl=1 "Multipurpose Liquid Glue [ 110755 ]") | ![Stampin' Dimensionals [ 104430 ]](https://i0.wp.com/assets1.tamsnetwork.com/images/EC042017NF/104430s.jpg?w=140&ssl=1 "Stampin' Dimensionals [ 104430 ]") | ![Mini Glue Dots [ 103683 ]](https://i0.wp.com/assets1.tamsnetwork.com/images/EC042017NF/103683s.jpg?w=140&ssl=1 "Mini Glue Dots [ 103683 ]") |
![Paper Snips [ 103579 ]](https://i0.wp.com/assets1.tamsnetwork.com/images/EC042017NF/103579s.jpg?w=140&ssl=1 "Paper Snips [ 103579 ]") | ![Paper Trimmer [ 152392 ]](https://i0.wp.com/assets1.tamsnetwork.com/images/EC042017NF/152392s.jpg?w=140&ssl=1 "Paper Trimmer [ 152392 ]") | ![Mini Stampin' Cut & Emboss Machine [ 150673 ]](https://i0.wp.com/assets1.tamsnetwork.com/images/EC042017NF/150673s.jpg?w=140&ssl=1 "Mini Stampin' Cut & Emboss Machine [ 150673 ]") | ![Basic White C6 Envelopes [ 159235 ]](https://i0.wp.com/assets1.tamsnetwork.com/images/EC042017NF/159235s.jpg?w=140&ssl=1 "Basic White C6 Envelopes [ 159235 ]") |
![Days Like This Memories & More Card Pack [ 166911 ]](https://i0.wp.com/assets1.tamsnetwork.com/images/EC042017NF/166911s.jpg?w=140&ssl=1 "Days Like This Memories & More Card Pack [ 166911 ]")
![Assorted Memories & More Cards & Envelopes [ 149710 ]](https://i0.wp.com/assets1.tamsnetwork.com/images/EC042017NF/149710s.jpg?w=140&ssl=1 "Assorted Memories & More Cards & Envelopes [ 149710 ]")
![Joyful Squares Photopolymer Stamp Set (English) [ 166847 ]](https://i0.wp.com/assets1.tamsnetwork.com/images/EC042017NF/166847s.jpg?w=140&ssl=1 "Joyful Squares Photopolymer Stamp Set (English) [ 166847 ]")
![Garden Green 1/8" (3.2 Mm) Chevron Ribbon [ 167212 ]](https://i0.wp.com/assets1.tamsnetwork.com/images/EC042017NF/167212s.jpg?w=140&ssl=1 "Garden Green 1/8\" (3.2 Mm) Chevron Ribbon [ 167212 ]")



![Delightful Wishes Dies (English) [ 164707 ]](https://i0.wp.com/assets1.tamsnetwork.com/images/EC042017NF/164707s.jpg?w=140&ssl=1 "Delightful Wishes Dies (English) [ 164707 ]")
![Baker's Twine Essentials Pack [ 155475 ]](https://i0.wp.com/assets1.tamsnetwork.com/images/EC042017NF/155475s.jpg?w=140&ssl=1 "Baker's Twine Essentials Pack [ 155475 ]")
![Adhesive Sheets [ 152334 ]](https://i0.wp.com/assets1.tamsnetwork.com/images/EC042017NF/152334s.jpg?w=140&ssl=1 "Adhesive Sheets [ 152334 ]")


![Garden Green A4 Card Stock [ 108605 ]](https://i0.wp.com/assets1.tamsnetwork.com/images/EC042017NF/108605s.jpg?w=140&ssl=1 "Garden Green A4 Card Stock [ 108605 ]")
![Daffodil Delight Classic Stampin' Pad [ 147094 ]](https://i0.wp.com/assets1.tamsnetwork.com/images/EC042017NF/147094s.jpg?w=140&ssl=1 "Daffodil Delight Classic Stampin' Pad [ 147094 ]")
![Versamark Pad [ 102283 ]](https://i0.wp.com/assets1.tamsnetwork.com/images/EC042017NF/102283s.jpg?w=140&ssl=1 "Versamark Pad [ 102283 ]")
![Basics Wow! Embossing Powder [ 165679 ]](https://i0.wp.com/assets1.tamsnetwork.com/images/EC042017NF/165679s.jpg?w=140&ssl=1 "Basics Wow! Embossing Powder [ 165679 ]")
![Heat Tool [ 129056 ]](https://i0.wp.com/assets1.tamsnetwork.com/images/EC042017NF/129056s.jpg?w=140&ssl=1 "Heat Tool [ 129056 ]")
![Embossing Additions Tool Kit [ 159971 ]](https://i0.wp.com/assets1.tamsnetwork.com/images/EC042017NF/159971s.jpg?w=140&ssl=1 "Embossing Additions Tool Kit [ 159971 ]")




