Tuesday = time to showcase a cardmaking or stamping technique. Today I want to share some ideas for using the ECLIPSE TECHNIQUE. There are several ways that you can use this technique.
Let me show you two and then I will describe a few others.

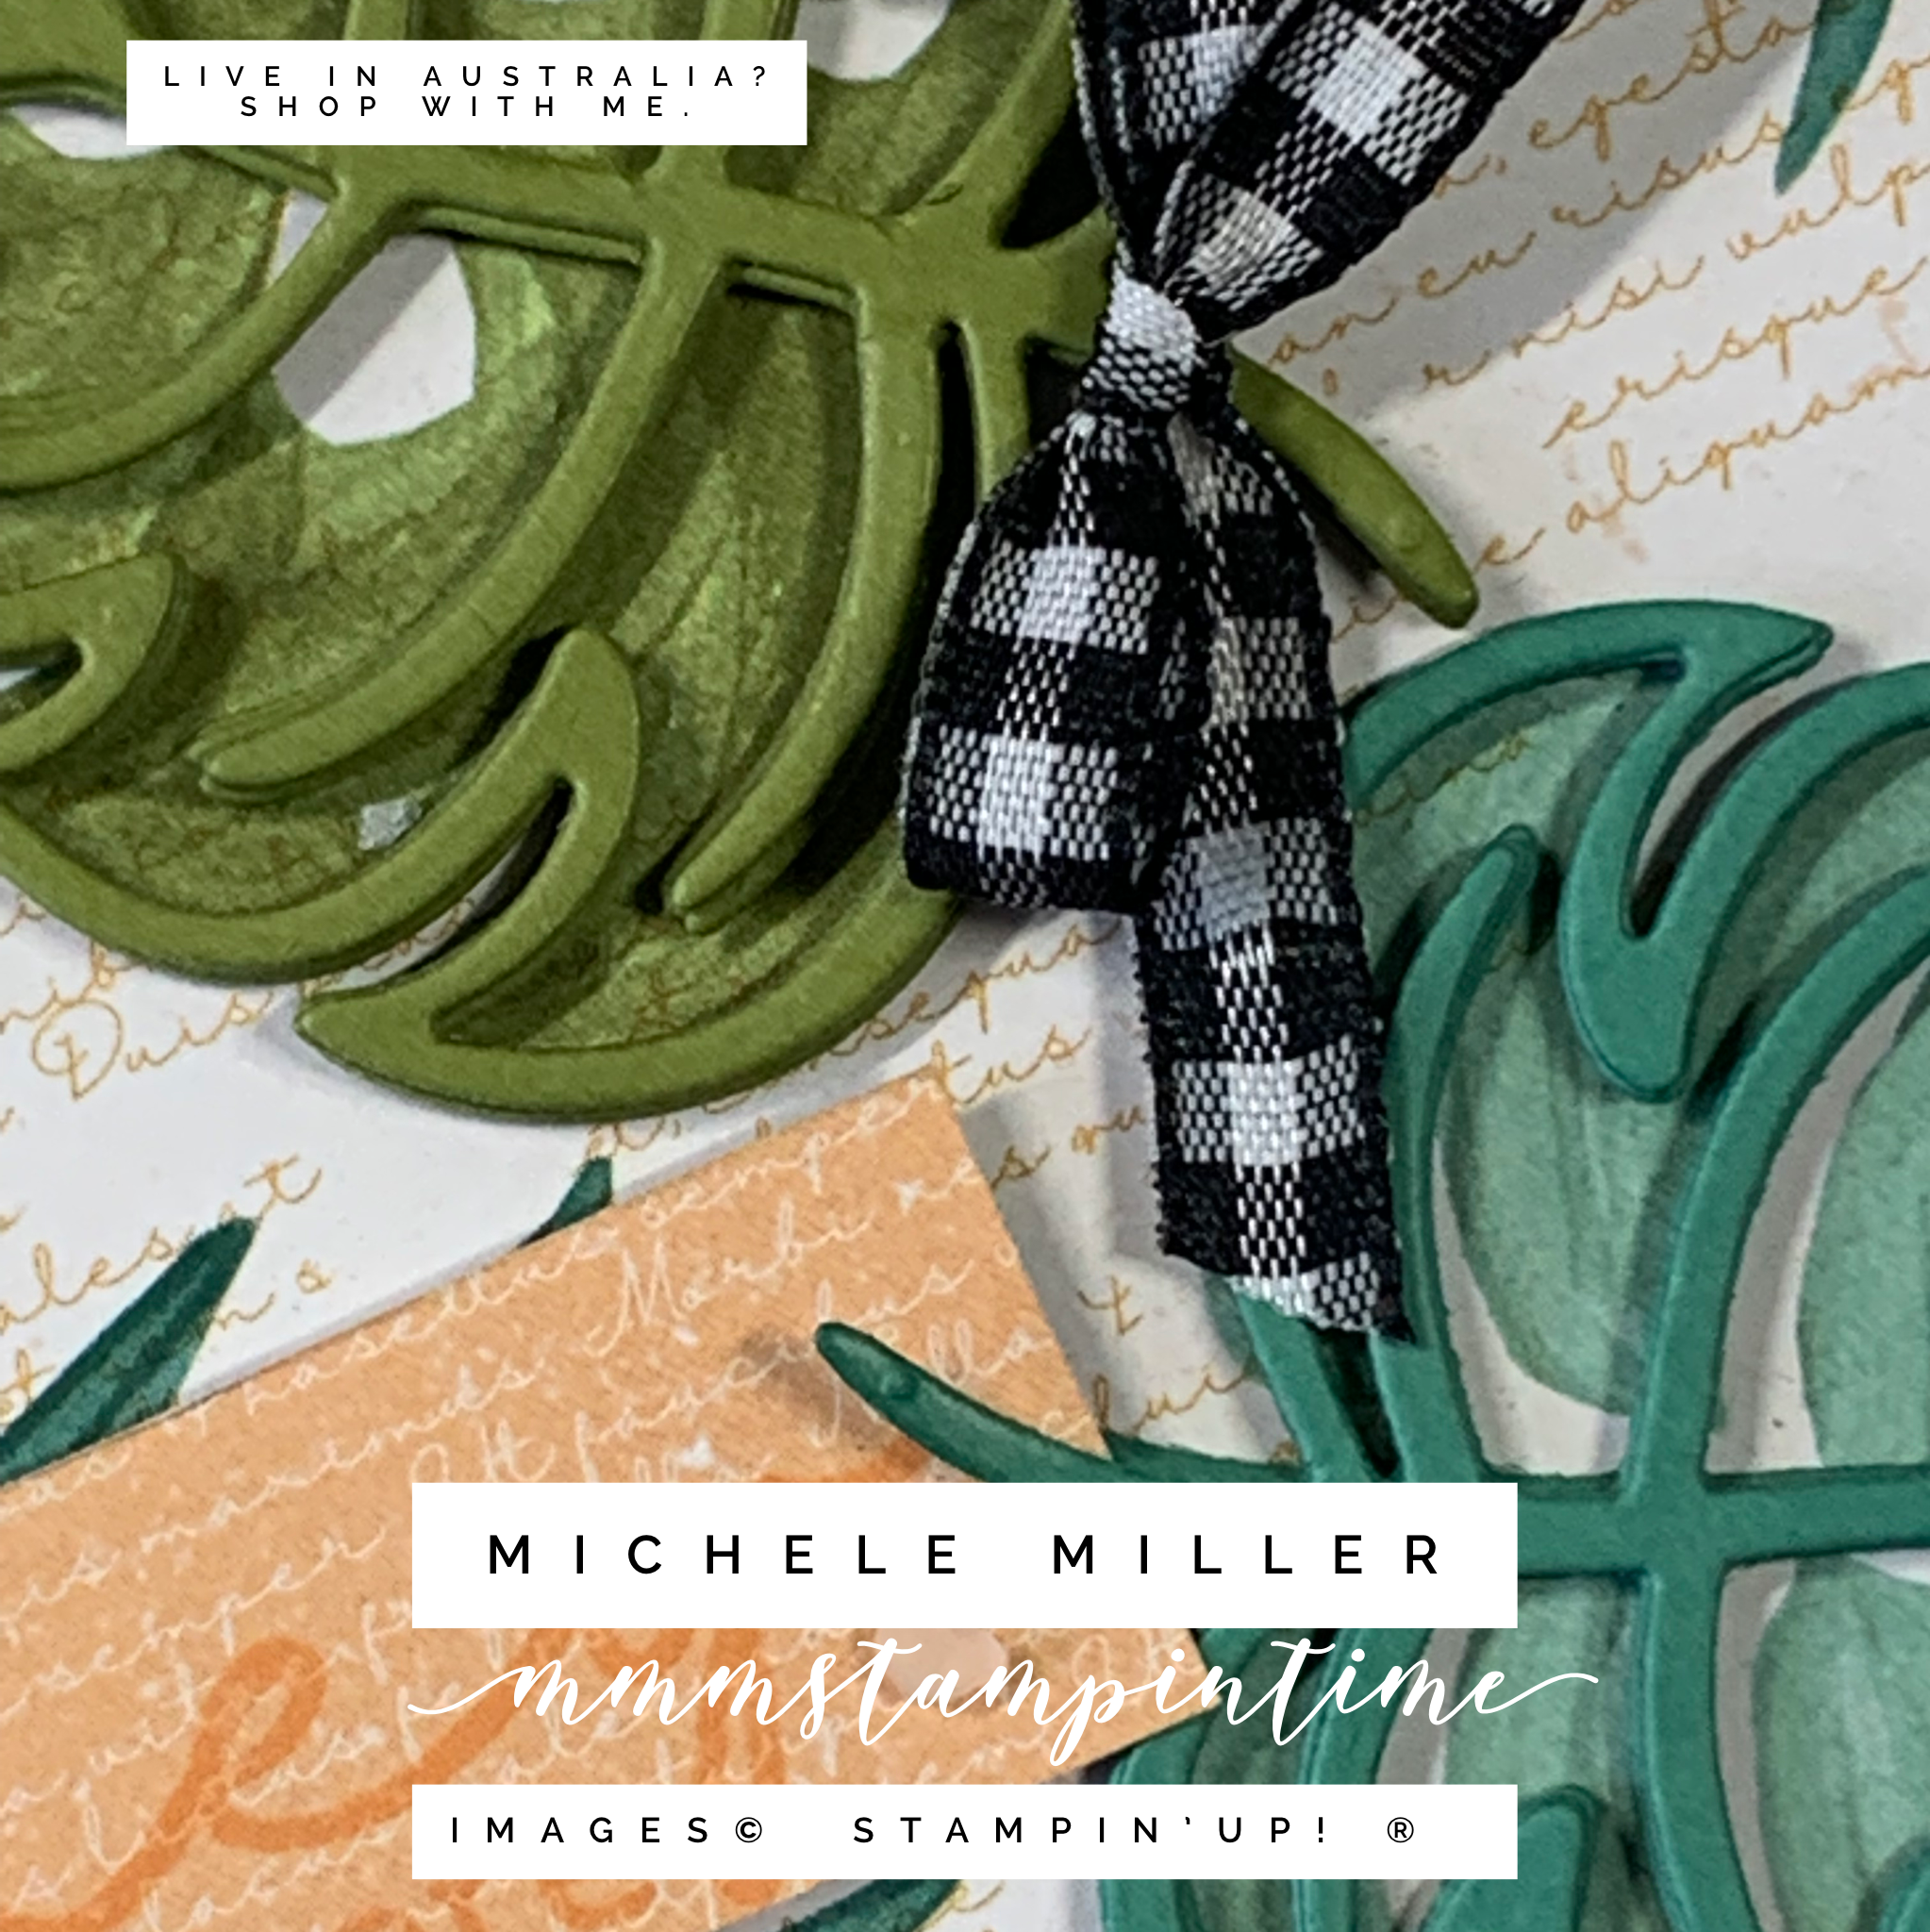
I am still featuring the Artfully Composed 12″x 12″ Designer Series Paper, as well as the Artfully Layered Bundle.
There are two DSP layers adhered to the Pale Papaya card base.
After attaching Adhesive Sheets to 3″ strips of Just Jade and Pear Pizzazz cardstock, I cut five of the leaf outline shapes. Then I removed the backing from the Adhesive Sheet and layered each of the shapes, one on top of the other. After removing the backing from the base layer, I positioned each of the die cut bundles over the corresponding DSP leaves.
The card insert and envelope have a strip of the DSP, used for the sentiment, attached.

I stamped the sentiment, from the Artfully Layered Stamp Set, onto a piece of the DSP. Then the DSP was trimmed down and had Stampin’ Dimensionals added so that it could be popped up on the card front.
A bow tied, using the Black & White Gingham Ribbon, and attached to the front of the card.
Finally, I added some Faux Sea Glass Shapes to the card.
This Eclipse Card used a die cut shape. The next card uses a die cut word (script) to overlay.

I started, this card, by die cutting the “just want to say” space on this Calypso Coral DSP piece. Then I adhered it to the Calypso Coral cardstock base. I kept the ‘inserts’ from the j (just), a (want), o (to), s (say) and y (say) to use as infills.
Adhesive Sheets were attached to the back of the leaf and floral DSP you can see. The same text die was used to cut the words. I carefully inserted each of the words in the spaces on the DSP layer. Then I used the infill pieces to complete the effect.
This is very close to being a reverse eclipse technique.

After attaching Adhesive Sheets to Calypso Coral cardstock, I cut ‘thanks’ five times. The ‘thanks’ comes from the new Amazing Thanks Dies. The top layer of the eclipse word was cut using the same design from the DSP. Each of the layers were stacked and the Adhesive Sheets did exactly what I wanted them to do.
I used the same leaf outline die that I did for the first card. The adhesive sheet-backed DSP was cut three times to provide the three shapes added to the card front.
The card insert and envelope have the leaf outline ‘cut aways’ added to decorate these areas of the card.
Finally, I added three of the small white embellishments from the new Classic Matte Dots.
(As an aftertought, I think that I would add more layers to the ‘just want to say’ and eclipse more of the card.)

What do think of these two versions of the eclipse technique?
Did you know that you can also use individual letter dies, layer lots of different coloured cardstock or a background die to create other styles of Eclipse Cards?

What do you think about this technique? Have you tried it before?
It is a week until my next Technique Tuesday post. Make sure that you let me know if there is a technique you want me to share.
Tomorrow is Wednesday and I am still working on what this day will be. So far I have tried ‘What’s New on Wednesday’ and ‘Wonderful Wednesday’. I’m not sure that I have this day locked down yet – it is definitely still being refined – stay tuned.
So until tomorrow – and, what it brings, happy stamping.

If you live in Australia, you can order any of the products I used to make this card by going to my online store. Just click on any of the images below.

") |  | |||
 |  |  |  |  |
 |  |  |  |  |
 |  |  |  |  |
 Designer Series Paper")
 Layering Designs")
 Gingham Ribbon")


