Posted on Leave a comment

INSPIRED BY PATTY BENNETT

Hello and welcome to my very late Saturday project share. I am so delighted that you have popped by!

I did not have a scheduled post for today and thought that I would have a project to share with you much sooner.

But then I was delightfully distracted! While I was enjoying breakfast, I was on my iPad and opened Facebook. I had missed a Facebook Live of Patty Bennett so I watched the replay. During her Live she was sharing details of her visit to the Stampin’ Up!® Head Office in Riverton, Utah in recognition of her 2 000 000 Career Sales Achievement (from February 2020).

One of the things she shared was her crafting session she enjoyed with Shelli and Sara. After she showed the fun fold card they made, I decided that would be the style of card I would make today. I started about 10.30am and after many interruptions I have finally finished and photographed it.

May be an image of 3 people and text that says 'Stamping with Sara and Shelli!! www.pattystamps.com stmps com patty'
May be an image of 3 people, flower and text that says 'Stamping fun with Sara and Shelli! $2M TRIP RECAP! LIVE 9-17-21 f LIVE JOIN ME! Facebook Live Crafting! 11am Paific Time, Fridays! with Patty Beunett www.facebook.com/pattystamps'

For my version of Patty’s card I decided to use the Merriest Moments Bundle in conjunction with the Whimsy & Wonder Suite. Here is my card – make sure that you leave a comment and tell me what you think.

I started by cutting and scoring a sheet of A4 Misty Moonlight cardstock into the three panels needed for this fun fold. Then I adhered the piece of Whimsy & Wonder Specialty Designer Sereis Paper to the front layer of the card.

Then I used the stitched rectangle die from the Merriest Frames Dies to accurately cut out the centre of the front layer.

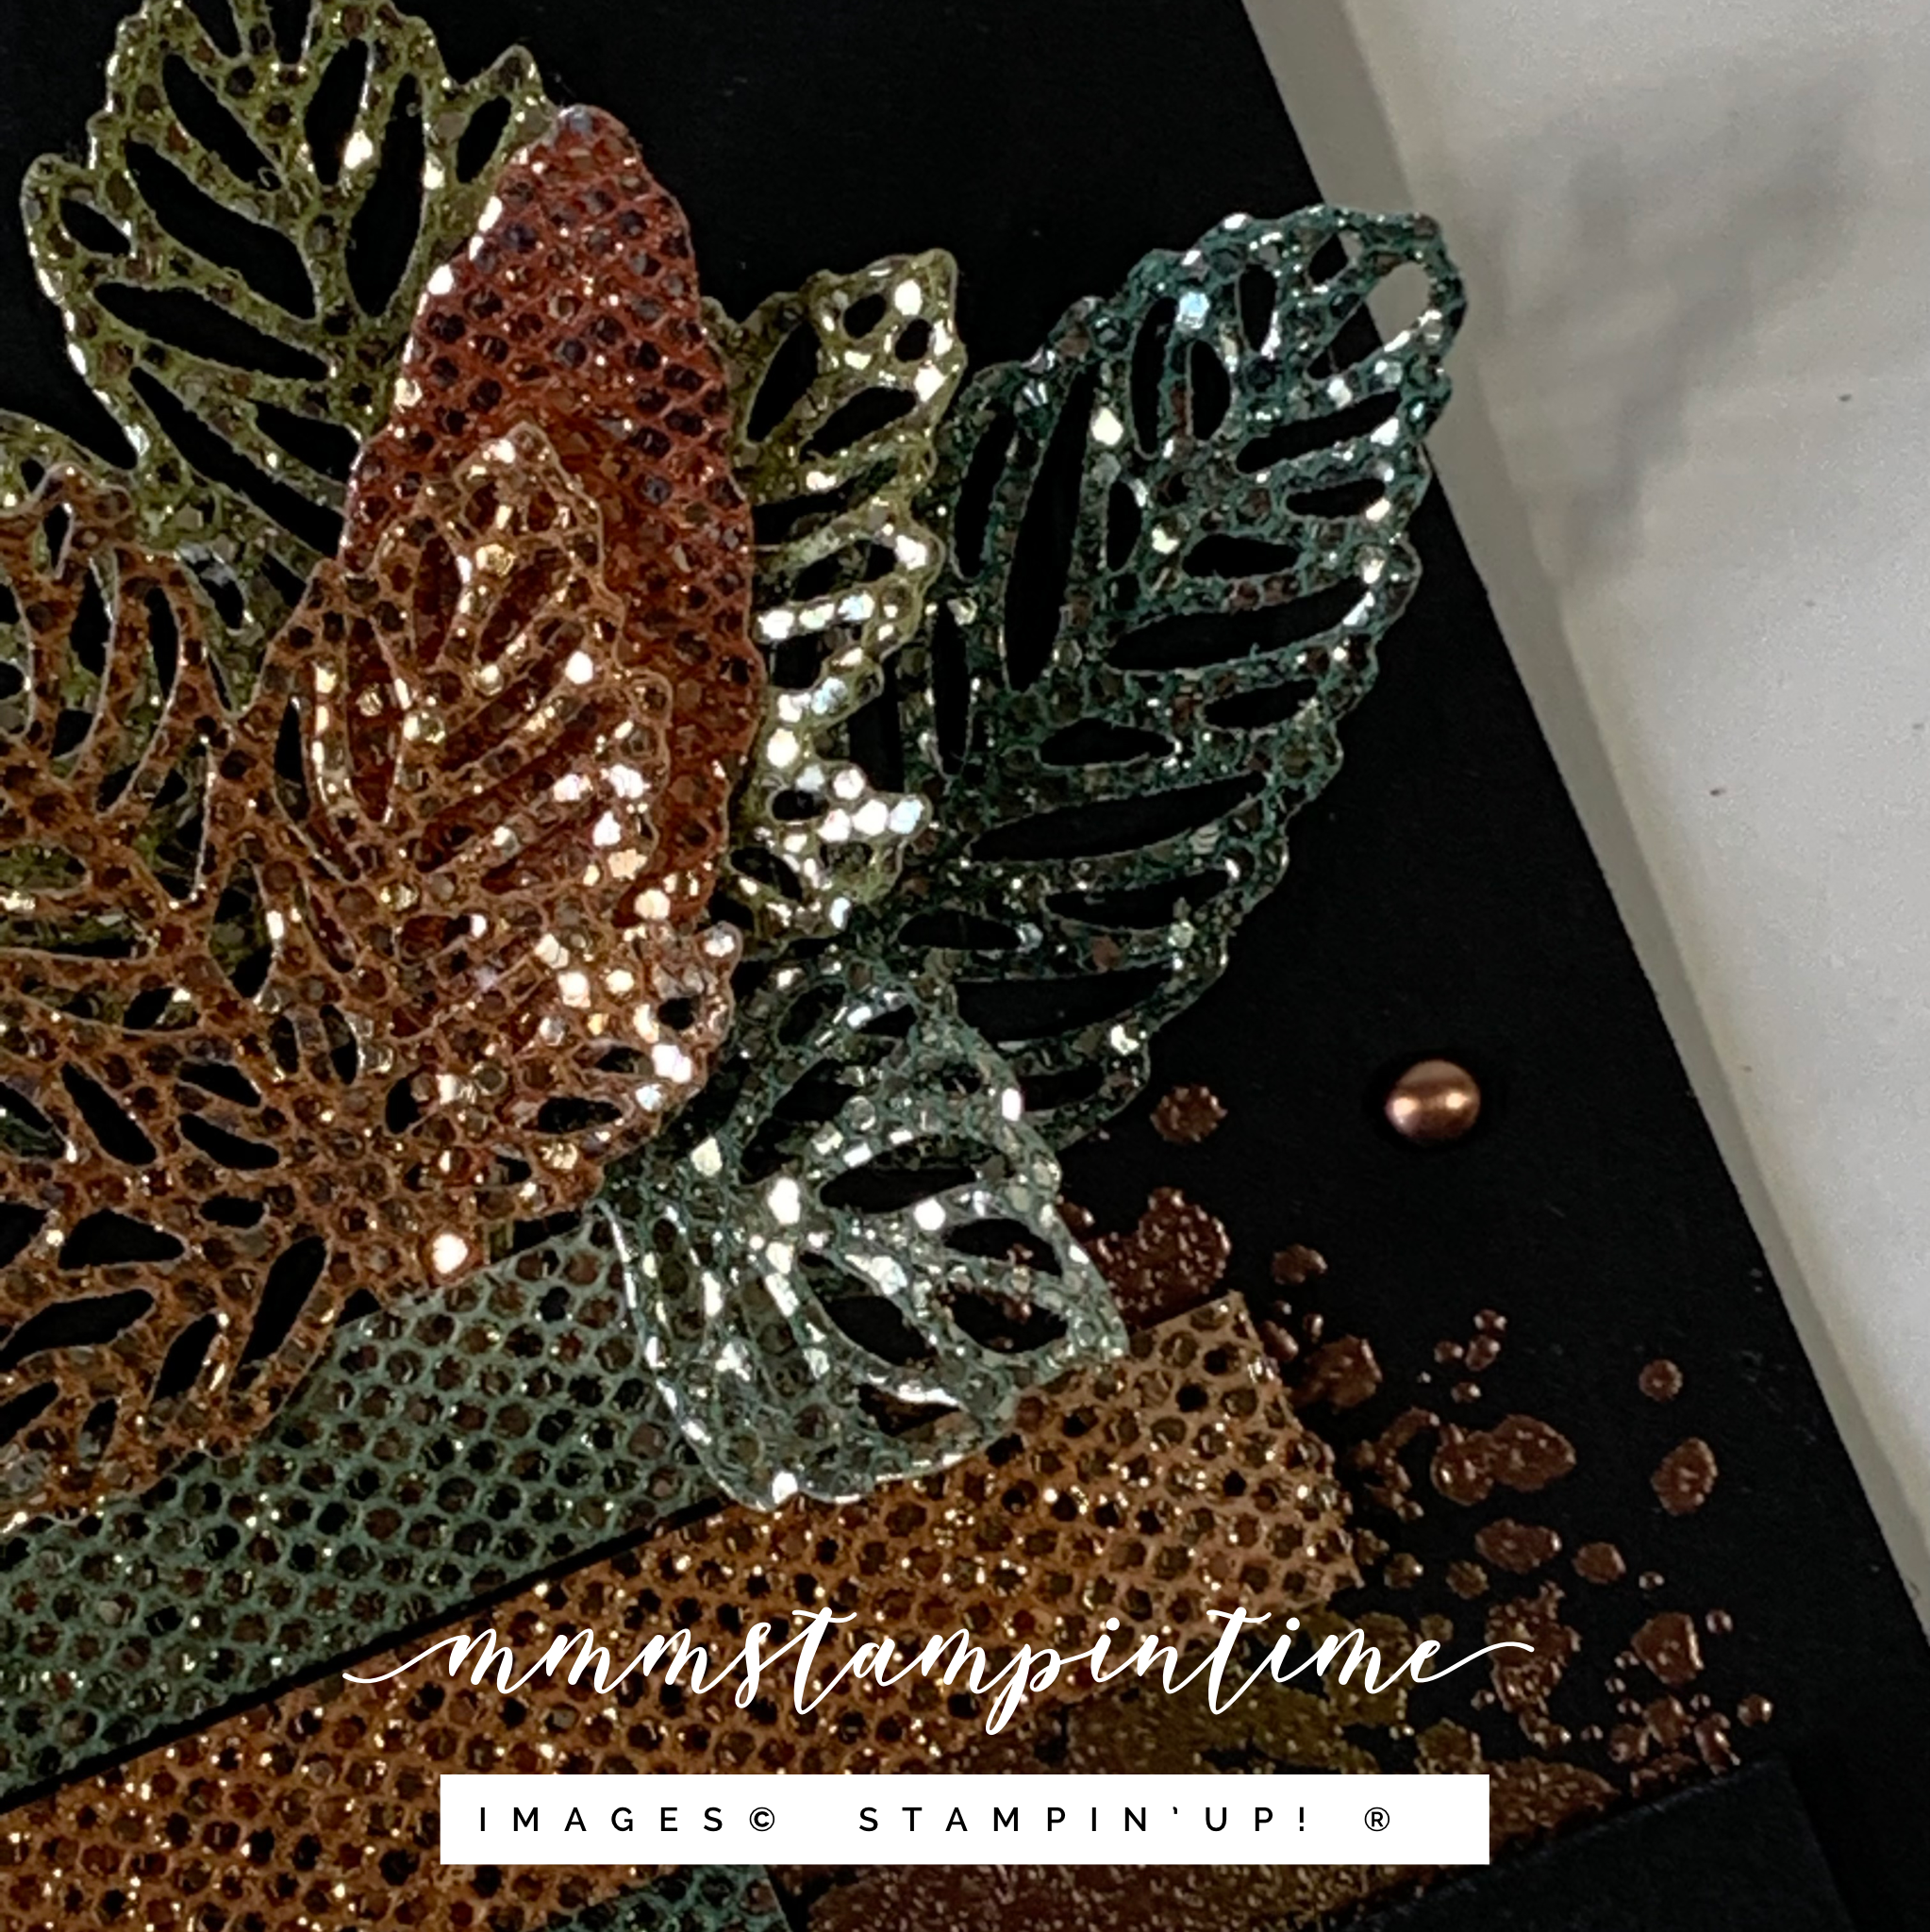
The next step was to cut and emboss the Polished Pink Shimmer Vellum. This included the detailed leaves frame as well as the smaller layered floral and leaf elements that you can see in the top left hand corner of the frame.

The central raised layer comprises a Polished Pink Shimmer Vellum die cut element and the stamped sentiment and die cut Basic White layer. This was popped up using Stampin’ Dimensionals and positioned precisely on the DSP layer, as you can see.

When you see the card completely opened, you will know that I added another layer of the Specialty DSP (the baubles design) and a very simply stamped layer of Basic White card for someone to write their Christmas greeting.

The same image was also stamped on the envelope. My final step was to add some Subtle Shimmer Sequins to the card front.

I was so delighted to spend time today creating a card that was inspired by the stamping session Patty Bennett enjoyed with Shelli Gardner and Sara Douglass – wow, when it comes to inspiration, does it get any better than this?

Whoops, this image is a little blurry. I hope that it still gives you an idea of the way card looks when opened this way.

I am so pleased with the way this card has turned out. What do you think?

Until next time, happy stamping.

If you live in Australia, you can order any of the products I used to make this card by going to my online store. Just click on any of the images below.

Product List
Paper Snips
[103579]
$17.00
Posted on Leave a comment

DAZZLING LEAVES

Hello! Welcome to today’s project share. I am so pleased that you have popped by.

Today I am sharing a project I made during my Facebook Live yesterday. If you want to see how I made it, pop on over – https://www.facebook.com/mmmstampintime/videos/4164341760358920

For this card, I decided to feature the FREE Sale-a-bration Be Dazzling Specialty Paper and the Gorgeous Leaves Bundle.

I also wanted to use isopropyl alcohol and colour refills, mixed in Stampin’ Spritzers, to colour the Be Dazzling Specialty Paper.

I cut four sheets of 6″x 6″ Be Dazzling paper in half before spritzing them. For this, I used an empty box to contain the spray as I spritzed. This task should also be done in an open and very well ventilated space.

I used 8 different colours for this project – Crushed Curry, Mango Melody, Pumpkin Pie, Cajun Craze, Merry Merlot, Garden Green, Shaded Spruce and Evening Evergreen.

Lots of lovely coloured spritzing bottles!

So, here is the sample card I shared at the start of my Live.

The first thing I did was to stamp the ‘splotches’ image using Versamark. Then I sprinkled some Copper and Gold Stampin’ Emboss Powder onto the Basic Black card base. Using the Heat Tool ensured the powder transformed beautifully into the ‘enamel’ feature in the bottom right hand corner.

I cut several leaves, using the Intricate Leaves Dies, for this project. To make the leaves lighter and more flexible, I used the Take Your Pick Tool to peel away the heavier card base from behind the glitter layer.

After deciding where to place the top 3″x 1-2″ coloured horizontal strip, I started to position, layer and adhere the leaves in place. Once the leaves were secure, I adhered the three coloured Dazzling strips below the leaves. They were offest to create a sense of movement on the card.

The fourth layer was a strip of Basic Black card that had the sentiment heat embossed using Bronze Embossing Powder. The sentiment is from the Insired Thoughts Stamp Set. Two, of the four 1/2″ layers, were popped up using Black Stampin’ Dimensionals.

I stamped and heat embossed a leaf, from the Gorgeous Leaves Stamp Set, on the card insert and envelope.

The final touch was to add some copper Brushed Metallic Dots to the card front.

During my Facebook Live, I made a very simialr card. I changed out one leaf colour and used a different sentiment, from the Inspired Thoughts Stamp Set.

It is amazing how a few small changes can create a totally different feeling. From ‘thank you’ to ‘sympathy’ and no hint of pink/red to a card having this hue, it is so easy to use the ‘same’ layout and create cards for different purposes.

I am so pleased with how the Be Dazzling Specialty Paper looks coloured in different ways.

Until next time, happy stamping.

If you live in Australia, you can order any of the products I used to make this card by going to my online store. Just click on any of the images below.

Product List
Heat Tool
[129056]
$50.00
Paper Snips
[103579]
$17.00
Posted on Leave a comment

KEEP CLEAN & CARRY ON

Hello to each of you. I am so grateful that you take the time to pop by and see my latest project.

Today I have a 3D project to share with you.

I recently purchased a small pump bottle of vanilla scented hand sanitiser and decided that I wanted to create a gift box to pop it into.

I selected this Basic Black and Cherry Cobbler checked piece of Designer Series Paper from the FREE Sale-a-bration Peaceful Prints DSP bundle.

The gift box was created using an A4 sheet of Basic Black card that then had panels of this checked DSP cut and adhered to each panel.

The greeting, from the Pansy Patch Stamp Set, was stamped onto a scrap of Cherry Cobbler card and was cut using a die from the Seasonal Layers Dies. This was cut a second time, using the same die, to make it smaller.

The Basic Black layer behind it was cut using the same die cut at full size. After they were glued together, the panels were then popped up using Stampin’ Dimensionals.

This sentiment is perfect for the bottle of hand sanitiser!

A length of Black & White Gingham Ribbon was tied around the neck of hand sanitiser bottle and finished as a bow.

Finally, I added some Matte Black Dots to decorate thefornt of the box.

It has been a while since my last 3D project and I am so happy with this one. I think that I will take it down to the office of our apartment building tomorrow morning for visitors to use.

Until next time, happy stamping.

If you live in Australia, you can order any of the products I used to make this card by going to my online store. Just click on any of the images below.

Product List
Paper Snips
[103579]
$17.00