Posted on Leave a comment

GINGERBREAD SNOWFLAKES

After spending most of Sunday stamping and card making I was left with six projects and a very messy desk! I have shared three of these projects with you already this week. Today’s project is number 4 and it has more features than yesterday’s simple card.

When I decide to make several projects using one suite, in one stamping session, I gather up one or two sheets of the coordinating card stock and the coordinating Classic Stampin’ Pads.

I chose to use an Old Olive base for this card.

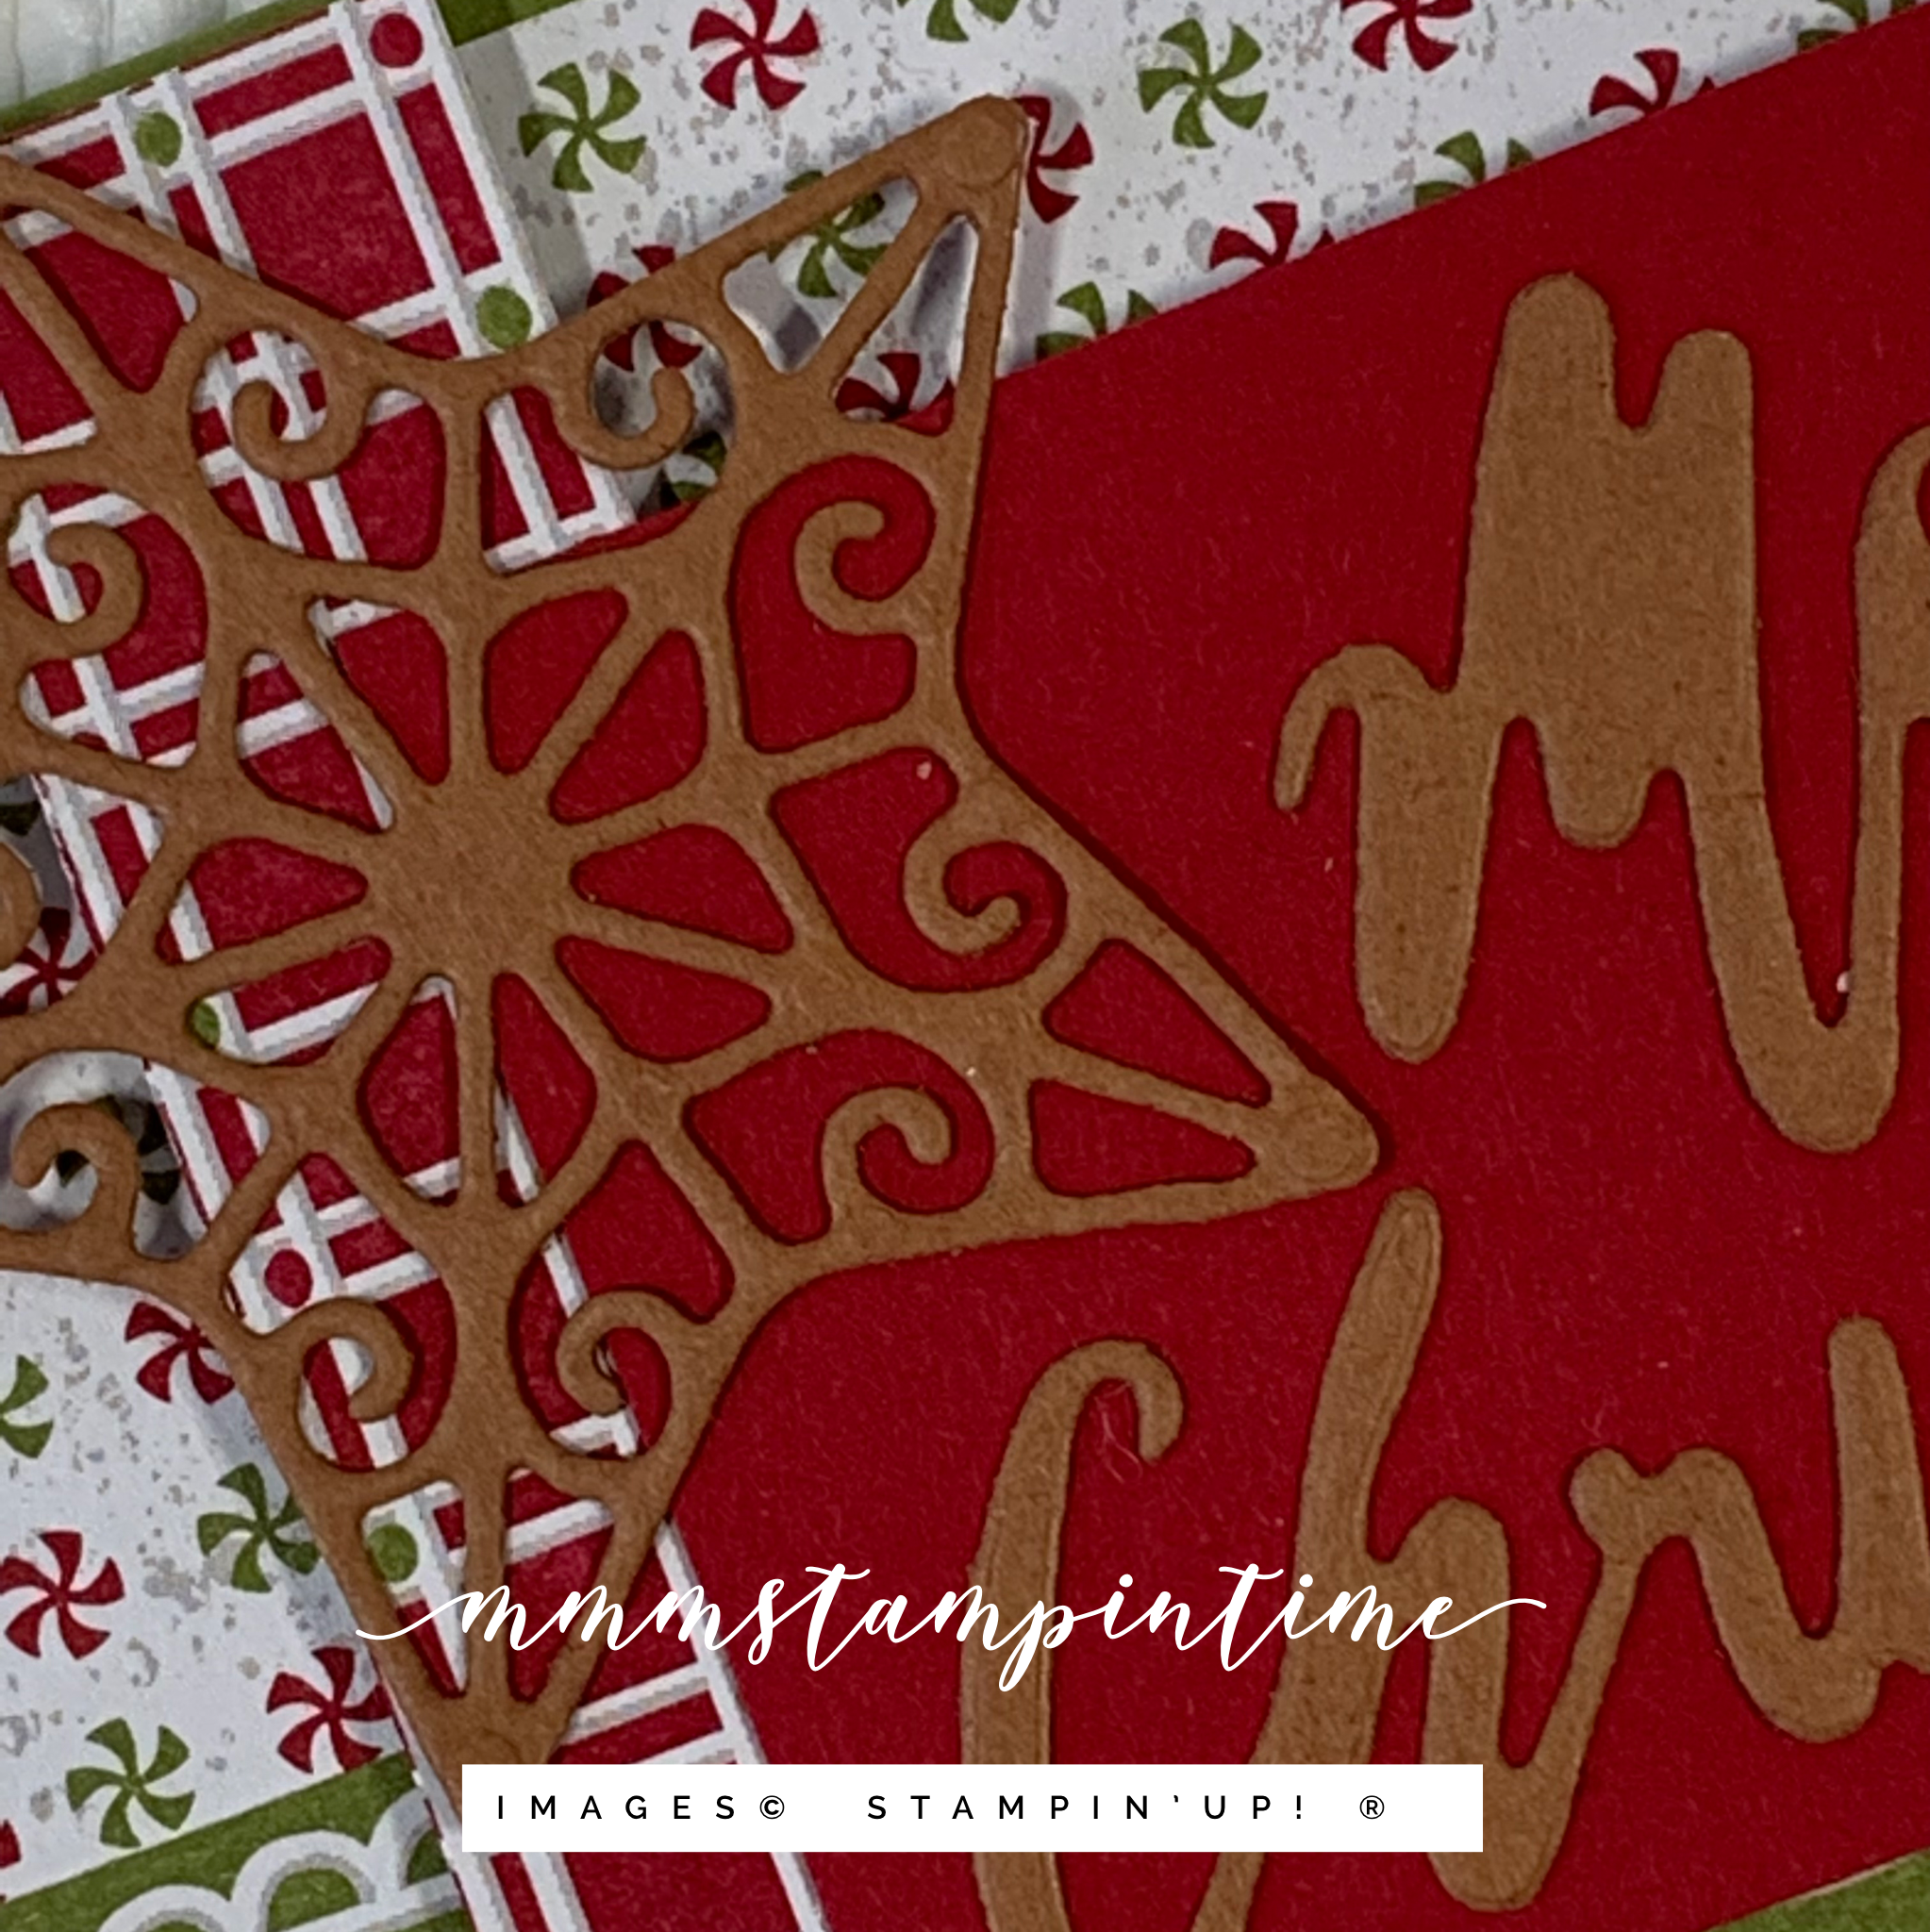
Rather than use Cinnamon Cider for the embossed panel, I chose the Kraft 6″x 6″ Paper from the Gingerbread & Peppermint Suite. This panel was cut to 5-3/4″x 2-1/2″ and was run through my Mini Stampin’ Cut & Emboss Machine using the snowflake folder from the Wintry 3D Embossing Folders Bundle.

I tied a loose knot in a length of Cinnamon Cider Ribbon and wrapped it around the embossed panel.

Then I took a sheet of the DSP with the gingerbread snowflakes and cut around several of the snowflakes so that I could cut them out using the coordinating die from the Gingerbread Dies.

The snowflakes had Stampin’ Dimensionals attached to give the card some height. As you can see, the snowflakes were scattered across the card front with some being cut to align with the edges of thecard.

The ‘happy holidays’ greeting is from the Frosted Gingerbread Stamp Set and it was stamped using Old Olive. I trimmed down the greeting and popped it up with a couple of dimensionals.

I stamped the matching snowflake image onto the card insert and envelope using Cinnamon Cider ink.

Then my last step was to add some Silver Epoxy Essentials to the front of the card.

These are most of the products I used for the six projects – so not all of them were used for this card.

Hmmm – I like this card! What do you think?

Until next time, happy stamping.

If you live in Australia, you can order any of the products I used to make this card by going to my online store. Just click on any of the images below.

Product List
Paper Snips
[103579]
$17.00
Posted on Leave a comment

A SIMPLE CHRISTMAS CARD

Today I have a super simple Gingerbread & Peppermint Christmas card to share with you. If you have time to pop back to my post from September 27th, you can watch an Instagram Reel of the aftermath of my Sunday stamping session when I made six projects using this Suite.

This card features the Gingerbread & Peppermint 6″x 6″ Designer Series Paper, some die cutting and some simple stamping.

The three pieces of DSP were cut and layered using Multipurpose Glue and Stampin’ Dimensionals.

I added a piece of Adhesive Sheet to the back of some Cinnamon Cider card and cut a star from the Gingerbread Dies and the Christmas greeting from the Word Wishes Dies. These elements were attached to the Real Red panel and popped up on dimensionals.

I used one of the peppermint kiss images to stamp the card insert and envelope using Real Red and Old Olive ink. As you can see this is a super simple card. Sometimes you don’t need to overcomplicate cards especially when the paper is so adorable.

Let me know what you think of this one. I hope that you will like the next few projects – so, until then, happy stamping.

If you live in Australia, you can order any of the products I used to make this card by going to my online store. Just click on any of the images below.

Product List
Paper Snips
[103579]
$17.00
Posted on Leave a comment

GLOBAL DESIGN PROJECT #311

This week’s Global Design Project #311 challenge is a theme challenge.

I enjoy taking part in blog hops and challenges because it encourages me to create outside my comfort zone.

When I saw that this week’s theme was leaves I started to scan my shelves to see which stamp set, dies and other products I might use. Well, that took some time because there are so many to choose from!

Eventually, I decided on the Gorgeous Leaves Bundle.

I started by carefully tearing a length of Post-It Cover-up Tape to position on a piece of Basic White card. Then, using a Blending Brush, I coloured the space with four different yellows – Crushed /curry, Mango Melody, Bumblebee and Pumpkin Pie.

After I pulled away the Post-It tape I stamped the small cluster of three leaves, in Memento Jet Black, across this curved yellow panel.

Then I flicked the Dark Basic Black Stampin’ Blend to create the speckled flecks on the Basic White panel.

I wrapped some Basic Black Baker’s Twine, from the Essentials Pack, around this panel and tied a bow.

The second layer, in Basic Black, was given texture by using the Timeworn Type 3D Embossing Folder.

The Basic Black embossed panel was popped up on the Crushed Curry card base using Black Stampin’ Dimensionals and the Basic White layer was popped up in the same way.

The leaves were cut using the Intricate Leaves Dies and were coloured, on the under side, using Doaffodil Delight and Pumpkin Pie Stampin’ Blends. I layered the leaves and secured them using Mini Glue Dots. Then I tucked them in under the Basic Black Baker’s Twine.

The greeting, from the Inspired Thoughts Stamped Set, was heat embossed in Basic White Stampin’ Emboss Powder on Basic Black card. Then I cut it using the label die from Pretty Pillow Box Dies.

I used the small cluster of three leaves image to stamp the card insert and envelope. Finally, I added some Matte Black Dots to the card front.

It is always wonderful to take part in a challenge and then use lots of Stampin’ Up!® products to create a project.

So, let me know what you think of my latest GDP project.

Thanks for popping by and until next time, happy stamping.

If you live in Australia, you can order any of the products I used to make this card by going to my online store. Just click on any of the images below.

Product List
Paper Snips
[103579]
$17.00