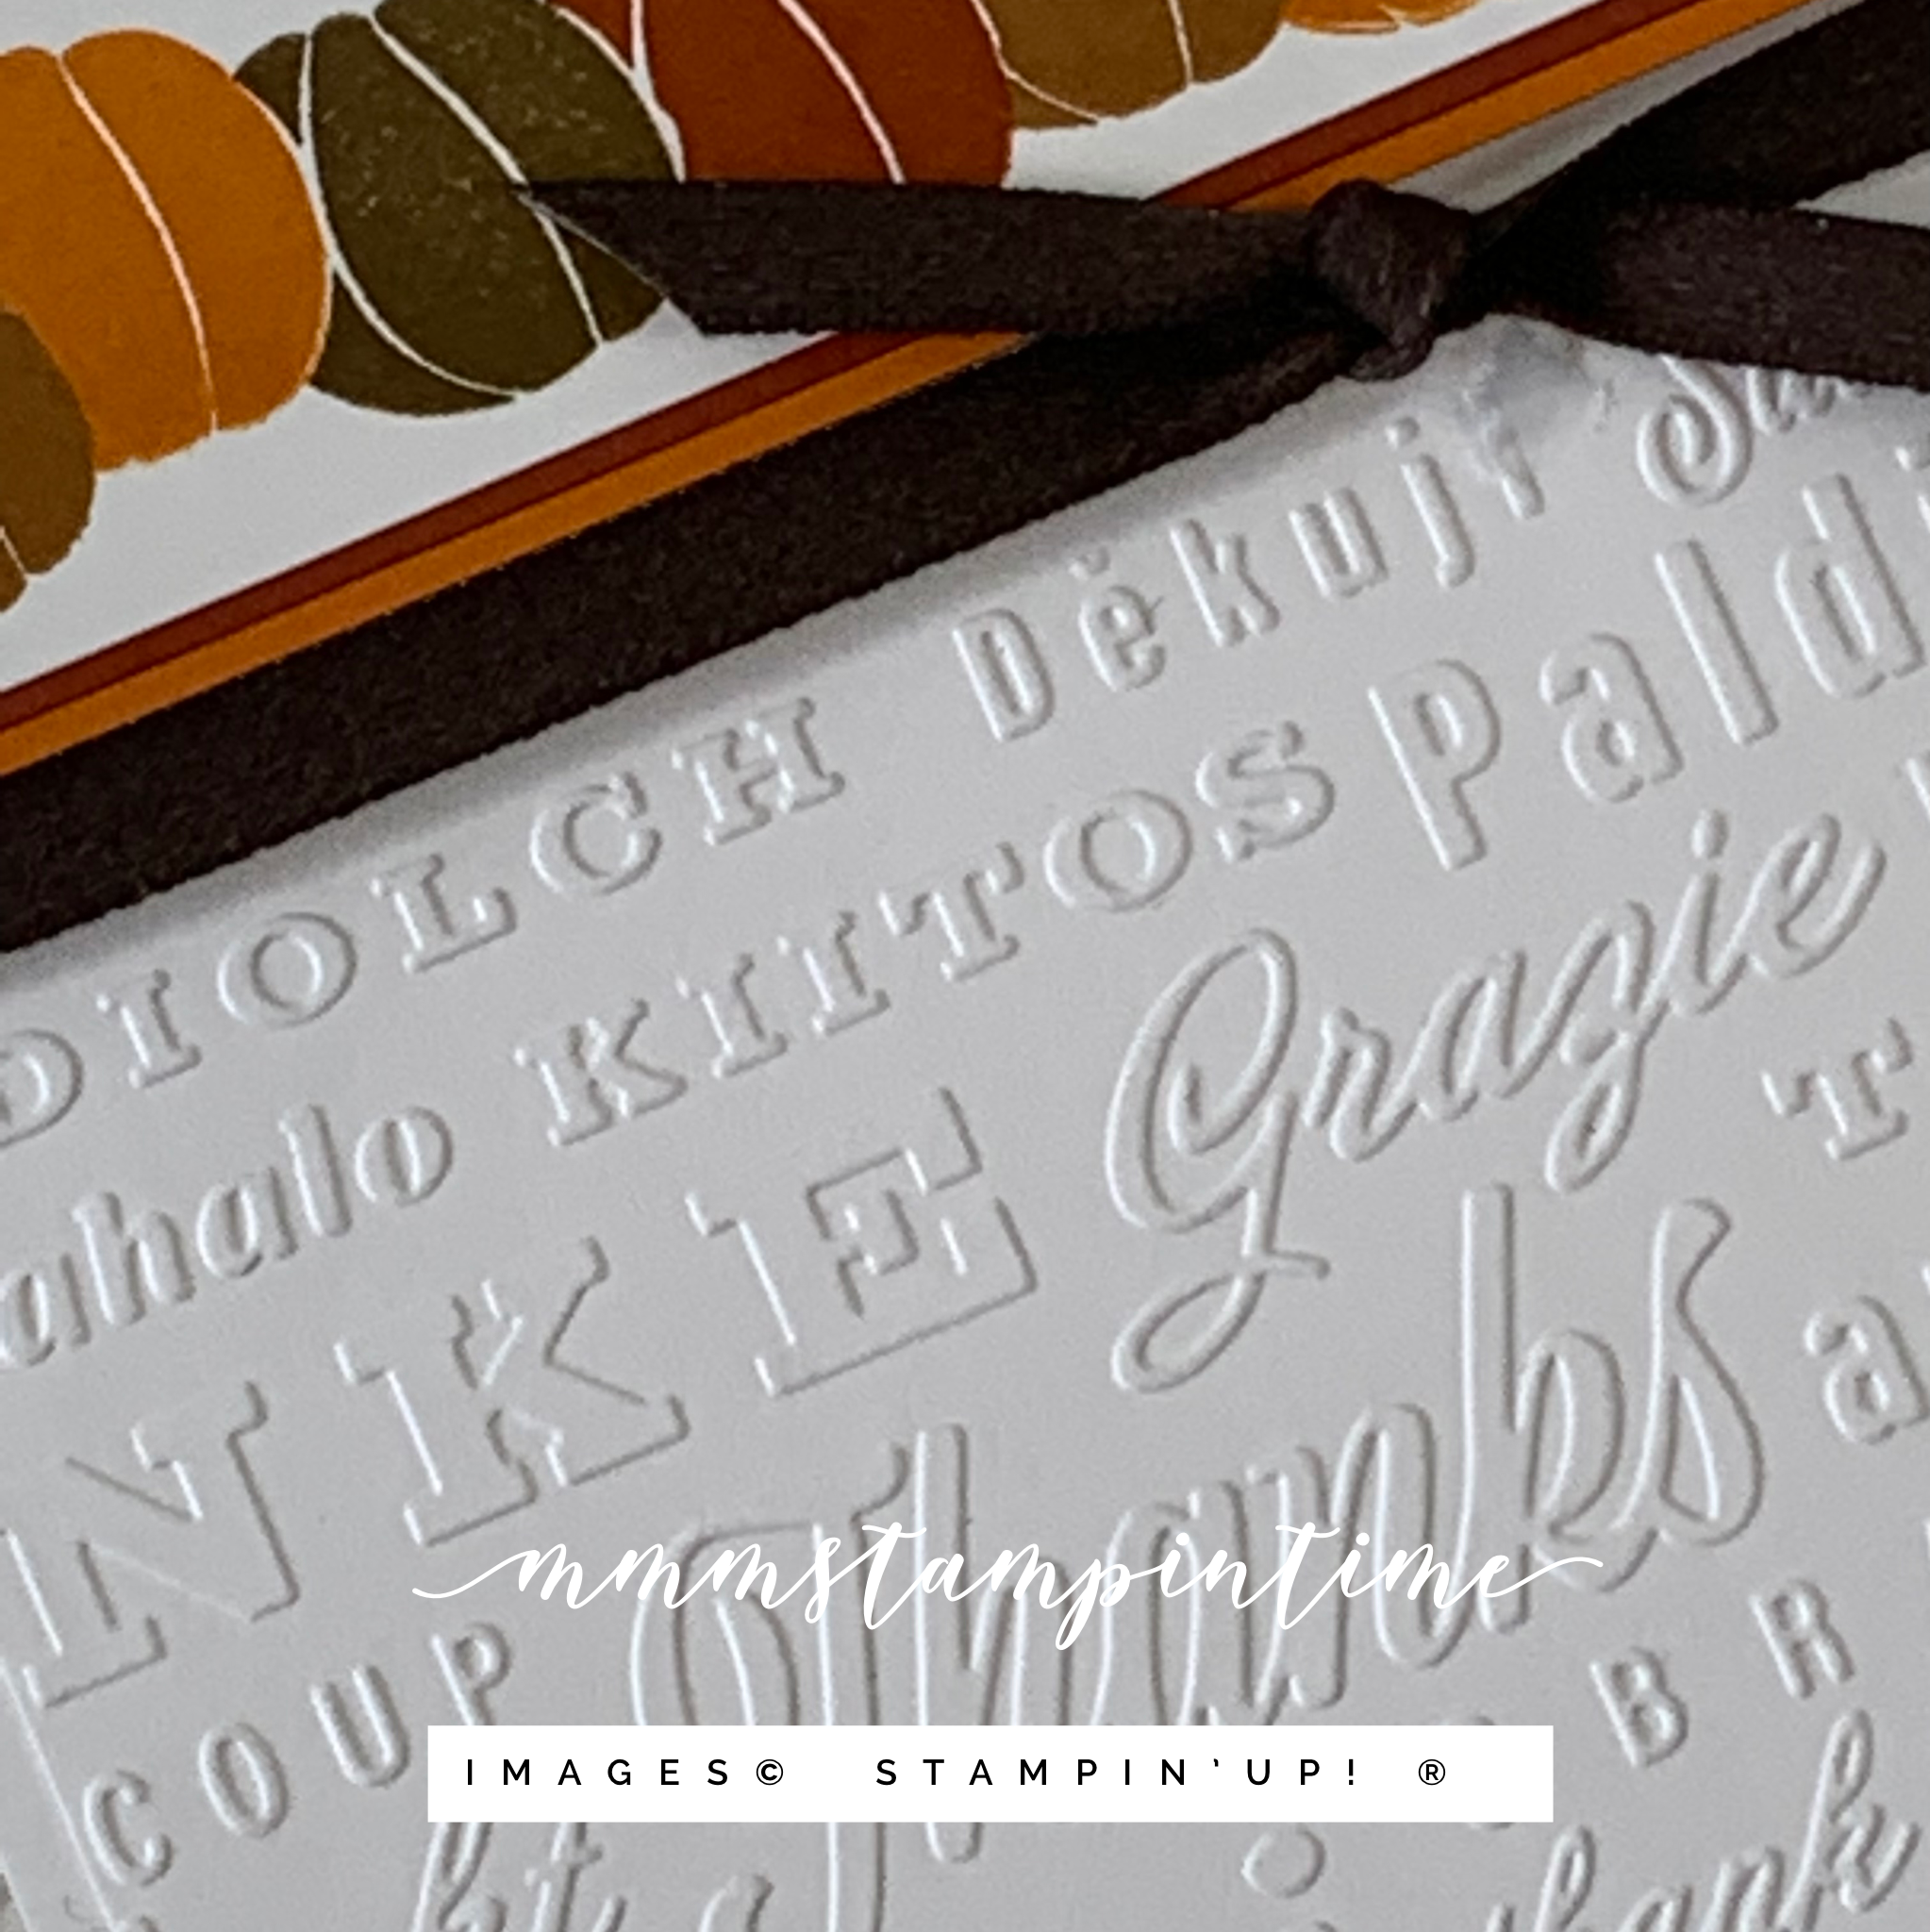
Yesterday was Thanksgiving Day in the United States. I remember fondly seeing so many amazing homes decorated for the season with pumpkins, garlands, wreaths and other gorgeous ornaments.
This week’s Global Design Project Challenge #GDP315 is HEY PUMPKIN.

At first I was worried that I wouldn’t be able to participate this week because I haven’t added any pumpkin/Thanksgiving products from the June – December Mini Catalogue. Phew – a glance across my stamp set shelf helped me rediscover the Banner Year Stamp Set.

I started by using the thanks folder, from the Thanks & Hello Embossing Folder pair, to emboss a section of panel of Basic White card stock.
Then I stamped the pumpkin using Cajun Craze, Cinnamon Cider, Pumpkin Pie and Soft Suede inks. To create the overlapping pumpkins I made a mask by stamping and cutting some post it notes.
To add the stakl and leaf I used the Early Espresso and Garden Green Stampin’ Write Markers™ to colour directly onto the stamp.
I attached two lengths of Early Espresso Faux Suede Trim to the back of the embossed panel before turning it over and tying a secure knot. A Mini Glue Dot was popped behind there the knot to anchor it in place.
After trimming the stamped panel down to 1-1/8″ in width, I added a layer of Cajun Craze and then a layer of Pumpkin Pie card.
I stamped the pumpkin on the inside of the card as well as the envelope.

This card is a bit unusual for me. I don’t often make a card that is predominantly white but I see this is so popular at the moment.
Until next time, happy stamping.

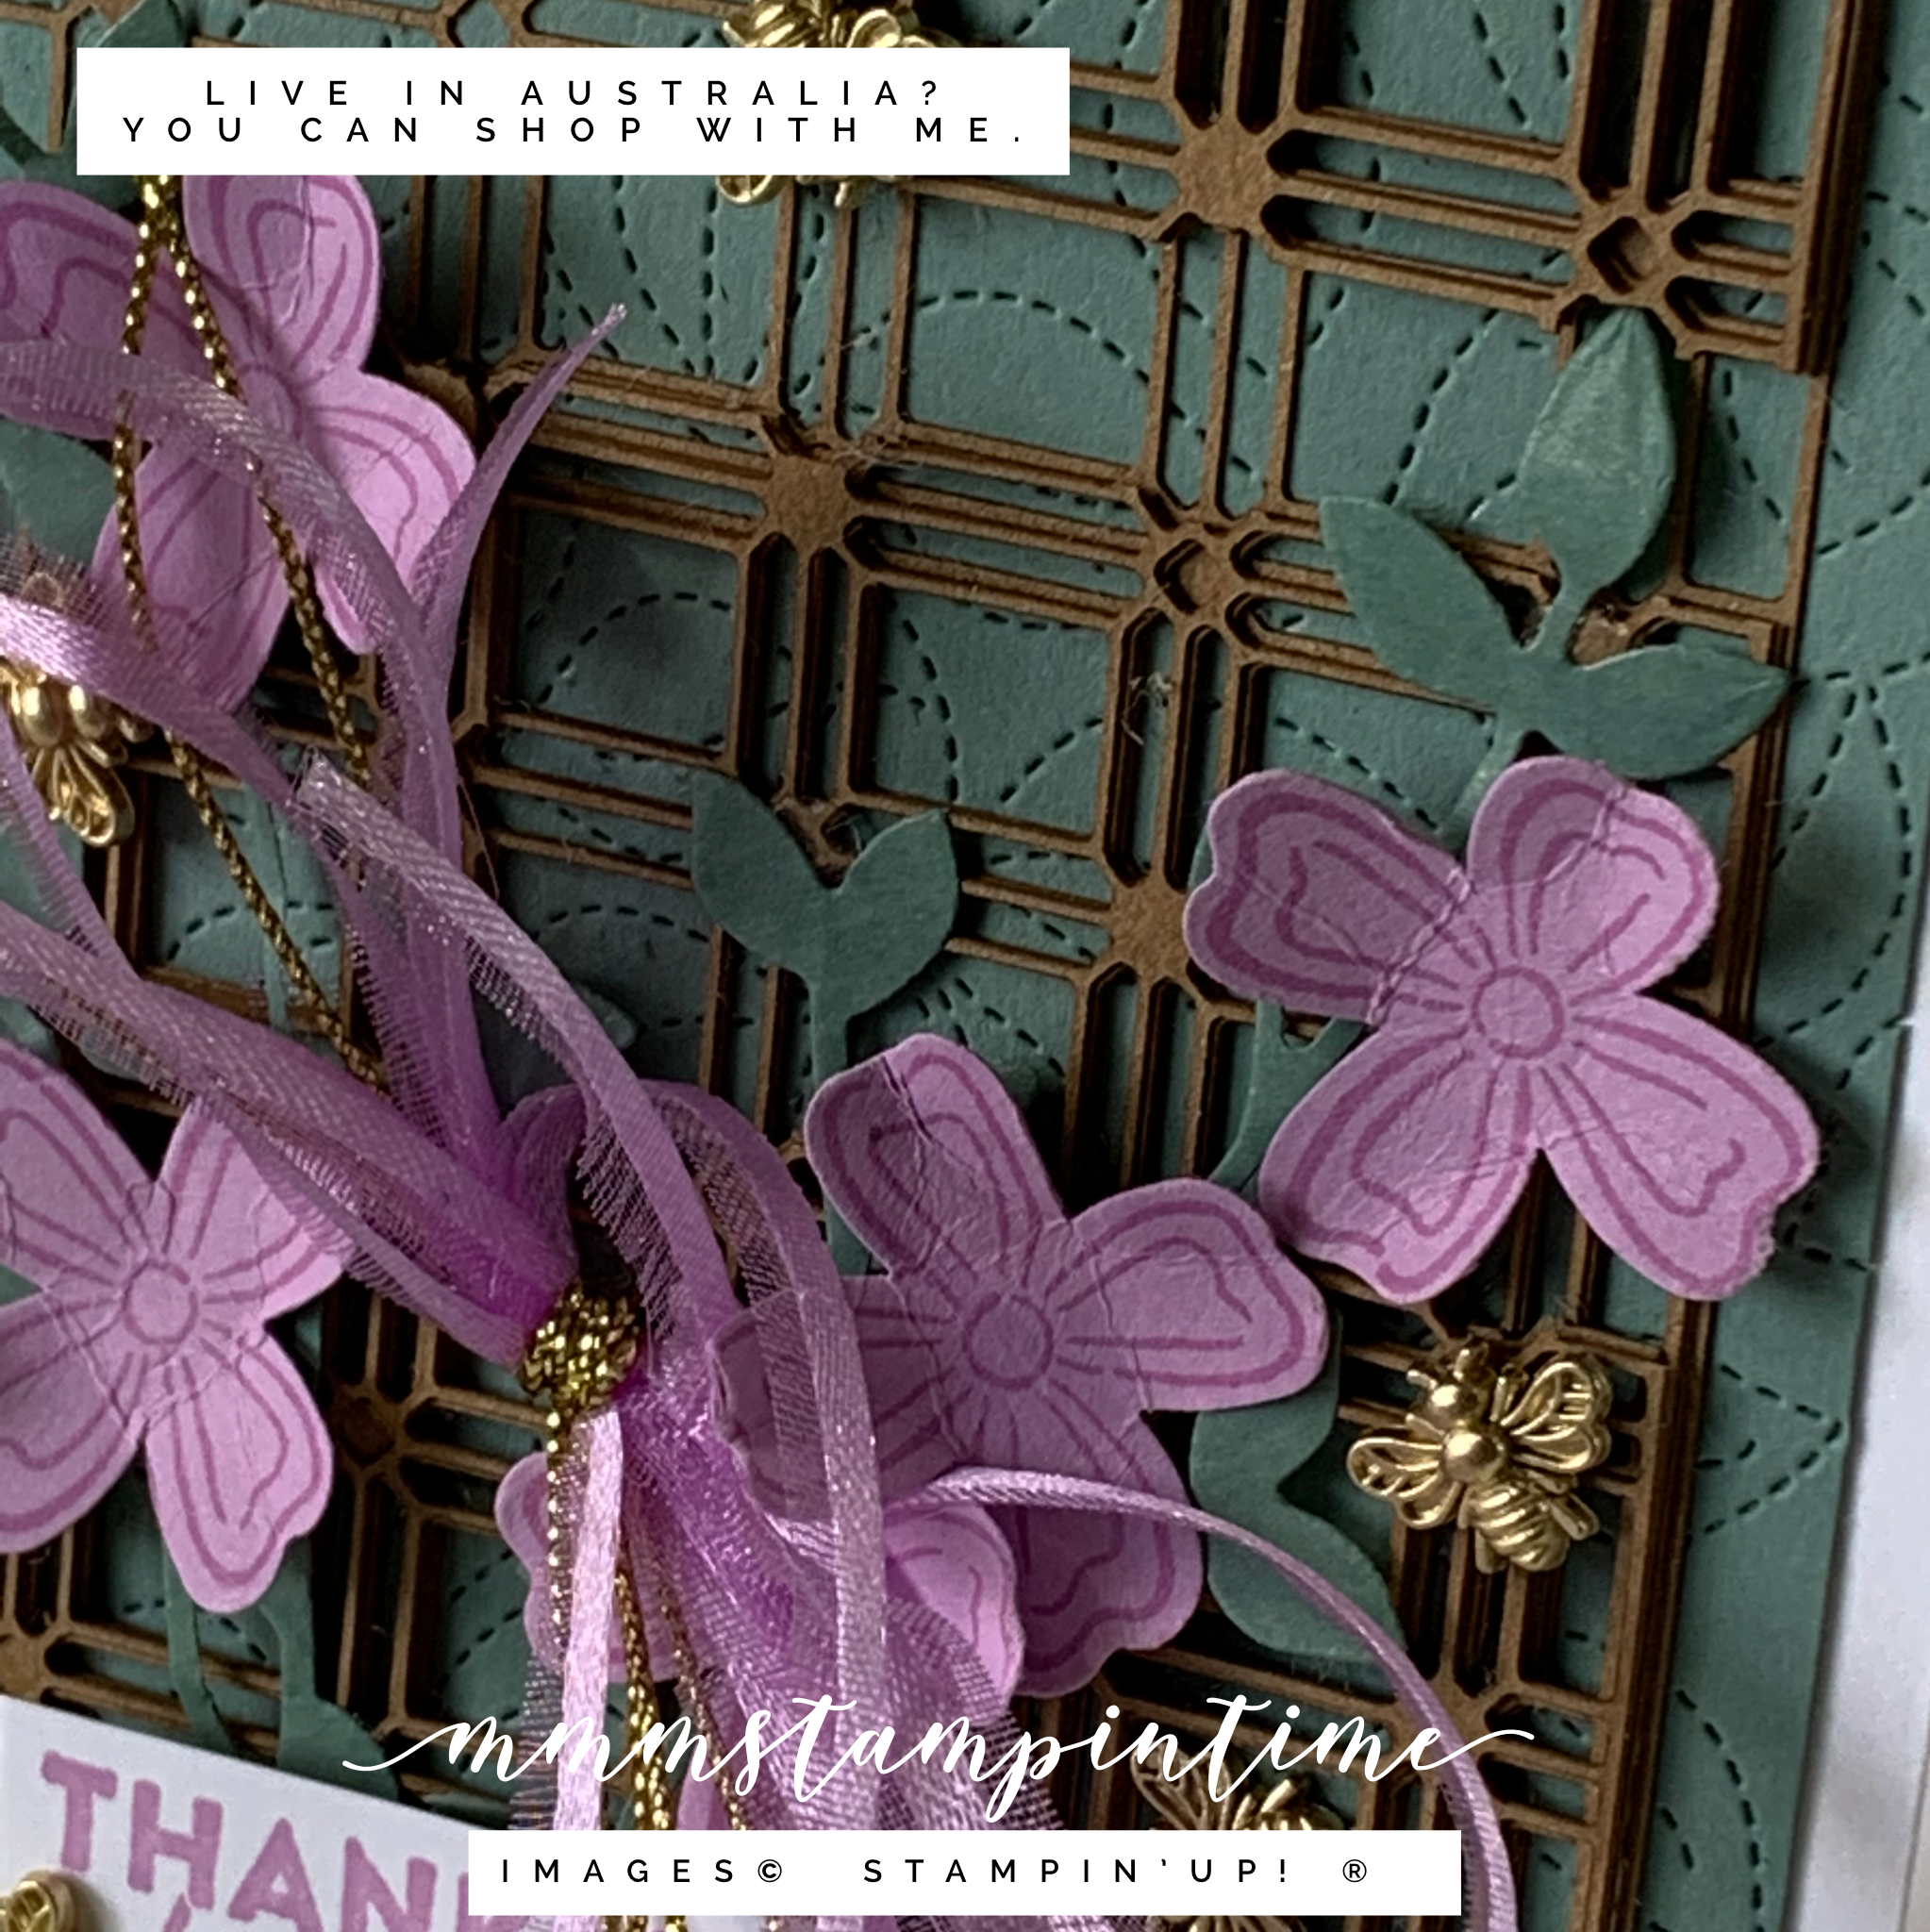
If you live in Australia, you can order any of the products I used to make this card by going to my online store. Just click on any of the images below.

 |  |  | ||
 |  |  |  | |
 |  |  |  |  |
 |  |  |
")
 Faux Suede Trim")


")


 Open Weave Ribbon")


")


