Posted on Leave a comment

TIME FOR A WHIMSICAL CHRISTMAS CARD

This week’s Freshly Brewed Project theme is to share a project that is whimsical.

I decided to use the Christmas Whimsy Card Kit to make my own version of a whimsical pop up card.

CHRISTMAS WHIMSY CARD KIT (ENGLISH)

Here is the card that I made.

I started with a Poppy Parade card base and added the girl pulling the Christmas gift sleigh which comes in the kit.

The greeting is from the Heartfelt Wishes Stamp Set and was stamped in Poppy Parade.

I used the stamp set from the kit and stamped the stars in Misty Moonlight on Misty Moonlight card stock. This piece was then glued inside the card.

The next step was to create the pop up panels for the Christmas tree and the young woman placing the star on the tree. The tree was fussy cut from one of the pre-printed card front.

The tower of gifts was cut from one of the sleighs and glued in between the pop up pieces.

The insert layers were added and the ‘Merriest Christmas to you’ is from the kit stamp set.

The gift carrying young woman was used on the envelope as well as the card insert.

A few Gilded Gems were added to the front of the card.

This was a fun way to use the elements from the kit and create something different.

Make sure that you pop over and see the other whimsical Christmas project the Freshly Brewed crew have created to share with you – I’m sure that they’ll inspire you.

Until next time, happy stamping and kit creating.

If you live in Australia, you can order any of the products I used to make this card by going to my online store. Just click on any of the images below.

Product List
Gilded Gems
[152478]
$12.25
Paper Snips
[103579]
$17.00
Posted on Leave a comment

I MISSED MONDAY BUT I AM BACK TODAY

You know how life sometimes gets in the way? Well, that was my day yesterday. Nothing bad happened, it’s just that things took longer than anticipated.

The project I have for you today also took longer to make than I thought it would but I am very pleased with the end result.

The card is for this week’s Global Design Challenge #GDP318 which is a sketch challenge. If you click on the image below, it will take you over the the GDP page and you can see what the Design Team created and this week’s entries.

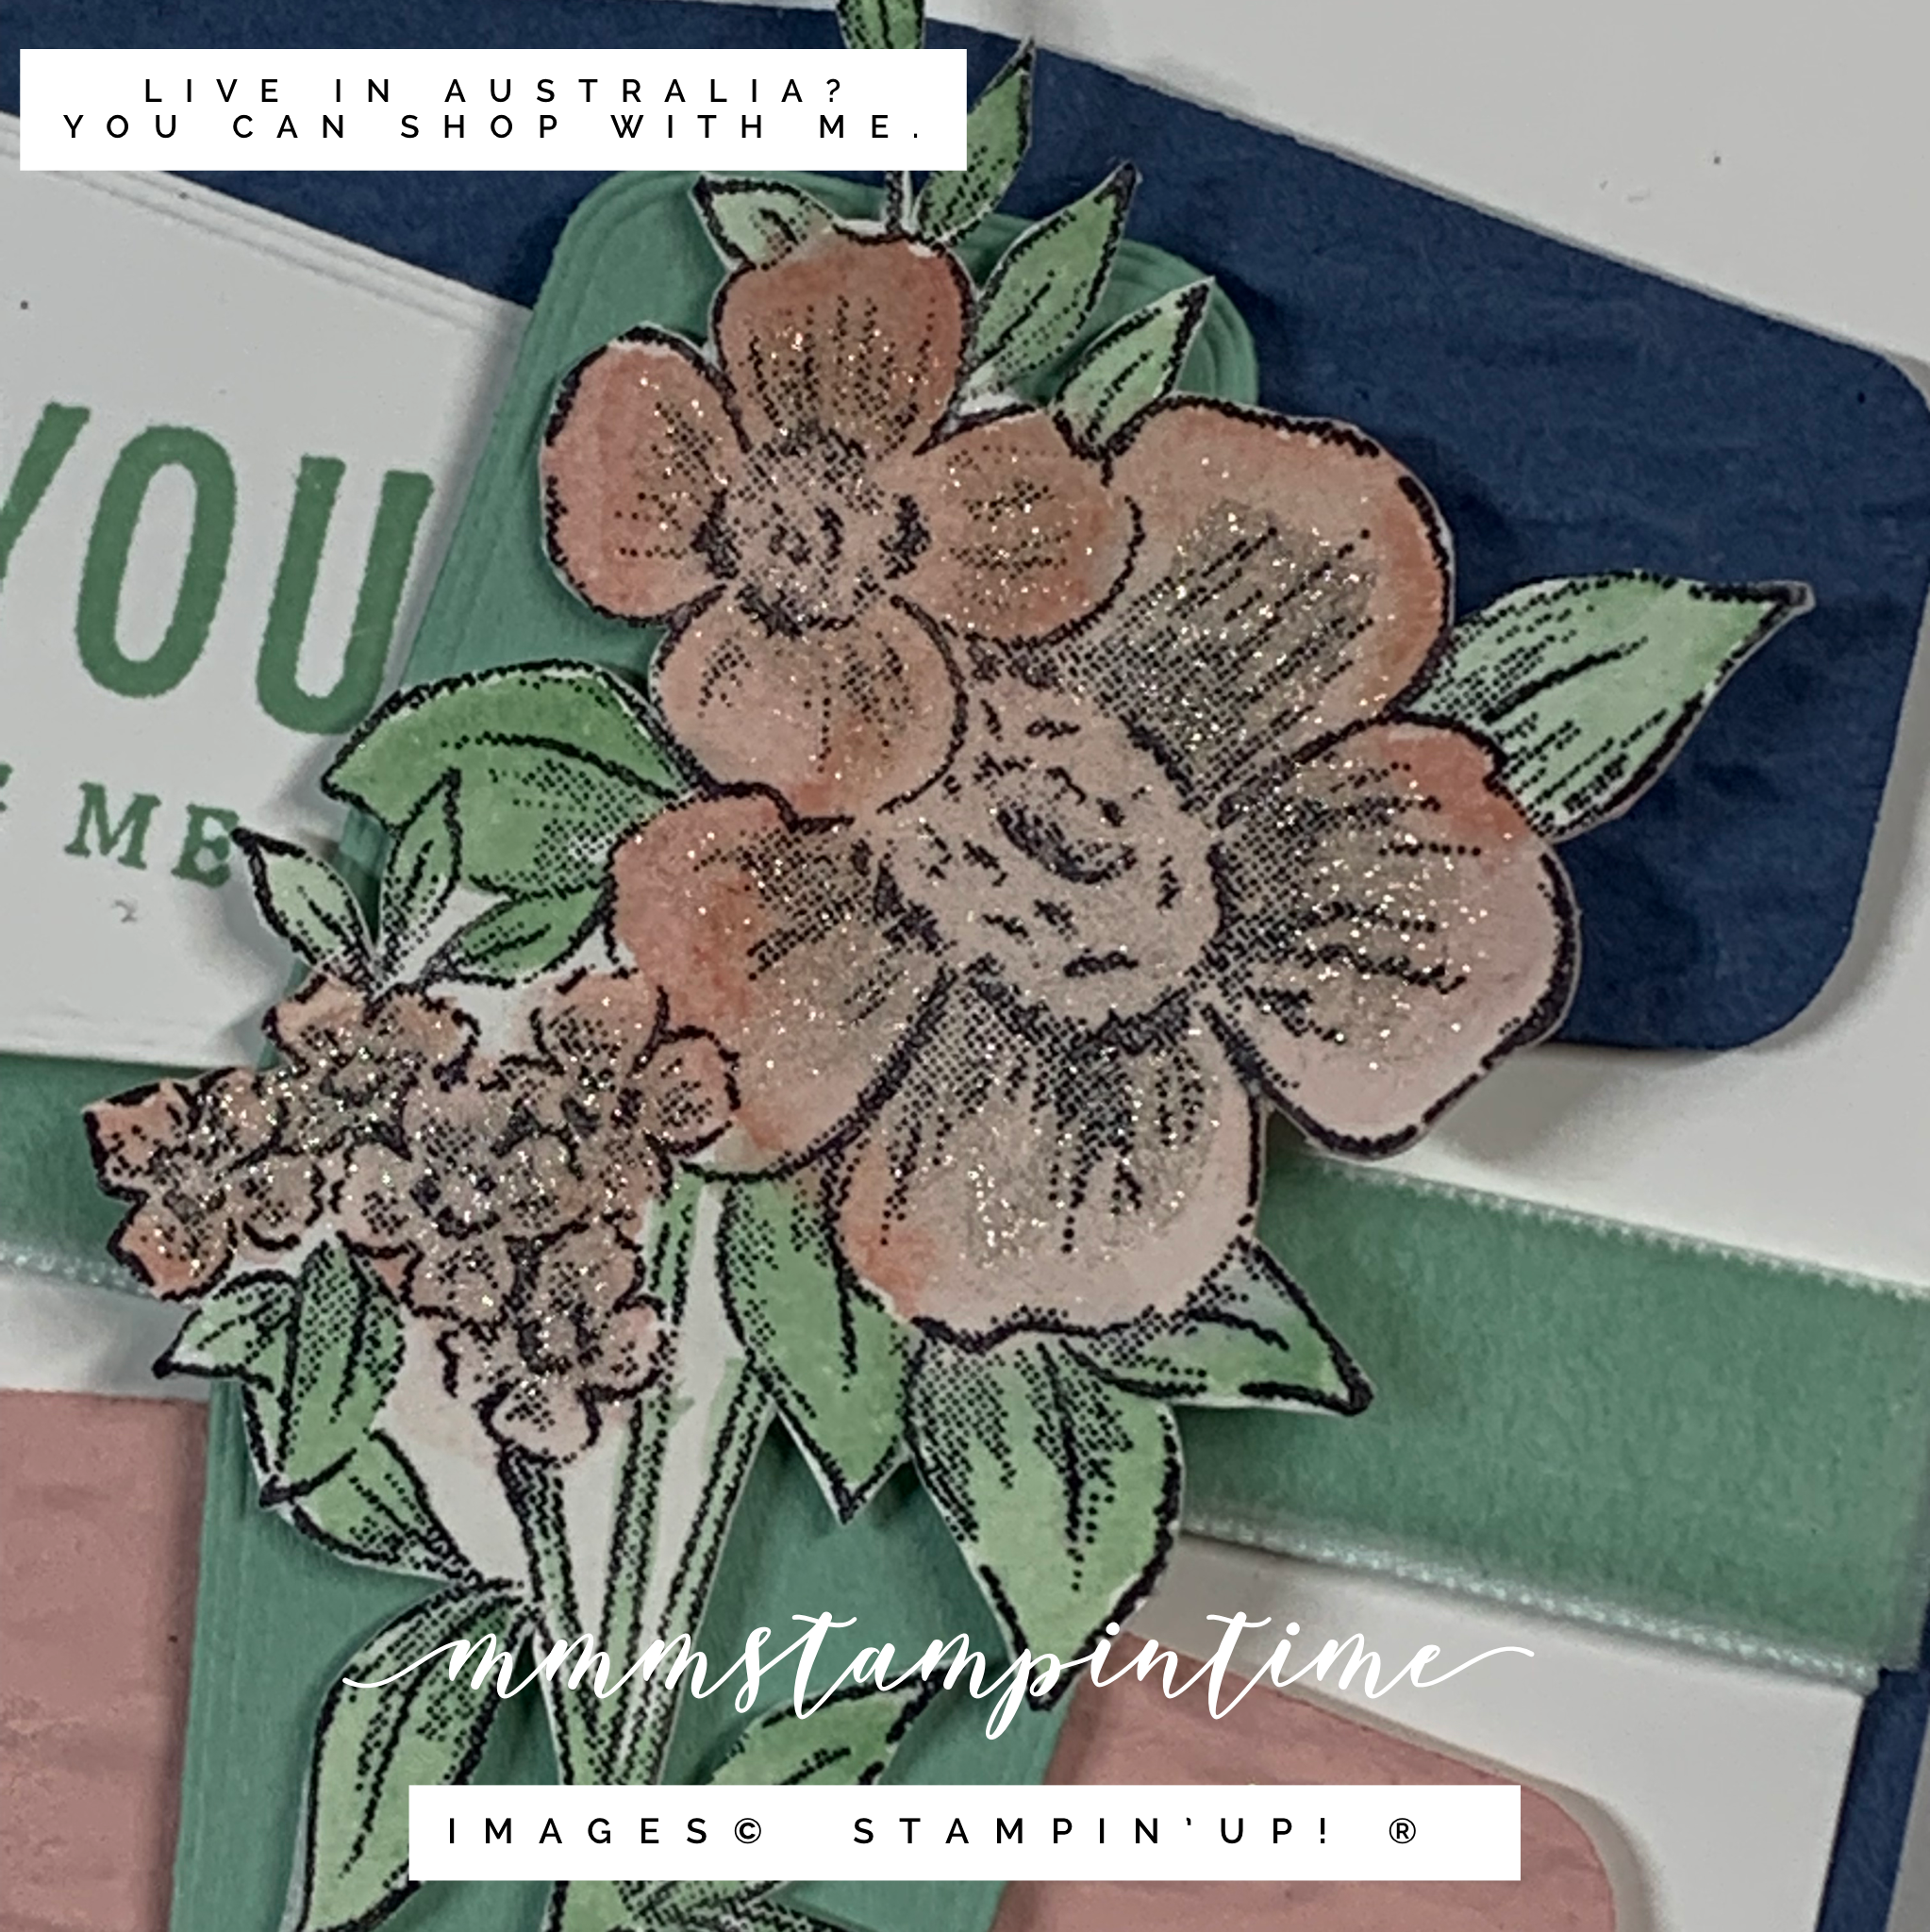
I decided to use the Blessings of Home Stamp Set, coordinating Flowers of Home Dies and Heart & Home Designer Series Paper. These were available to domenstrators to order for our recent OnStage @ Home event.

Just before I started taking photos of my card, my new ring light was delivered. So please be patient while I master using it to get a great light and reduce shadows.

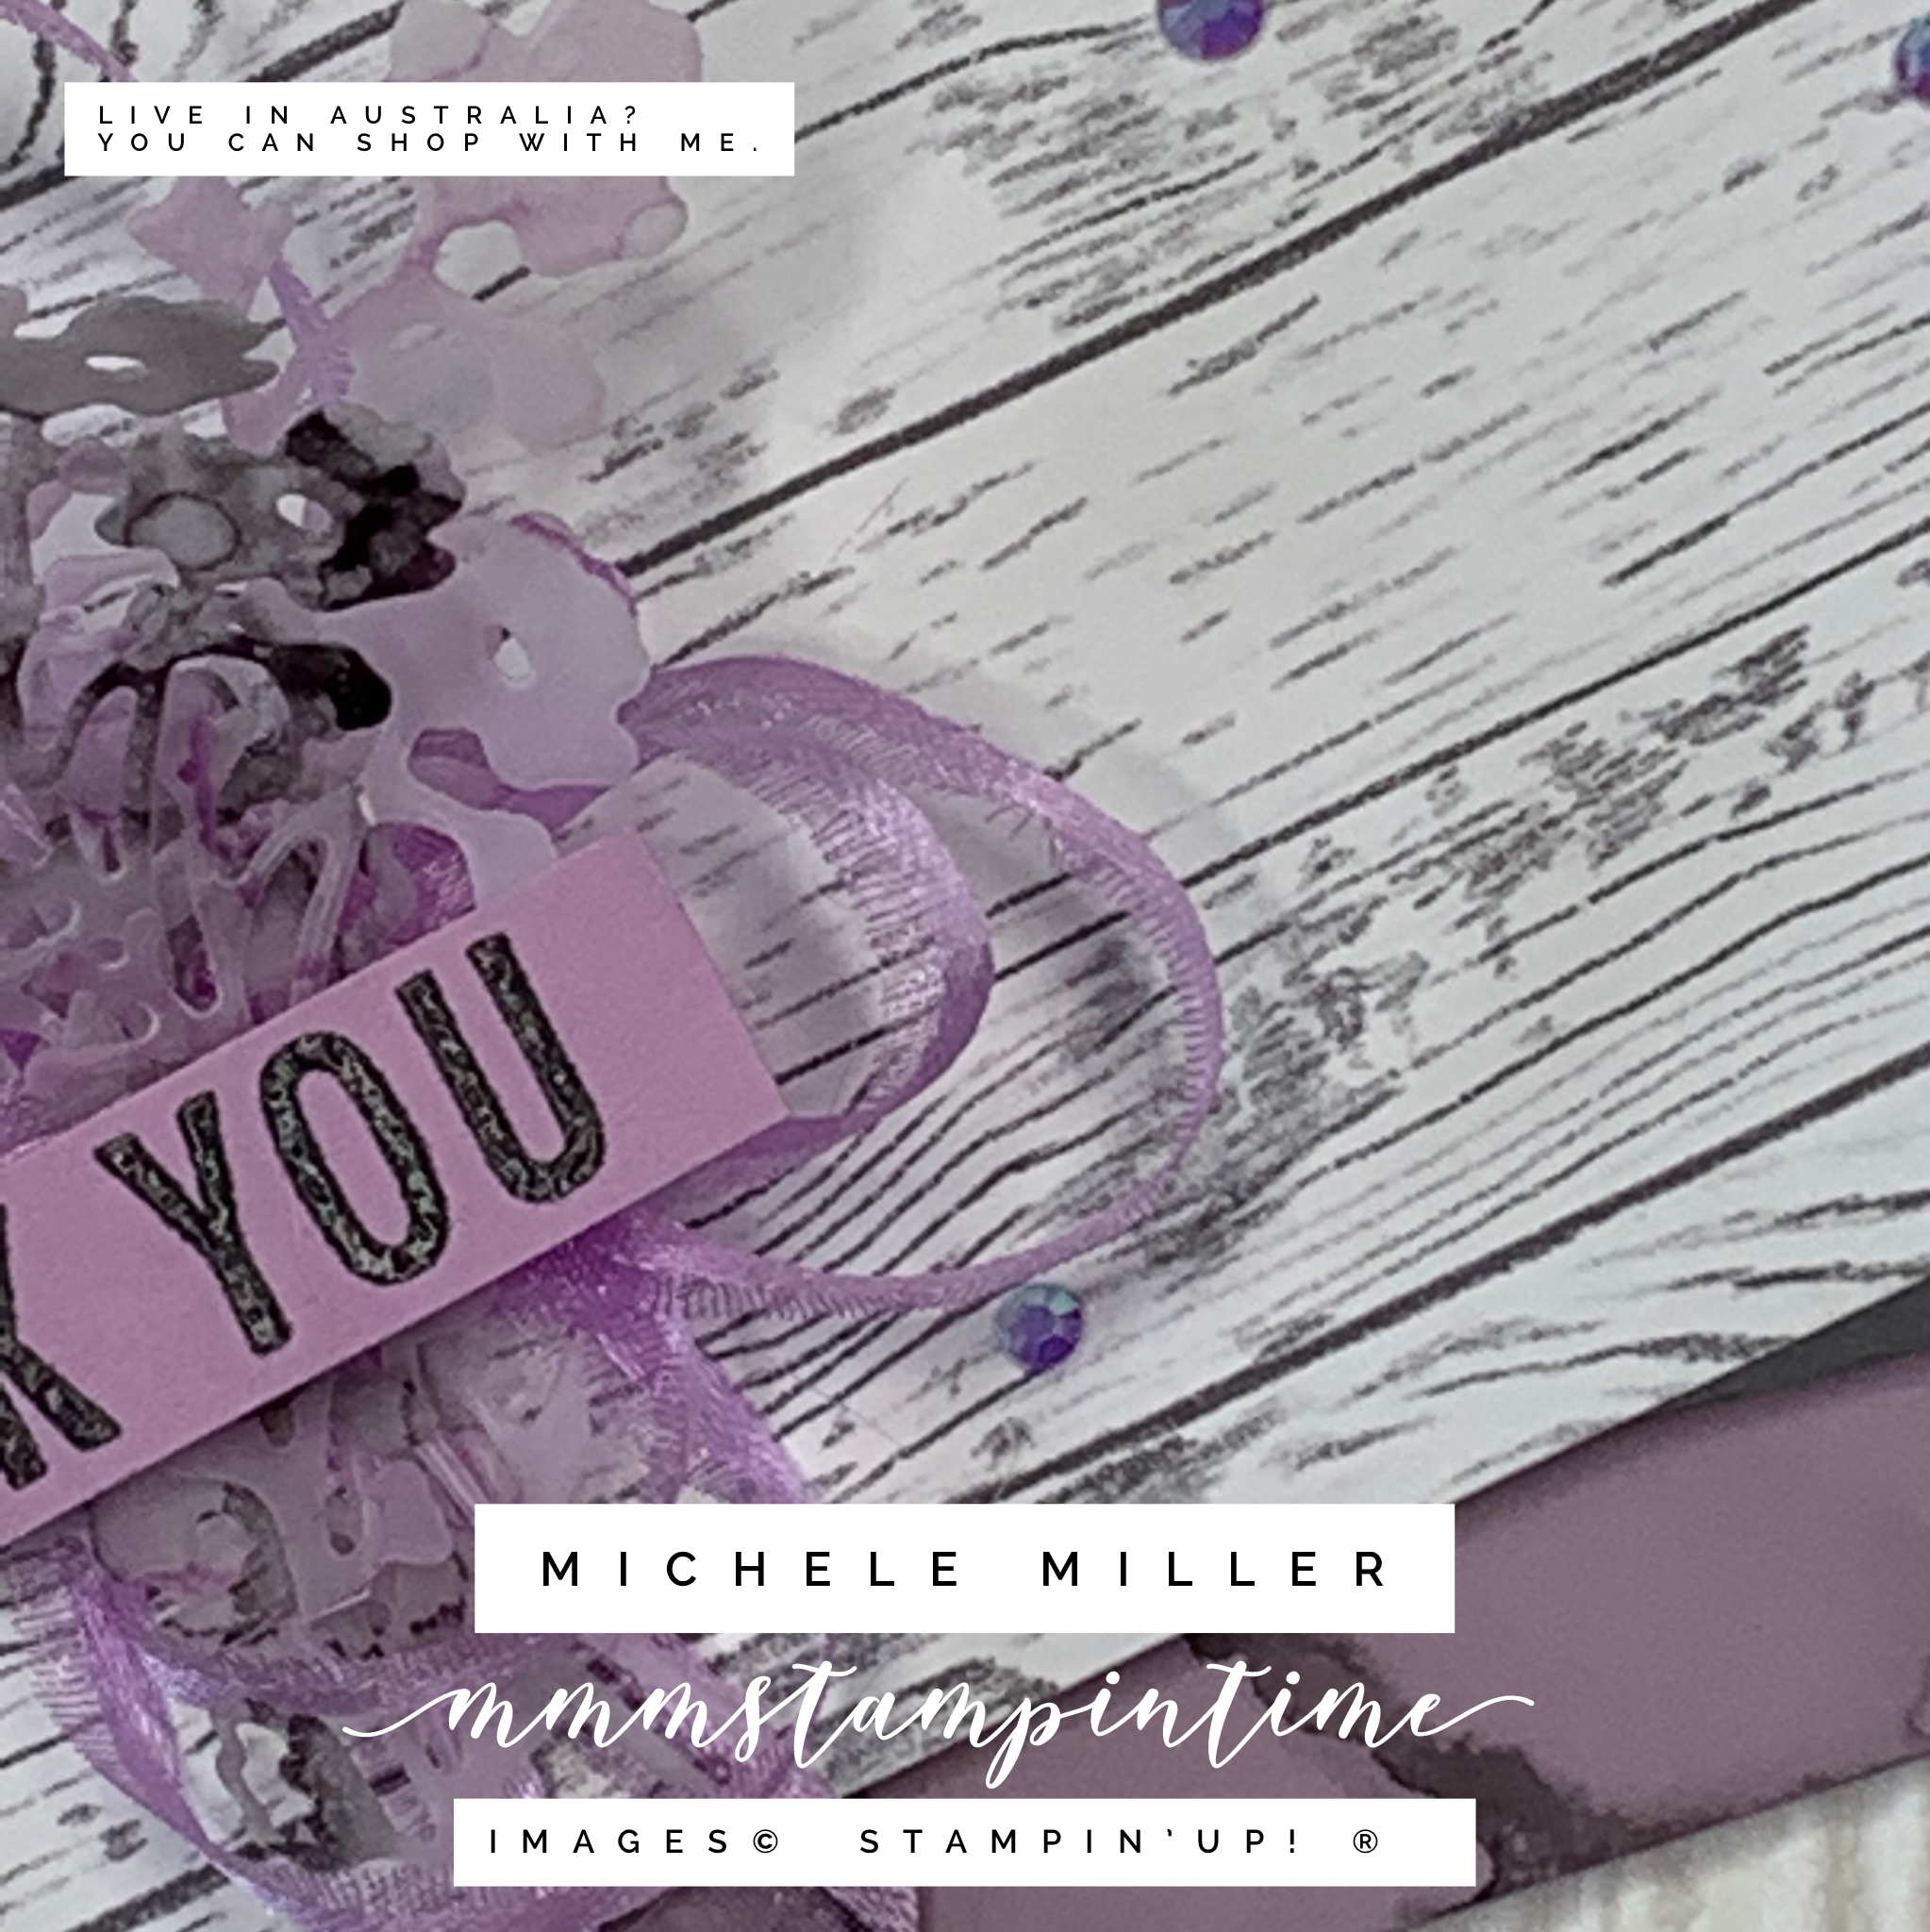
I chose Fresh Freesia for my card base because I knew that I wanted to use the alcohol ink and rubbing alcohol technique on some white vellum. The Fresh Freesia looks softly muted through the vellum.

I used my Dard Smoky Slate Stampin’ Blend to completely colour the vellum layer. Then I spritzed and dropped rubbing alcohol on the alcohol ink. This is the best sample of this technique I have made so far.

The Stampin’ Seal+ is perfect to attach vellum to the card base. I only used small amounts of the adhesive, positioned around the edges and in the centre, to hold it in place. The great thing is, you cannot see the adhesive.

I cut a piece of DSP and layered it, at an angle, on a piece of Basic Gray cardstock. This was then placed on the front of the card using Stampin’ Dimensionals.

I need to work on this lighting!

While I was using the alcohol ink and rubbing alcohol, I made two extra pieces of vellum and coloured one in Dark Fresh Freesia and another in Dark Smoky Slate. I cut several flower and leaf stems from this vellum using one of the dies from the Flowers of Home Dies. They were overlaid onto each other using Mini Glue Dots to hold them together, as a floral bouquet.

Lengths of Fresh Freesia Open Weave Ribbon were cut in half lengthways and looped around to create the ribbon decoration. The floral bouquet was then placed in the centre of the loops.

The sentiment was stamped in Basic Gray ink. I used my Stamparatus to do this because I wanted to stamp the sentiment a second time, using Versamark, so that I could heat emboss some Clear Stampin’ Emboss Powder. This gives it a fabulous sheen. I trimmed the sentiment back so that only the ‘thank you’ remained.

I added a strip of the coloured vellum to the card insert and envelope.

The finishing touch was to add some of the Fresh Freesia In Colour Jewels to the front of the card.

I am very happy with this card and I think that it is a great card for the sketch challenge. What do you think? Do you like it?

Until next time, happy stamping.

If you live in Australia, you can order any of the products I used to make this card by going to my online store. Just click on any of the images below.

Because some of the products I have used to make this card are not yet available to customers, I am not able to show them at this time. As soon as product images go live, I will create this section.

Product List
Heat Tool
[129056]
$50.00
Paper Snips
[103579]
$17.00
Posted on Leave a comment

ANOTHER GLOBAL DESIGN PROJECT COLOUR CHALLENGE

This week’s challenge is #GPD317 and it is a colour challenge. Of all the GDP challenge categories, the colour challenge is definitely my favourite.

I love this colour combination! What do you think?

For my card, I decided to use the new Blessings of Home Stamp Set. This stamp set, with coordinating dies and Designer Series Paper was an early release bundle demonstrators were able to purchase for our 2021 OnStage @ Home event that was held from 11 – 13 November.

I decided to use a Misty Moonlight card base with a Basic White layer. Before securing the white layer, I wrapped a length of Mint Macaron Soft Velvet Ribbon and used Tear & Tape to fix it into place.

Then I cut a piece each of Blushing Bride and Misty Moonlight using one of the Tasteful Labels Dies. These two die cut pieces were then given some texture using the Bark 3D Embossing Folder. Then I added Stampin’ Dimensionals behind each embossed shape and positioned evenly above and below the ribbon.

I am so pleased with the way the embossed card and velvet ribbon combine to provide different textures to the card.

The floral image was stamped using Jet Black StazOn (not the Memento I mistakenly used in my product photo). Then I used my Water Painter to colour it. I decided to fussy cut, rather than die cut, the flower before popping it up onto a die cut piece of Mint Macaron card. This piece was then positioned over the other two embossed pieces.

The sentiment, from the Blessings of Home Stamp Set, was stamped in Mint Macaron and cut using the same Tasteful Labels Dies. Each end of the ‘Thank You’ label was trimmed and then positioned where you can see it.

When the water coloured image was dry, I painted Clear Wink of Stella across the flowers to add some shimmer.

I partially stamped the same floral image on the card insert and the envelope – there’s no surprise there. If you have seen any of my posts before, you will know that I never leave the inside of a card or an envelope undecorated.

I almost always add some embellishments to the front of my cards as my final step. This time I coloured some Clear Epoxy Essentials with the Dark Mint Macaron Stampin’ Blend.

During the OnStage @ Home event, we used the large floral image and I am looking forward to making more projects with this gorgeous set.

I’m so pleased with this card – lots of white space, layering and overlapping elements and such a great colour combination to use.

What do you think?

Until next time, happy stamping.

If you live in Australia, you can order any of the products I used to make this card by going to my online store. Just click on any of the images below.

Product List
Paper Snips
[103579]
$17.00