Posted on Leave a comment

STEP IT UP SUNDAY

As I mentioned, in my post yesterday, Sunday will be my ‘step it up’ card making day. I shared #simplestamping cards yesterday and today I will share some cards that are increasingly more elaborate.

The first two cards are ideal for those of you with a little more experience and a few more card making products in your craft room.

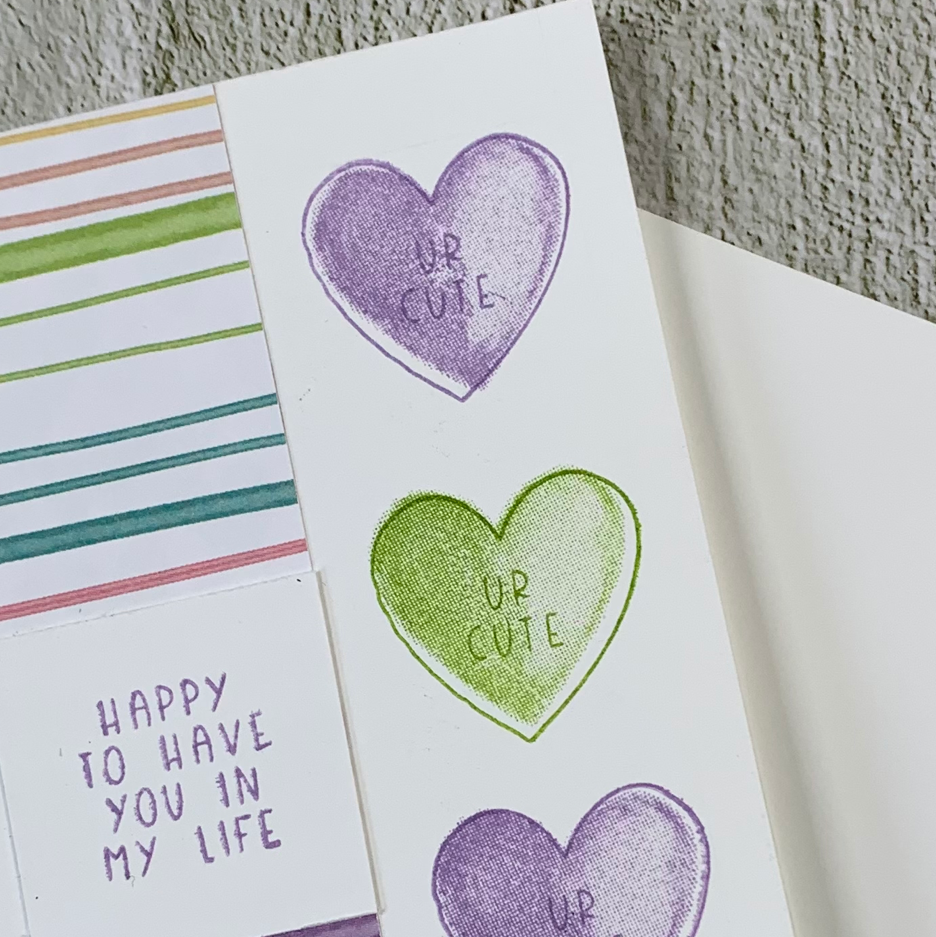
I am still using the main elements from yesterday’s cards.

I started by stamping and masking the hearts down the right-hand side of the card front. Then I stamped and die cut three of the hearts before using Stampin’ Dimensionals to pop them up.

A 1″ strip of the Sweet Talk DSP had white twine, from the Baker’s Twine Essentials Pack, wrapped around it and tied with a bow. After this piece was adhered to the card front, I added two 1/4″ strips of Highland Heather cardstock to each side of the DSP.

For the next card I used a second set of dies and embellishments.

I used one of the Basic Border Dies to cut two layers for the card front – one in the Sweet Talk DSP and the other in Highland Heather cardstock.

For the Highland Heather layer I stamped the two circular spots images, using the same colour.

The 1-1/4″ DSP strip had a length of white Baker’s Twine wrapped around it. The sentiment was stamped and die cut using the tag die from the Sweet Hearts Dies. The tag was then threaded through the twine and tied in a bow. This piece was then popped up using Stampin’ Dimensionals.

Three stamped and die cut hearts were added to the card front using Stampin’ Dimensionals.

I used the Granny Apple Green Stampin’ Blends to colour some retired Subtle Shimmer Sequins to add to the card front.

For this card I used the Detailed Trio Punch to round some of the corners, as you can see. Before adhering the Sweet Talk DSP to the cardstock, I wrapped a length of Highland Heather Grosgrain Ribbon around the DSP.

I cut and layered the two tags and threaded some of the ribbon through them. The hearts and coloured sequins were added as well.

The layout continues to be very similar to the first two, from yesterday. For this card, I added a piece of Granny Apple Green cardstock and a length of Highland Heather that was embossed using the Gingham Embossing Folder.

I took a 12″ length of the the Sweet Talk DSP and folded it to create the effect you can see. Tear and Tape and Mini Glue Dots were used to secure it in place. It was glued onto the embossed cardstock.

A length of white Baker’s Twine was coloured using the Highland Heather Stampin’ Blend before being wrapped and tied in a bow. This bundle was then popped up on the front of the card using Stampin’ Dimensionals.

The sentiment was stamped directly on to the card front and the die cut hearts were popped up as well before a few coloured sequins were added.

So there we have it – a New Year and a new approach to my daily posts.

Tomorrow is Monday and it will be Memories on Monday.

Until then, happy stamping.

If you live in Australia, you can order any of the products I used to make this card by going to my online store. Just click on any of the images below.

Because some of the products I have used to make this card are not yet available to customers, I am not able to show them at this time. As soon as product images go live, I will create this section.

Product List
Posted on Leave a comment

HAPPY NEW YEAR – WELCOME TO 2022

Welcome to a New Year and all that it brings. I hope that you enjoyed a wonderful holiday season. My break during December was very refreshing – a trip to Tasmania, Christmas family holiday in Noosa and celebrating my 60th birthday.

For 2022, I have taken inspiration from my lovely friend S. Kelli McConkey and have planned a new approach to my daily posts. It starts today with Simply Saturday. Each Saturday I will share one or two #simplestamping projects that use just ink, stamps and paper.

On Step It Up Sunday, I will use the same products and similar elements of the layout to make cards with more features, elements and embellishments.

Memories on Monday will be the day that I share a scrapbooking/memory keeping project. It is such a long time since I have done any scrapbooking, so I’m looking forward to rediscovering it.

Technique Tuesday is exactly as you would imagine. Each week, I will share a project that uses a different technique or two. You will already know many of them but I hope some will be new.

On What’s New Wednesday, I will share the latest news, events and products from Stampin’ Up!© and me.

On 3D Thursday, I will share a 3D project with you. It might be a gift bag, gift box or a decor piece.

Finally, on Funfold Friday, I will share a different funfold card. I have been compiling a list and it is now well over 50. Perfect for a year full of funfold cards!

How does this sound?

I will also add extra posts when I have a blog hop that I am taking part in.

Let’s get started with my first post for 2022. Welcome to Simply Saturday.

For this card I chose the Sweet Talk Suite from the January to June 2022 Mini Catalogue.

I used the Note Cards and Envelopes for today’s cards.

I used the Granny Apple Green and Highland Heather Classic Stampin’ Pads to stamp the heart outline and infill on the front, right-hand area of the card front.

Then a 1-1/4″ strip of paper from the Sweet Talk 12″x 12″ Designer Series Paper was adhered to the opposite side.

The hearts and sentiment are included in the Sweet Conversations Stamp Set. The sentiment was stamped onto a 1-1/4″ square piece of Basic White cardstock and positioned over the DSP strip. I positioned it so that the Real Red lines would be covered.

The heart infill was also stamped on the inside of the card and on the envelope.

For this second card, I added Blushing Bride, Pool Party and So Saffron to the colour palette.

I stamped each of the heart outlines and infills starting at the top and worked my way down the card front. I fussy cut the three heart shapes from sticky notes to use as masks.

The strip of DSP and stamped sentment are identical to the first card but applied slightly differently.

These two #simplestamping cards are perfect for quick and easy cards for the experienced paper crafter. They are also perfect for someone new to card making.

I look forward to sharing the stepped up cards tomorrow.

Until then, happy stamping.

If you live in Australia, you can order any of the products I used to make this card by going to my online store. Just click on any of the images below.

Because some of the products I have used to make this card are not yet available to customers, I am not able to show them at this time. As soon as product images go live, I will create this section.

Product List
Posted on Leave a comment

COLOUR INKSPIRATION CHALLENGE #113 – OH, CHRISTMAS TREE

Hello! Welcome to the latest Colour INKspiration challenge.

This is my first time as a Colour INKspiration Crew member and I am so pleased to be joining such a creative and talented group.

We have this bright, white Christmas tree decorated with shiny baubles, lights and bunches of streamers to inspire you.

I hope that you are INKspired to join the challenge. Start by checking out the Colour INKspiration Crew’s creations in the challenge album on our Facebook page.

To be honest with you, when I first saw this colour palette I felt somewhat apprehensive because it is not my ‘typical’ colour combination and I really wanted to make a totally awesome card for my first time with the crew.

However, when I stepped back and took a deep breath, I started to map out some ideas. I KNEW that I wanted this to be a Christmas project because the inspiration is a Christmas tree and the month is December.

Eventually, I decided to create a Christmas wreath and make a 3D/home decor project. I hope that you like the final result.

The rectangular shaped wreath, from Eden Dies, was cut once each from Pale Papaya and Polished Pink cardstock and several times from White Vellum and Gold Shimmer Vellum. I played around with these die cuts several times until I was happy with the wreath – then I secured the layers using Mini Glue Dots.

Now that I had created the focal point for this project, I began building the other layers.

I added the wreath to a piece of Basic White card stock that has been embossed with the Merriest Melody 3D Embossing Folder. This was then added to. A piece of Black Glitter Specialty Paper.

The striking contrasts between the colours, widths, embossing and bling ensure the wreath is framed in a stunning way.

I had a 9” square display frame to use for the final project. I decided that the Basic White base layer would provide a 1-1/2” border for the Pale Papaya and Polished Pink ‘frames’. The next background layer was cut from a piece of Black Glitter Specialty Paper – a little black with bling!

After all these elements were secured in place, the finishing touches were added.

A Polished Pink bauble, cut from the Gingerbread Dies bauble, was ‘hung’ from the wreath using a length of gold Simply Elegant Trim and a cute bow was tied.

The banner was created by stamping a greeting from the Star are Shining Stamp Set in Pale Papaya on Basic White card stock. The photopolymer stamp was bent slightly to fit the die from the Floral Hearts Dies. A second banner was cut from Pale Papaya using the same Floral Hearts die. Layered together, the Pale Papaya provides a lovely ‘shadow’.

I used my Pale Papaya and Polished Pink Stampin’ Blends to colour the round silver embellishments from the Silver & Clear Epoxy Essentials to create three clusters of three across the wreath.

Remember to use the colours from the challenge – Pale Papaya, Polished Pink, Basic White, Basic Black and Gold. You can also use neutrals such as Very Vanilla, Crumb Cake, Sahara Sand as well as Metallics.

This challenge will run for a little longer than usual, so there is plenty of time for you to create your project and upload it to to the Facebook Colour INKspiration Group.

You do not need to have a blog to participate but if you do make sure link it to your post.

Until next time, happy stamping.

If you live in Australia, you can order any of the products I used to make this card by going to my online store. Just click on any of the images below.

Product List
Eden Dies
[157831]
$61.00
Paper Snips
[103579]
$17.00