This week I always knew that I wanted to create a super large gift box to hold 20+ cards and envelopes.
The finished box measures 6 7/8″x 4 3/4″ and is 5″ deep.
After designing the pattern for this box and then cutting and assembling it, I then added card panels inside each area of the box to give it greater sturdiness and stability.
Once I had finsihed the gift box structure I then added Misty Moonlight card panels on the exterior areas of the gift box. This added colour and stability.

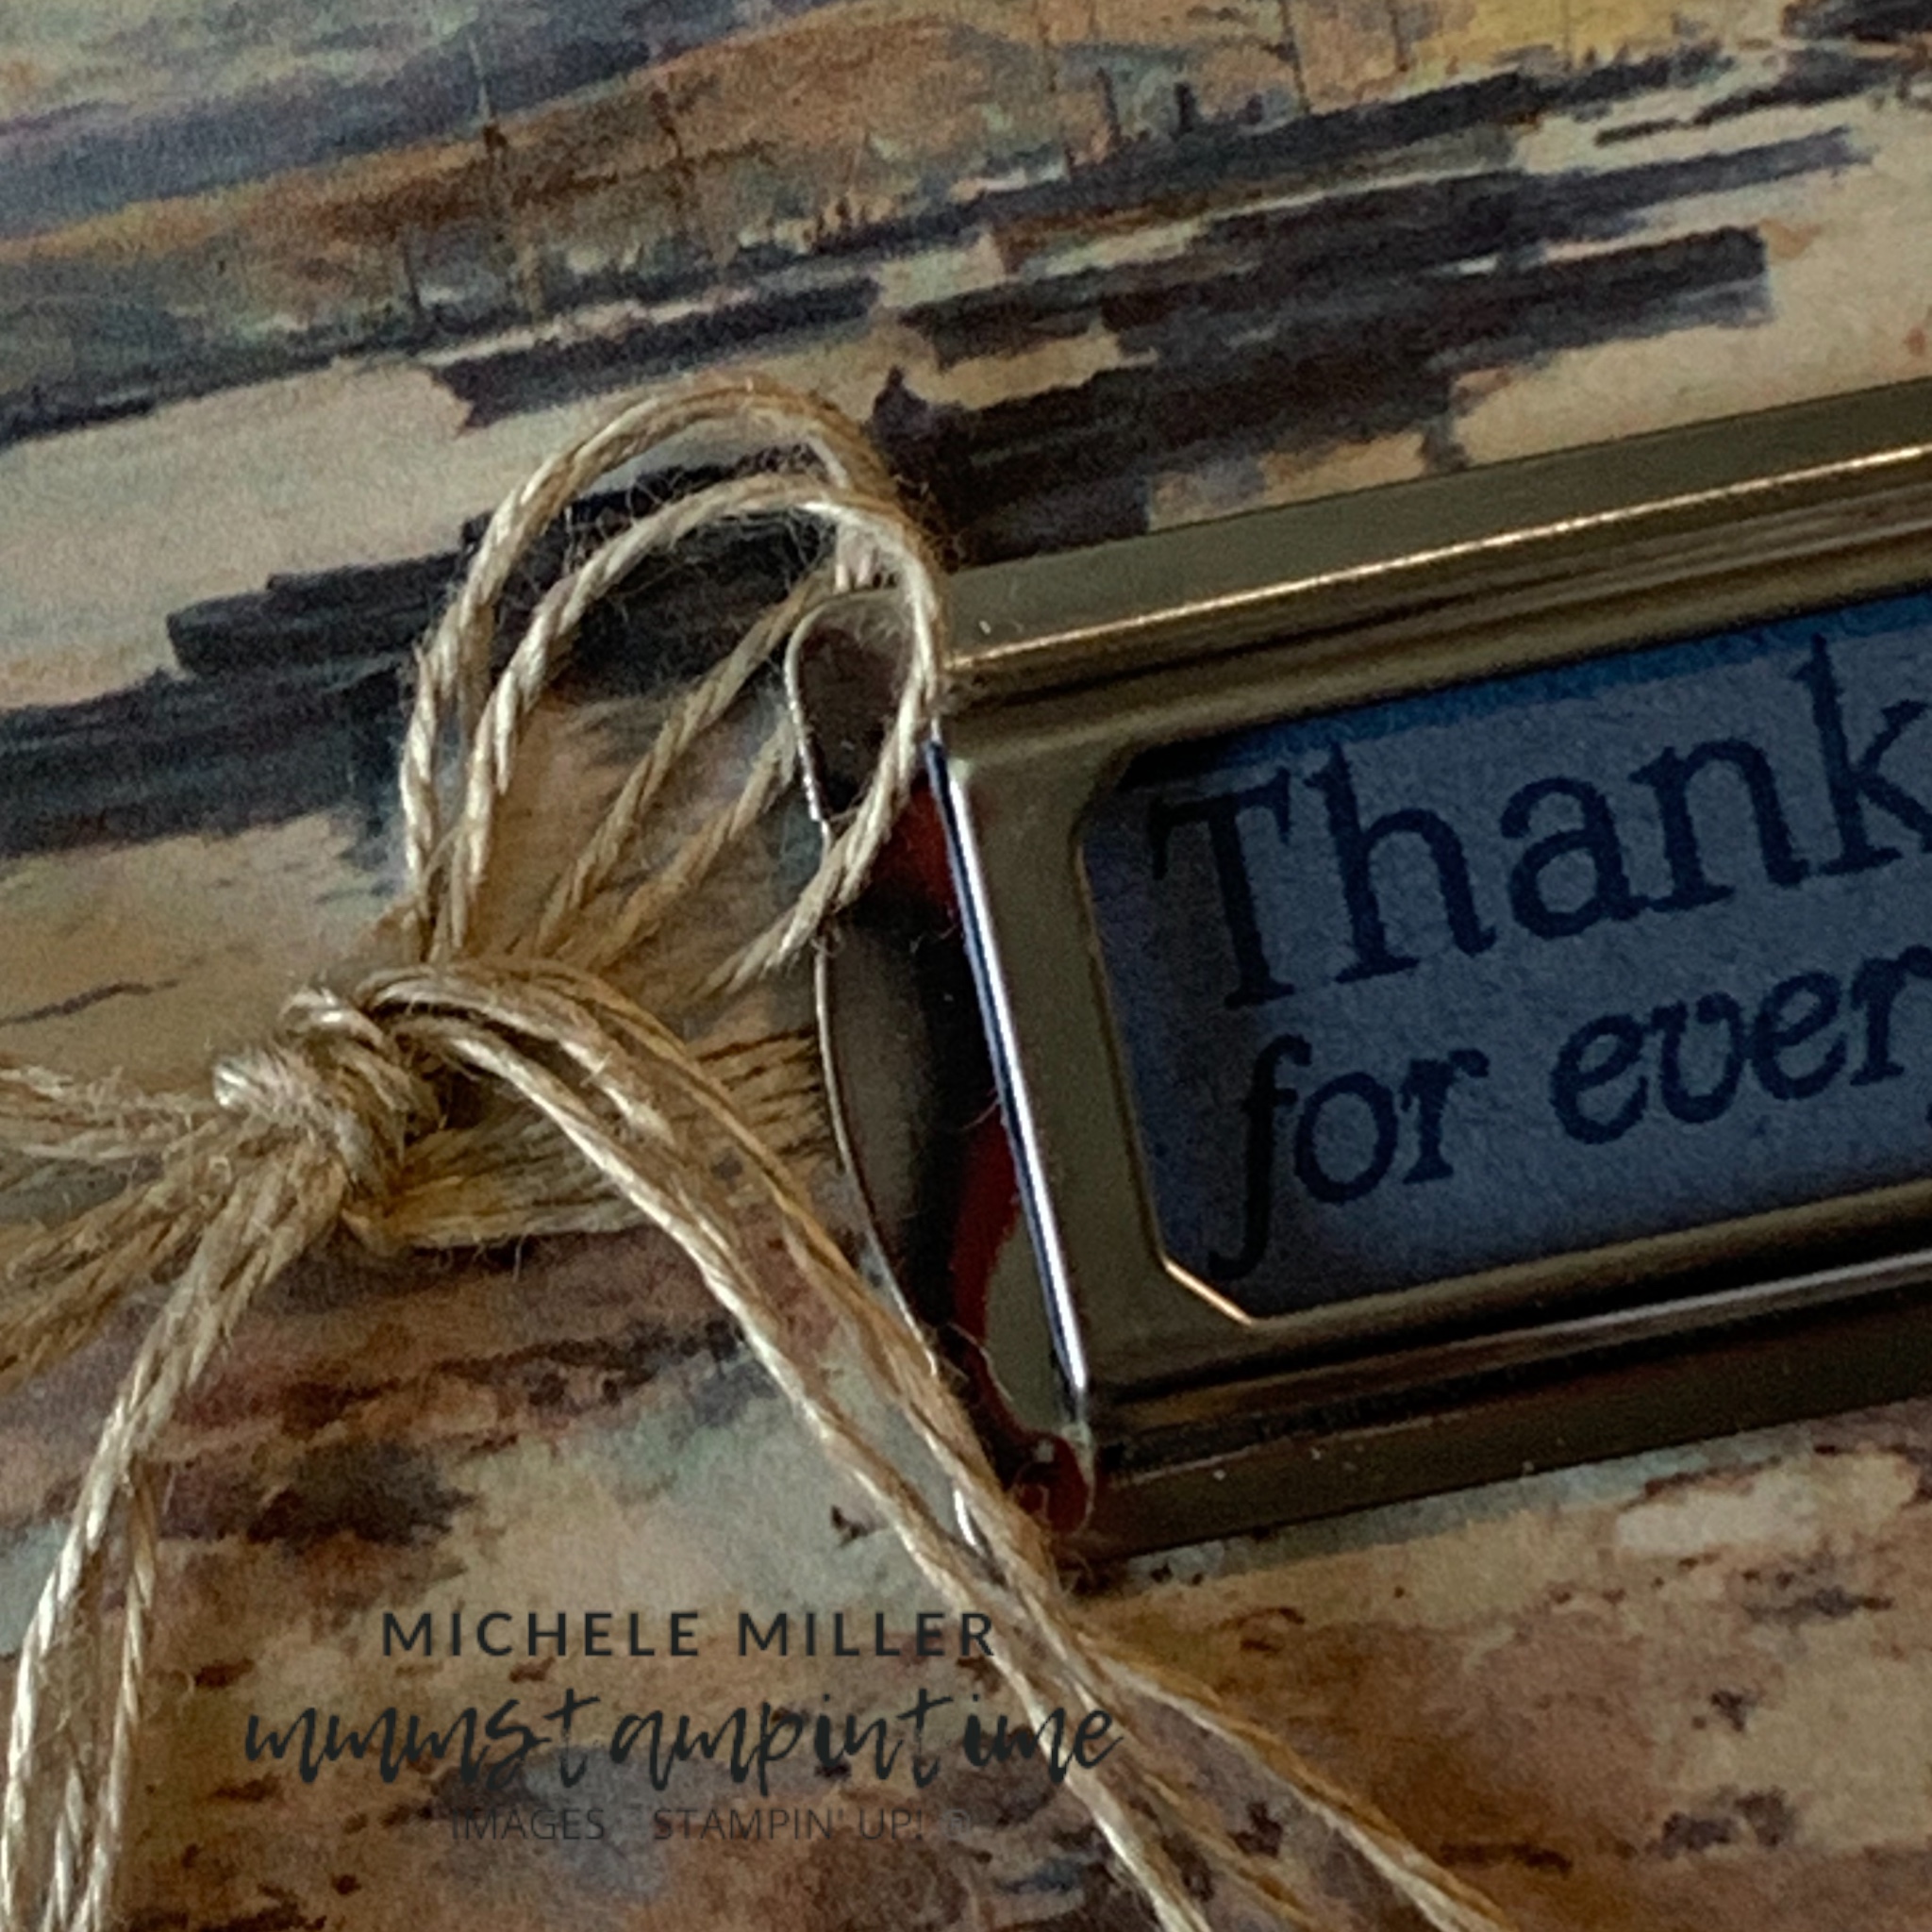
I wrapped a very long length of the Misty Moonlight Silver Edged Ribbon around the box, securing it to the front of the box.
The Misty Moonlight panel, on the top of the box, was then secured over the ribbon using Stampin’ Dimensionals.
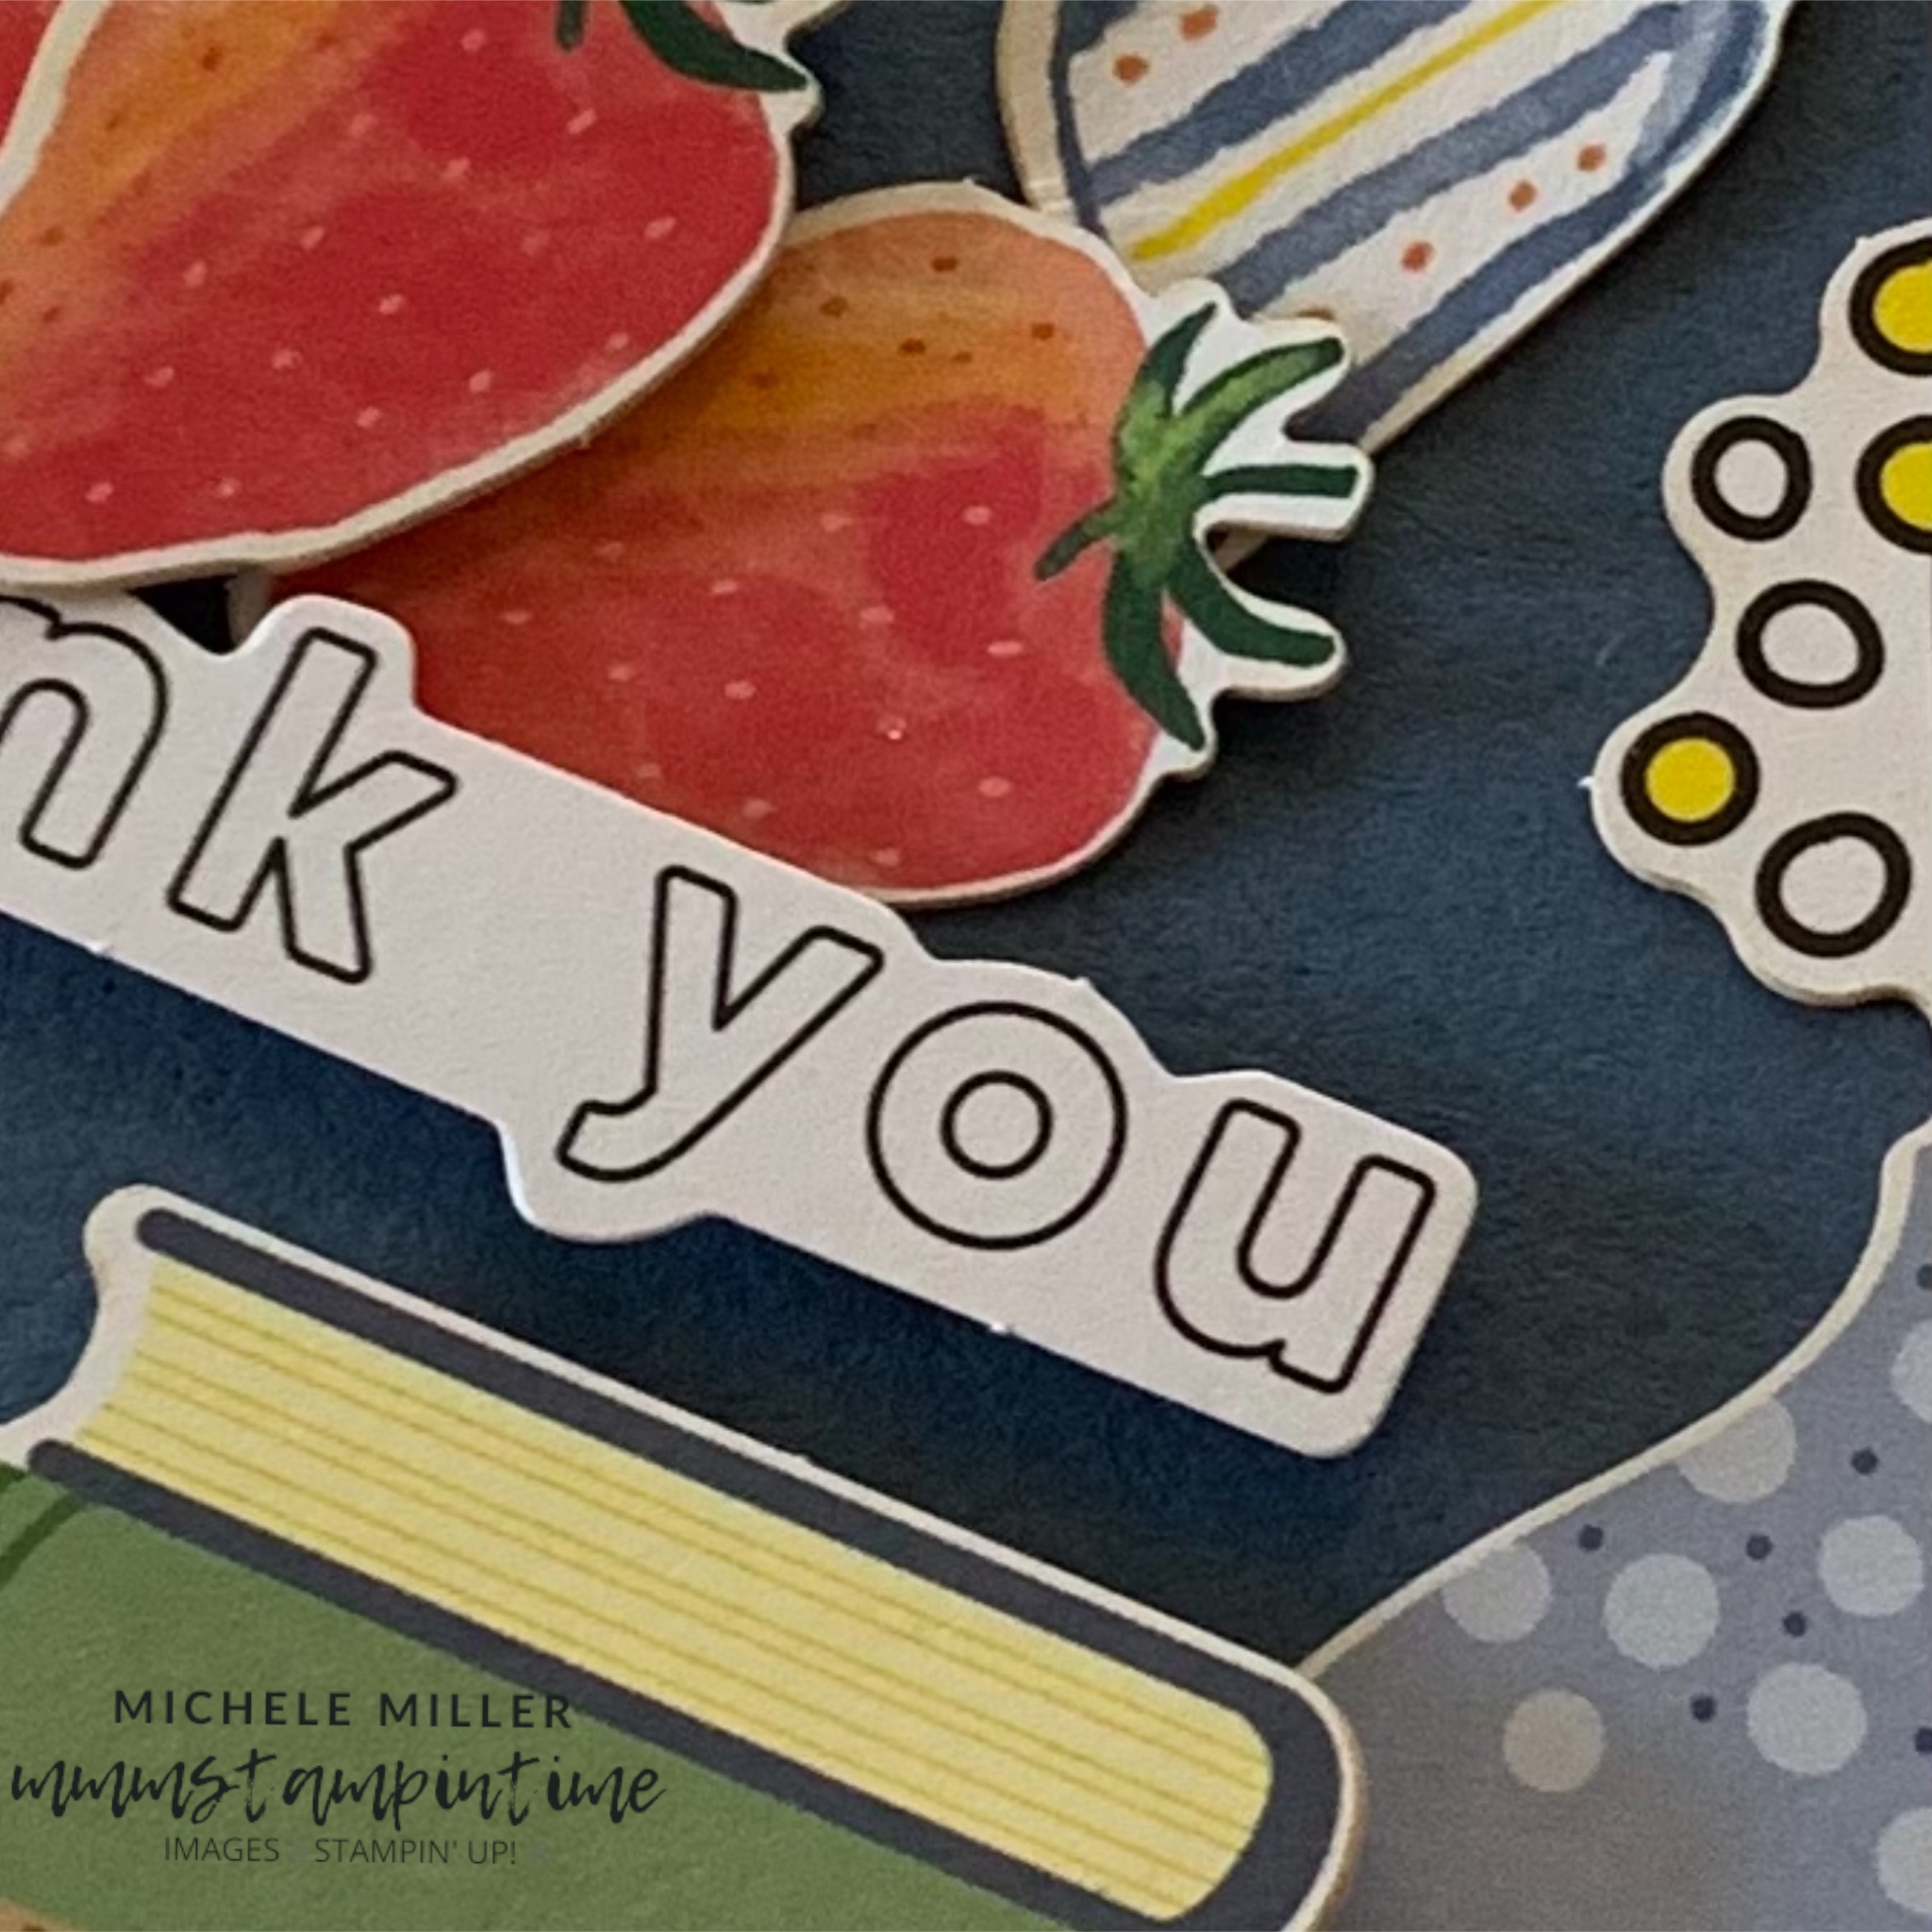
This top panel then had many of the ephemera elements attached to it.

‘Thanks’ was the chosen greeting because I think this box of cards would make an amzing gift to thank someone for what they have done.

When this large gift box is opened, there are two sections holding cards that have covering panels to hold everything in place.

When the covering panels are removed, the cards are revealed.
Tomorrow I will show you the final cards that were made.
Until then, happy stamping and scrapbooking.

If you live in Australia, you can order any of the products I used to make this card by going to my online store. Just click on any of the images below.

![Baker's Twine Essentials Pack [ 155475 ]](https://i0.wp.com/assets1.tamsnetwork.com/images/EC042017NF/155475s.jpg?w=140&ssl=1 "Baker's Twine Essentials Pack [ 155475 ]") | ![Real Red & White Baker's Twine [ 164051 ]](https://i0.wp.com/assets1.tamsnetwork.com/images/EC042017NF/164051s.jpg?w=140&ssl=1 "Real Red & White Baker's Twine [ 164051 ]") | ![Party Dies Bundle [ 165265 ]](https://i0.wp.com/assets1.tamsnetwork.com/images/EC042017NF/165265s.jpg?w=140&ssl=1 "Party Dies Bundle [ 165265 ]") | ![Party Alphabet Dies [ 165263 ]](https://i0.wp.com/assets1.tamsnetwork.com/images/EC042017NF/165263s.jpg?w=140&ssl=1 "Party Alphabet Dies [ 165263 ]") | ![Party Banners Dies [ 165264 ]](https://i0.wp.com/assets1.tamsnetwork.com/images/EC042017NF/165264s.jpg?w=140&ssl=1 "Party Banners Dies [ 165264 ]") |
![Basic White A4 Cardstock [ 166781 ]](https://i0.wp.com/assets1.tamsnetwork.com/images/EC042017NF/166781s.jpg?w=140&ssl=1 "Basic White A4 Cardstock [ 166781 ]") | ![Misty Moonlight A4 Cardstock [ 153086 ]](https://i0.wp.com/assets1.tamsnetwork.com/images/EC042017NF/153086s.jpg?w=140&ssl=1 "Misty Moonlight A4 Cardstock [ 153086 ]") | ![Real Red A4 Card Stock [ 106578 ]](https://i0.wp.com/assets1.tamsnetwork.com/images/EC042017NF/106578s.jpg?w=140&ssl=1 "Real Red A4 Card Stock [ 106578 ]") | ![Multipurpose Liquid Glue [ 110755 ]](https://i0.wp.com/assets1.tamsnetwork.com/images/EC042017NF/110755s.jpg?w=140&ssl=1 "Multipurpose Liquid Glue [ 110755 ]") | ![Mini Stampin' Dimensionals [ 144108 ]](https://i0.wp.com/assets1.tamsnetwork.com/images/EC042017NF/144108s.jpg?w=140&ssl=1 "Mini Stampin' Dimensionals [ 144108 ]") |
![Stampin' Dimensionals [ 104430 ]](https://i0.wp.com/assets1.tamsnetwork.com/images/EC042017NF/104430s.jpg?w=140&ssl=1 "Stampin' Dimensionals [ 104430 ]") | ![Adhesive Sheets [ 152334 ]](https://i0.wp.com/assets1.tamsnetwork.com/images/EC042017NF/152334s.jpg?w=140&ssl=1 "Adhesive Sheets [ 152334 ]") | ![Paper Snips [ 103579 ]](https://i0.wp.com/assets1.tamsnetwork.com/images/EC042017NF/103579s.jpg?w=140&ssl=1 "Paper Snips [ 103579 ]") | ![Stampin' Cut & Emboss Machine [ 149653 ]](https://i0.wp.com/assets1.tamsnetwork.com/images/EC042017NF/149653s.jpg?w=140&ssl=1 "Stampin' Cut & Emboss Machine [ 149653 ]") | ![Mini Stampin' Cut & Emboss Machine [ 150673 ]](https://i0.wp.com/assets1.tamsnetwork.com/images/EC042017NF/150673s.jpg?w=140&ssl=1 "Mini Stampin' Cut & Emboss Machine [ 150673 ]") |
![Good Times Mix & Match Ephemera Pack [ 165353 ]](https://i0.wp.com/assets1.tamsnetwork.com/images/EC042017NF/165353s.jpg?w=140&ssl=1 "Good Times Mix & Match Ephemera Pack [ 165353 ]")
![Greetings For All Mix & Match Ephemera Pack (English) [ 164862 ]](https://i0.wp.com/assets1.tamsnetwork.com/images/EC042017NF/164862s.jpg?w=140&ssl=1 "Greetings For All Mix & Match Ephemera Pack (English) [ 164862 ]")
![Time For Celebration Mix & Match Ephemera Pack [ 165354 ]](https://i0.wp.com/assets1.tamsnetwork.com/images/EC042017NF/165354s.jpg?w=140&ssl=1 "Time For Celebration Mix & Match Ephemera Pack [ 165354 ]")
![Embossed Designs Mix & Match Specialty Cards & Envelopes [ 165358 ]](https://i0.wp.com/assets1.tamsnetwork.com/images/EC042017NF/165358s.jpg?w=140&ssl=1 "Embossed Designs Mix & Match Specialty Cards & Envelopes [ 165358 ]")
![Textured Stripes Mix & Match Cards & Envelopes [ 165357 ]](https://i0.wp.com/assets1.tamsnetwork.com/images/EC042017NF/165357s.jpg?w=140&ssl=1 "Textured Stripes Mix & Match Cards & Envelopes [ 165357 ]")