Each Wednesday I will fill you in with the latest news from Stampin’ Up! and sometimes from me.
For those of you who like using kits for your creative adventures, there are two new kits for you to order.
The Panda Friends Kit is $25 – product number 163273.

The Rock Legend Kit is also $25 – product number 163272.

Customers who join our fun crafting community as a new demonstrator can get $235 AUD worth of product PLUS our Stampin’ Glass Mat Studio* (a $106 AUD) for just $169 AUD.
Customers who want to join Stampin’ Up! during Sale-A-Bration but are interested in a different join option can instead get $235 AUD worth of product PLUS an additional $51 AUD worth of product of their choice when they join for $169 AUD. That’s a $286 AUD value!

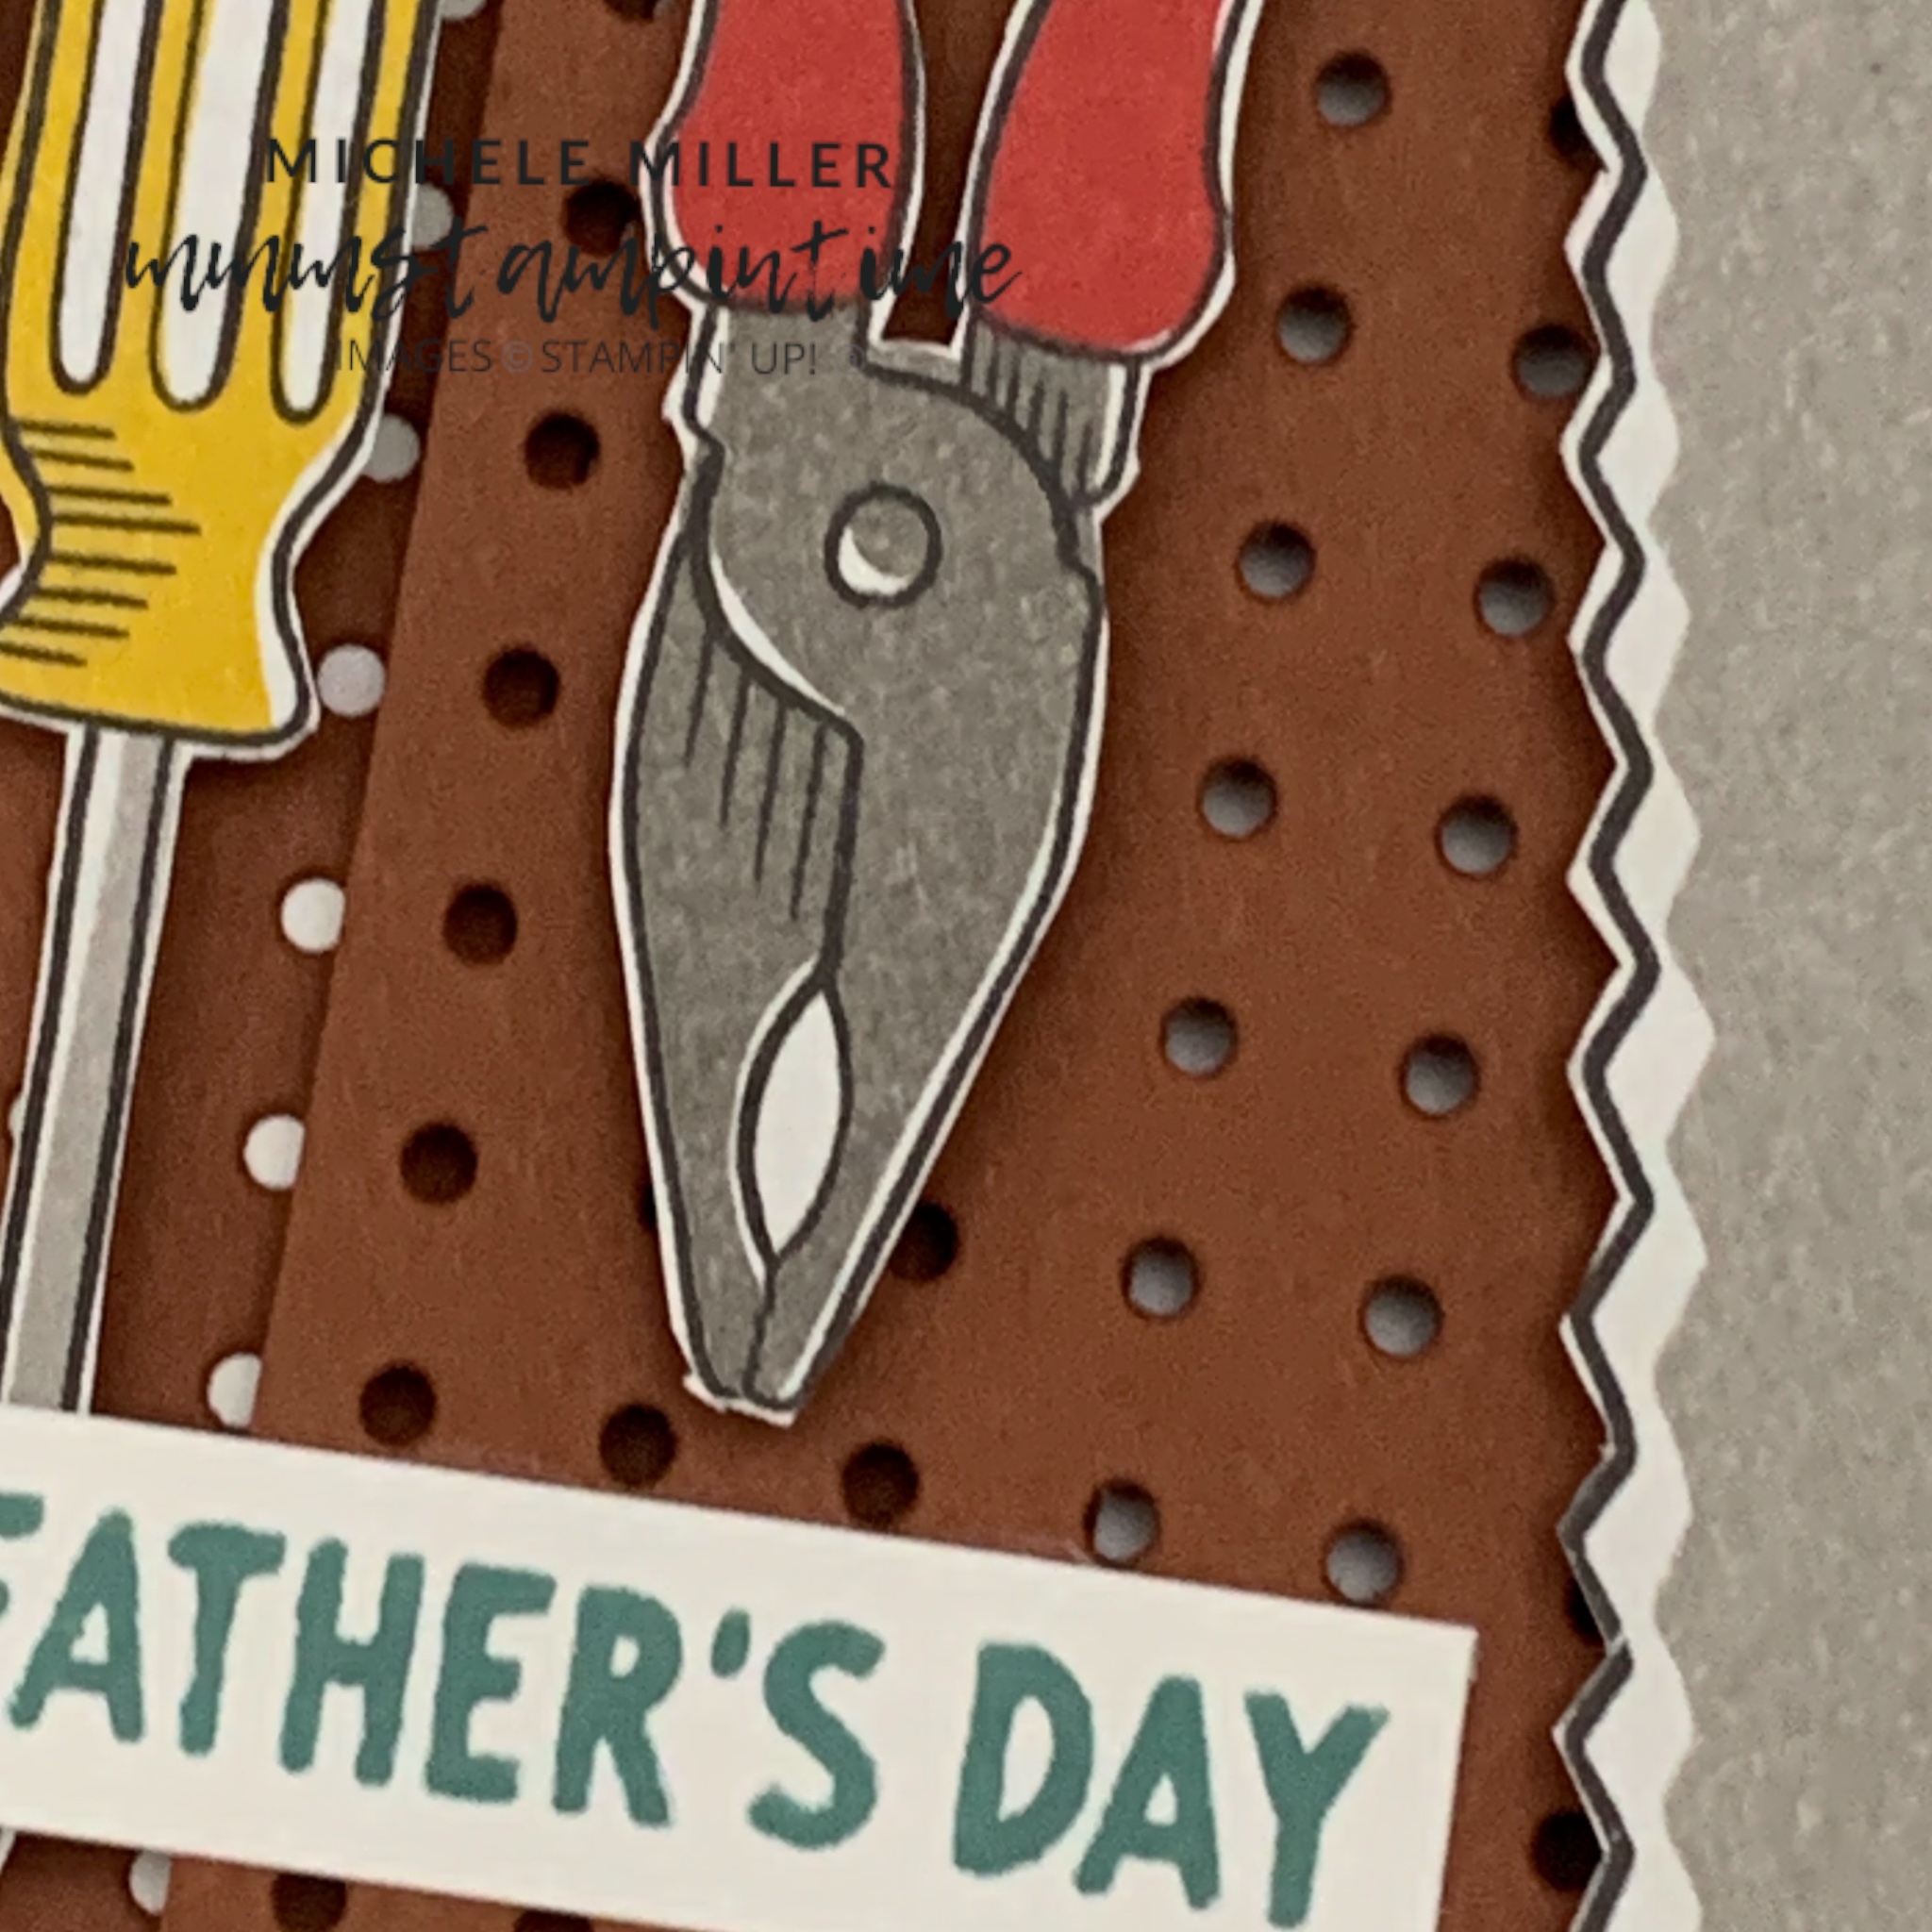
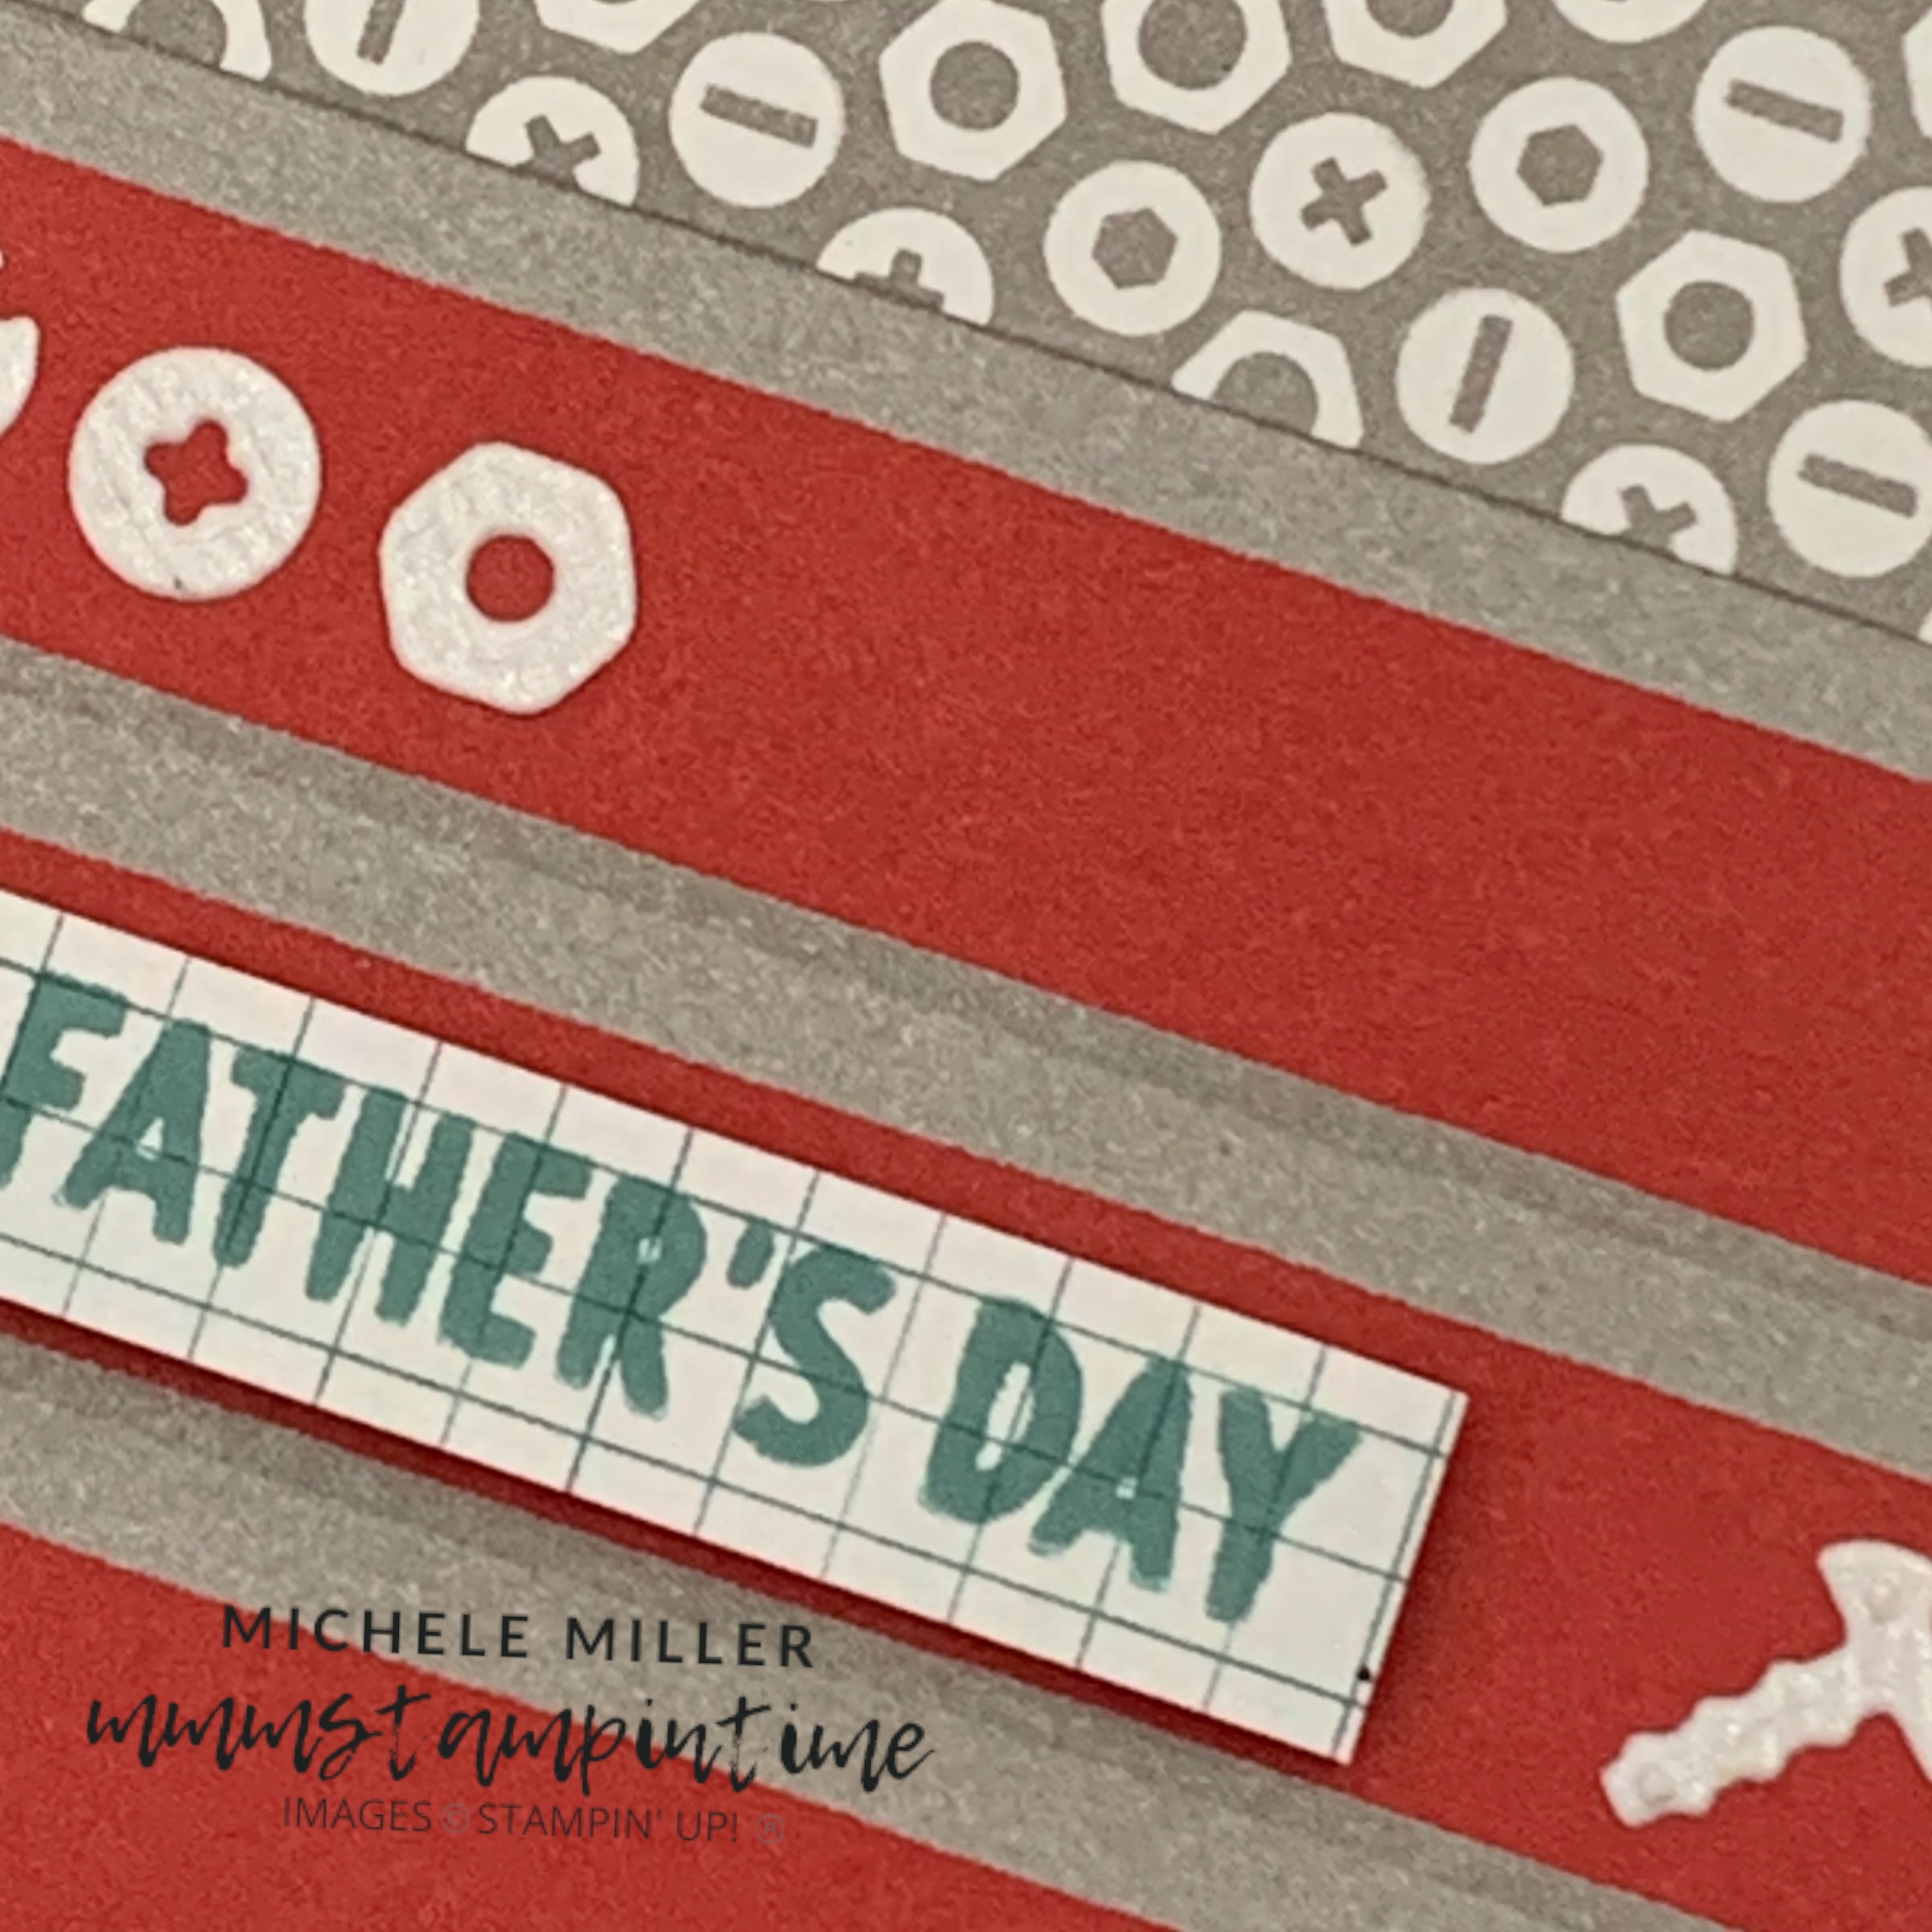
Today’s card continues this week’s focus on the Trusty Tools Bundle.
For this card I wanted to create a tools peg board.

I used the peg board die, from the Trusty Tools Dies, to cut three Copper Clay boards.
Two of the boards were adhered to the Basic White card base and the third was added using Stampin’ Dimensionals.
After lots of fussy cutting, I arranged the tools on the front of the card and used dimensionals to secure them in place.

I attached a fussy cut spanner to the back of the envelope.
The greeting was stamped for the front of the card and inside.
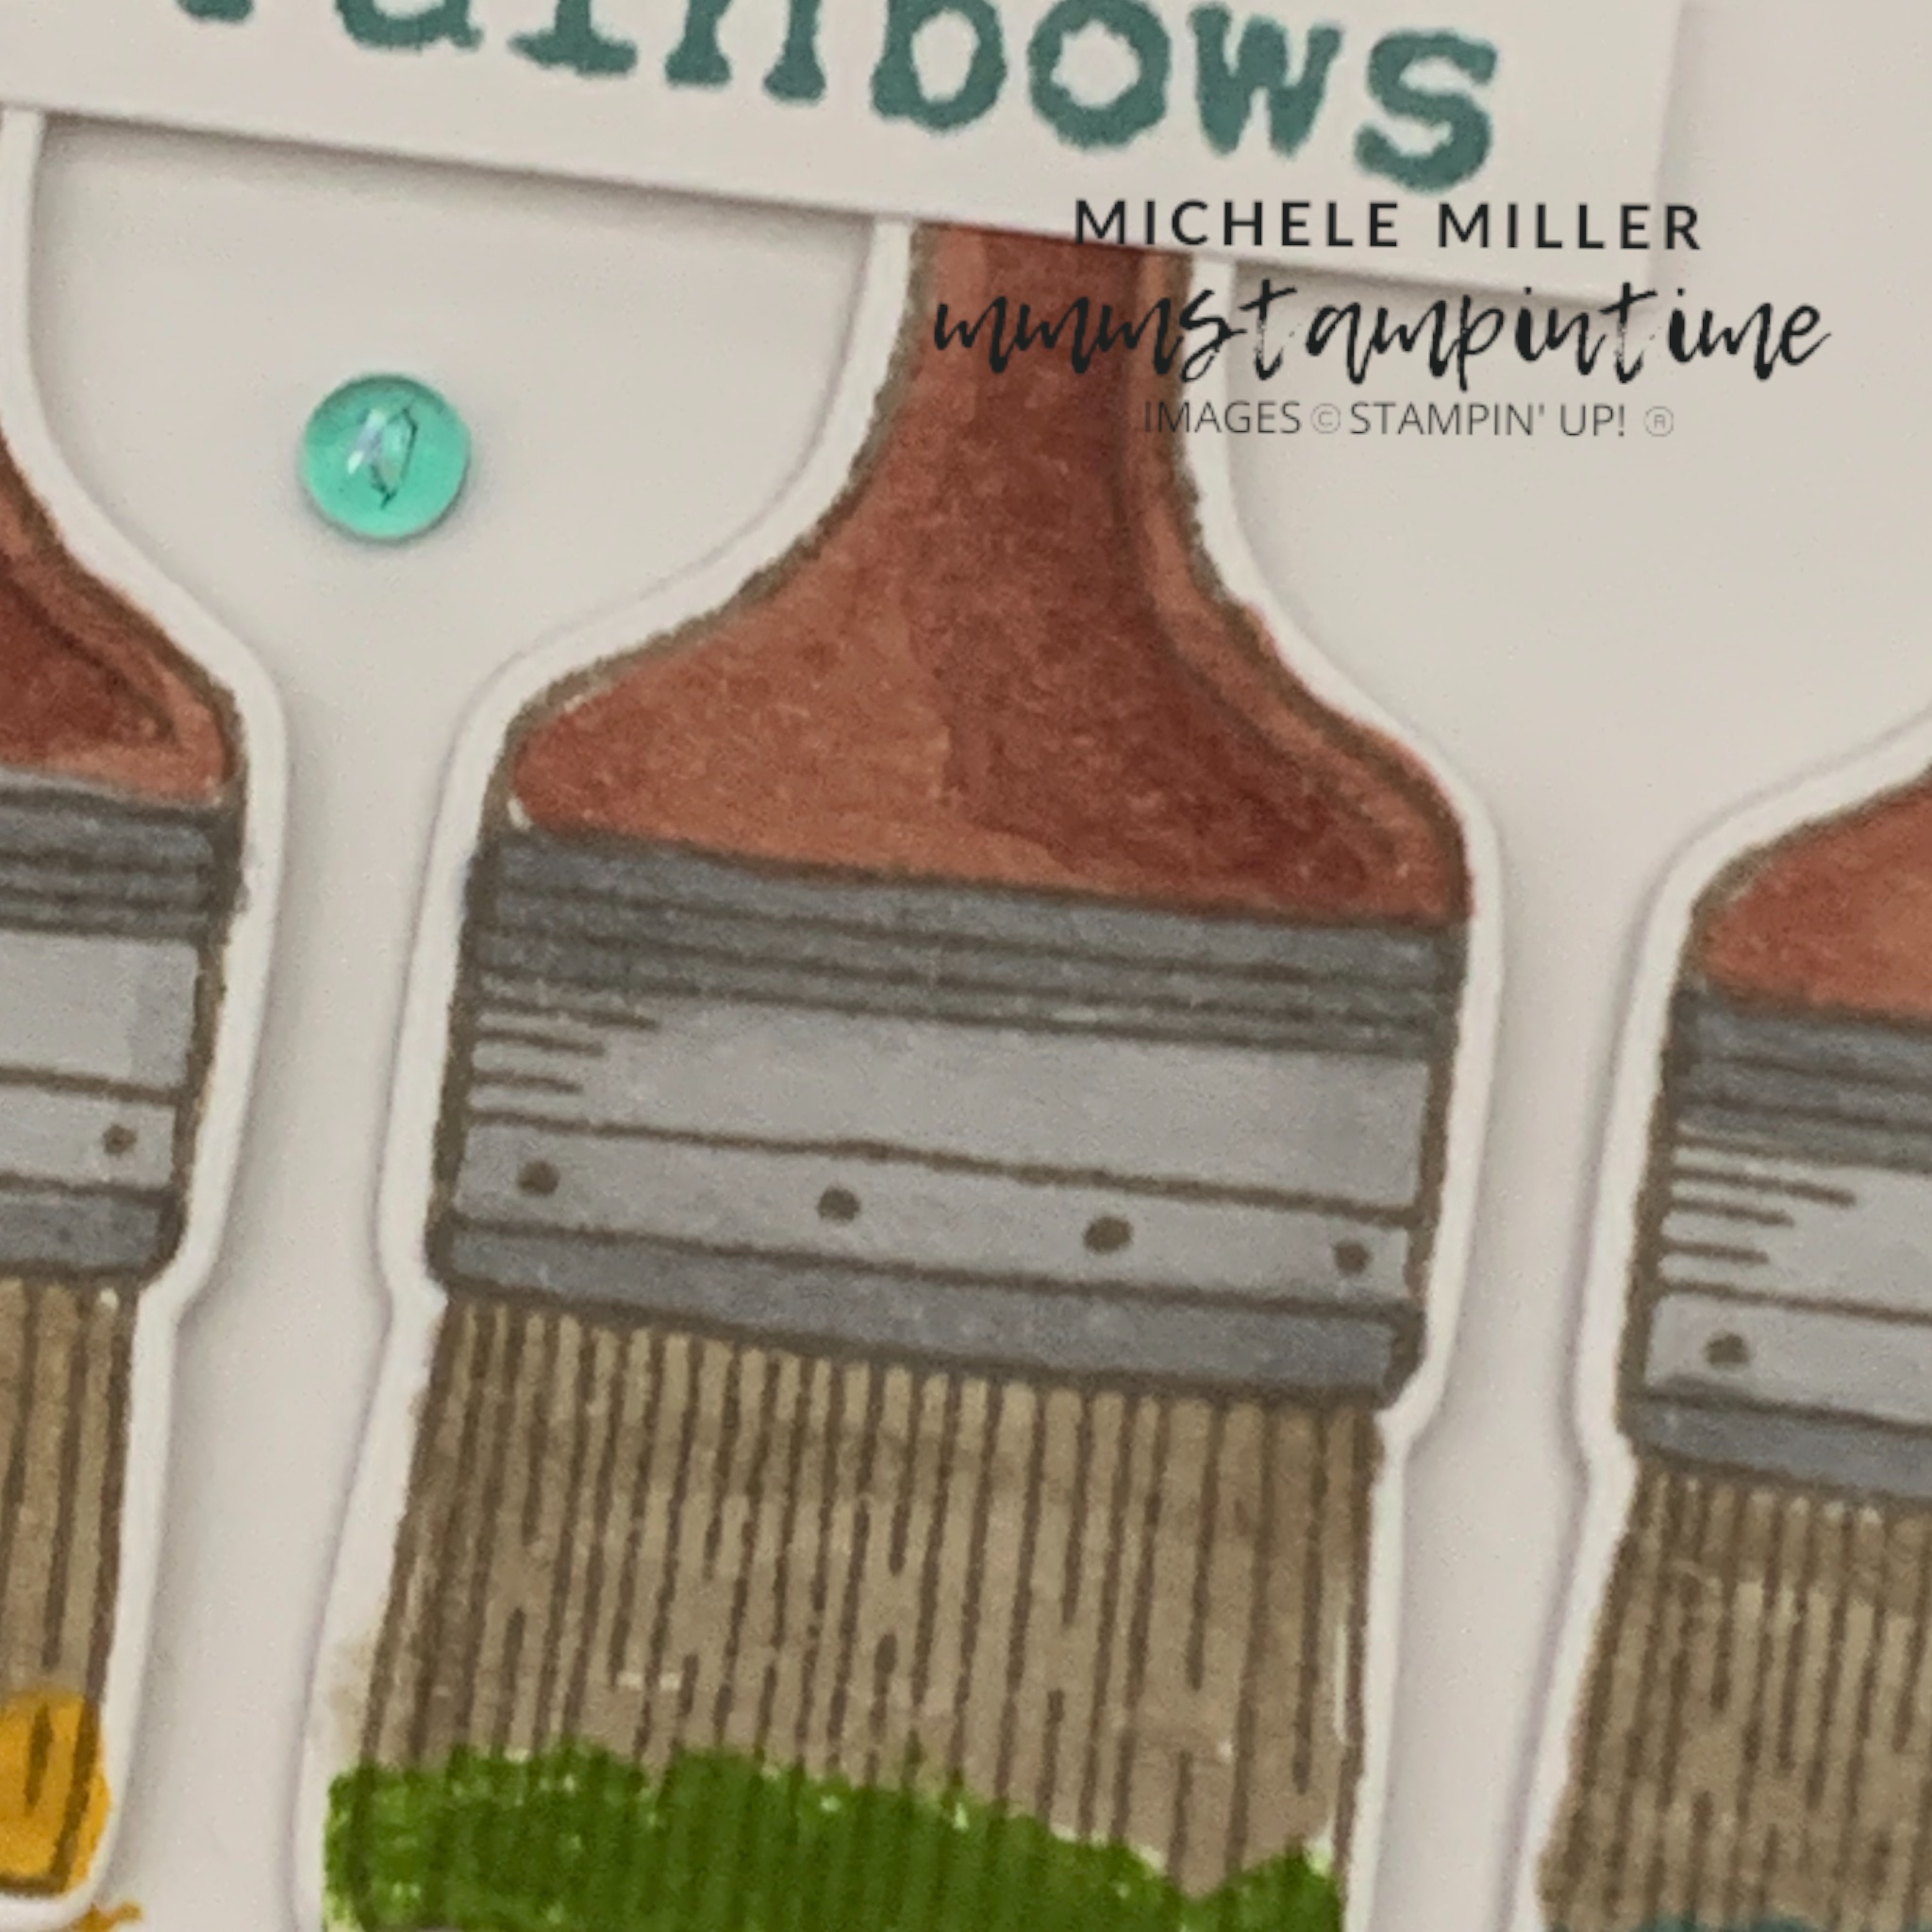
Tomorrow I have a 3D project to share with you.
Until then, happy stamping.

If you live in Australia, you can order any of the products I used to make this card by going to my online store. Just click on any of the images below.

") |  |  | ||
 |  |  |  |  |
 |  |  |
")
 Designer Series Paper")


")
")


 Shimmer Paper")


