Posted on Leave a comment

HAPPY FATHER’S DAY TO ALL THE DADS OUT THERE!

I recently made two Father’s Day cards for my daughter. She asked for one for her dad and one for her partner’s father. And, any mum who makes cards would oblige.

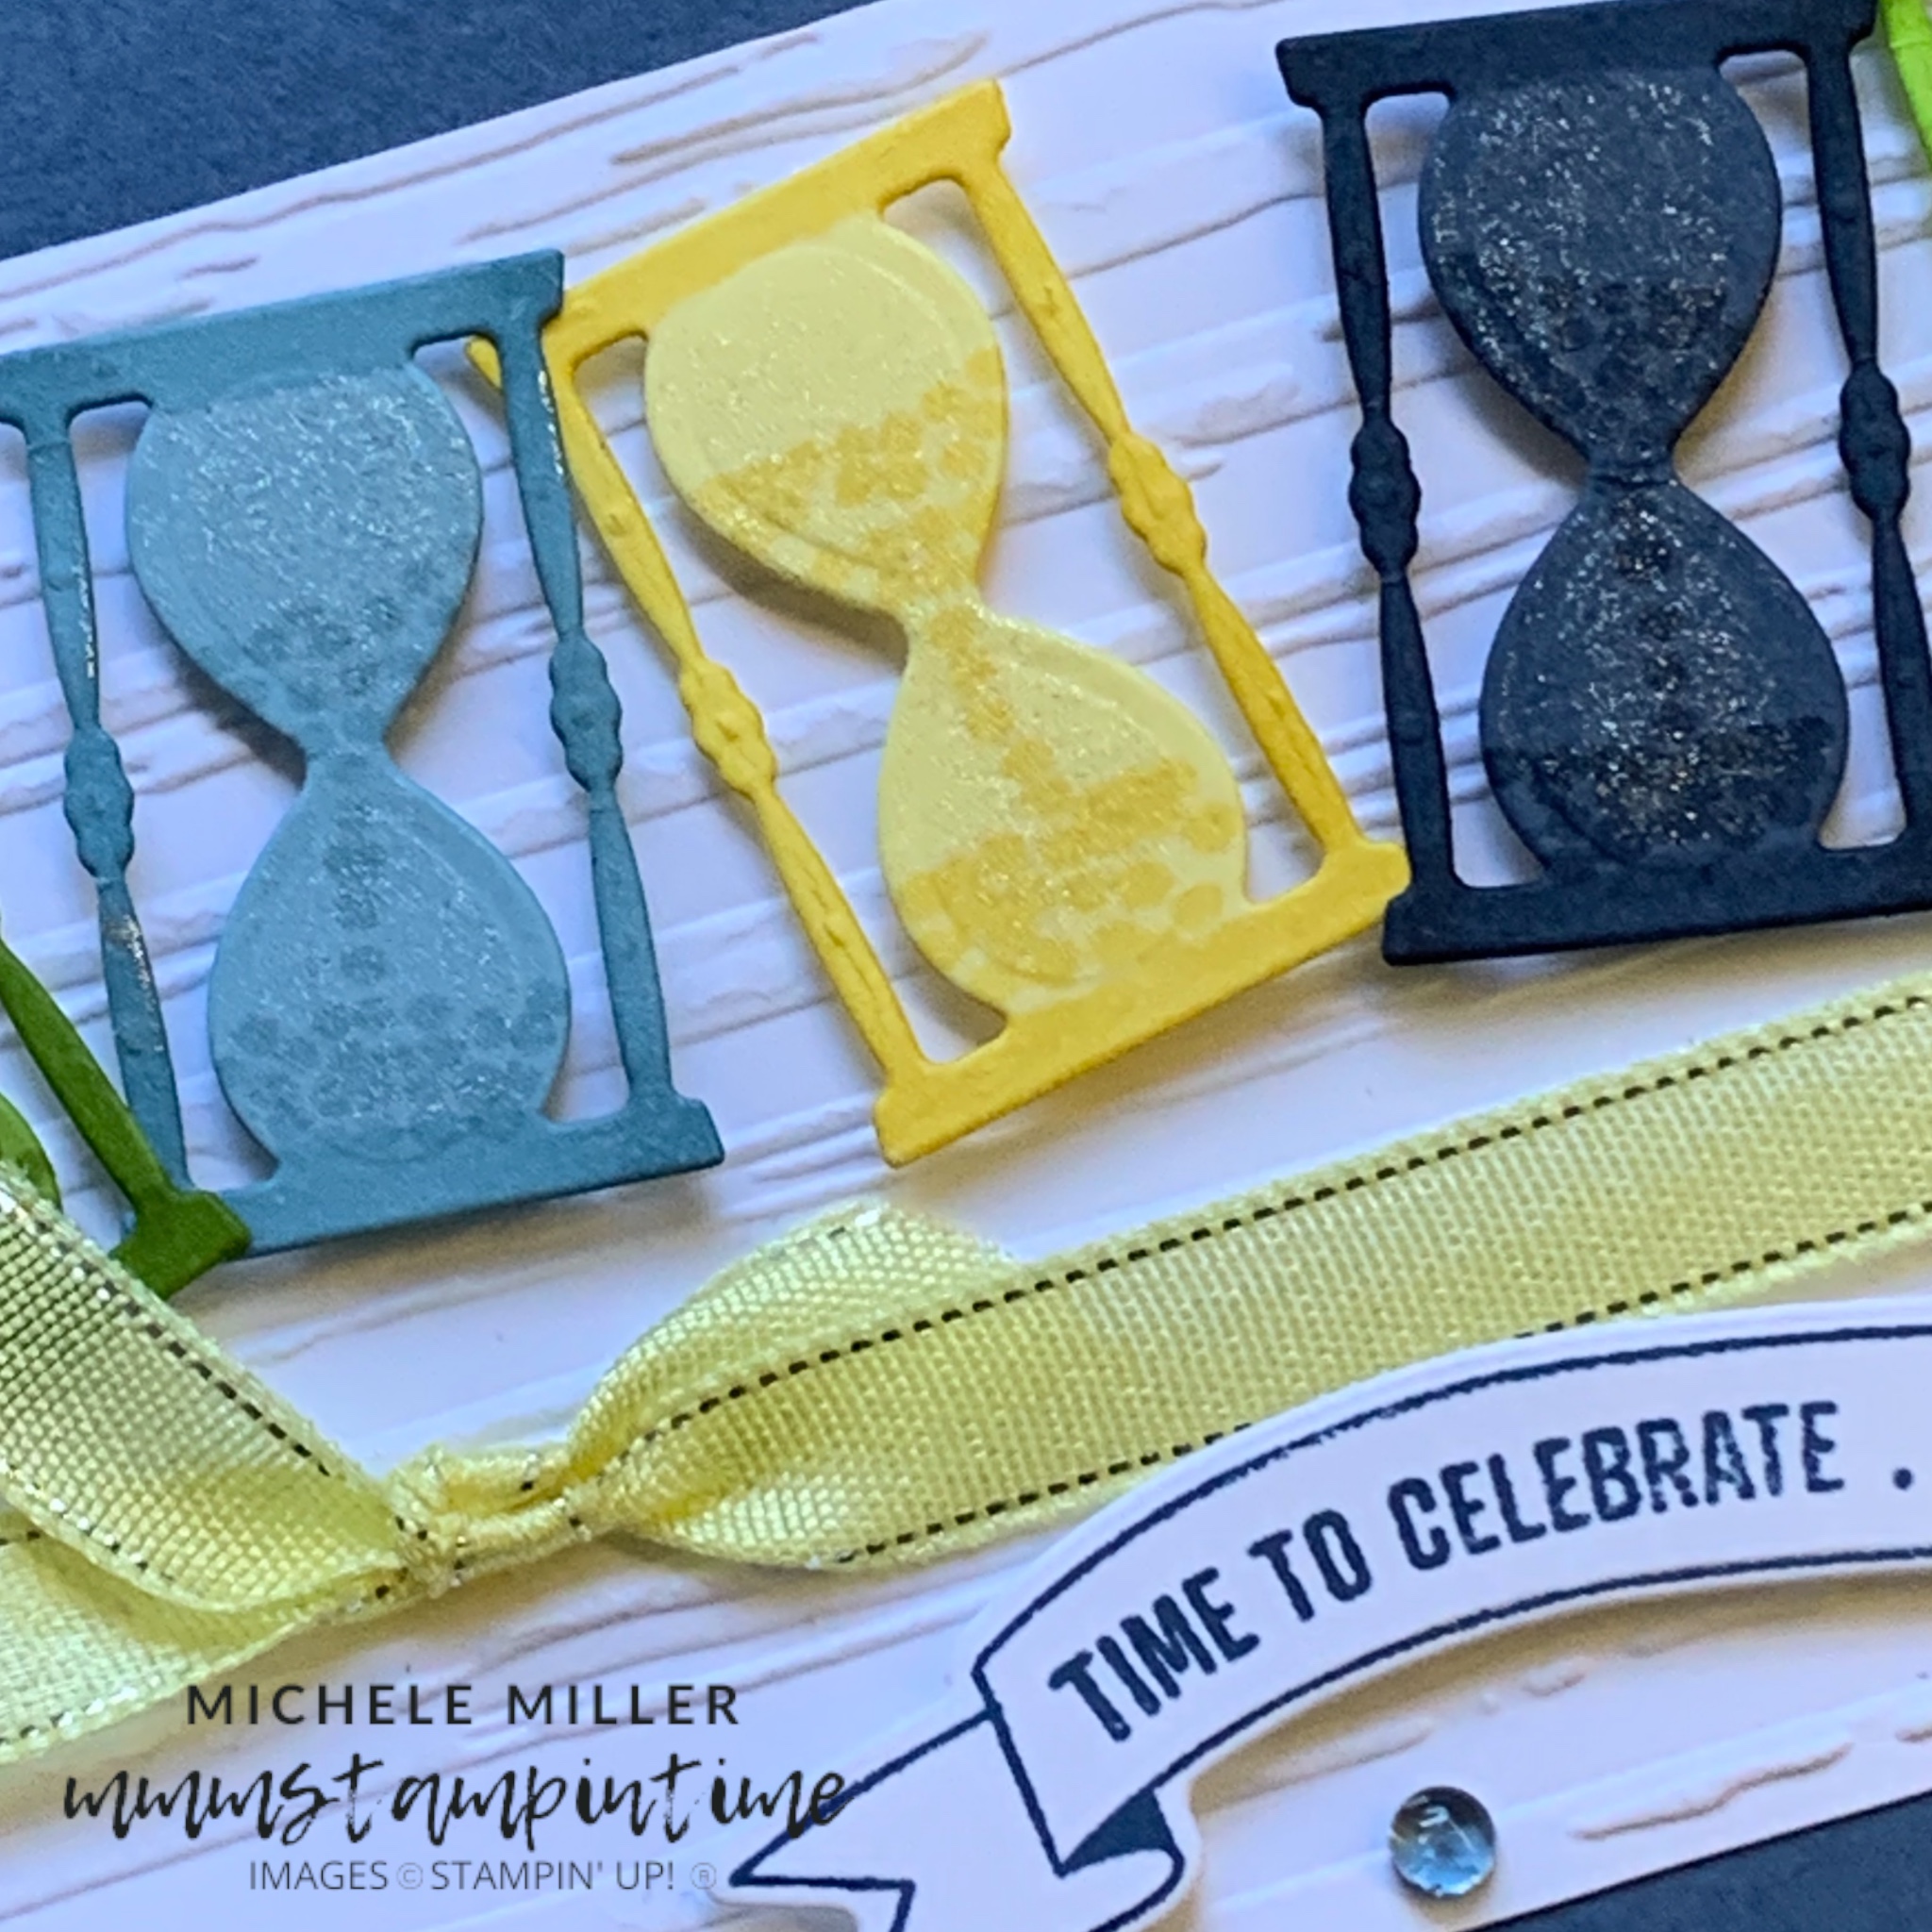
I featured the Beside Me Cling Stamp Set.

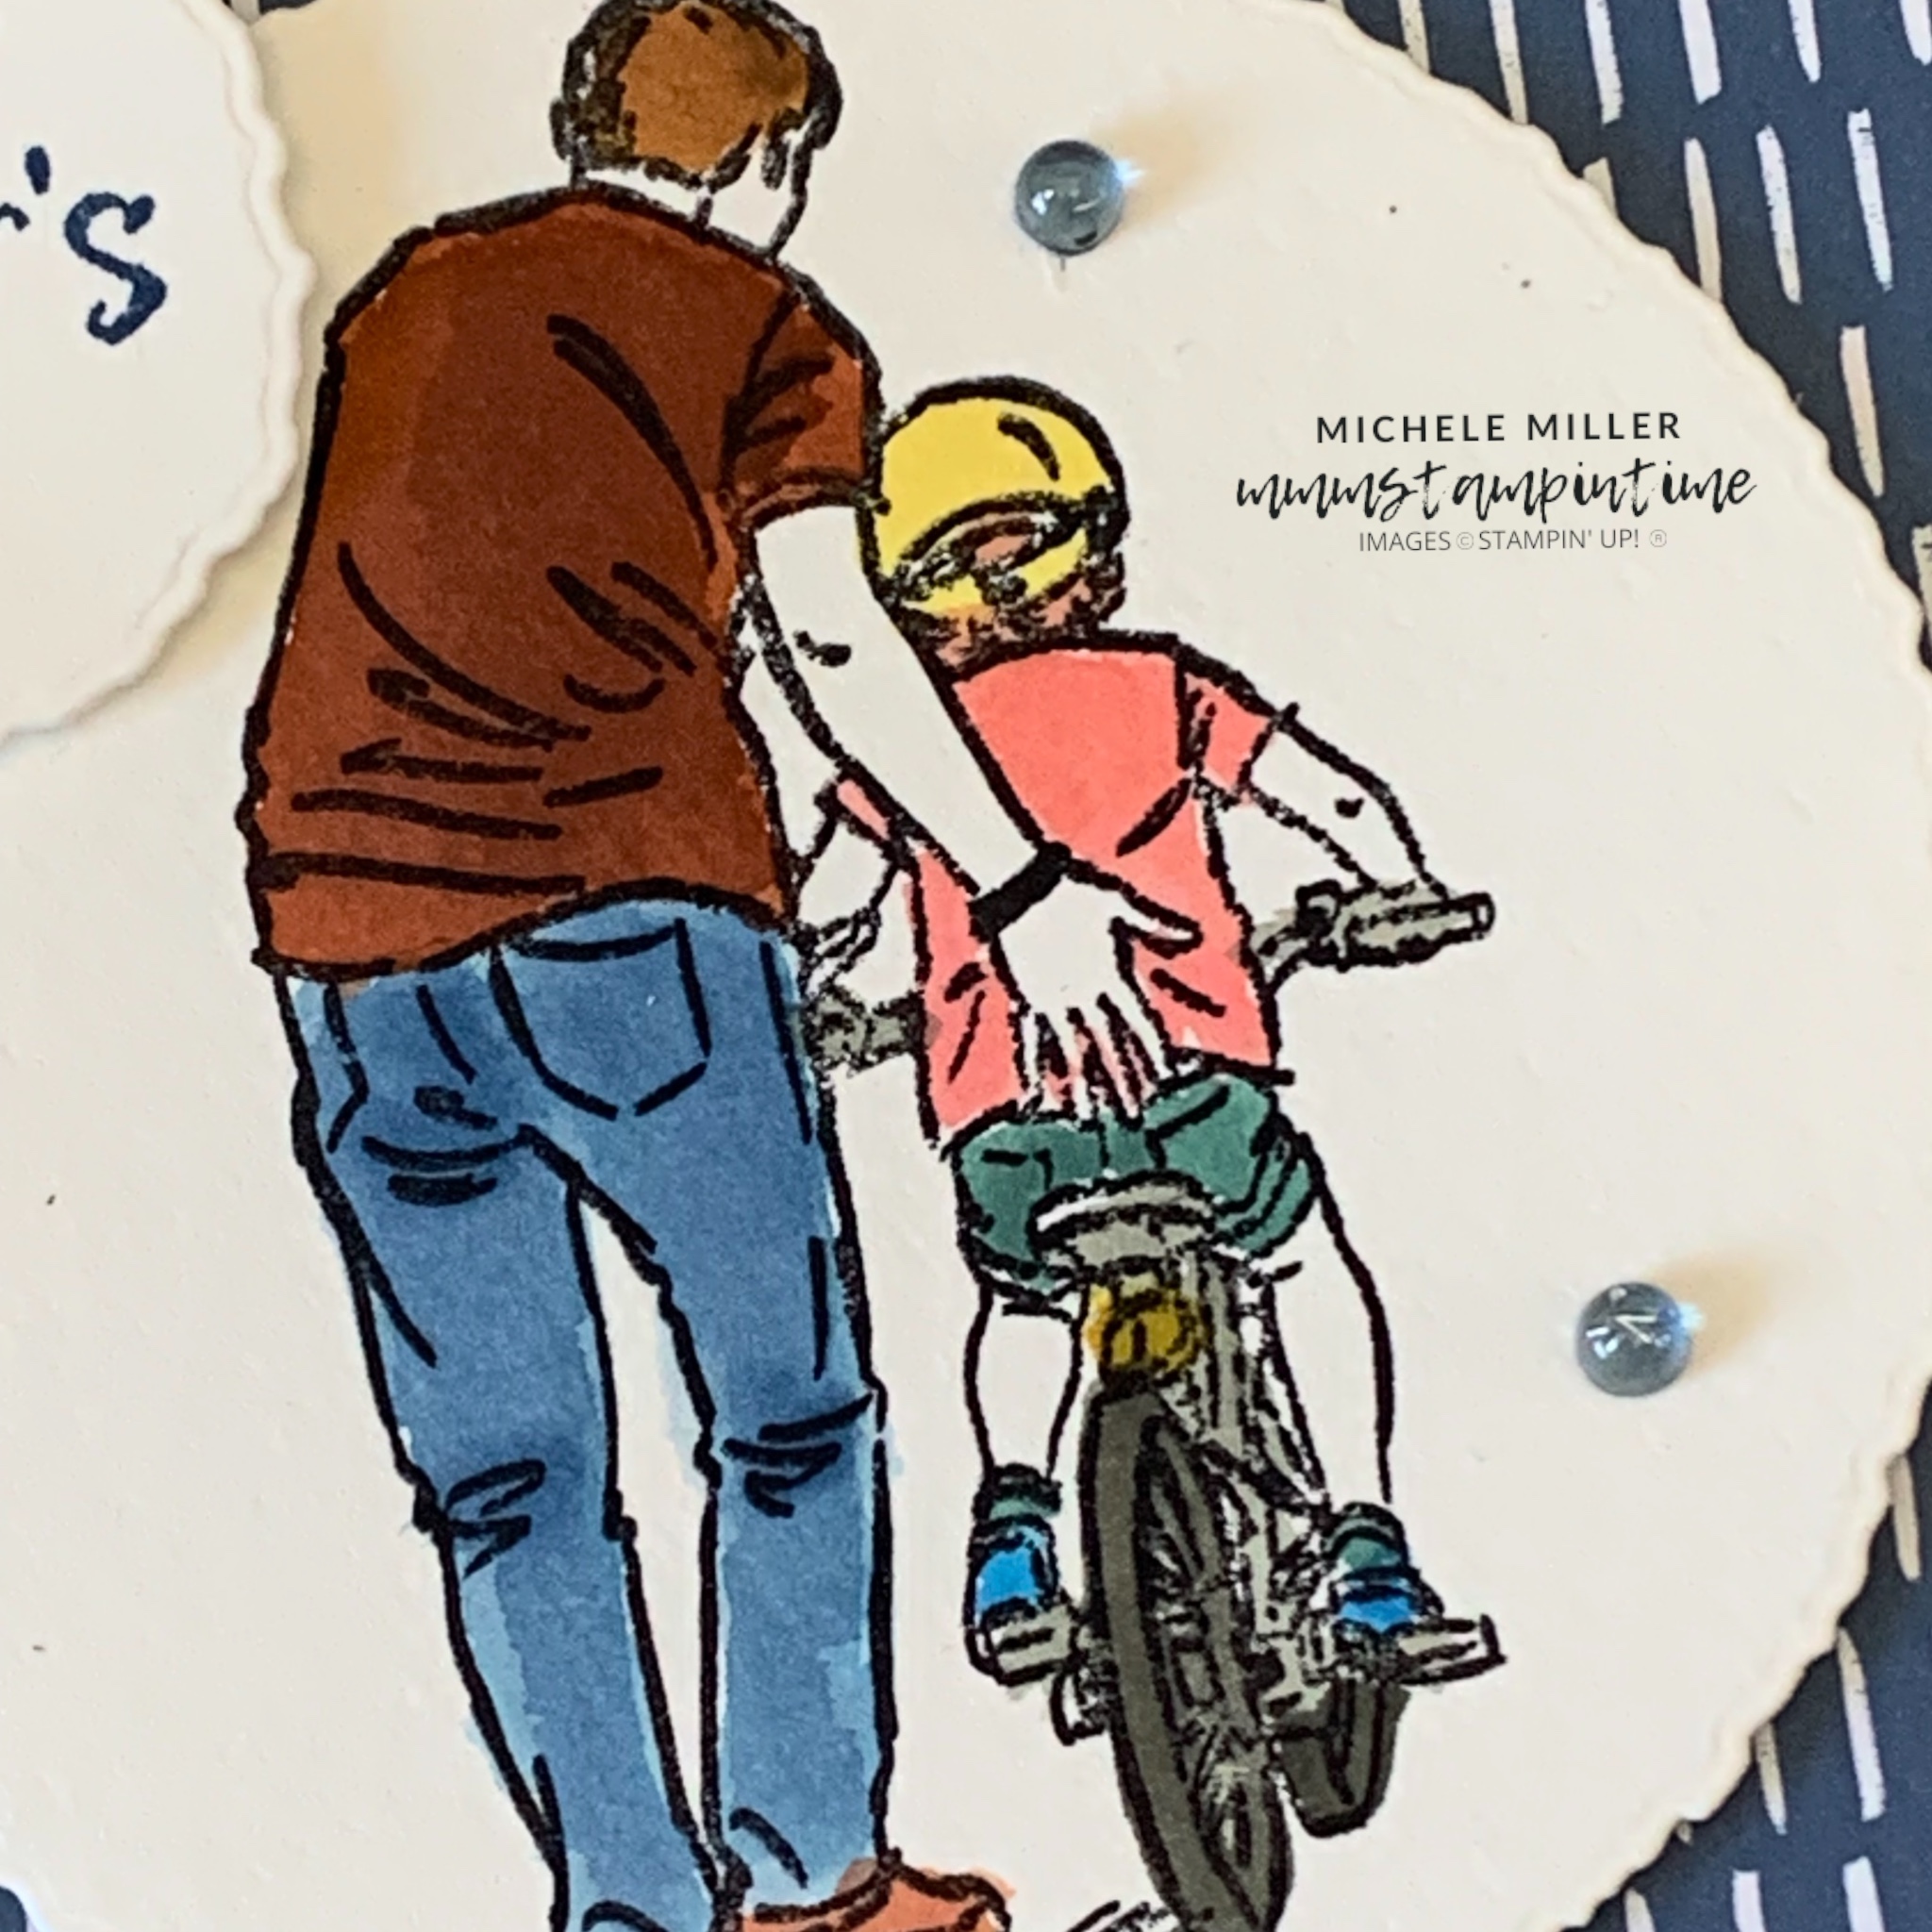
As you may have guessed from the image below, the card on the right is for my daughter’s dad and the other for her partner’s dad – nothing like a little gender stereotype colouring.

The image was stamped using StazOn ink on Fluid 100 water colour paper. Then I used lots of colours to water colour the images.

When I was finished I used a Deckled Circle Die to cut around the image.

The Misty Moonlight cardbase had a panel of Misty Moonlight paper from the Neutrals 6″ x 6″ Designer Series Paper.

I used the banner die, from the Time Together Dies set, to cut a Crushed Curry banner to cut and place behind the deckled circle cut image. Then I added Stampin’ Dimensionals behind this piece to position on the card front.

Each card has a Father’s Day greeting, stamped and die cut, to pop up on the card front.

Inside the card, I stamped the sentiment “Beside me all the way.” The back of the envelope has the three birds image stamped on it.

Finally, I added some of the Misty Moonlight Tinsel Gems from the 3 Pack.

I used just a “few” colours to water colour the images. Have I ever said how much I love the range of colours we have in the colour families?

I was so pleased to be asked to make this year’s Father’s Day cards.

I’m not sure what I will be posting over the next week. I am currently working on projects for an upcoming team event day, where I am featuring some new products. It is very exciting because it will be one of the 35 for 35 Stampin’ Up! events.

Until then, happy stamping.

If you live in Australia, you can order any of the products I used to make this card by going to my online store. Just click on any of the images below.

Product List
Paper Snips
[103579]
$19.25
Posted on Leave a comment

TIME FOR SOME GIFT TAGS

When I saw the large hourglass dies, in the Time Together Dies set, I immediately wanted to use them to make some gift tags.

To make them, I started with a piece of cardstock 8 1/4″ x 3 3/4″.

The cardstock was folded in half and burnished, using a bone folder, to create a crisp edge.

The die was positioned on the cardstock, with the folded edge sitting just inside top of the die – avoiding the cutting area of the die. The card was secured with a piece of Post-it strip.

The die and cardstock was then run through the Mini Stampin’ Cut & Emboss Machine.

By avoiding the cutting edge at one end, the result is two hourglass frames joined and ready to create a gift tag.

I made three gift tags; one each in Boho Blue, Bubble Bath and Parakeet Party.

The ‘glass’ shapes were stamped in their coordination colours and then die cut. These were then adhered to the front and back frame panels.

The birthday greetings were stamped, die cut and adhered to the front of the gift tag.

I used coordinating ribbons to create a tag attachment.

Finally, coordinating gems from the Tinsel Gems Three-Pack and Four-Pack were used, as well as some retired pink sequins.

When opened, there is space inside each tag to write a message to the gift recipient.

Today I am joining some demonstrator friends for Stampin’ Ups! Creativity Now event. Then I will be away for a week, enjoying a relaxing time at Mt Tamborine.

I’ll be back soon wtih some more projects to share with you.

Until then, happy stamping.

If you live in Australia, you can order any of the products I used to make this card by going to my online store. Just click on any of the images below.

Product List
Paper Snips
[103579]
$19.25
Posted on Leave a comment

TIME TOGETHER IS THE BEST TIME

The Time Together Bundle is absolutely amazing!

The stamp set has four great greetings and eight images. There are 14 dies that coordinate and can be used in projects using this bundle.

I designed this project for my Coffee & Card Class this week. It was a great way to introduce some new techniques to new stampers and allow more experienced stampers to reconnect with these techniques, using new products.

I started with a Misty Moonlight landscape tent card base and embossed a 5 3/4″ x 3″ strip of Basic White cardstock using the Stripes 3D Embossing Folder, from the Stripes and Splatters duo.

A length of Lemon Lolly Sheer Ribbon, from the combo pack, was attached to the embossed cardstock and tied in knot. Then I trimmed the ends of the ribbon.

Multipurpose glue was used to adhere the embossed panel to the front of the card.

I used the small hourglass die to cut seven out – three in Misty Moonlight and one each in Balmy Blue, Lemon Lolly, Garden Green and Parakeet Party.

The frame of each hourglass and ‘sand’ were coloured using the dark Stampin’ Blends in the five colours chosen. This gave the hourglasses a more distinctive look on the card.

The die cut shapes had two Stampin’ Dimensionals attached behind the ‘glass’ and were placed in the section above the ribbon.

The sentiment and banner were stamped and die cut before securing it to the card using dimensionals.

Finally, I added some Misty Moonlight gems from the Tinsel Gems Three-Pack for a bit of sparkle.

The envelope and card insert had hourglasses attached.

Tomorrow I have some gift tags to share with you.

Until then, happy stamping.

If you live in Australia, you can order any of the products I used to make this card by going to my online store. Just click on any of the images below.

Product List
Paper Snips
[103579]
$19.25