Posted on Leave a comment

TIME FOR THE LATEST COLOUR INKSPIRATION CHALLENGE

It is time to farewell the 2022-2024 In Colours.

Which colour was your favourite? For me, Sweet Sorbet was my favourite>

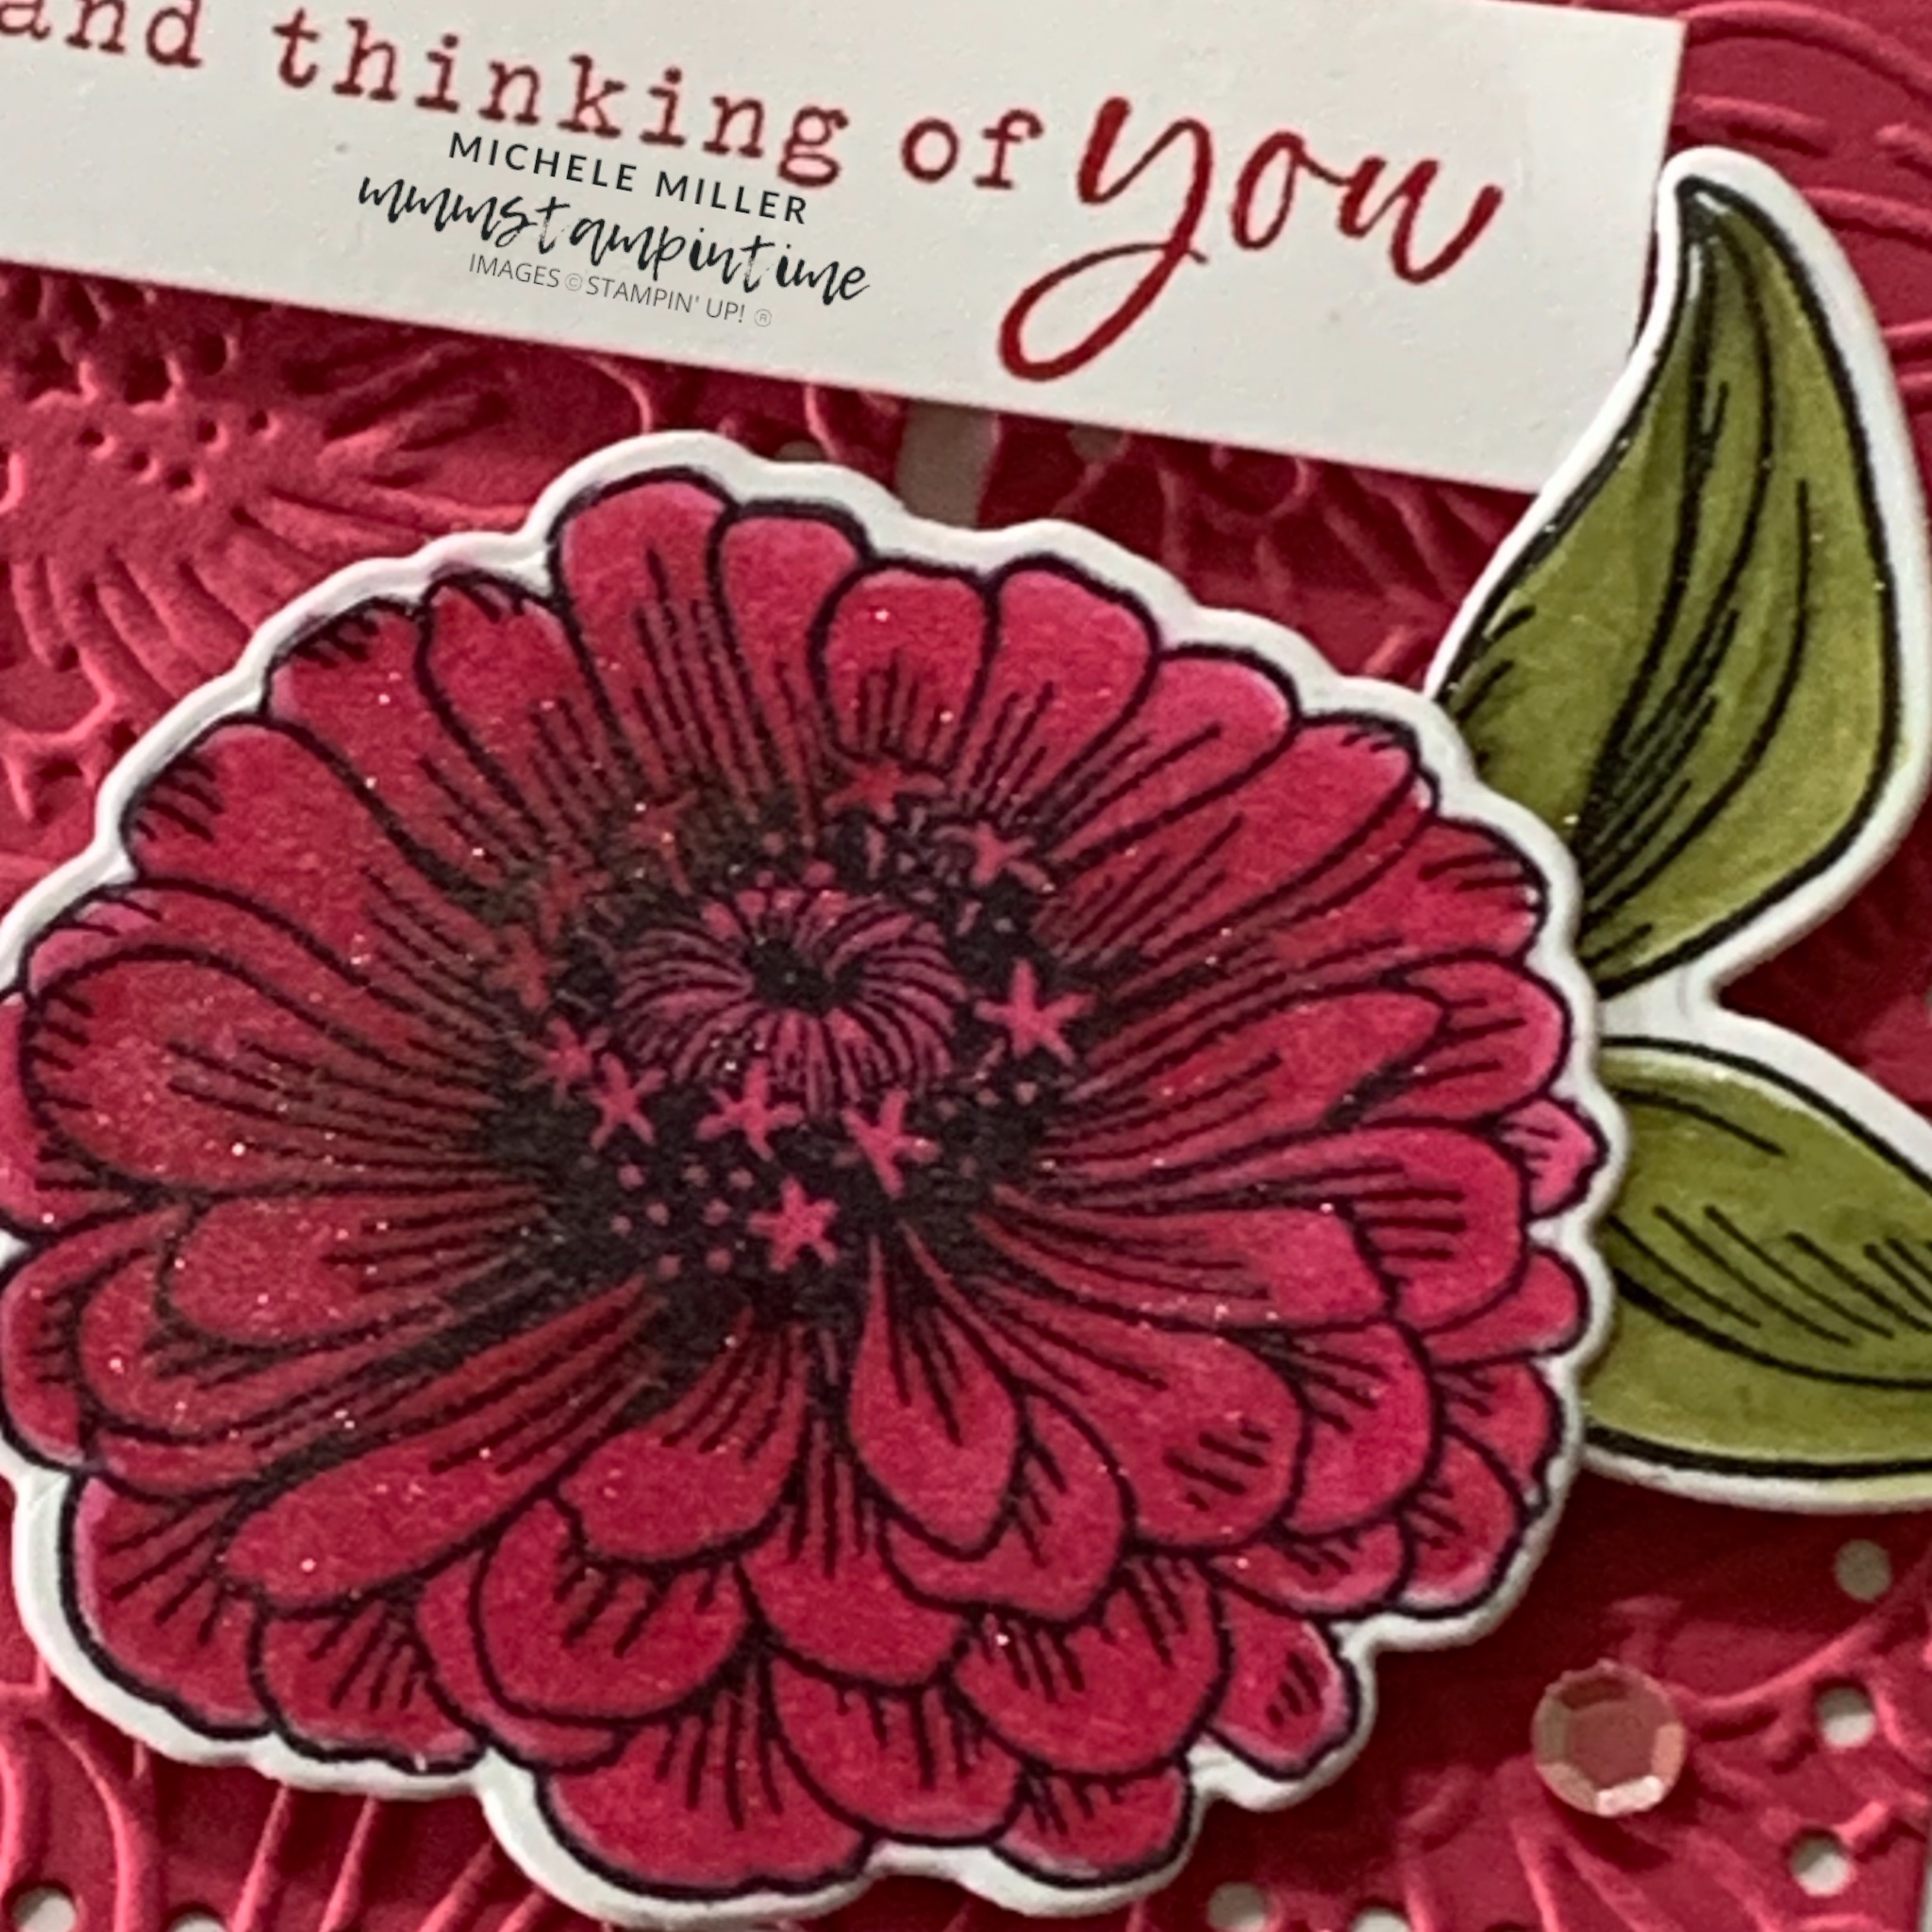
For my project, I decided to use Simply Zinnia Bundle along with the retiring colours.

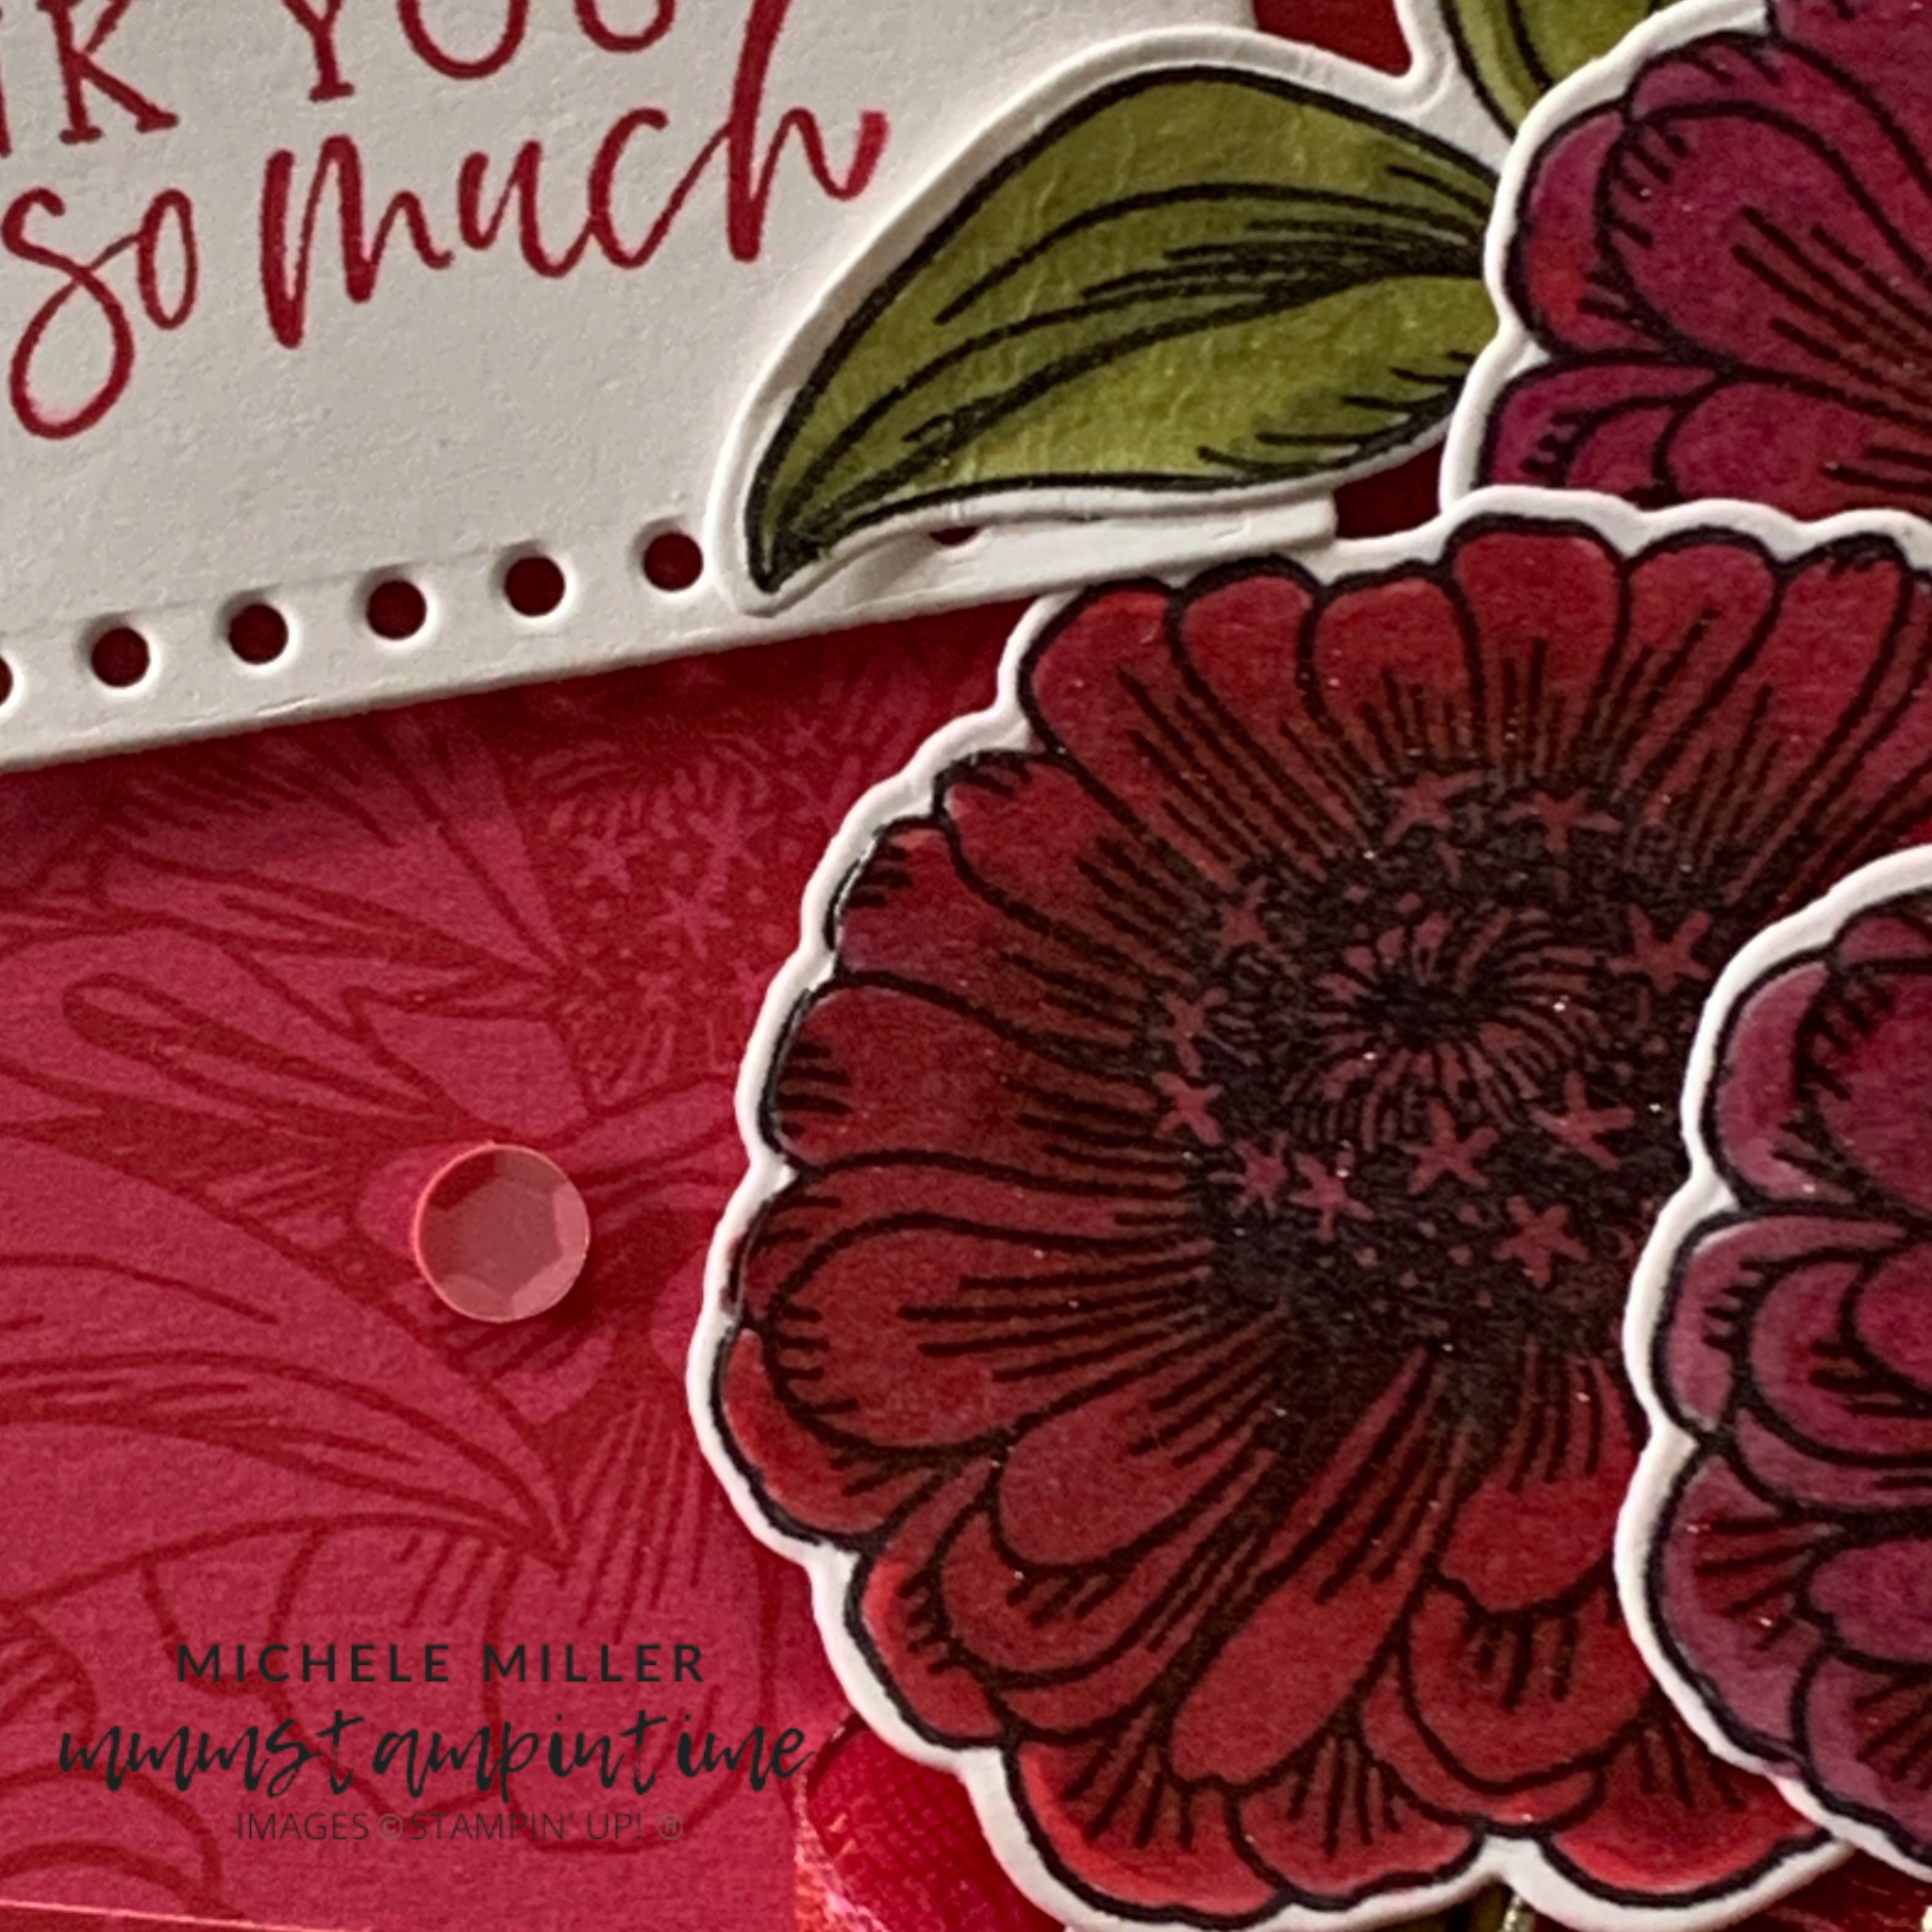
I used a Basic White card base and cut a circle out. Using strips of the 2022-2024 In Colour 6″x 6″ DSP, I adhered them to a white insert and positioned it within the circle.

To finish this ‘window’, I cut a circular frame using Stylish Shapes and Delightful Doilies Dies.

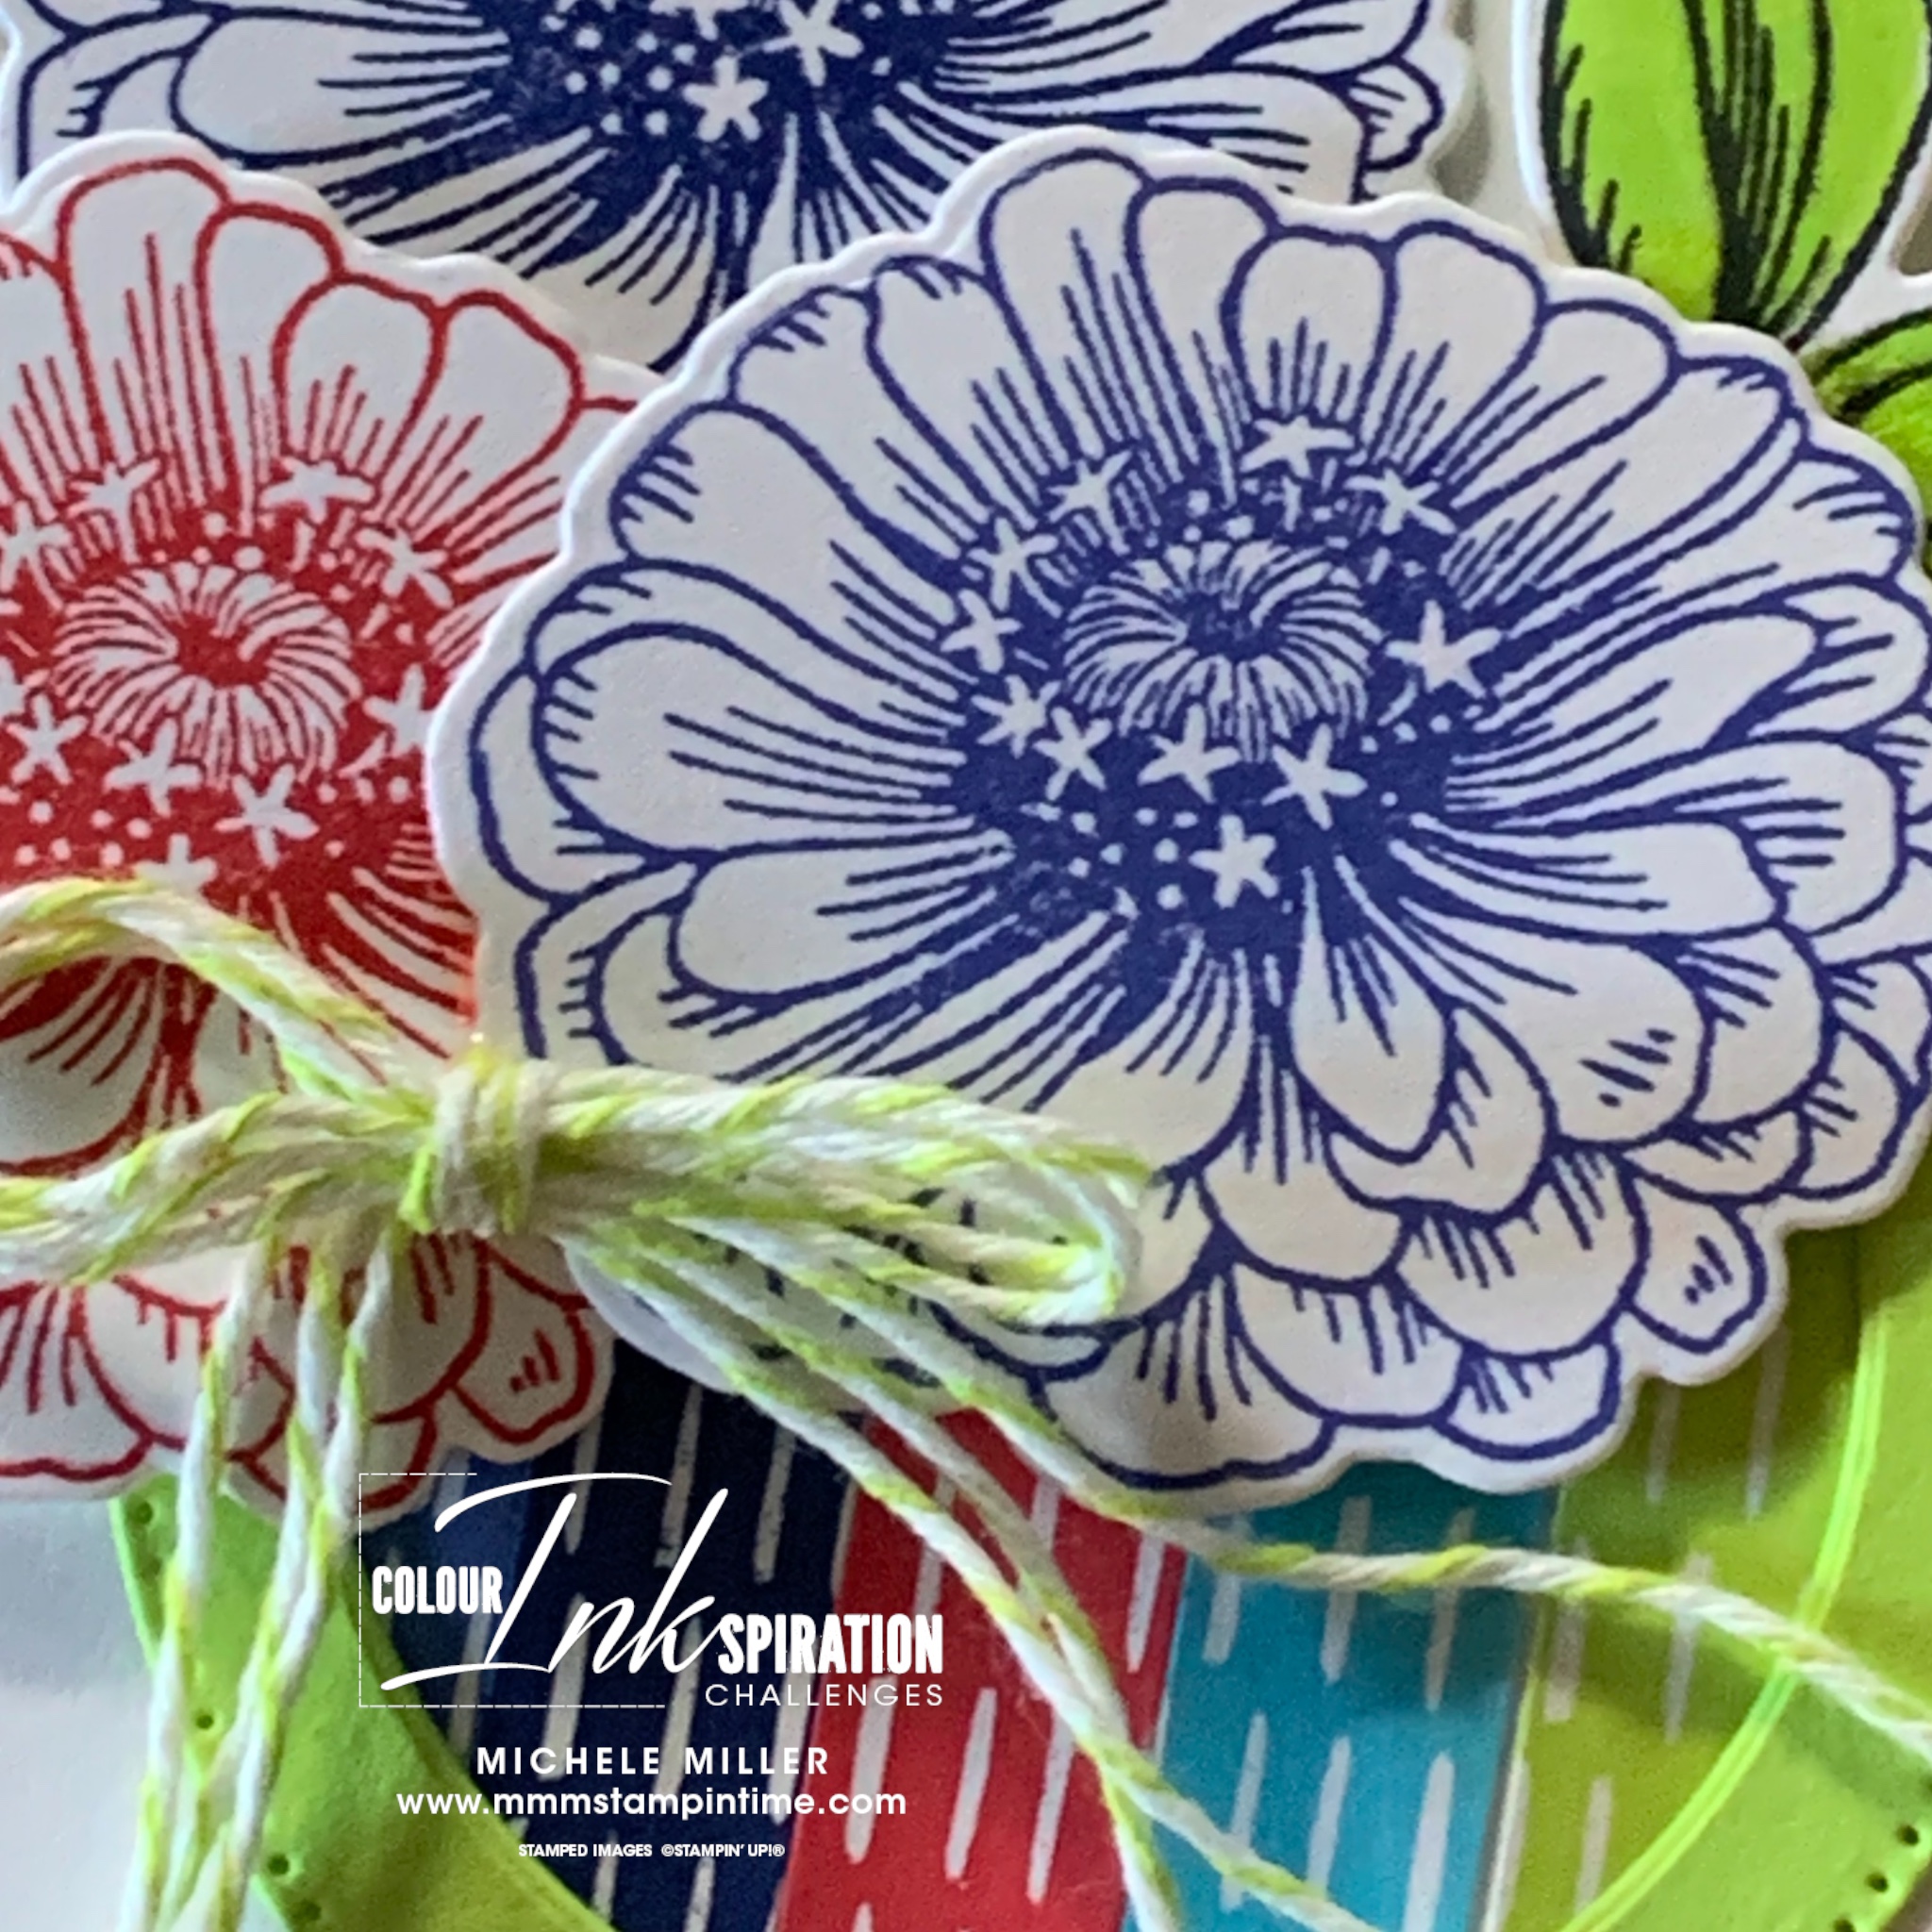
I stamped three of the single zinnia images in Sweet Sorbet, Orchid Oasis and Starry Sky. Then they were cut using the coordinating dies.

I also stamped, cut and coloured some of the leaves with the Parakeet Party Stampin’ Blends.

THe flowers and leaves were then positioned at the top of the ‘window’.

The greeting was stamped and then trimmed and added to the card front using Stampin’ Dimensionals.

Saying farewell to the 2022-2024 In Colour Twine, I tied a triple bow and used a Mini Glue Dots to attach it below the flowers.

Final farewell, as well, to the coordinating Gems.

The envelope and card insert were both stamped with the little stars.

I will have another Colour INKsiration project for you on May 8th.

Until then, happy stamping.

If you live in Australia, you can order any of the products I used to make this card by going to my online store. Just click on any of the images below.

Product List
Paper Snips
[103579]
$19.25
Posted on Leave a comment

IT’S FRIDAY & TIME FOR SOME FEATURES & A FUN FOLD CARD

This week has been one of favourites for card making and that’s because this colection of new products is fabulous.

The Simply Zinnia Cling Stamp Set has four images – two floral, one double leaf and one small stylized stars image. The botanical images are perfect for colouring and I have featured Stampin’ Blends on most of my projects.

There are three versatile greetings that combine two different fonts in each.

The Simply Zinnia Dies have 15 coordinating shapes.

There is also a matching Zinnia 3D Embossing Folder that is a perfect part of this collection.

The Flowering Zinnias Designer Series Paper is made up of 12 sheets – 2 each of 6 double sided designs.

Finally, there are the colour coordinated Adhesive-Backed Shiny Sequins that add some extra shimmer to projects.

My Fun Fold card has a second smaller card adhered to the front of the base card. This smaller card has a gify card voucher pocket inside it.

The first card has a Melon Mambo card base, a smaller Basic White layer and then a layer of Designer Series Paper.

On this card’s insert I added a thin strip of the same DSP.

The smaller top card has a Thick Basic White base.

I used the Everyday Details Dies to cut the three Melon Mambo panels. These were then embossed using the Zinnias 3D Emvossing Folder. The panels were held very close together so that the embossed design would align.

The greeting was stampied in Melon Mambo and trimmed down to fit onto the card front. Stampin’ Dimensionals were used to pop it up on the card.I stamped, cut and coloured one single zinnia and pair of leaves. I adhered the leaves to the back of the flower and attached it to the card front using dimensionals.

I added the same DSP to the back of the envelope.

Finally, some MElon Mambo Adhesive-Backed Shiny Sequins were added to the fornt of the card.

Next week I am planning to showcaes the Nature’s Sweetness Suite Collection.

Until then, happy stamping.

If you live in Australia, you can order any of the products I used to make this card by going to my online store. Just click on any of the images below.

Product List
Paper Snips
[103579]
$19.25
Posted on Leave a comment

THURSDAY MEANS THAT IT’S TIME FOR A 3D PROJECT

If you’ve been following me, you will know how much I love making 3D projects.

I made this gift box to hold a fragrant soap. It will make a perfect thank you gift for someone.

I used a piece of Blackberry Bliss cardstock measuring 8 3/4″ x 6 3/4″. Along the shorted side , the card was scored 1 3/8″ in from each side. Along the longer side, it was scored at 1″, 2 1/2″, 4 7/8″ and 7 3/8″.

Once the box was constructed, I carefully cut DSP panels so that they were aligned around the sides of the box. The patterns matched so well.

I created the flower using Blackberry Bliss, Highland Heather and Vellum and using two of the open floral dies. I layered the 6 die cuts and secured them with Mini Glue Dots. The leaves were cut using the Bough Punch. Then I used Multipurpose Liquid Glue to attach the flower to the box.

I used a Dark Old Olive Blends pen to colour some Flat Adhesive-Backed Pearls and then added them to the card front.

The greeting was stamped using BLackberry Bliss ink and cut with one of the Everyday Details Dies. It was added to the top of the box with dimensionals.

The flower is definitely the star of this project.

Tomorrow I have one more zinnia project to share with you.

Until then, happy stamping.

If you live in Australia, you can order any of the products I used to make this card by going to my online store. Just click on any of the images below.

Product List
Bough Punch
[157711]
$39.00
Paper Snips
[103579]
$19.25