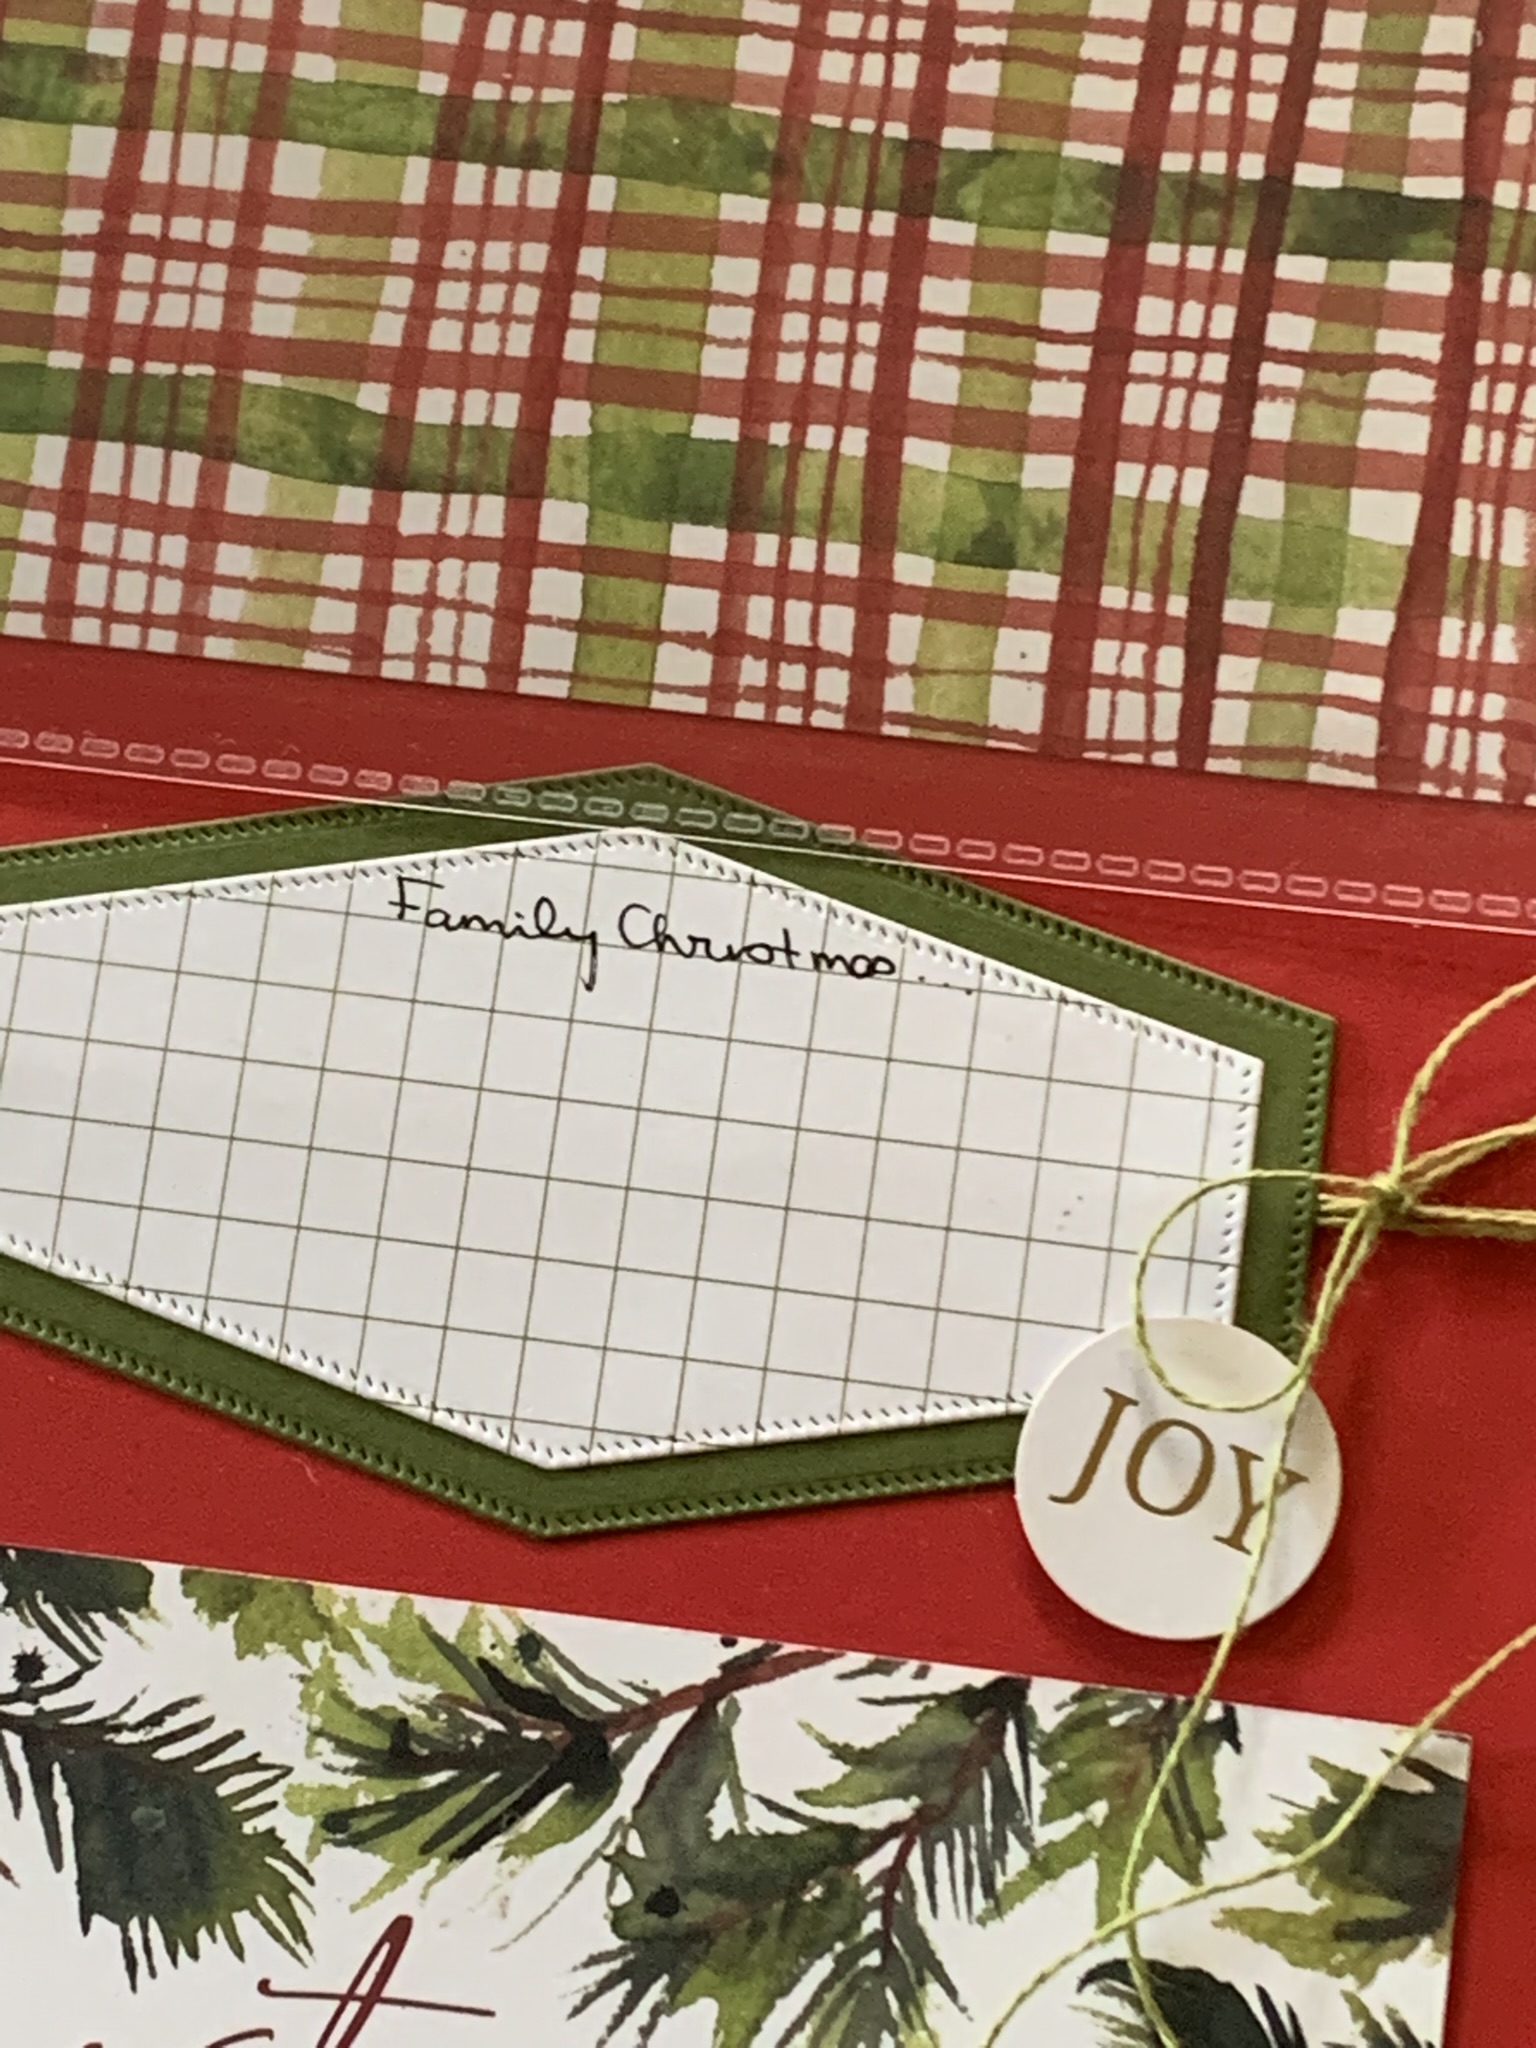
My memory keeping project was ready to be shared yesterday but life intervened. So here it is now!
This week I am featuring three new products, from the September – December 2025 Mini Catalogue, available from TOMORROW September 3rd.
JOYFUL DAYS MEMORIES & MORE CARD PACK (165822 $20.25AUD)

GREETINGS FOR YOU MIX & MATCH EPHEMERA PACK (166208 $15AUD)

CHRISTMAS GREETINGS MIX & MATCH SPECIALTY CARDS & ENVELOPES

Being Monday, my project is a scrapbooking layout.

The base is a Real Red Two-tone card and I used some of the Memories & More Cards, Flip Flaps and two of the Nested Essentials Dies to create the journaling space.
After attaching all of the cards to the base I wrapped a length of Old Olive Linen Thread around the paper and tied a bow. The thread is from the new Early Espresso & Old Olive Linen Thread (165986 $15.75).
Finally I added the ‘Happy Christmas’ and ‘joy’ from the Greetings for You Ephemera Pack to the page.

This is a simple layout but will e a great way to keep some Christmas memories alive.
Tomorrow I have a card to share with you.
Until then, happy stamping and scrapbooking.

If you live in Australia, you can order any of the products I used to make this card by going to my online store. As you read through this post, you will see the products I used for this project. The new items are available from TOMORROW September 3rd.


![Harvest Home Garland Kit [ 166228 ]](https://i0.wp.com/assets1.tamsnetwork.com/images/EC042017NF/166228s.jpg?w=140&ssl=1 "Harvest Home Garland Kit [ 166228 ]")
![Linen Thread [ 104199 ]](https://i0.wp.com/assets1.tamsnetwork.com/images/EC042017NF/104199s.jpg?w=140&ssl=1 "Linen Thread [ 104199 ]")
![Basic Gray A4 Card Stock [ 121689 ]](https://i0.wp.com/assets1.tamsnetwork.com/images/EC042017NF/121689s.jpg?w=140&ssl=1 "Basic Gray A4 Card Stock [ 121689 ]")
![Basic White A4 Cardstock [ 166781 ]](https://i0.wp.com/assets1.tamsnetwork.com/images/EC042017NF/166781s.jpg?w=140&ssl=1 "Basic White A4 Cardstock [ 166781 ]")
![Cajun Craze 12" X 12" (30.5 X 30.5 Cm) Two Tone Cardstock [ 166675 ]](https://i0.wp.com/assets1.tamsnetwork.com/images/EC042017NF/166675s.jpg?w=140&ssl=1 "Cajun Craze 12\" X 12\" (30.5 X 30.5 Cm) Two Tone Cardstock [ 166675 ]")
![Soft Sea Foam 12" X 12" (30.5 X 30.5 Cm) Two Tone Cardstock [ 166700 ]](https://i0.wp.com/assets1.tamsnetwork.com/images/EC042017NF/166700s.jpg?w=140&ssl=1 "Soft Sea Foam 12\" X 12\" (30.5 X 30.5 Cm) Two Tone Cardstock [ 166700 ]")
![Multipurpose Liquid Glue [ 110755 ]](https://i0.wp.com/assets1.tamsnetwork.com/images/EC042017NF/110755s.jpg?w=140&ssl=1 "Multipurpose Liquid Glue [ 110755 ]")
![Mini Glue Dots [ 103683 ]](https://i0.wp.com/assets1.tamsnetwork.com/images/EC042017NF/103683s.jpg?w=140&ssl=1 "Mini Glue Dots [ 103683 ]")
![Adhesive Sheets [ 152334 ]](https://i0.wp.com/assets1.tamsnetwork.com/images/EC042017NF/152334s.jpg?w=140&ssl=1 "Adhesive Sheets [ 152334 ]")
![Paper Snips [ 103579 ]](https://i0.wp.com/assets1.tamsnetwork.com/images/EC042017NF/103579s.jpg?w=140&ssl=1 "Paper Snips [ 103579 ]")




