
I totally enjoy creating gift boxes of all shapes and sizes.
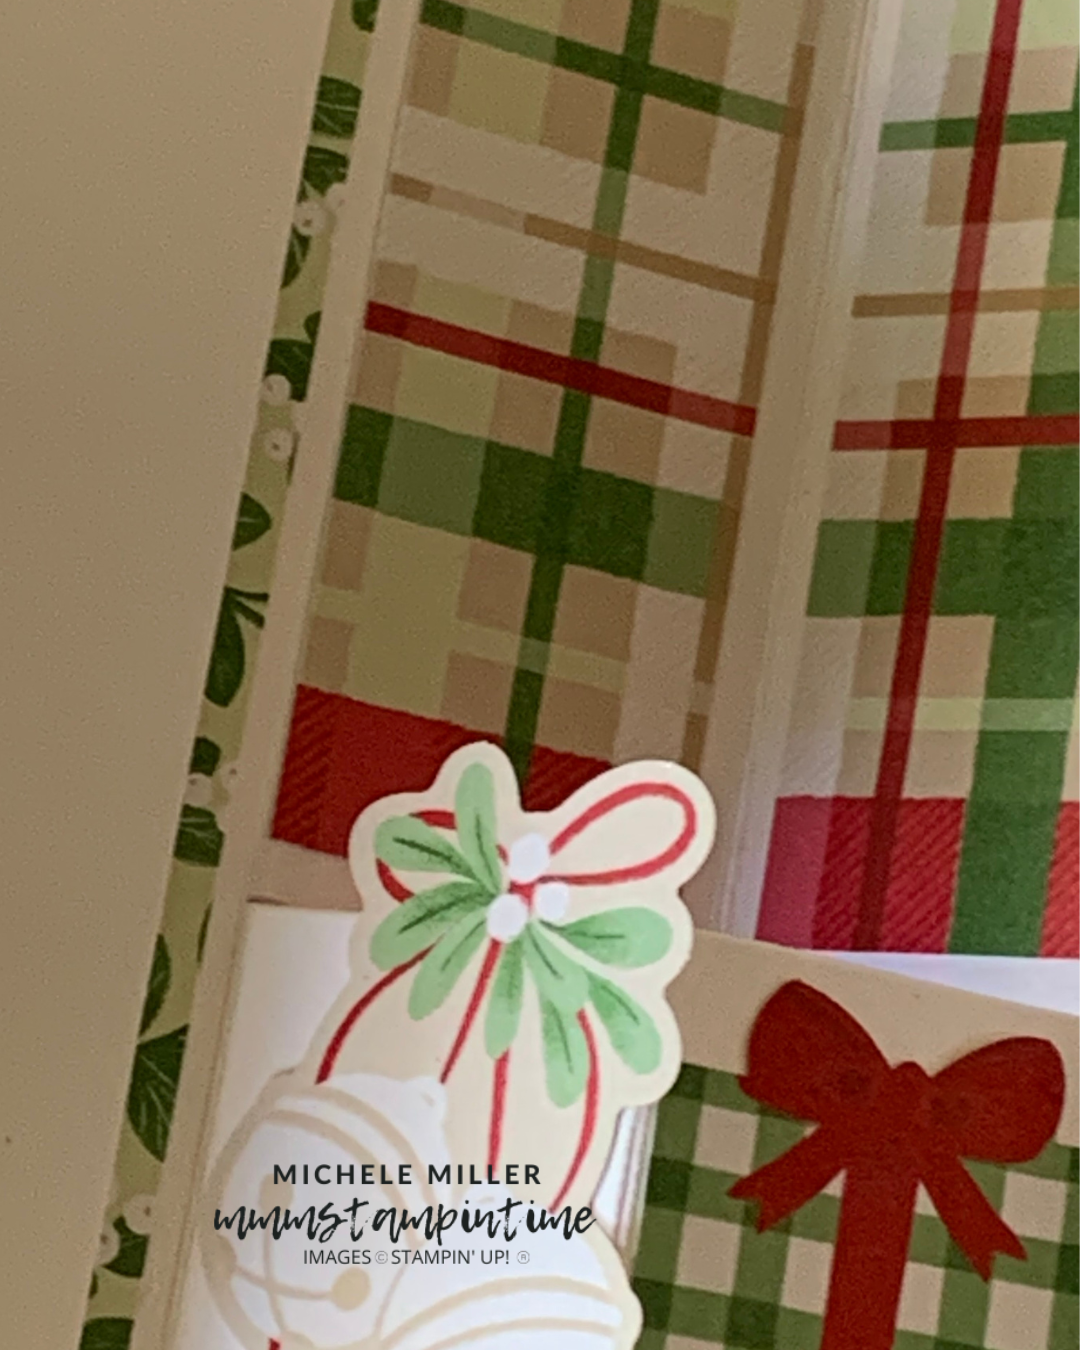
This box features Poppy Parade and Garden Green A4 card.

The base uses a full A4 sheet and was scroed at 2″ on all sides.
The lid started as a full A4 sheet before I trimmed away 7/8″. The sides were then scored at 11/16″ to ensure the lid has enough leeway to fit the base perfectly.
Before the lid was assembled, I added a length of Garden Green & White Chevron Ribbon to the front using Stampin’ Seal+.
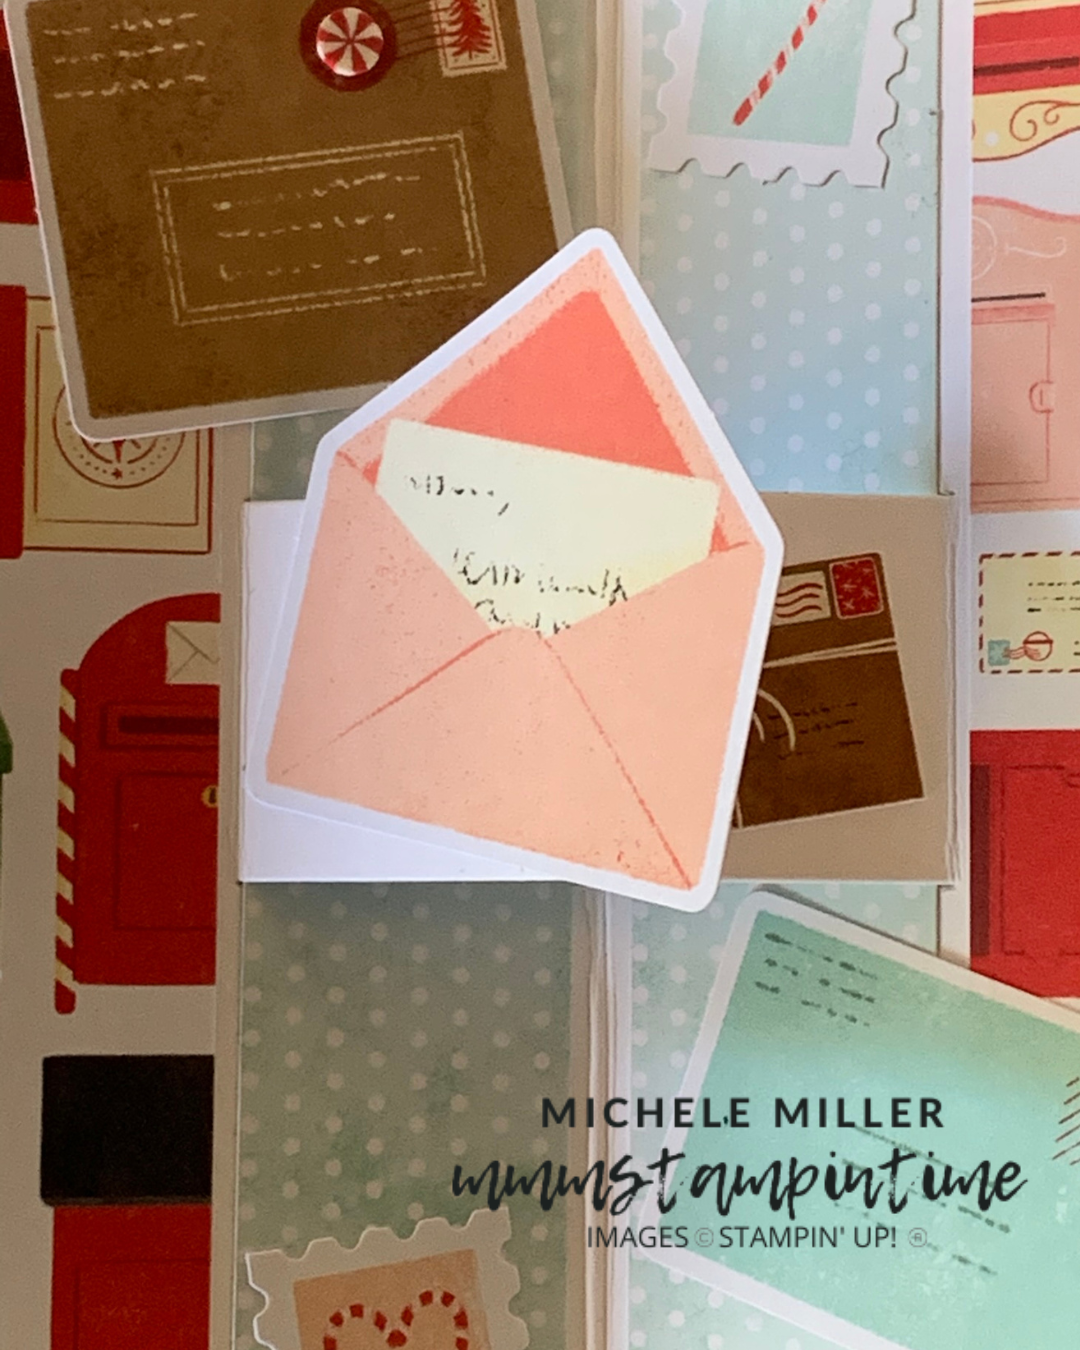
Then I adhered a North Pole Delivery DSP panel to the box lid.
The greeting is from the Keeping Traditions Stamp Set and was stamped before cutting the Basic White panel at an angle, on the Garden Green panel.
After adding Adhesive Sheets to the back of some Poppy Parade card, I die cut the letters needed to finish the greeting. I used the Alphabet a La Mode Dies for this.

To finish the lid of the box, I added a pair of precut dogs from the same North Pole Delivery DSP pack.

Next week I will have a new collection of products and projects to share with yuo.
Until then, happy stampijng and scrapbooking.

If you live in Australia, you can order any of the products I used to make this card by going to my online store. Just click on any of the images below.

![Pop Up Petals Bundle (English) [ 168010 ]](https://i0.wp.com/assets1.tamsnetwork.com/images/EC042017NF/168010s.jpg?w=140&ssl=1 "Pop Up Petals Bundle (English) [ 168010 ]") | ![Pop Up Petals Dies [ 167043 ]](https://i0.wp.com/assets1.tamsnetwork.com/images/EC042017NF/167043s.jpg?w=140&ssl=1 "Pop Up Petals Dies [ 167043 ]") | ![Alphabet à La Mode Dies [ 160750 ]](https://i0.wp.com/assets1.tamsnetwork.com/images/EC042017NF/160750s.jpg?w=140&ssl=1 "Alphabet à La Mode Dies [ 160750 ]") | ||
![Basic White A4 Thick Cardstock [ 159230 ]](https://i0.wp.com/assets1.tamsnetwork.com/images/EC042017NF/159230s.jpg?w=140&ssl=1 "Basic White A4 Thick Cardstock [ 159230 ]") | ![Garden Green A4 Card Stock [ 108605 ]](https://i0.wp.com/assets1.tamsnetwork.com/images/EC042017NF/108605s.jpg?w=140&ssl=1 "Garden Green A4 Card Stock [ 108605 ]") | ![Poppy Parade A4 Cardstock [ 121694 ]](https://i0.wp.com/assets1.tamsnetwork.com/images/EC042017NF/121694s.jpg?w=140&ssl=1 "Poppy Parade A4 Cardstock [ 121694 ]") | ![Garden Green Classic Stampin' Pad [ 147089 ]](https://i0.wp.com/assets1.tamsnetwork.com/images/EC042017NF/147089s.jpg?w=140&ssl=1 "Garden Green Classic Stampin' Pad [ 147089 ]") | |
![Multipurpose Liquid Glue [ 110755 ]](https://i0.wp.com/assets1.tamsnetwork.com/images/EC042017NF/110755s.jpg?w=140&ssl=1 "Multipurpose Liquid Glue [ 110755 ]") | ![Stampin' Dimensionals [ 104430 ]](https://i0.wp.com/assets1.tamsnetwork.com/images/EC042017NF/104430s.jpg?w=140&ssl=1 "Stampin' Dimensionals [ 104430 ]") | ![Mini Glue Dots [ 103683 ]](https://i0.wp.com/assets1.tamsnetwork.com/images/EC042017NF/103683s.jpg?w=140&ssl=1 "Mini Glue Dots [ 103683 ]") | ![Adhesive Sheets [ 152334 ]](https://i0.wp.com/assets1.tamsnetwork.com/images/EC042017NF/152334s.jpg?w=140&ssl=1 "Adhesive Sheets [ 152334 ]") | ![Stampin' Seal+ [ 149699 ]](https://i0.wp.com/assets1.tamsnetwork.com/images/EC042017NF/149699s.jpg?w=140&ssl=1 "Stampin' Seal+ [ 149699 ]") |
![Paper Snips [ 103579 ]](https://i0.wp.com/assets1.tamsnetwork.com/images/EC042017NF/103579s.jpg?w=140&ssl=1 "Paper Snips [ 103579 ]") | ![Paper Trimmer [ 152392 ]](https://i0.wp.com/assets1.tamsnetwork.com/images/EC042017NF/152392s.jpg?w=140&ssl=1 "Paper Trimmer [ 152392 ]") | ![Mini Stampin' Cut & Emboss Machine [ 150673 ]](https://i0.wp.com/assets1.tamsnetwork.com/images/EC042017NF/150673s.jpg?w=140&ssl=1 "Mini Stampin' Cut & Emboss Machine [ 150673 ]") |
![Keeping Traditions Photopolymer Stamp Set (English) [ 166806 ]](https://i0.wp.com/assets1.tamsnetwork.com/images/EC042017NF/166806s.jpg?w=140&ssl=1 "Keeping Traditions Photopolymer Stamp Set (English) [ 166806 ]")
![North Pole Delivery 12" X 12" (30.5 X 30.5 Cm) Specialty Designer Series Paper [ 165837 ]](https://i0.wp.com/assets1.tamsnetwork.com/images/EC042017NF/165837s.jpg?w=140&ssl=1 "North Pole Delivery 12\" X 12\" (30.5 X 30.5 Cm) Specialty Designer Series Paper [ 165837 ]")
![Garden Green 1/8" (3.2 Mm) Chevron Ribbon [ 167212 ]](https://i0.wp.com/assets1.tamsnetwork.com/images/EC042017NF/167212s.jpg?w=140&ssl=1 "Garden Green 1/8\" (3.2 Mm) Chevron Ribbon [ 167212 ]")


![Traditional Labels Bundle (English) [ 165865 ]](https://i0.wp.com/assets1.tamsnetwork.com/images/EC042017NF/165865s.jpg?w=140&ssl=1 "Traditional Labels Bundle (English) [ 165865 ]")
![Real Red & White Baker's Twine [ 164051 ]](https://i0.wp.com/assets1.tamsnetwork.com/images/EC042017NF/164051s.jpg?w=140&ssl=1 "Real Red & White Baker's Twine [ 164051 ]")
![Real Red & White Adhesive Backed Peppermints [ 164050 ]](https://i0.wp.com/assets1.tamsnetwork.com/images/EC042017NF/164050s.jpg?w=140&ssl=1 "Real Red & White Adhesive Backed Peppermints [ 164050 ]")
![White Willow 12" X 12" (30.5 X 30.5 Cm) Cardstock [ 166703 ]](https://i0.wp.com/assets1.tamsnetwork.com/images/EC042017NF/166703s.jpg?w=140&ssl=1 "White Willow 12\" X 12\" (30.5 X 30.5 Cm) Cardstock [ 166703 ]")
![Balmy Blue A4 Cardstock [ 147007 ]](https://i0.wp.com/assets1.tamsnetwork.com/images/EC042017NF/147007s.jpg?w=140&ssl=1 "Balmy Blue A4 Cardstock [ 147007 ]")
![Pecan Pie Classic Stampin' Pad [ 161665 ]](https://i0.wp.com/assets1.tamsnetwork.com/images/EC042017NF/161665s.jpg?w=140&ssl=1 "Pecan Pie Classic Stampin' Pad [ 161665 ]")
![Basic White C6 Envelopes [ 159235 ]](https://i0.wp.com/assets1.tamsnetwork.com/images/EC042017NF/159235s.jpg?w=140&ssl=1 "Basic White C6 Envelopes [ 159235 ]")


![Christmas Tags & More 6" X 6" (15.2 X 15.2 Cm) Mix & Match Specialty Designer Series Paper [ 165907 ]](https://i0.wp.com/assets1.tamsnetwork.com/images/EC042017NF/165907s.jpg?w=140&ssl=1 "Christmas Tags & More 6\" X 6\" (15.2 X 15.2 Cm) Mix & Match Specialty Designer Series Paper [ 165907 ]")
![Joyful Days Memories & More Card Pack [ 165822 ]](https://i0.wp.com/assets1.tamsnetwork.com/images/EC042017NF/165822s.jpg?w=140&ssl=1 "Joyful Days Memories & More Card Pack [ 165822 ]")
![White 1/4" (6.4 Mm) Ribbon [ 165562 ]](https://i0.wp.com/assets1.tamsnetwork.com/images/EC042017NF/165562s.jpg?w=140&ssl=1 "White 1/4\" (6.4 Mm) Ribbon [ 165562 ]")
![Real Red A4 Card Stock [ 106578 ]](https://i0.wp.com/assets1.tamsnetwork.com/images/EC042017NF/106578s.jpg?w=140&ssl=1 "Real Red A4 Card Stock [ 106578 ]")


