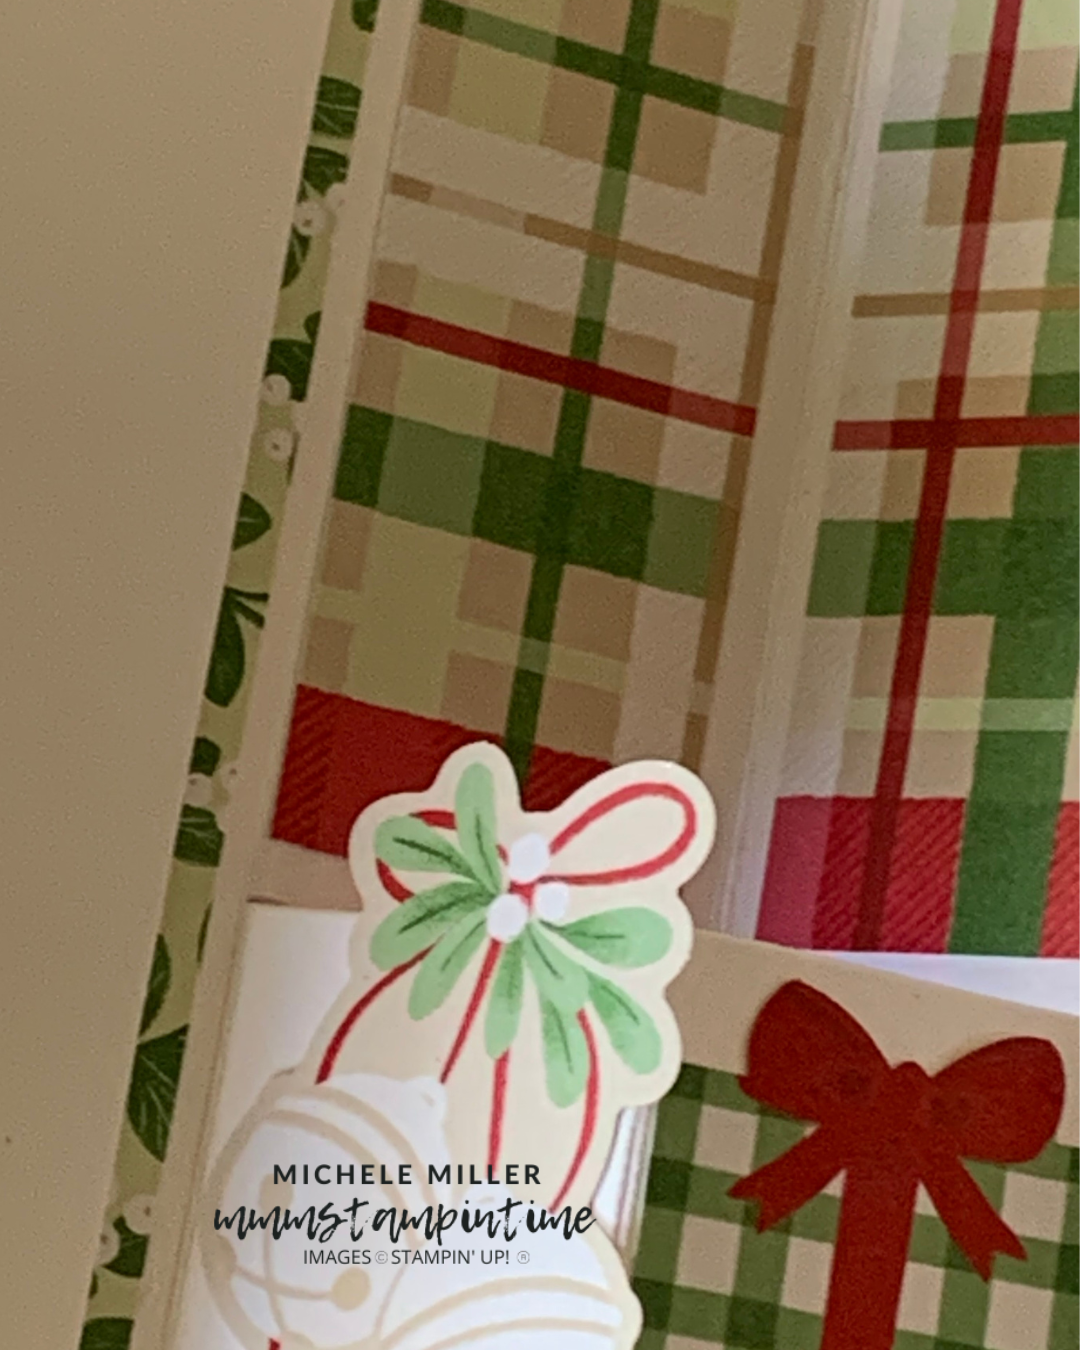
The card I want to share today is a larger version of yesterday’s fold out pop up card.
The card measures 6″x 3 1/8″ and has 6 fold out panels.
I used Real Red for the card base and White Willow for the insert. (Note: be careful scoring the two-tone card as it isn’t quite a ‘thick’ as the Basic white and can tear more easily.)

I used a length of White Ribbon to create the card closure.
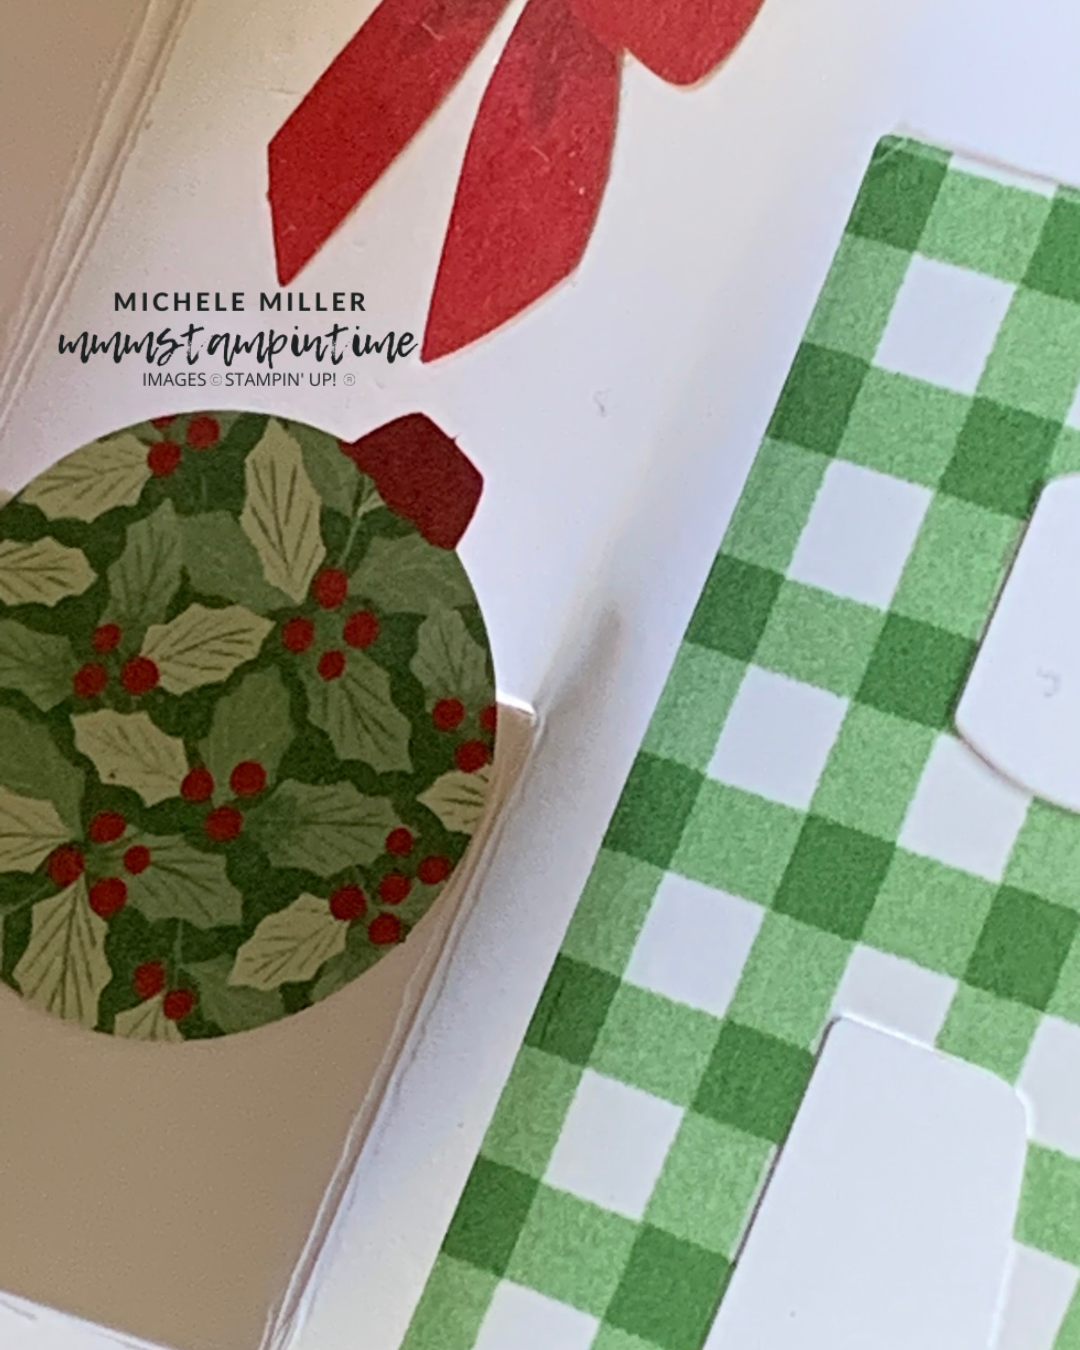
The Christmas Tags & More Mix & Match Specialty Designer Series Paper and the Joyful Days Memories & More pack were used to decorate the card panels.

The three pop up segments were cut the same distance from the bottom.
The front of the card had a greeting from one of the Memories & More cards. It was trimmed down to fit the DSP panel.
Finally I added two baubles and two bunches of mistletoe to complete the card.
The card I will share with you tomorrow will have three pop up panels staggered diagonally.
Until then, happy stamping.

If you live in Australia, you can order any of the products I used to make this card by going to my online store. Just click on any of the images below.

![Pop Up Petals Bundle (English) [ 168010 ]](https://i0.wp.com/assets1.tamsnetwork.com/images/EC042017NF/168010s.jpg?w=140&ssl=1 "Pop Up Petals Bundle (English) [ 168010 ]") | ![Pop Up Petals Dies [ 167043 ]](https://i0.wp.com/assets1.tamsnetwork.com/images/EC042017NF/167043s.jpg?w=140&ssl=1 "Pop Up Petals Dies [ 167043 ]") | ||
![White 1/4" (6.4 Mm) Ribbon [ 165562 ]](https://i0.wp.com/assets1.tamsnetwork.com/images/EC042017NF/165562s.jpg?w=140&ssl=1 "White 1/4\" (6.4 Mm) Ribbon [ 165562 ]") | ![Real Red A4 Card Stock [ 106578 ]](https://i0.wp.com/assets1.tamsnetwork.com/images/EC042017NF/106578s.jpg?w=140&ssl=1 "Real Red A4 Card Stock [ 106578 ]") | ![Multipurpose Liquid Glue [ 110755 ]](https://i0.wp.com/assets1.tamsnetwork.com/images/EC042017NF/110755s.jpg?w=140&ssl=1 "Multipurpose Liquid Glue [ 110755 ]") | |
![Stampin' Dimensionals [ 104430 ]](https://i0.wp.com/assets1.tamsnetwork.com/images/EC042017NF/104430s.jpg?w=140&ssl=1 "Stampin' Dimensionals [ 104430 ]") | ![Mini Glue Dots [ 103683 ]](https://i0.wp.com/assets1.tamsnetwork.com/images/EC042017NF/103683s.jpg?w=140&ssl=1 "Mini Glue Dots [ 103683 ]") | ![Stampin' Seal+ [ 149699 ]](https://i0.wp.com/assets1.tamsnetwork.com/images/EC042017NF/149699s.jpg?w=140&ssl=1 "Stampin' Seal+ [ 149699 ]") | ![Paper Snips [ 103579 ]](https://i0.wp.com/assets1.tamsnetwork.com/images/EC042017NF/103579s.jpg?w=140&ssl=1 "Paper Snips [ 103579 ]") |
![Paper Trimmer [ 152392 ]](https://i0.wp.com/assets1.tamsnetwork.com/images/EC042017NF/152392s.jpg?w=140&ssl=1 "Paper Trimmer [ 152392 ]") | ![Mini Stampin' Cut & Emboss Machine [ 150673 ]](https://i0.wp.com/assets1.tamsnetwork.com/images/EC042017NF/150673s.jpg?w=140&ssl=1 "Mini Stampin' Cut & Emboss Machine [ 150673 ]") | ![Basic White C6 Envelopes [ 159235 ]](https://i0.wp.com/assets1.tamsnetwork.com/images/EC042017NF/159235s.jpg?w=140&ssl=1 "Basic White C6 Envelopes [ 159235 ]") |
![Christmas Tags & More 6" X 6" (15.2 X 15.2 Cm) Mix & Match Specialty Designer Series Paper [ 165907 ]](https://i0.wp.com/assets1.tamsnetwork.com/images/EC042017NF/165907s.jpg?w=140&ssl=1 "Christmas Tags & More 6\" X 6\" (15.2 X 15.2 Cm) Mix & Match Specialty Designer Series Paper [ 165907 ]")
![Joyful Days Memories & More Card Pack [ 165822 ]](https://i0.wp.com/assets1.tamsnetwork.com/images/EC042017NF/165822s.jpg?w=140&ssl=1 "Joyful Days Memories & More Card Pack [ 165822 ]")
![White Willow 12" X 12" (30.5 X 30.5 Cm) Cardstock [ 166703 ]](https://i0.wp.com/assets1.tamsnetwork.com/images/EC042017NF/166703s.jpg?w=140&ssl=1 "White Willow 12\" X 12\" (30.5 X 30.5 Cm) Cardstock [ 166703 ]")



![Party Alphabet Dies [ 165263 ]](https://i0.wp.com/assets1.tamsnetwork.com/images/EC042017NF/165263s.jpg?w=140&ssl=1 "Party Alphabet Dies [ 165263 ]")
![Greetings For You Mix & Match Ephemera Pack (English) [ 166208 ]](https://i0.wp.com/assets1.tamsnetwork.com/images/EC042017NF/166208s.jpg?w=140&ssl=1 "Greetings For You Mix & Match Ephemera Pack (English) [ 166208 ]")
![Cherry Cobbler A4 Card Stock [ 121681 ]](https://i0.wp.com/assets1.tamsnetwork.com/images/EC042017NF/121681s.jpg?w=140&ssl=1 "Cherry Cobbler A4 Card Stock [ 121681 ]")



![Pop Up Petals Photopolymer Stamp Set (English) [ 167041 ]](https://i0.wp.com/assets1.tamsnetwork.com/images/EC042017NF/167041s.jpg?w=140&ssl=1 "Pop Up Petals Photopolymer Stamp Set (English) [ 167041 ]")
![Glass & Gardens Embossing Folders [ 165597 ]](https://i0.wp.com/assets1.tamsnetwork.com/images/EC042017NF/165597s.jpg?w=140&ssl=1 "Glass & Gardens Embossing Folders [ 165597 ]")
![2025–2027 In Color™ 6" X 6" (15.2 X 15.2 Cm) Designer Series Paper [ 165300 ]](https://i0.wp.com/assets1.tamsnetwork.com/images/EC042017NF/165300s.jpg?w=140&ssl=1 "2025–2027 In Color™ 6\" X 6\" (15.2 X 15.2 Cm) Designer Series Paper [ 165300 ]")
![2025–2027 In Color™ Flat Pearls [ 165192 ]](https://i0.wp.com/assets1.tamsnetwork.com/images/EC042017NF/165192s.jpg?w=140&ssl=1 "2025–2027 In Color™ Flat Pearls [ 165192 ]")
![Secret Sea 3/8" (1 Cm) Faux Linen Ribbon [ 165273 ]](https://i0.wp.com/assets1.tamsnetwork.com/images/EC042017NF/165273s.jpg?w=140&ssl=1 "Secret Sea 3/8\" (1 Cm) Faux Linen Ribbon [ 165273 ]")
![Basic White A4 Thick Cardstock [ 159230 ]](https://i0.wp.com/assets1.tamsnetwork.com/images/EC042017NF/159230s.jpg?w=140&ssl=1 "Basic White A4 Thick Cardstock [ 159230 ]")
![Secret Sea A4 Cardstock [ 165296 ]](https://i0.wp.com/assets1.tamsnetwork.com/images/EC042017NF/165296s.jpg?w=140&ssl=1 "Secret Sea A4 Cardstock [ 165296 ]")
![Darling Duckling Stampin’ Blends Combo Pack [ 165288 ]](https://i0.wp.com/assets1.tamsnetwork.com/images/EC042017NF/165288s.jpg?w=140&ssl=1 "Darling Duckling Stampin’ Blends Combo Pack [ 165288 ]")
![Old Olive Stampin' Blends Combo Pack [ 154892 ]](https://i0.wp.com/assets1.tamsnetwork.com/images/EC042017NF/154892s.jpg?w=140&ssl=1 "Old Olive Stampin' Blends Combo Pack [ 154892 ]")
![Secret Sea Classic Stampin' Pad [ 165285 ]](https://i0.wp.com/assets1.tamsnetwork.com/images/EC042017NF/165285s.jpg?w=140&ssl=1 "Secret Sea Classic Stampin' Pad [ 165285 ]")




