Posted on Leave a comment

WELL, IT’S WEDNESDAY & I HAVE SOMETHING WONDERFUL TO SHARE

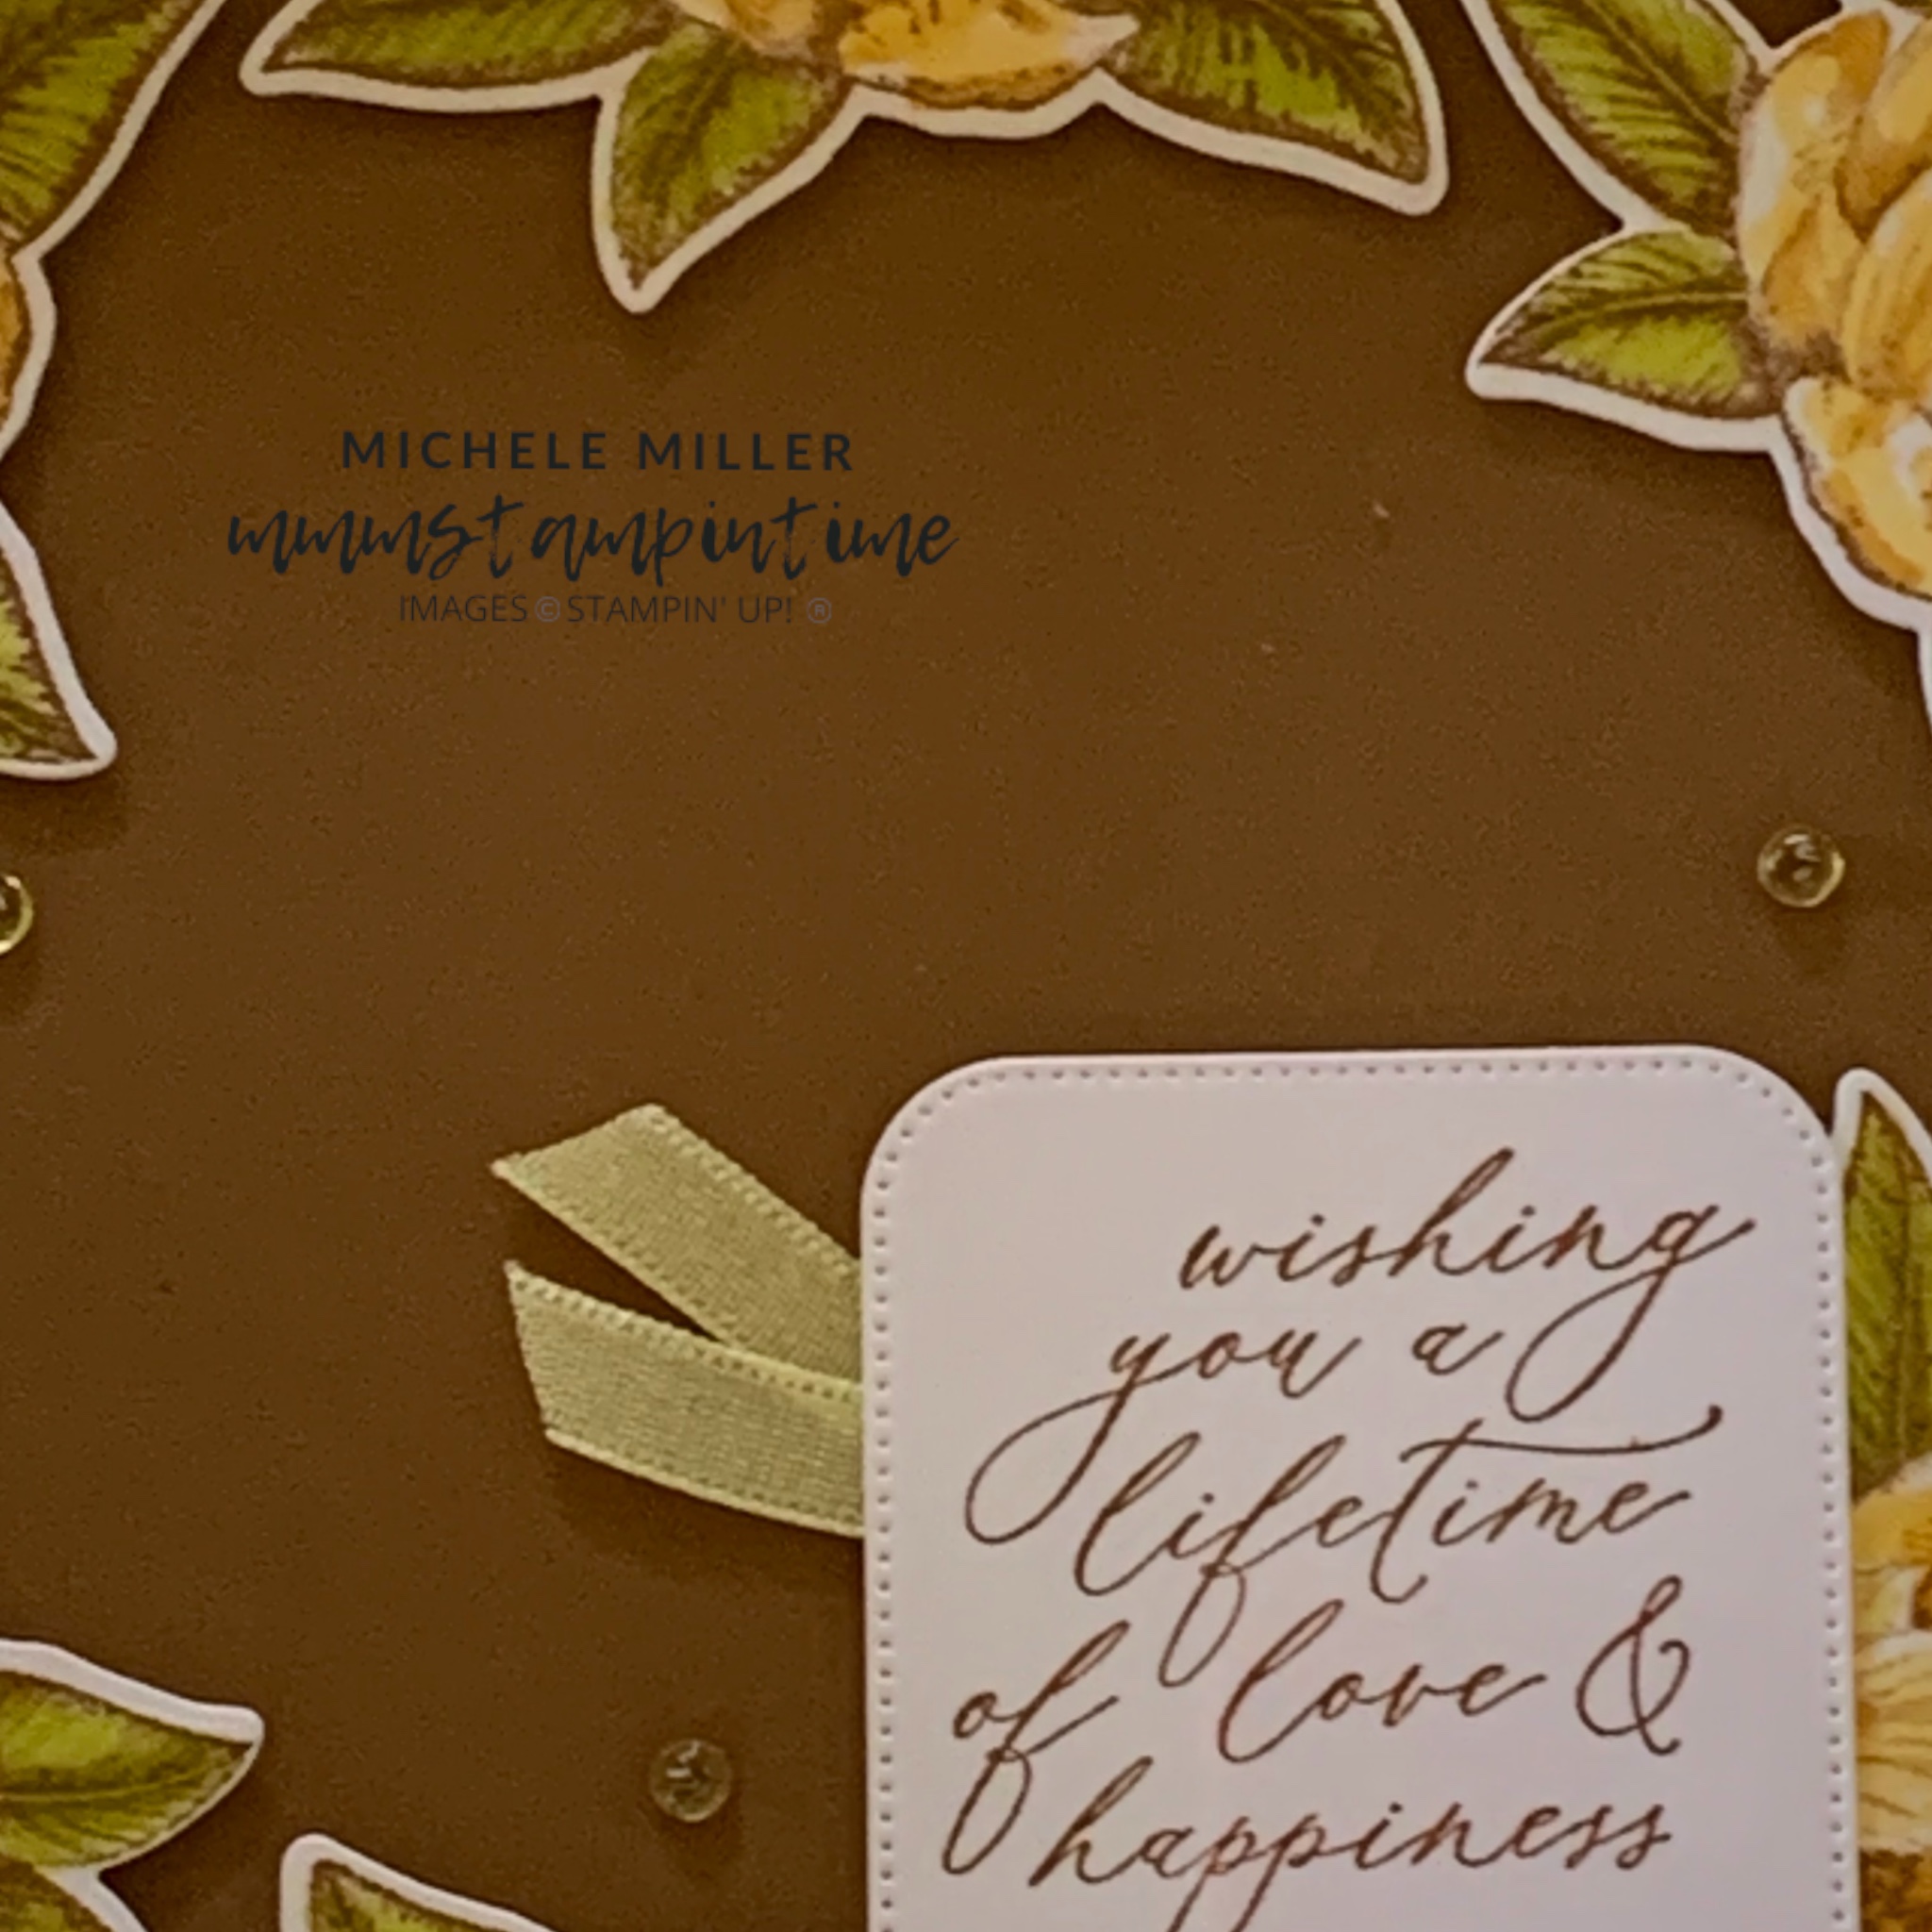
After colouring the large magnolia images over the last two projects, I decided to create a magnolia wreath.

I started by adding a 9″ x 9″ piece of Pecan Pie behind the white frame mat.

Then I stamped, coloured and die cut 7 magnolias for this framed piece. I also did the same with the magnolia bud and leaves.

The large magnolias were then positioned on the Pecan Pie. Then I placed the buds and leaves. When I was happy with the shape of the wreath I secured the magnolias with dimensoinals. The buds and leaves were then glues into place.

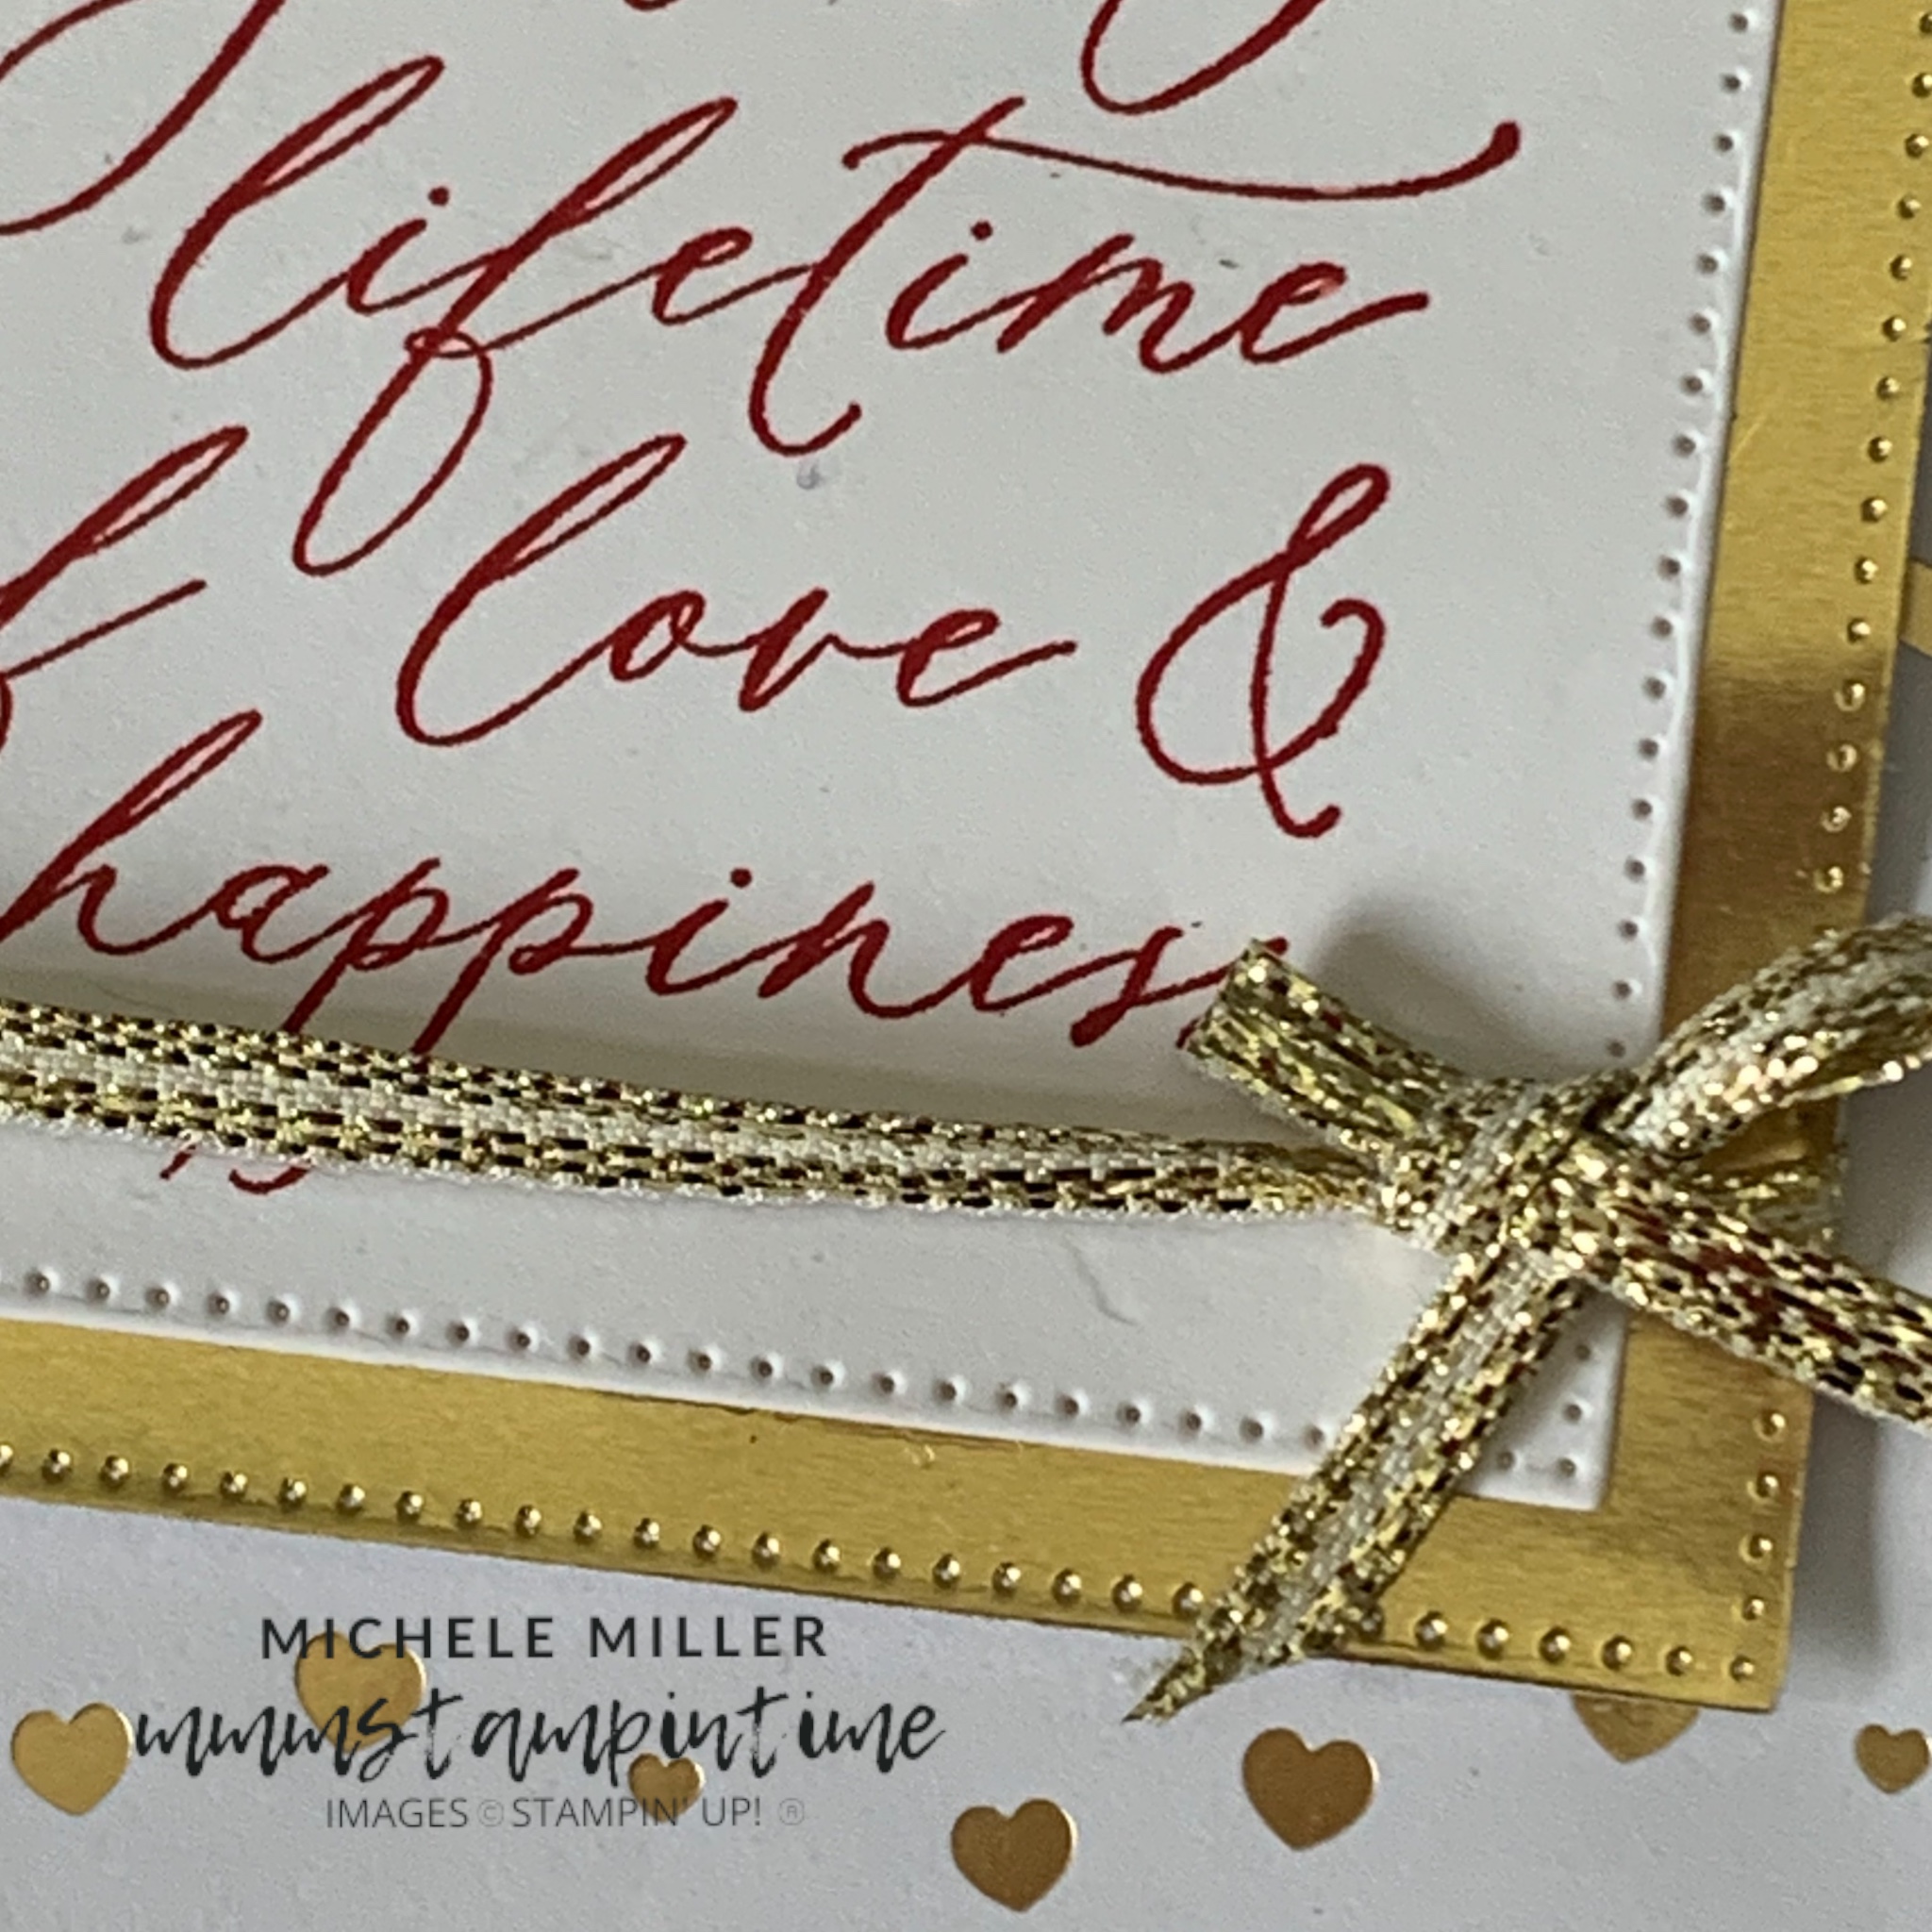
I used a greeting from the Lifetime of Love Stamp Set and stamped it in Pecan Pie. It was then cut using one of the Nested Essentials Dies.

A length of Lemon Lolly Sheer Ribbon was folded in half and attached to the back of the greeting.

I added dimensionals to the back of the greeting and positioned it, as you can see.

Finally, I added some Lemon Lolly gems from the Tinsel Gems 4 Pack.

Tomorrow I have a 3D project to share with you.

Until then, happy stamping.

If you live in Australia, you can order any of the products I used to make this card by going to my online store. Just click on any of the images below.

Product List
Paper Snips
[103579]
$19.25
Posted on Leave a comment

TIME FOR ANOTHER PROJECT USING THIS WEEK’S FEATURED PRODUCTS

For this project I am only using the Most Adored Specialty Designer Series Paper, from the January – February Sale-a-bration Brochure. It was designed to coordinate with the Adoring Hearts Bundle.

This DSP also works well with many other stamp sets and I am teaming this paper with the Lifetime of Love Stamp Set from the January – April Mini Catalogue.

As you will see, you can combine them to make a gorgeous wedding card.

This is quite a quick and easy card to make. I started with a Basic White card base and added a panel of Gold Foil. Then a piece of the hearts DSP was added.

The greeting was stamped using Real Red ink before being cut using one of the square Stylish Shaped Dies.

This was then adhered to a gold square. A length of gold ribbon, from the Gold & Silver Trim bundle, was wrapped around these squares before being tied in a bow.

Stampin’ Dimensionals were used to lift the greeting up from card front.

I sanother greeting inside the card and on the back of the envelope.

I like the understated elegance of this card.

The Lifetime of Love Stamp Set is going to be my new go-to stamp set for wedding cards.

Later today I will post another project created for the first ColourINKspiration Challenge of 2024.

Until then, happy stamping.

If you live in Australia, you can order any of the products I used to make this card by going to my online store. Just click on any of the images below.

Product List
Paper Snips
[103579]
$19.25