Posted on Leave a comment

IT’S FRIDAY & TIME FOR SOME FEATURES AND A FUN FOLD CARD

This week I used the Just Kiddin’ Suite Collection and Filled with Fun Bundle.

The Just Kiddin’ Suite, as you can see below, includes the Kiddin’ Around Cling Stamp set. This set has five fun images and three wonderful greetings.

The suite also has a coordinating set of 14 dies.

The Just Kiddin’ Designer Series Paper has 12 sheets – 2 each of 6 double sided designs. One side has a variety of images of children and the other side has wonderful background designs.

Finally, there is a pack of Iridescent Foil Gems to add bling to projects.

The Filled with Fun Bundle includes the Filled with Fun Photopolymer Stamp Set. The stamp set has 10 amazing images to help you stamp and build some amazing pull cart variations. It also has three lovely greetings.

I still have so many ideas for using these products.

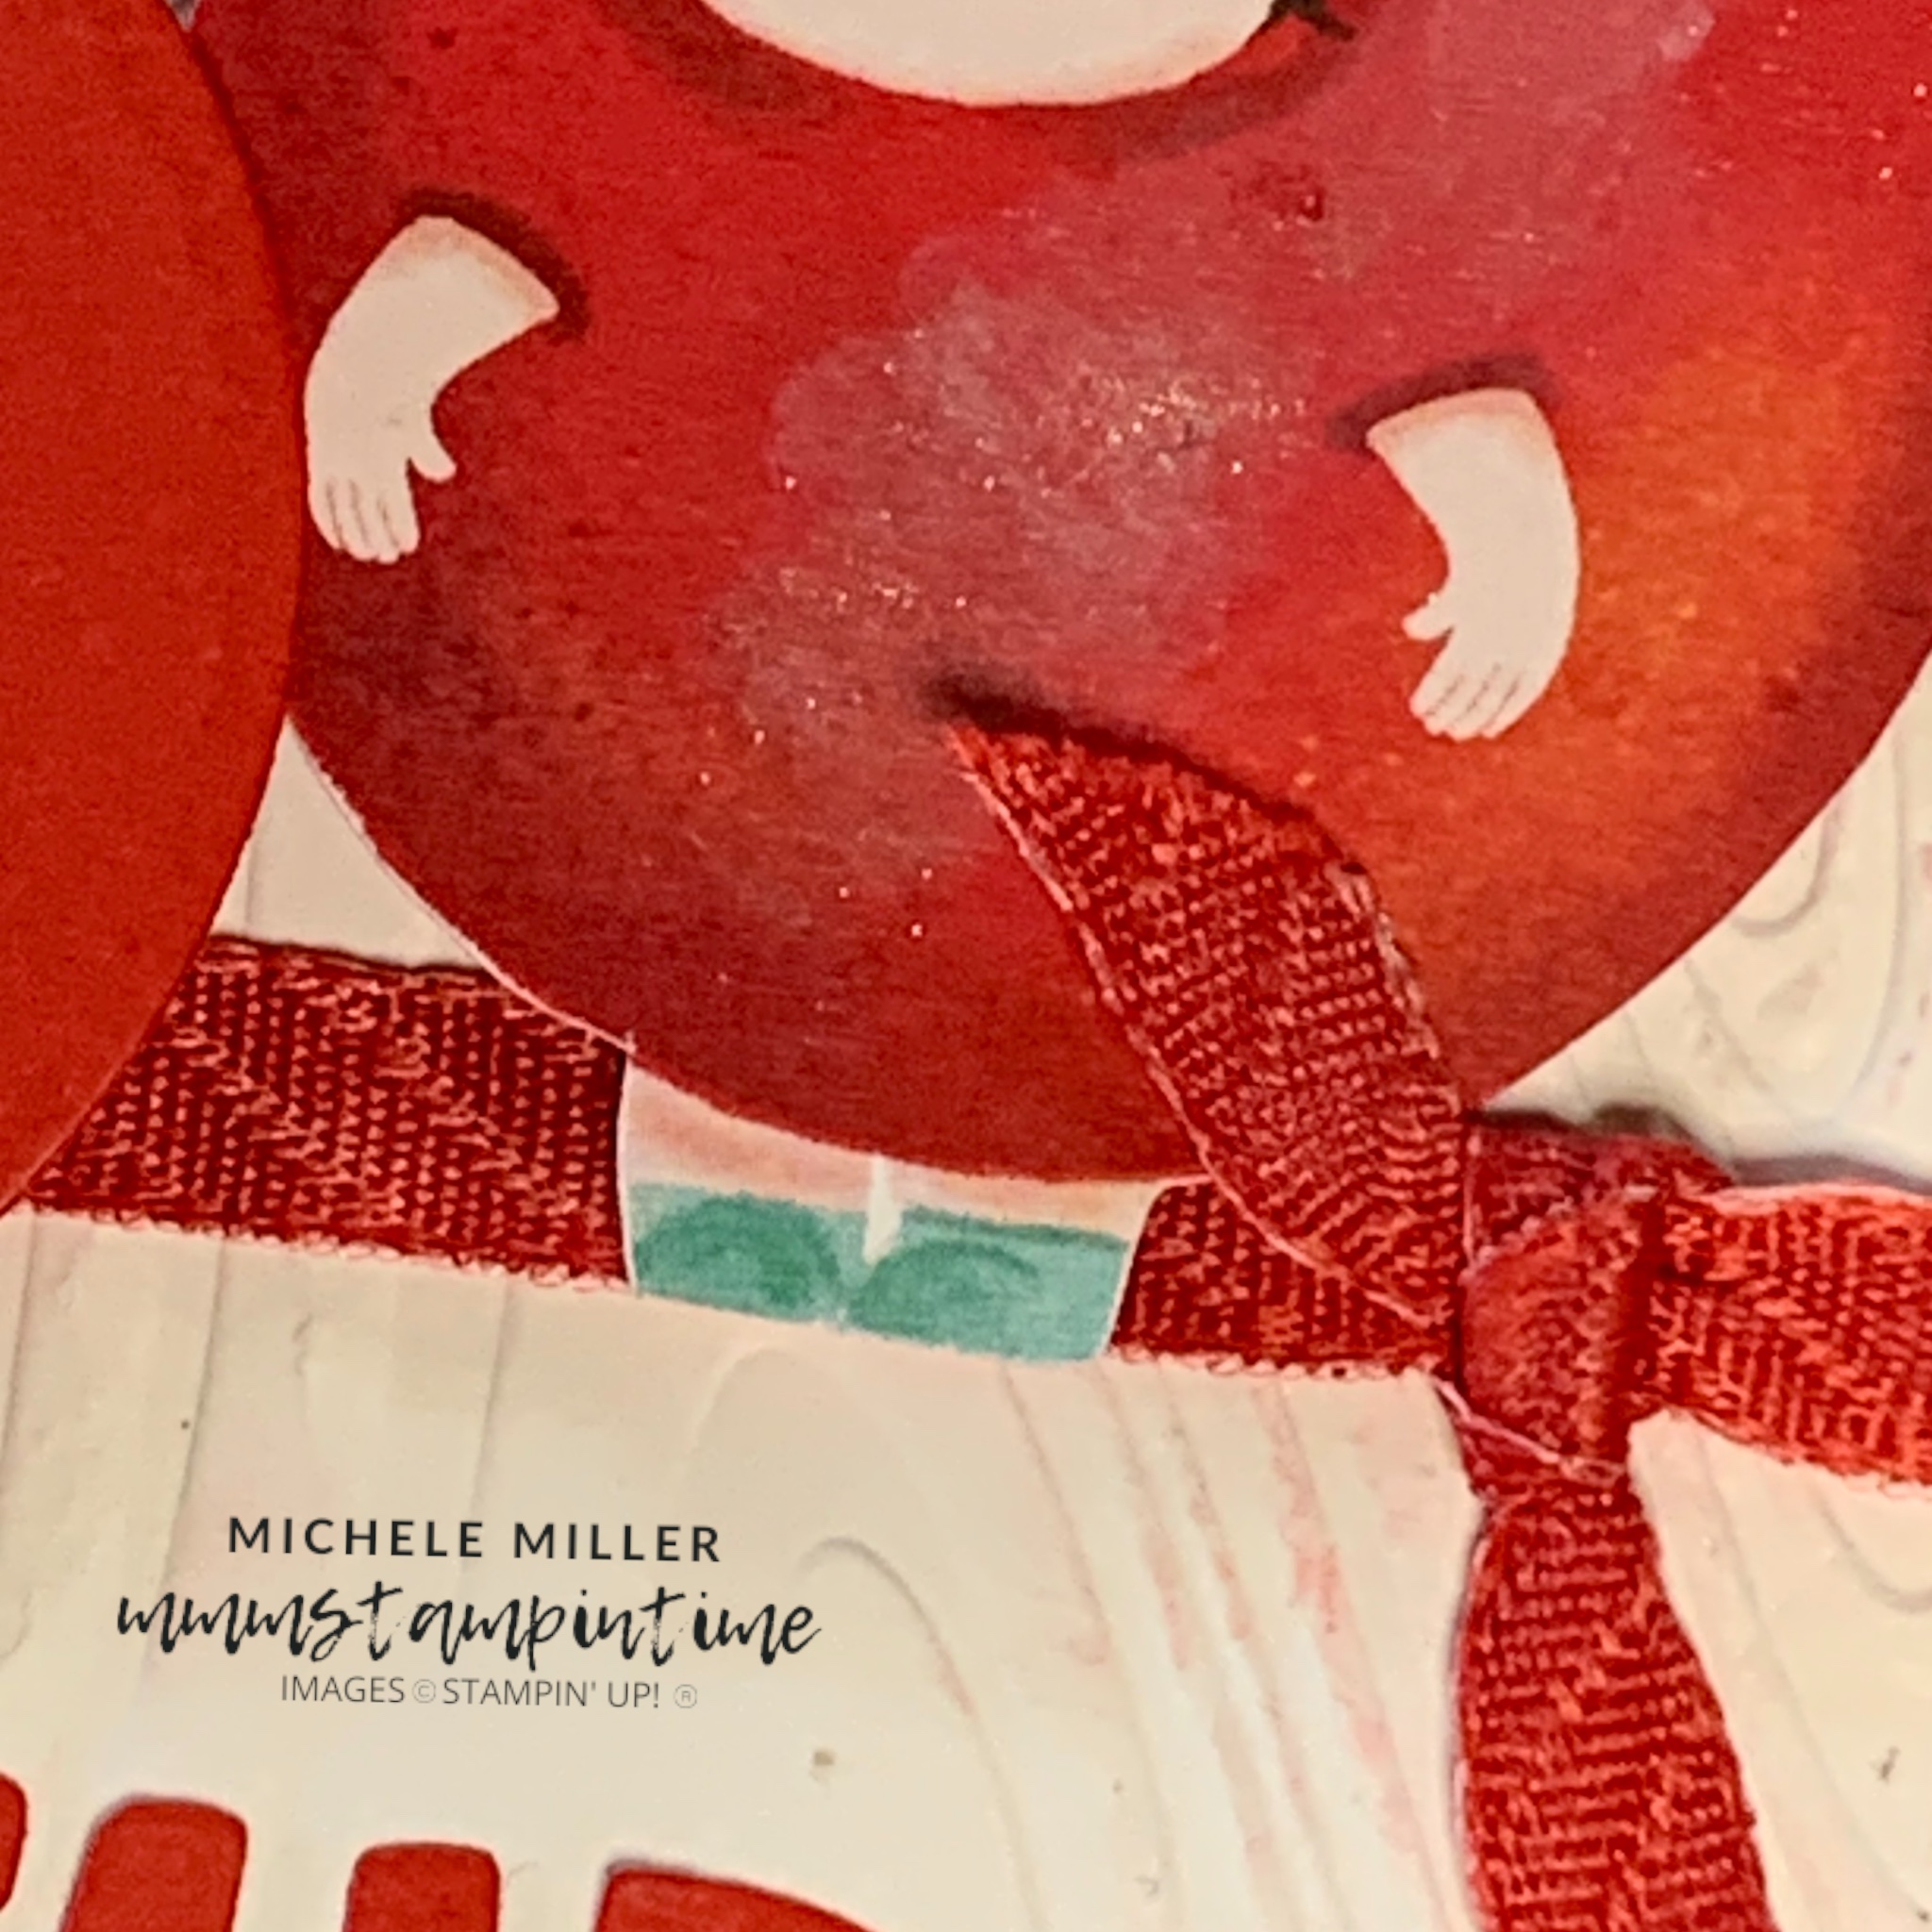
For my final project this week , I have made a fun fold card. I started with a card base measuring 12″ x 6″.

I scored the 12″ side at 6″, 9″ and 10 1/2″.

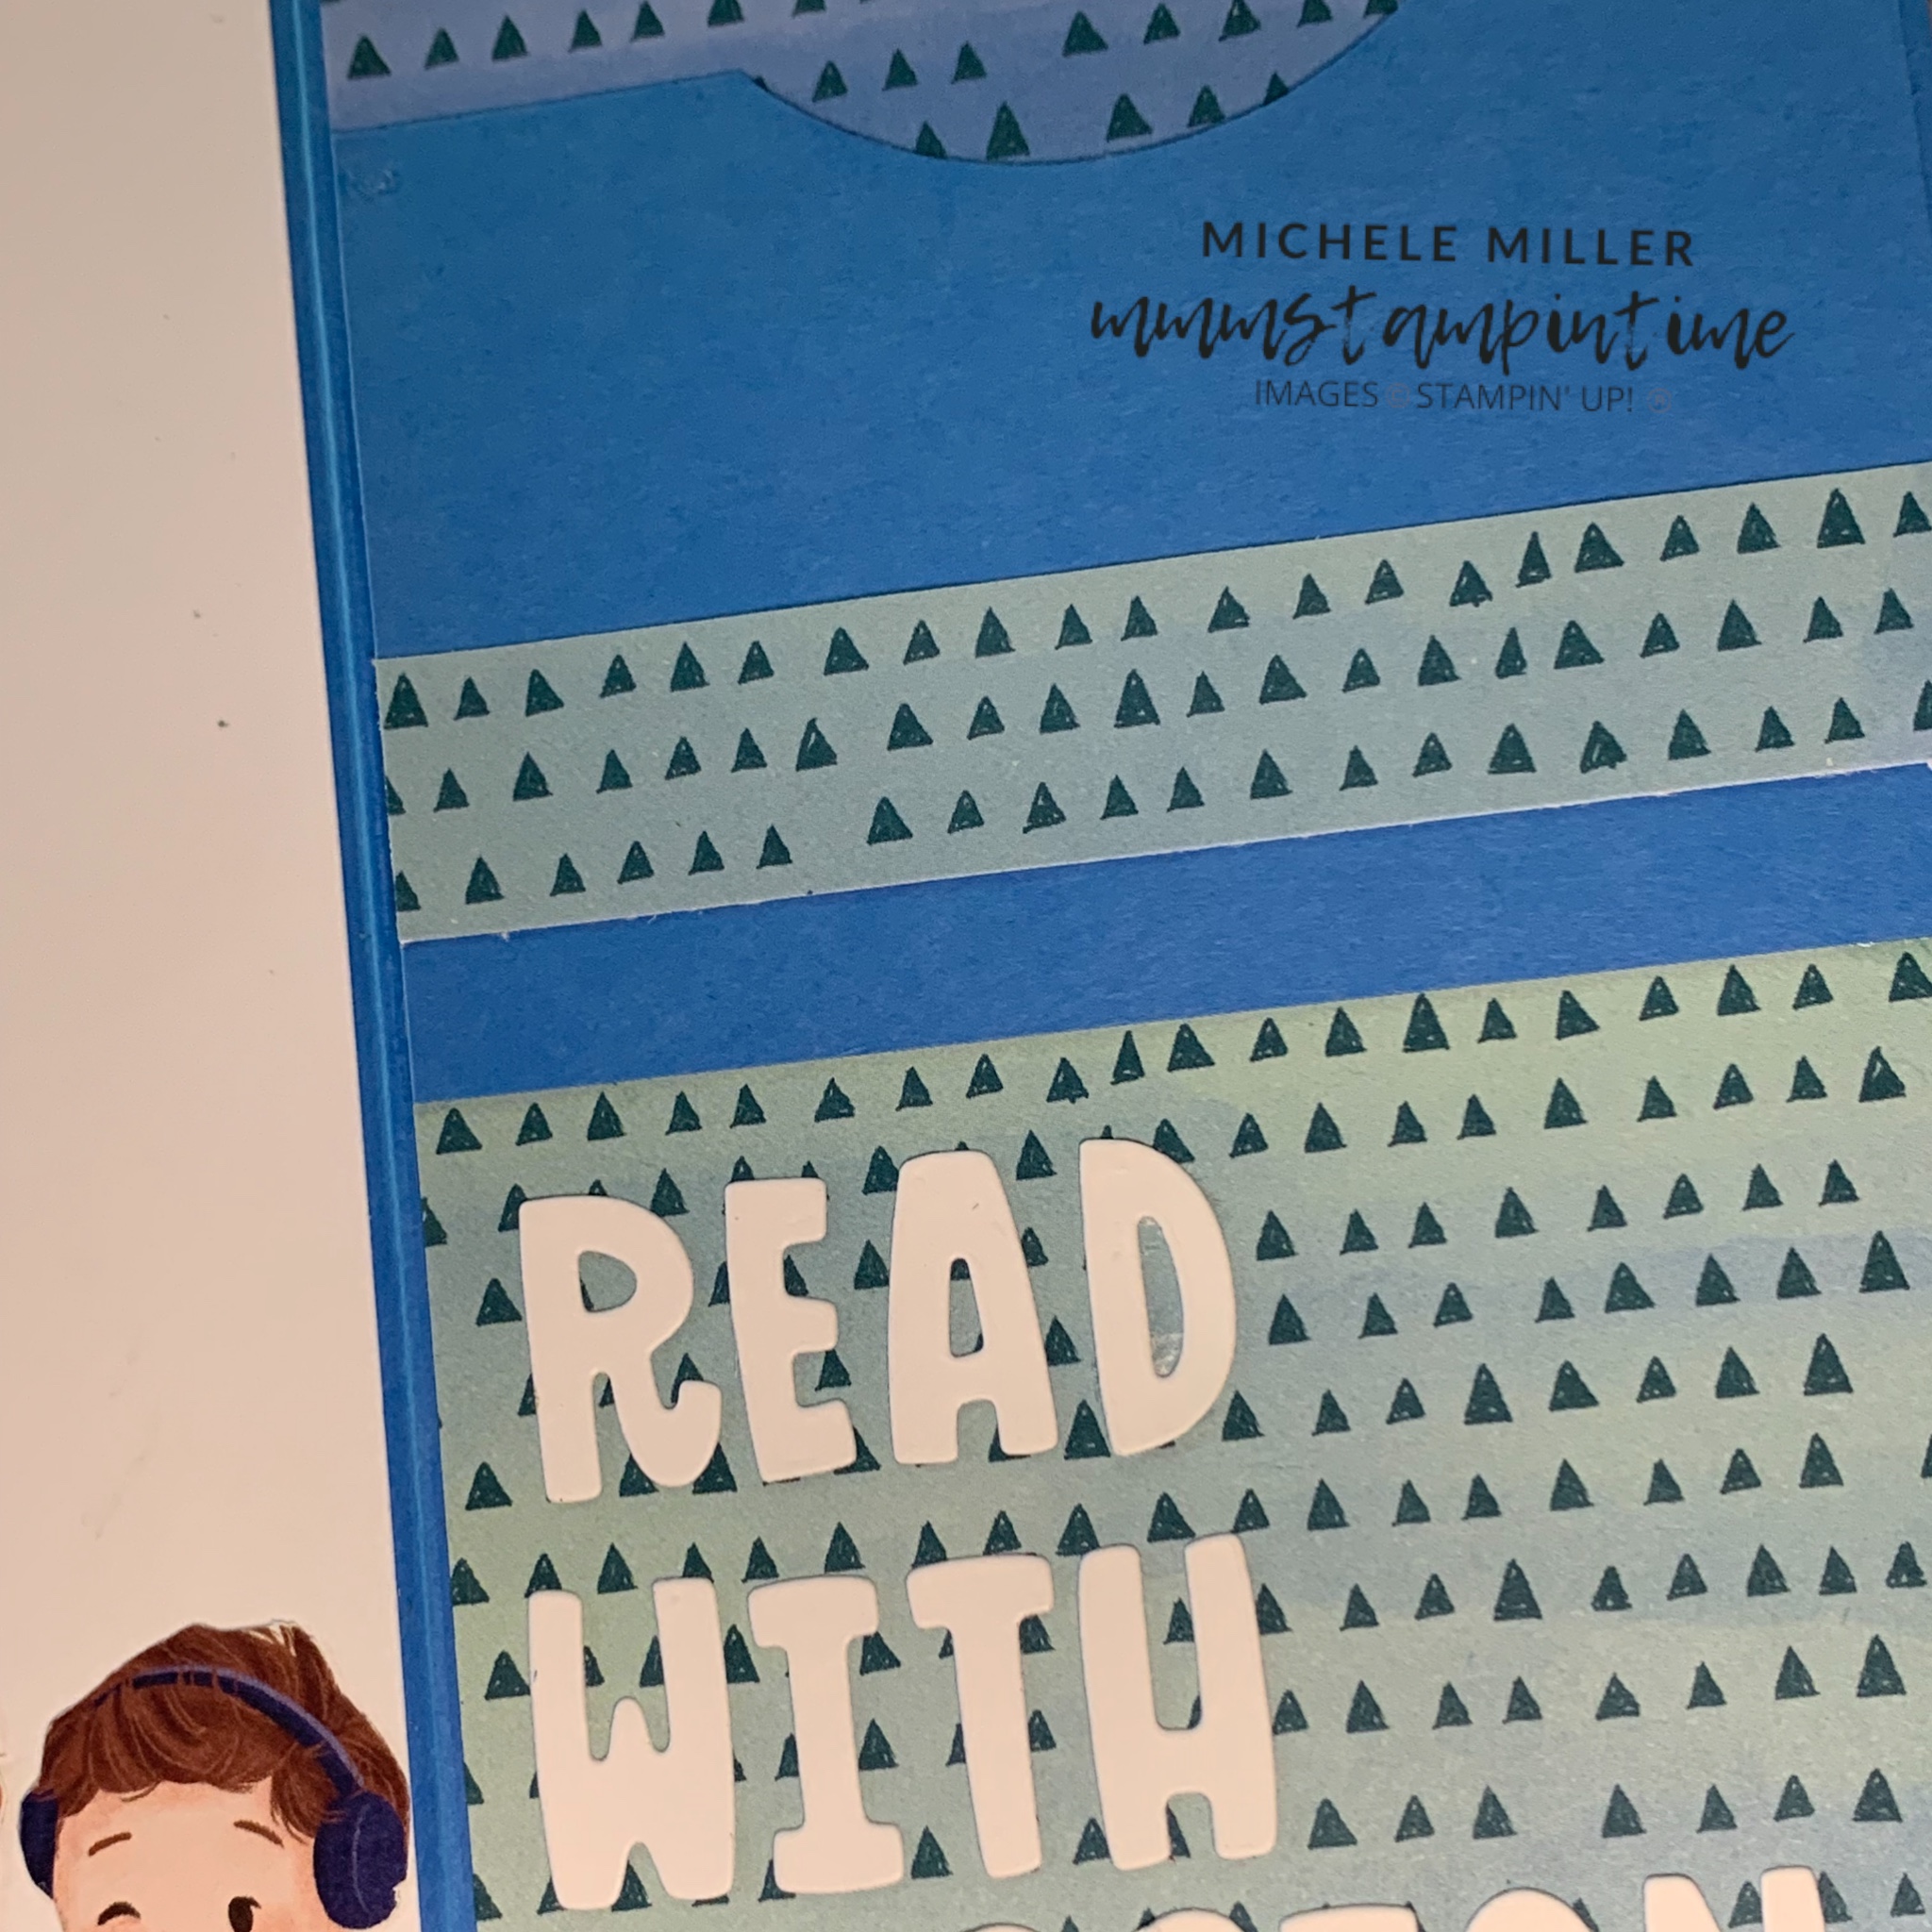
I cut this blue DSP design to fit each of the card base panels.

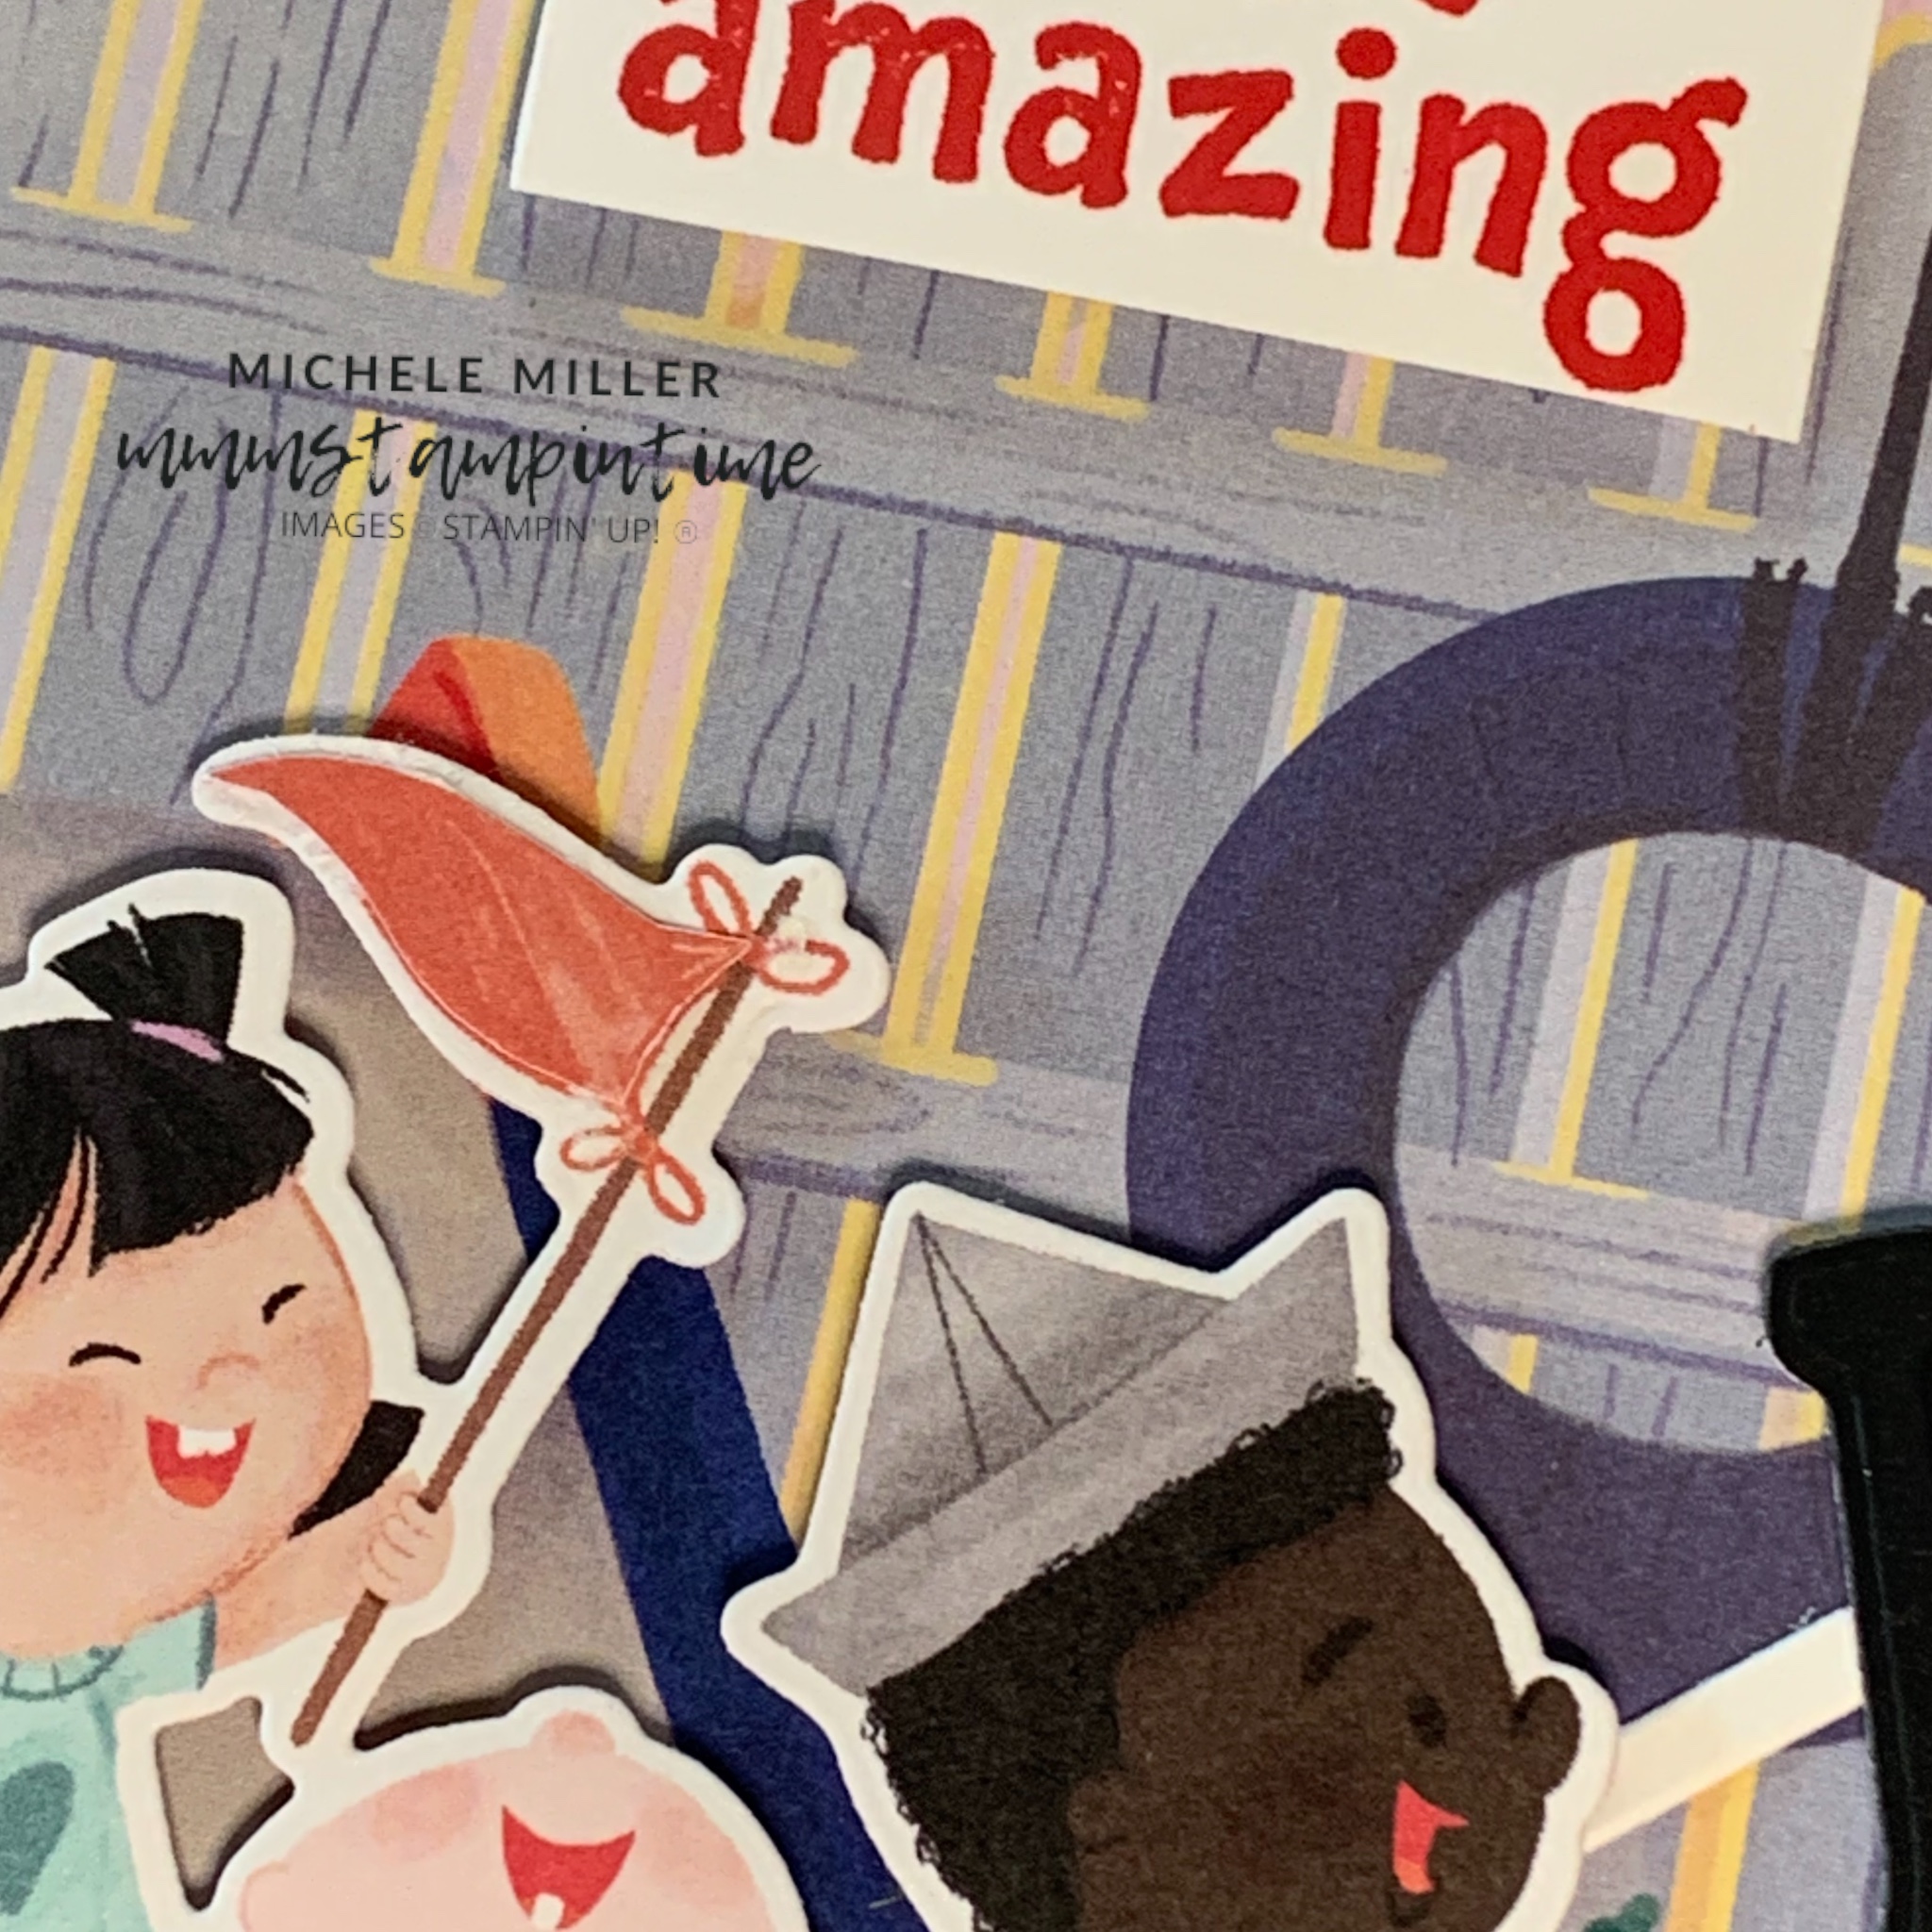
THen I spent time fussy cutting each of the reading characters to include in the card.

The Mini Alphabet Dies were perfect to create each of the words included in this card.

I don’t think that have done this much fussy cutting in quite a while. I really like the little reader tucked in under his blanket.

On the ‘read with passion’ page, I included a gift card pocket. This will be the perfect place for a bookstore gift card for an avid little reader.

I am not sure what I will have for you tomorrow. So until then, happy stamping.

If you live in Australia, you can order any of the products I used to make this card by going to my online store. Just click on any of the images below.

Product List
Paper Snips
[103579]
$19.25
Posted on Leave a comment

WELL, WHAT’S HAPPENING THIS WEDNESDAY

Woohoo, it’s Wednesday and another opportunity to share something new.

Today’s card is ‘amazing’.

I was so pleased to see the wonderful panels on two of the Designer Series Paper sheets. I used this playground panel for the background on my Poppy Parade cardbase

After looking at all the images on the Just Kiddin’ Designer Series Paper, I chose the three children in the pull cart for this card.

I was able to cut it using one of the Kiddin’ Around Dies.

I also used the Filled with Fun Dies to cut a Poppy Parade cart, Basic White timber side, pull handle in Basic Black and wheels in Basic Black and Poppy Parade.

After I layered all these elements and adhered them together, I had created an amazing pull cart with happy children inside.

The completed pull cart was then added to the card front using Stampin’ Dimensionals.

The greeting, from the Kiddin’ Around Stamp Set, was stamped in Poppy Parade before being trimmed down and added to the front of the card.

I stamped the cluster of stars, from the stamp set, on the card insert and envelope.

Tomorrow I have a small 3D Easter project to share with you – albeit a week late for Easter.Until then, happy stamping.

If you live in Australia, you can order any of the products I used to make this card by going to my online store. Just click on any of the images below.

Product List
Paper Snips
[103579]
$19.25
Posted on Leave a comment

IT’S MONDAY & THAT MEANS IT IS TIME TO HIGHLIGHT SOME NEW STAMPIN’ UP! PRODUCTS

This week I am highlighting two sets of products because they coordinate so well.

The first is the Just Kiddin’ Suite Collection.

The second bundle is the Filled with Fun Bundle.

For my first card, I decided to fussy cut some of the images from the designer series paper to create a birthday card.

I started with a Poppy Parade card base.

Then embossed Basic White layer, using the soon to be released So Swirly Embossing Folder.

I took a length of white ribbon from the soon to released Petal Pink & White 1/4″ Diagonal Trim and coloured it with the Dark Poppy Parade Stampin’ Blend pen.

The ribbon was wrapped around the embossed layer and secured with Tear & Tape. I used a shirt length of coloured ribbon to tie onto the length of ribbon.

I used Multipurpose Glue to adhere the embossed layer to the card base.

The greeting on the card front was made using the Mini Alphabet Dies, Poppy Parade cardstock and Adhesive Sheets.

I originally fussy cut three of the little girl wearing an apple costume image and added them to the card front. While waiting to take photos of this project, I tucked the card inside an envelope. It was so humid today that the envelope stuck to the centre front of the card. When I tried to peel it away, the half of the middle apple was torn away. My solution was to use the circle die from the Delightful Doilies Dies set.

I used the Basic White water colour pencil, from Assortment 1, to add some colour to each apple. Then I used my Clear Wink of Stella to wash it over the apple and add some glimmer.

The birthday greeting, from the Kiddin’ Around Stamp Set was stamped for the card insert and envelope.

Tomorrow I have a fun card to share with you.

Until then, happy stamping.

If you live in Australia, you can order any of the products I used to make this card by going to my online store. Just click on any of the images below.