Posted on Leave a comment

THIS WEEK’S GLOBAL DESIGN PROJECT CHALLENGE #GDP438

I am a few days earlier than usual sharing my project for the latest challenge.

This week’s challenge is a SKETCH CHALLENGE.

Make sure that click on the image below to be directed to the GDP page to check out all the amazing projects the DEsign Team have created; as well as the ‘entries’ from card makers around the world.

i decided to use the soon to be released Country Birdhouse Bundle from the Country Woods Suite Collection.

The Country Woods Designer Series Paper is amazing – this is where I started. The Misty Moonlight weathered wood design and the multicoloured timber design were my choices.

I made a Misty Moonlight card base and added a panel of the weathered timber DSP.

Following the Sketch Challenge layout, I cut a piece of Basic Beige and embossed it with the Timber 3D Embossing Folder. I adhered it directly onto the card front.

Then I set about creating my birdhouse.

I stamped the birdhouse image onto the multicoloured timber paper and die cut it. At the same time I added the two small round dies to cut out the circles in the birdhouse.

Then I cut the roof and bottom piece in Pool Party and the barge board in Petal Pink.

I stamped the birthday greeting on the Pool Party lower panel.

After adhering these three die cut pieces to the front of the birdhouse I attached pieces of Foam Adhesive Sheets to the back.

I cut a panel of Petal Pink timber from the DSP and added it to the bottom of the card front.

A scrap of the Misty Moonlight DSP was adhered to a scrap of matching cardstock and then cut using the bow die. I trimmed the long strip from above the bow and then secured it to the card front.

Finally, I stamped the bird three times – once on a scrap of Basic Beige card and on the card insert and envelope. The first bird was die cut and then coloured using Pecan Pie and Petal Pink Stampin’ Blends and was painted with Clear Wink of Stella.

Tomorrow I have a Magnolia Mood 3D Project for you.

Until then, happy stamping.

If you live in Australia, you can order any of the products I used to make this card by going to my online store. Just click on any of the images below.

Until the new 2024-2025 Annual Catalogue goes live to customers on May 1st I won’t be able to share the new products I have used. I can still share existing products with you.

Product List
Paper Snips
[103579]
$19.25
Posted on Leave a comment

SATURDAY IS ALL ABOUT SHARING A CHALLENGE PROJECT

This week’s Global Design Project challenge is a COLOUR CHALLENGE.

These colours, all from the Brights family, are lovely and warm.

Make sure you pop over and see what the GDP Design Team have created. As you scroll down, you can also see all the entries from non-team members, from around the world.

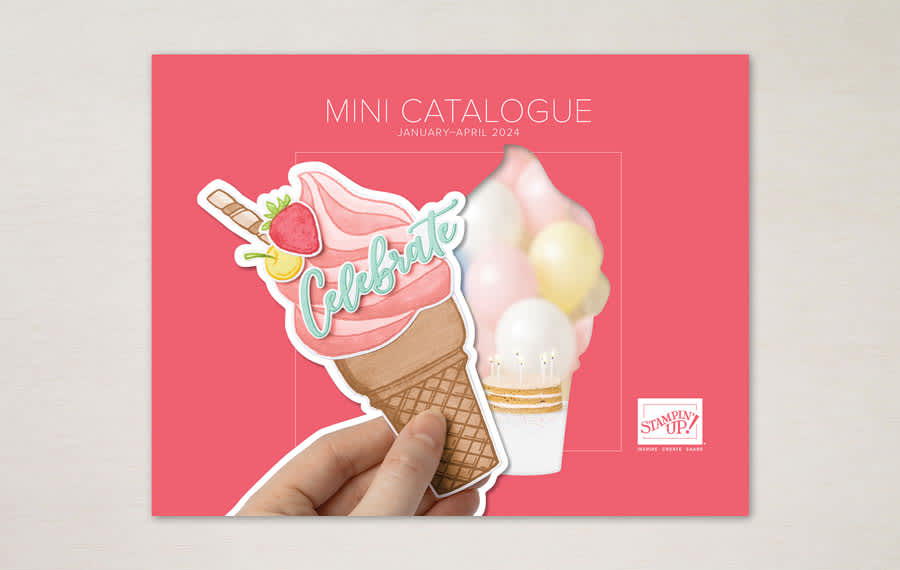
I decided to use the Excellent Eggs Stamp Set from the January – April 2024 Mini Catalogue (162808 – $76.50AUD).

Here are my colourful Easter Eggs.

Yes, my photos are finally loading!

I started by die cutting many of the stitched zigzag shapes and then adhered them to a Basic White panel.

Then I stamped, coloured and die cut the three Easter Eggs. For colouring, I used my Daffodil Delight, Flirty Flamingo and Pumpkin Pie Stamppin’ Blends. Then I gave each egg a CLear Wink of Stella paint job.

I wrapped some gold Simply Elegant Trim behidn the central egg. The two remaing eggs were trimmed so tht would align with the outer sides of the white panel.

The trimmed eggs were adhered directly over the zigzag background and the central egg was popped up with Stampin’ Dimensionals.

The ‘Happy Easter’ greeting was stamped separately, using tape to cover each half. After I inked each word I removed the tape and stamped. This gave me two cleanly stamped words with enought space to die cut them with one of the Wonderful Thoughts Dies.

The greeting elements were added to the card front using dimensionals.

The card insert and envelope each had a cardstock zigzag die cut added to them.

Finally, a little bling – white Neutrals Adhesive-backed Sequins coloured with my Pumpkin Pie Stampin’ Blends pen.

I look forward to sharing new projects next week.

Until then, happy stamping.

Posted on Leave a comment

GLOBAL DESIGN PROJECT #422 – SKETCH CHALLENGE

It has been almost a month since my last post. It’s definitley time to start picking up my act.

This week’s Global Design Project is a Sketch Challenge. When I saw it, I knew exactly what I wanted to do.

If you click on the image below, you will be redirceted to the GDP website where you can see the Design Team’s amazing projects and all the entries submitted by fellow paper crafters.

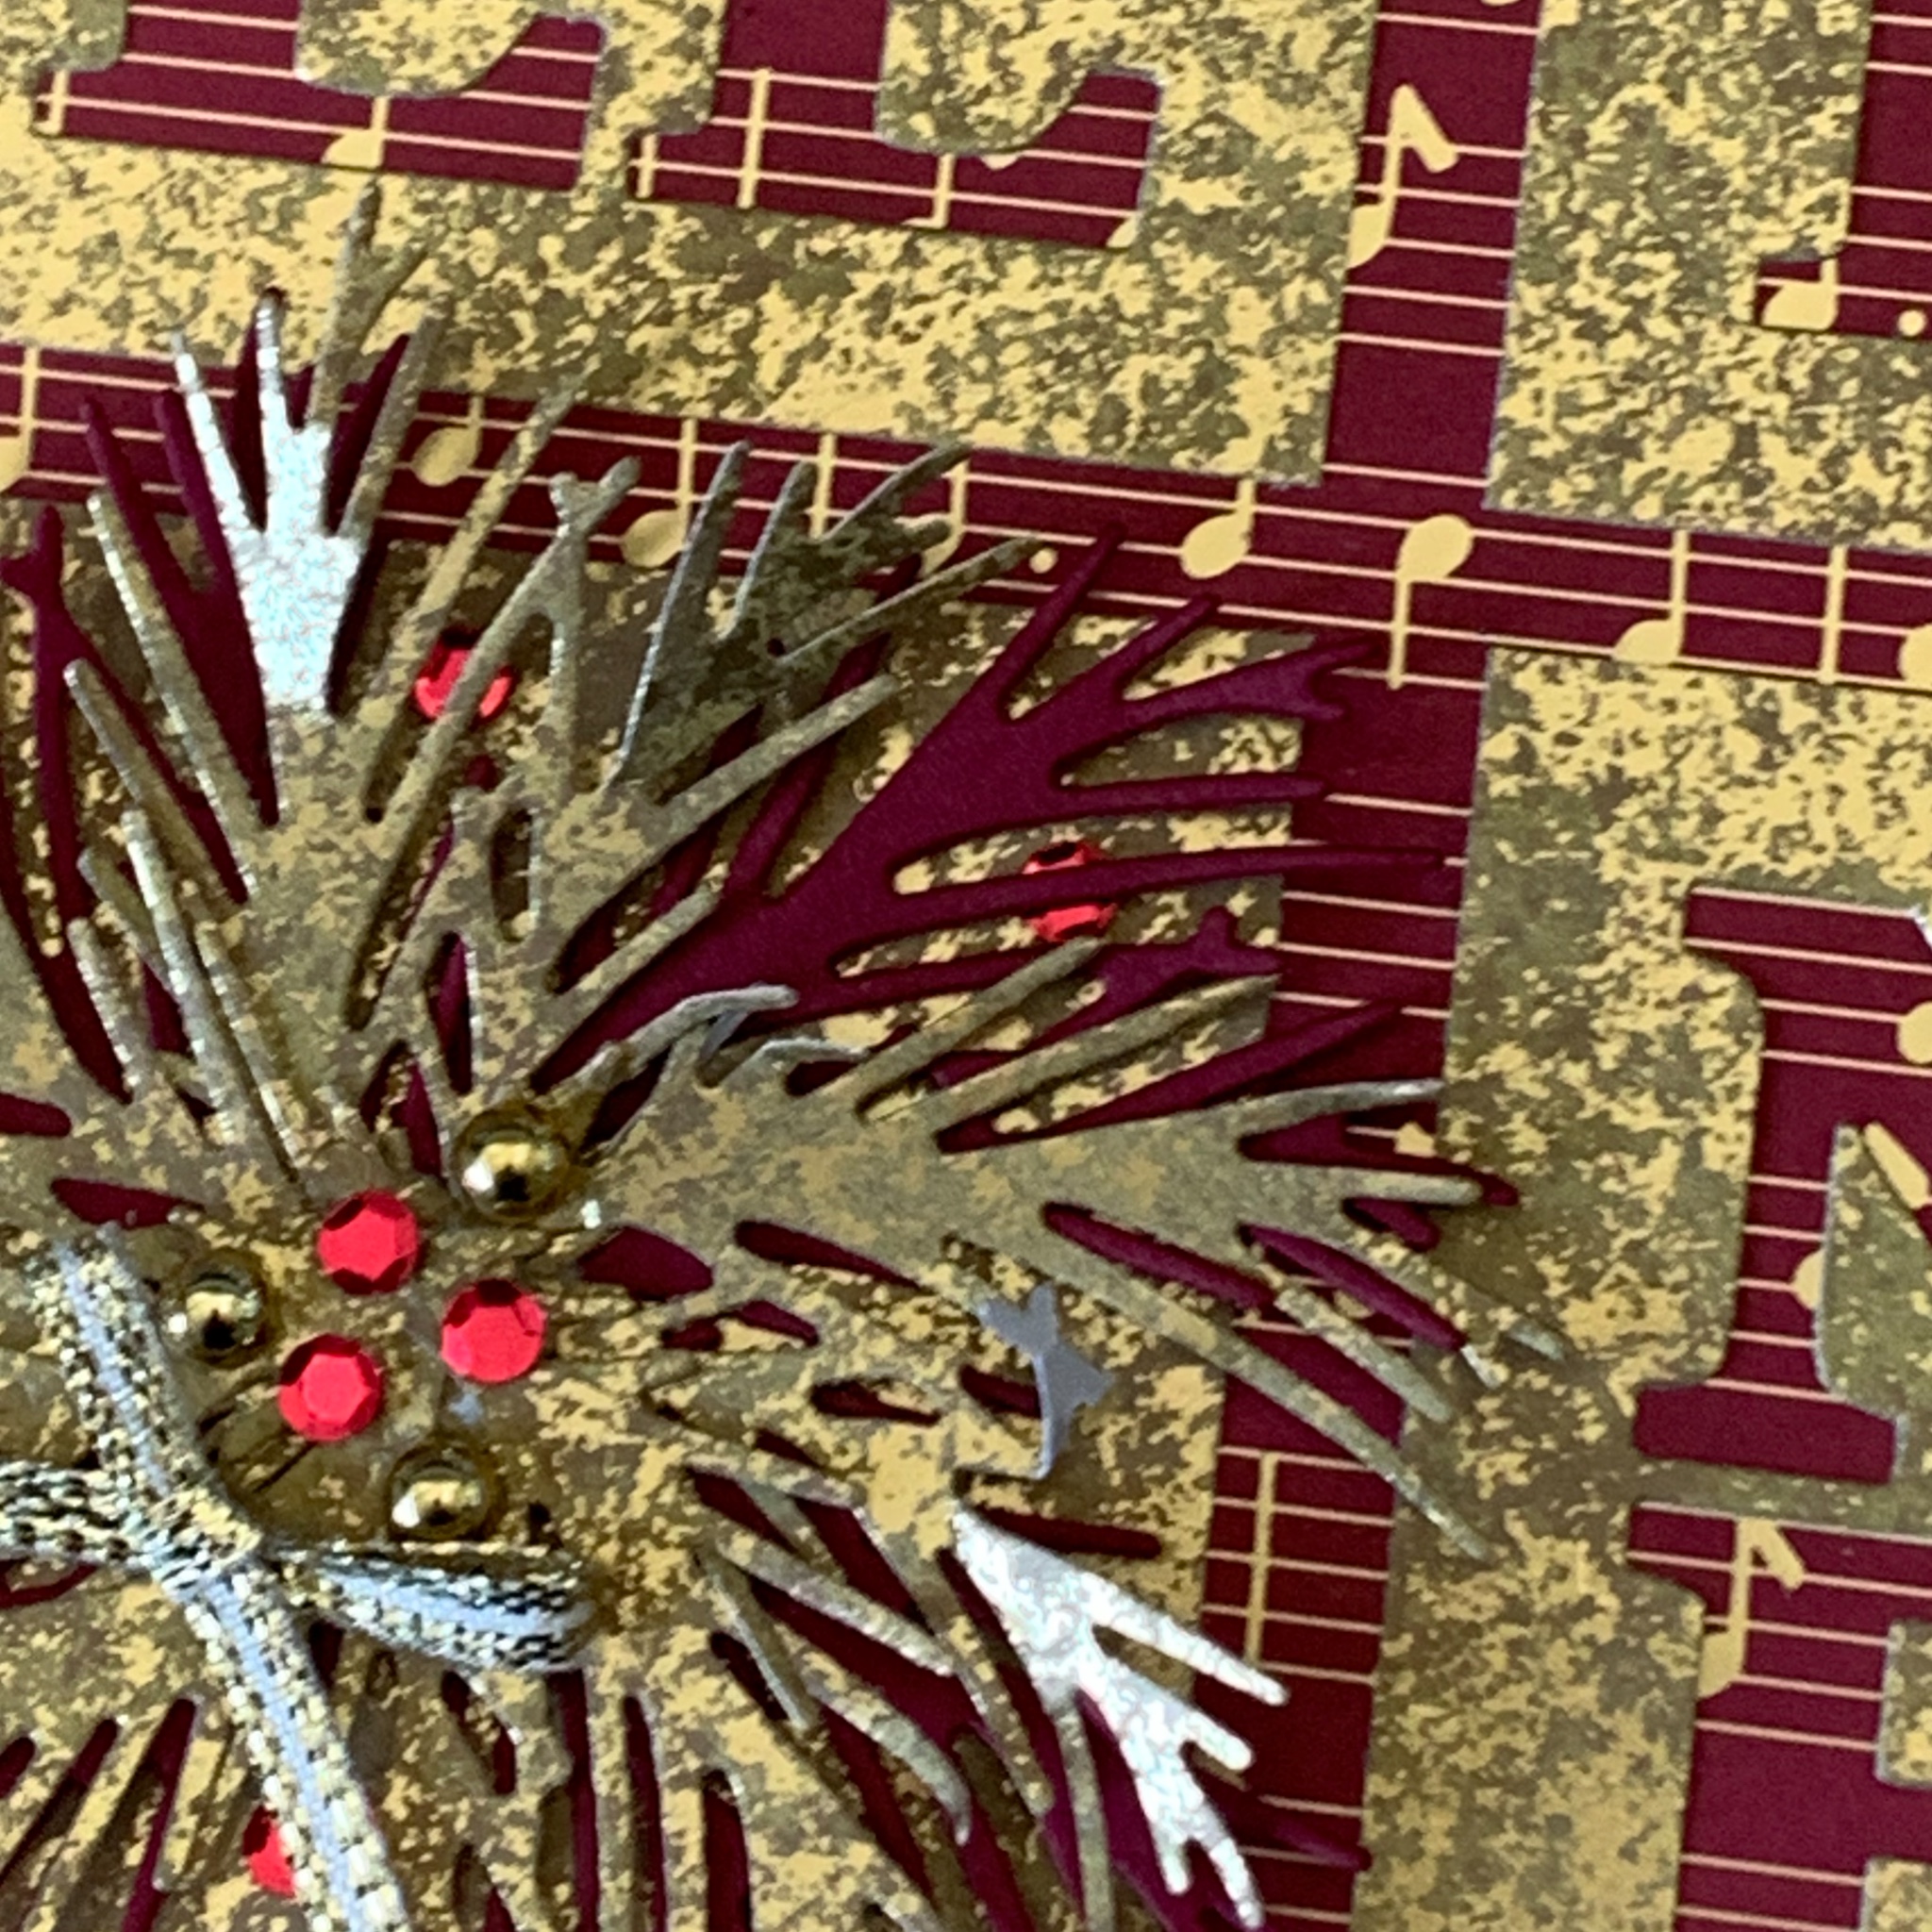
I definitely wanted to create a bespoke Christmas card using the Joy of Noel Dies, Joyful Specialty Designer Series Paper and Distressed Gold 12″ x 12″ Specialty Paper.

This card measures 6″ x 6″, to accommodate the size of the NOEL die and paper layering.

I started bu cutting four 2-1/2″ squares from the Distressed Gold paper. Three of them were die cut with the NOEL Joy of Noel Dies.

The task then was to decide the measurements for each underlying layer – 5-3/4″ square of the music score paper, 5-7/8″ square of Distressed Gold paper and 12″ x 6″ Cherry Cobbler card base.

Then I adhered the 2-1/2″ Distressed Gold squares onto the music sheet. I ensured each of these squares were spaced evenly around the edges and between each other a 1/4″.

Then all the layers were adhered together.

The next step was to cut four Cherry Cobbler and five Distressed Gold leaves. These were adhered to the gold square (bottom left-hand corner) to create a wreath.

A length of gold ribbon, from the Gold & Silver Trim bundle, was tied into a tiny bow and adhered with a Mini Glue Dot.

I used the same die to cut NOEL into the card insert.

The final touch was to add some gold Blooming Pearls and some red adhesive backed sequins (retired) to the centre of the wreath.

I will add some details about ordering these products a little later.

Until then, happy stamping.