Posted on Leave a comment

WELL, WHAT’S HAPPENING THIS WEDNESDAY?

As I have a;ready mentioned this week, there are some new Online Exclusives coming soon.

And, there are definitely more than three new product lines – I know because I have preordered a lot of them. That is one of perks of being a Stampin’ Up! Demonstrator.

Today’s card uses a very different colour way.

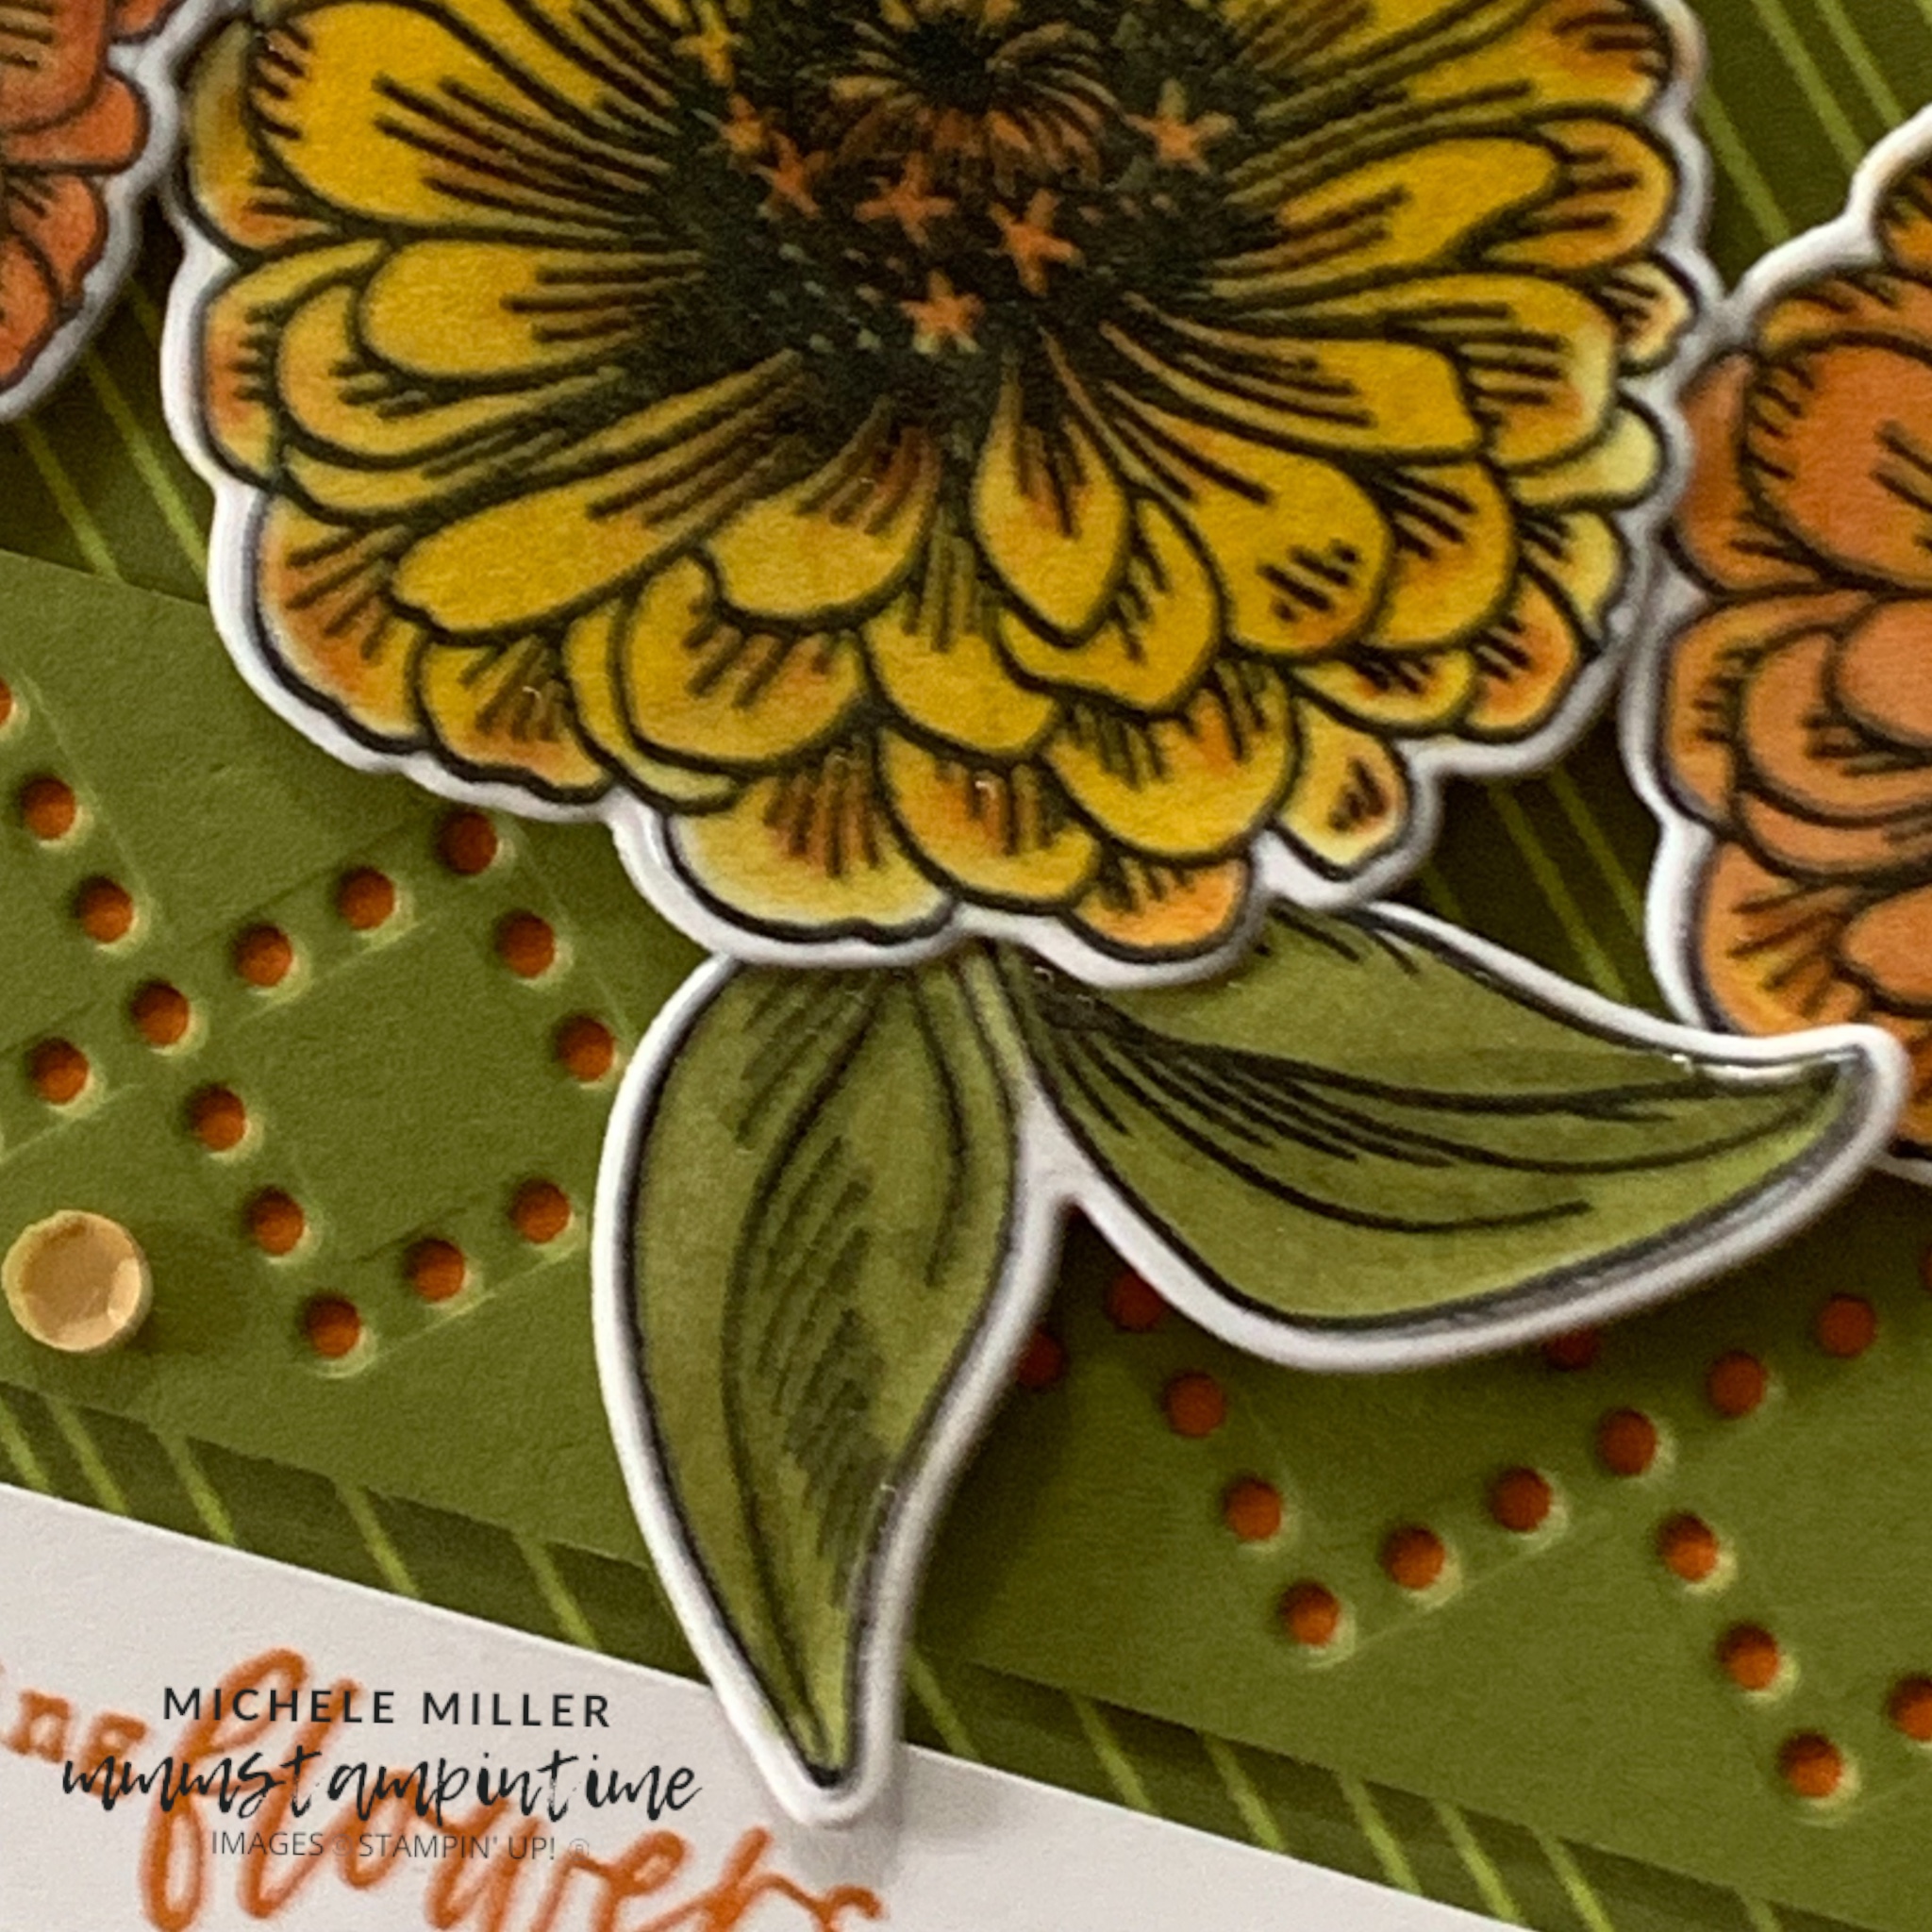
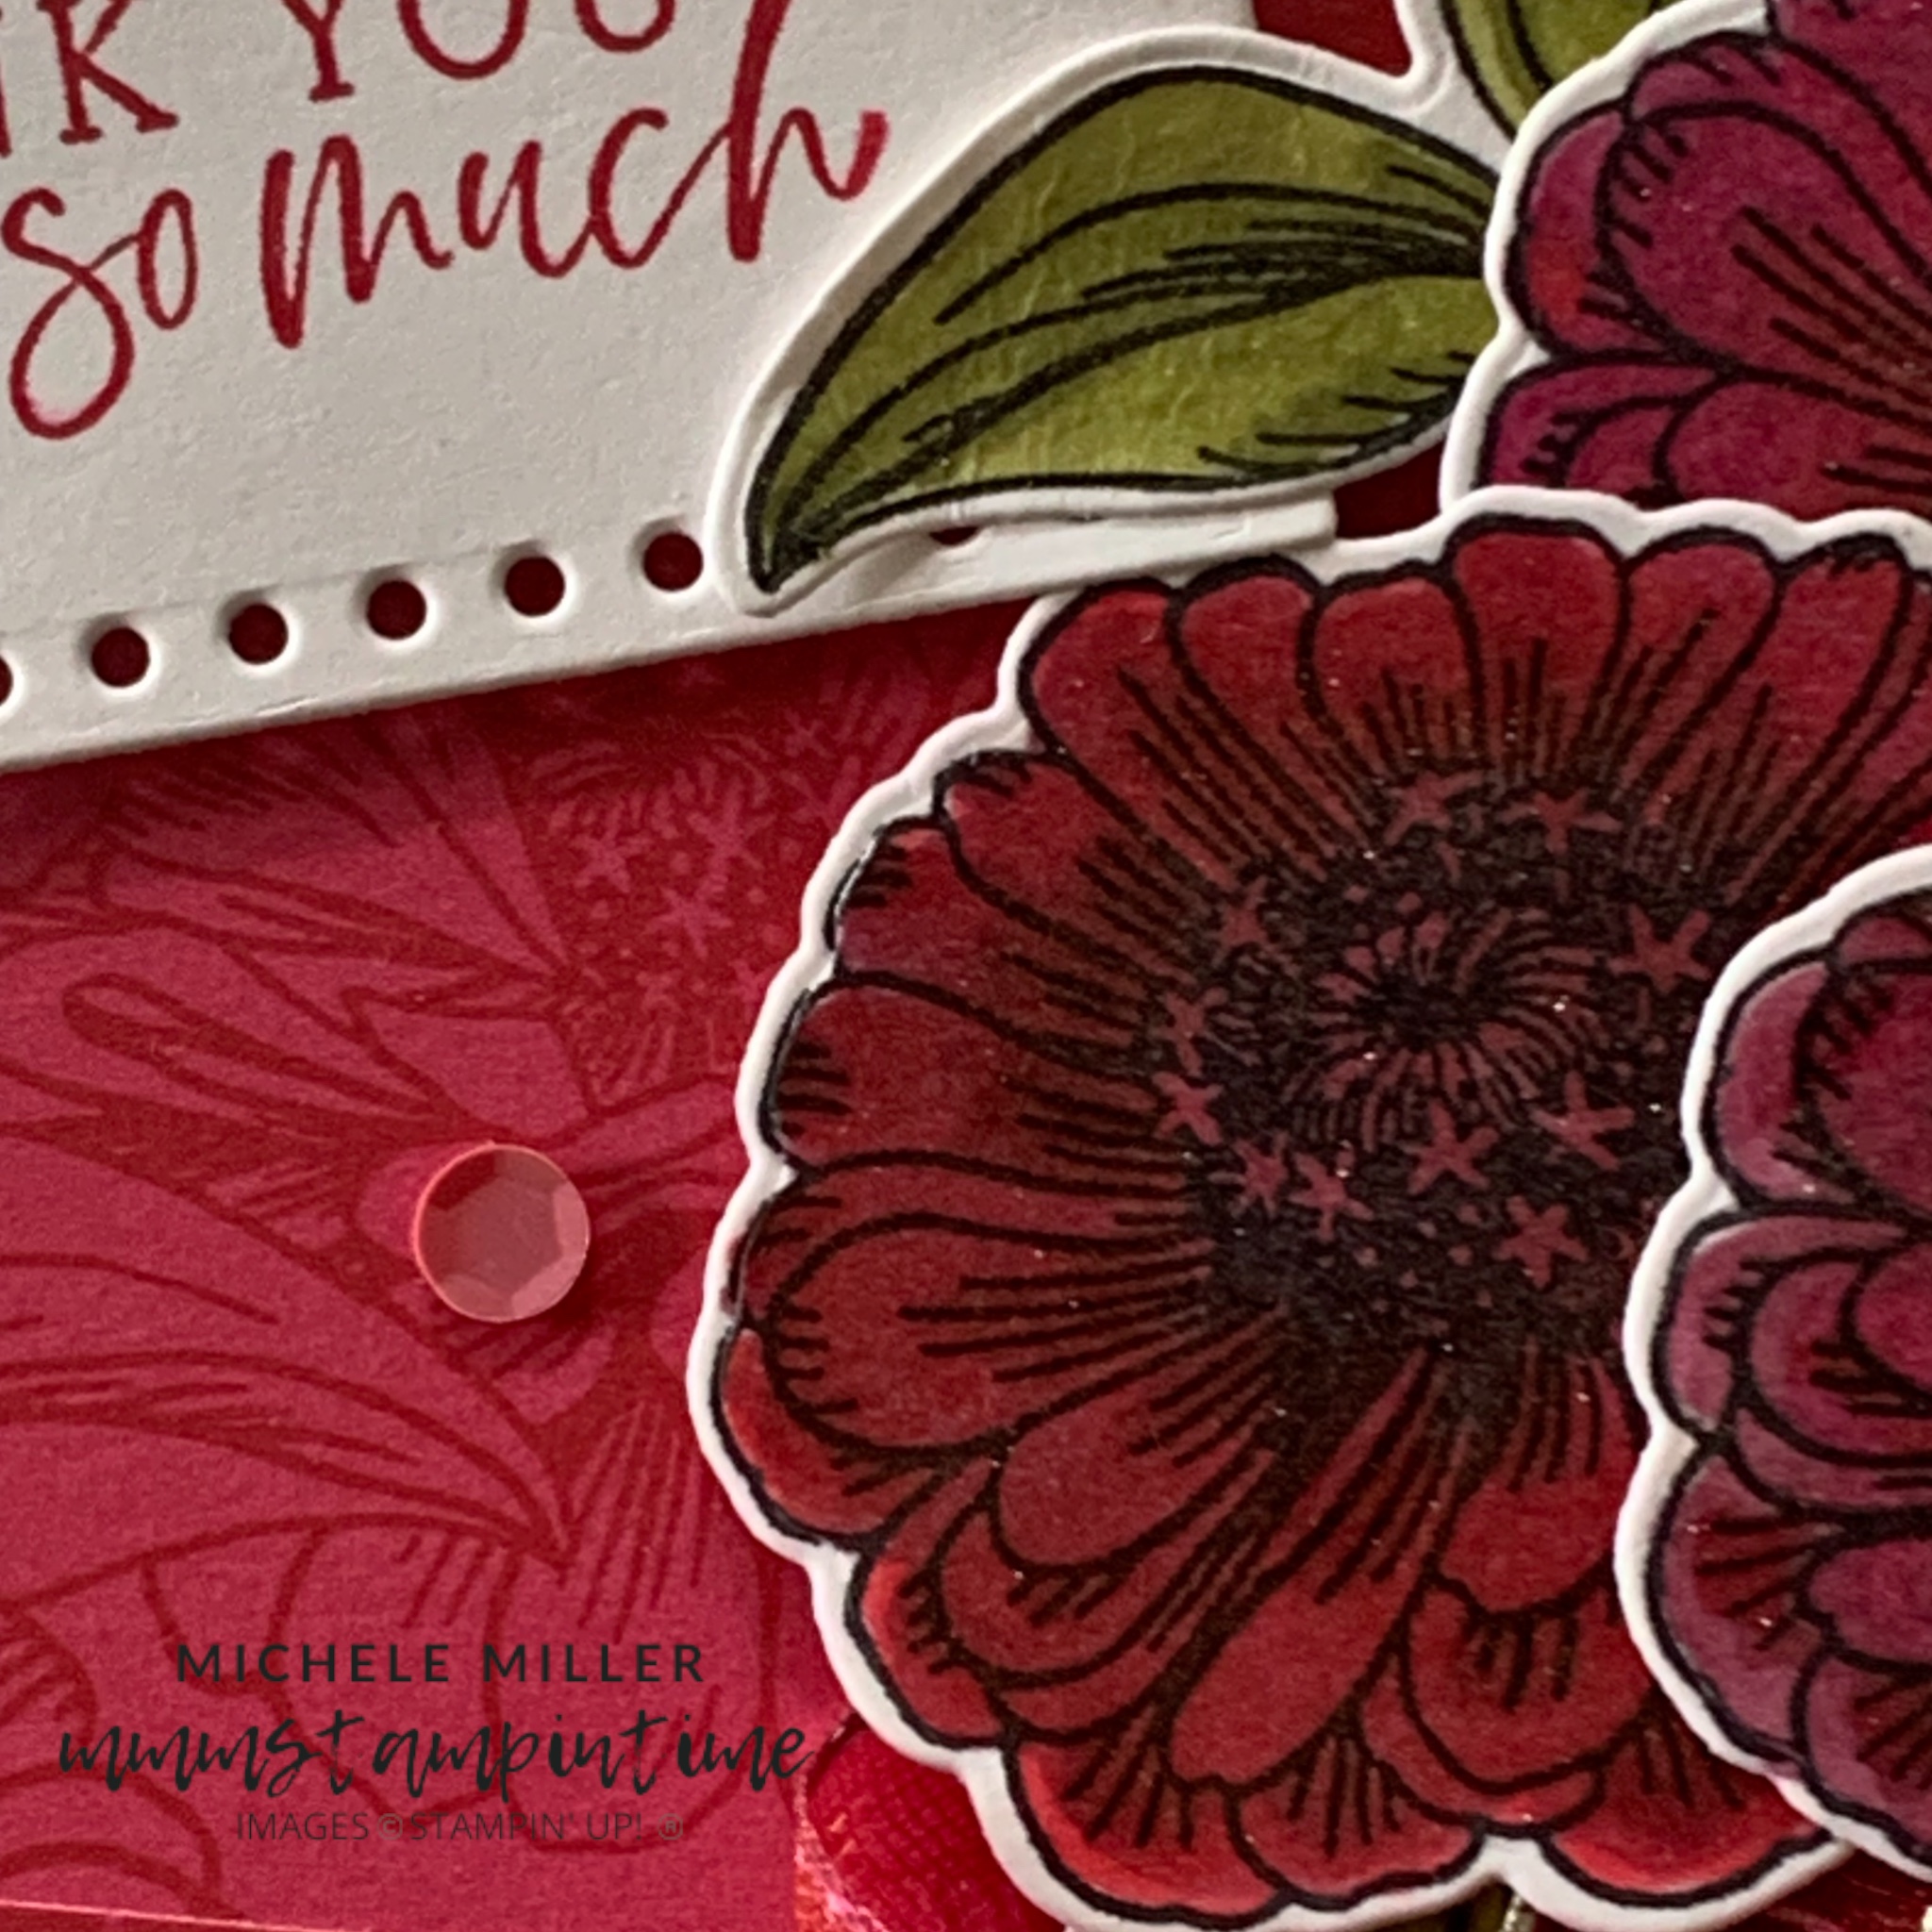
I started with a Melon Mambo card base and chose Blackberry Bliss, Flirty FLamingo, Melon Mambo, Old Olive and Real Red Stampin’ Blends to colour the three single zinnias.

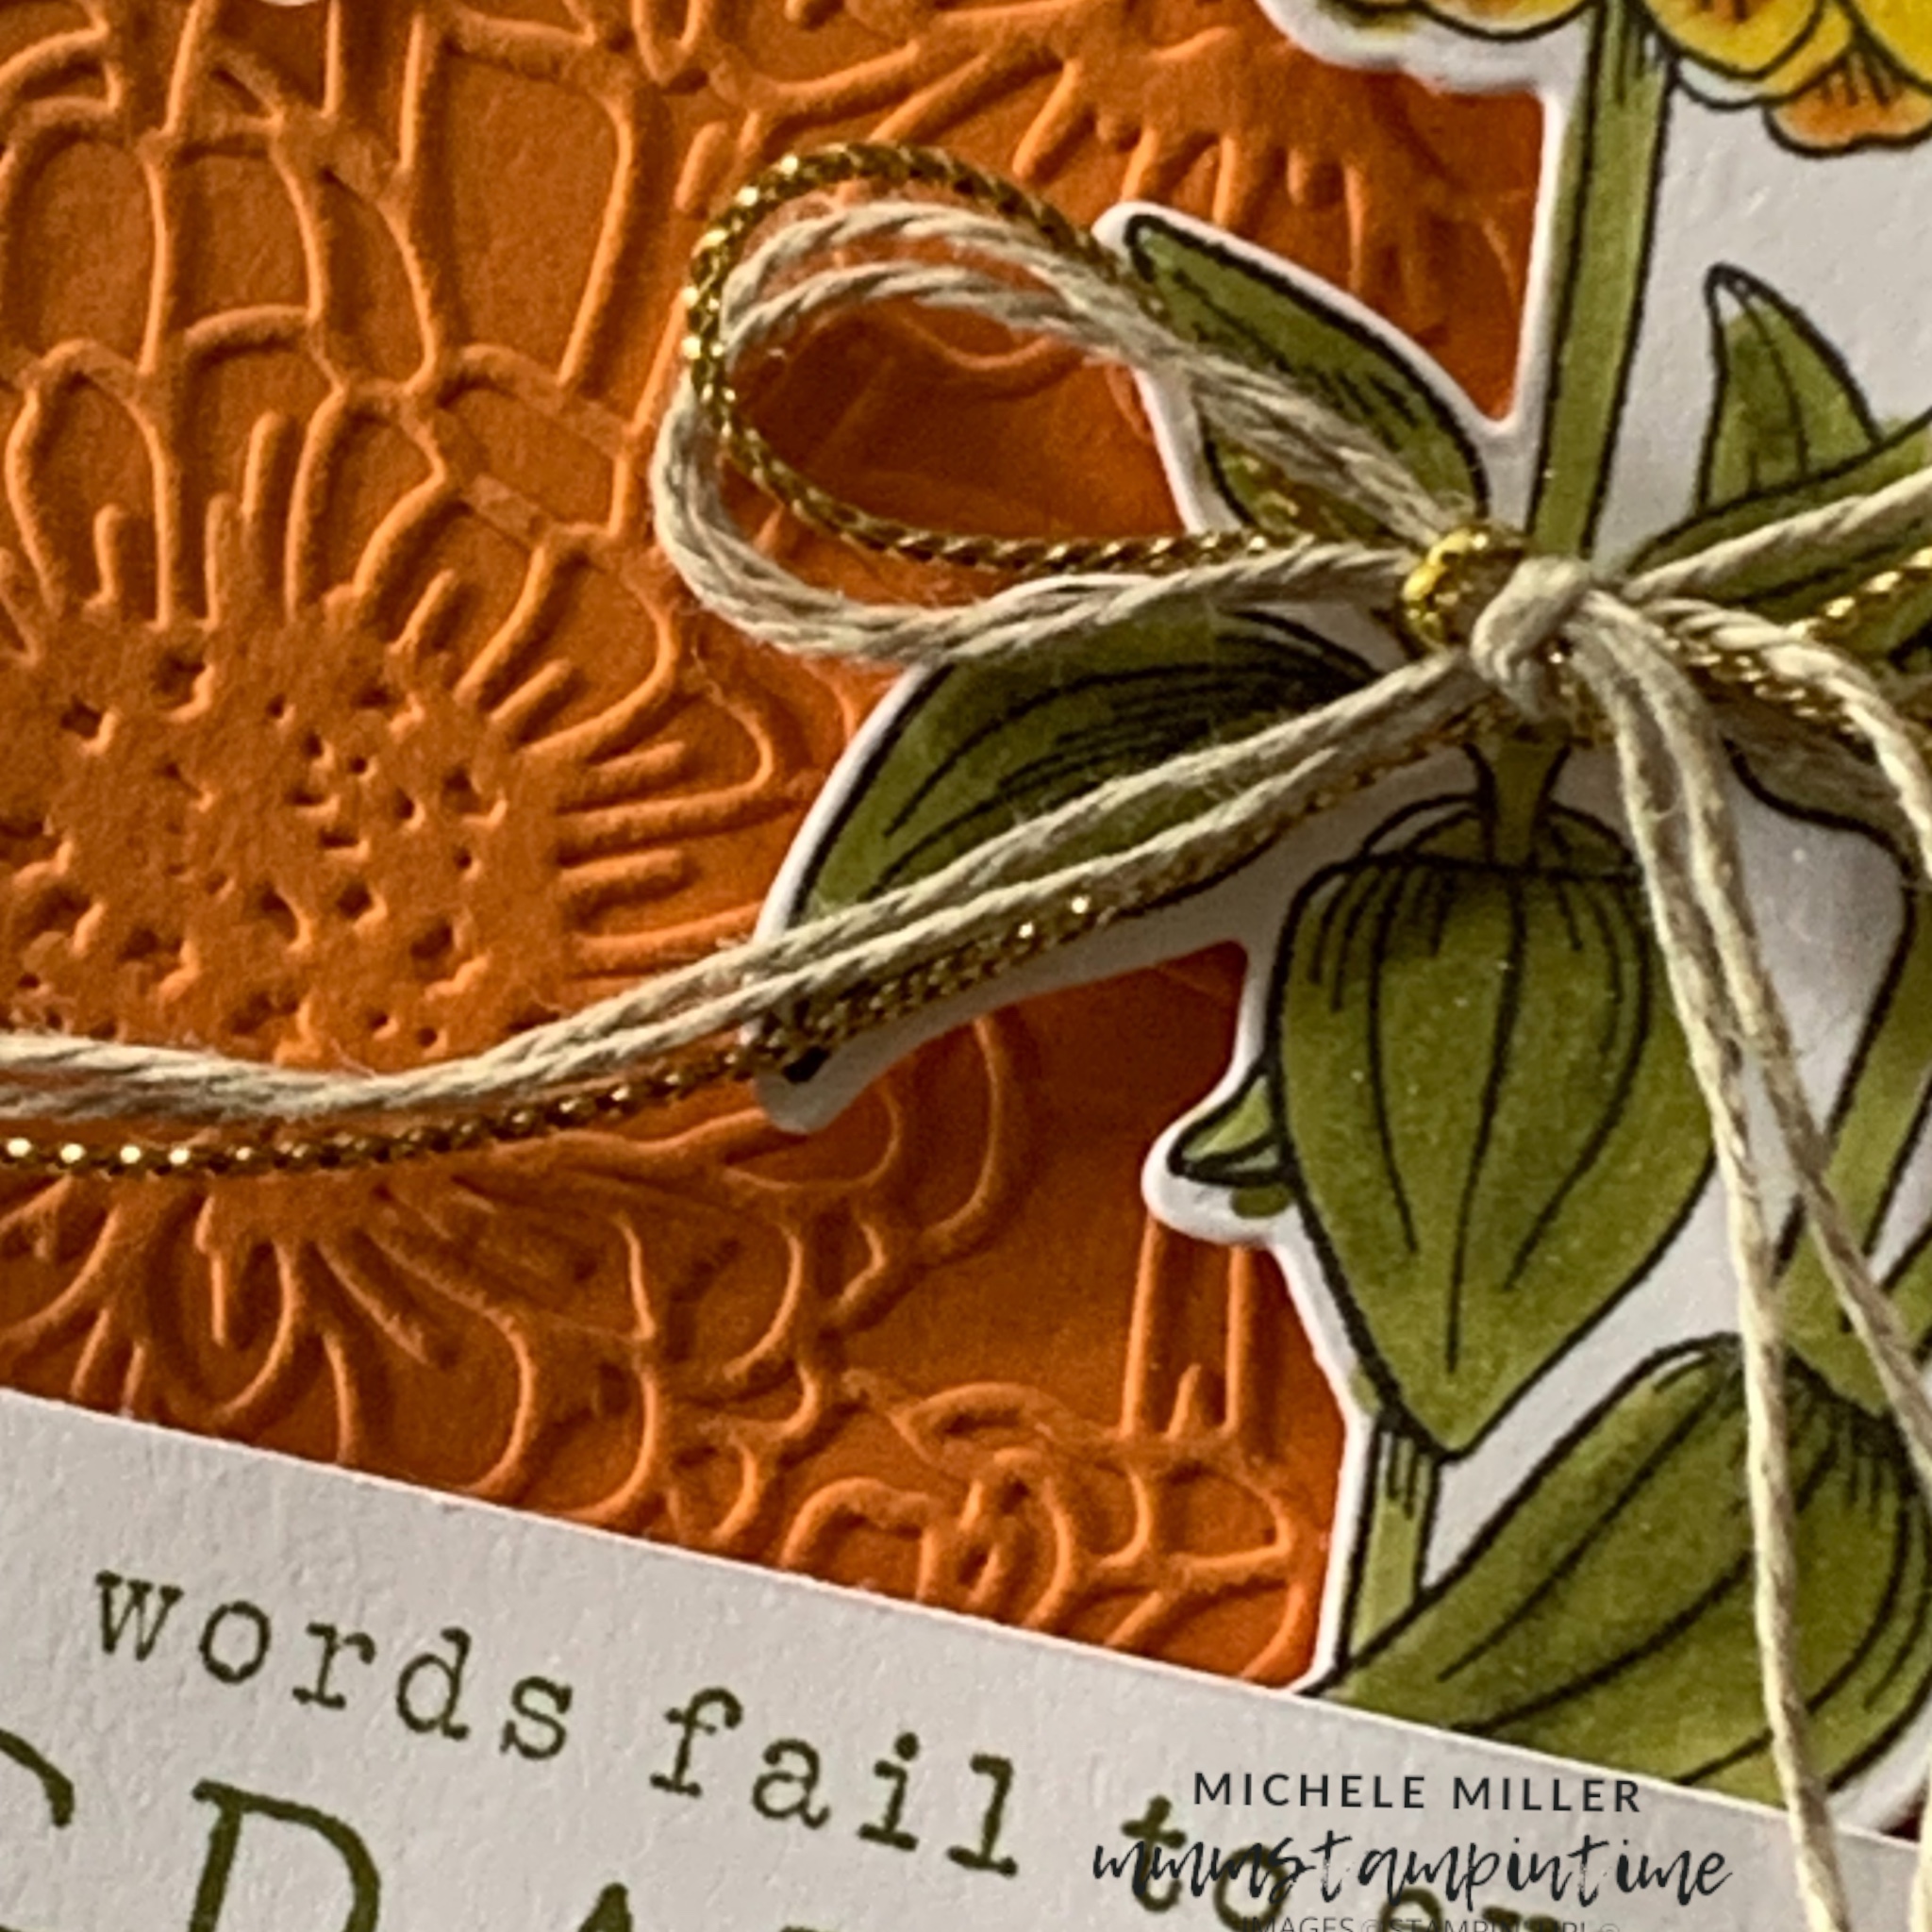
The 5 5/8″ x 4″ Designer Series Paper panel was scored at an angle and I folded in to create this shape.

After I glued the DSP onto the card front, I wrapped a length of Silver & White Sheer Ribbon that I coloured it with the Dark Melon Mambo Stampin’ Blend pen. Then I arranged and attached the zinnias and leaves using Stampin’ Dimensionals.

The greeting was stamped onto Basic White cardstock and then cut using one of the Everyday Details Dies. This was then positioned on the card front using dimensionals.

The single zinnia was stamped on the card insert and on the envelope.

Finally, some of the Adhesive-Backed Shiny Sequins were added.

Tomorrow I have a 3D project to share with you.

Until then, happy stamping.

If you live in Australia, you can order any of the products I used to make this card by going to my online store. Just click on any of the images below.

Product List
Paper Snips
[103579]
$19.25
Posted on Leave a comment

TODAY IS TUESDAY & IT’S TIME FOR SOME TIPS & TECHNIQUES

The technique that I have used for all my projects this week is colouring with Stampin’ Blends.

The great thing about these alcohol based blending pens is that the colours blend together so well.

I start by laying down the lightest colour andthen going back in with each colour, from the lightest to the darkest. This allows me to build the colours and create shading.

TIP: Don’t leave the lids off for too long because the alcohol inks tend to dry quickly.

For this card I chose an Old Olive card base and the Old Olive/Lemon Lolly diagonally striped DSP.

After adhering the DSP on the card base, I took a 5 5/8″ x 1″ strip of Old Olive cardstock and one of the Everyday Details Dies to create this interlocking zigzag of dots. I secured a slightly smaller piece of Pumpkin Pie cardstock on the back so that the ornage could peep through. This two tone panel was thenplaced on the card front using Stampin’ Dimensionals.

I stamped, die cut and coloured three of the individual zinnias and three of the double leaves. The same coloured stampin’ Blends were used for this card – Lemon Lolly, Old Olive and Pumpkin Pie. These flowers were also given the Clear Wink of Stella treatment.

The greeting was stamped in Pumpkin Pie and trimmed down to fit inside the lower panel.

I stamped the top of a sinfle zinnia on the card insert and envelope.

I added some of the Adhesive-Backed Shiny Sequins to the card front for a splash of shimmer.

Until I share a new project tomorrow, happy stamping.

If you live in Australia, you can order any of the products I used to make this card by going to my online store. Just click on any of the images below.

Product List
Paper Snips
[103579]
$19.25
Posted on Leave a comment

IT’S MONDAY & THAT MEANS IT IS TIME TO HIGHLIGHT SOME NEW STAMPIN’ UP! PRODUCTS

From March 5th, there will be a wide range of new and amazing Online Exclusive products available for customers to order.

If you can’t wait that long, you can join Stampin’ Up! and add some of them to your Beginner Kit order.

The Simply Zinnias Suite Collection (163485) is $146AUD.

If you join this month, you can choose $235AUD of products for only $169 (and FREE postage). During February, as a new demonstrator, you will receive the new Stampin’ Glass Mat Studio (valued at $106) for FREE. If you don’t want the Glass Mat, you can choose a further $51AUD in products for FREE.

I love the vivid colours in the Designer Series Paper. Gorgeous!

I started with a Pumpkin Pie card base and then embossed another piece of Pumpkin Pie card using the Zinnia 3D Embossing Folder. This is one of the best embossing folders I have ever used.

The next step was to stamp, die cut and colour the image with three zinnias stems.

I enjoyed using my Stampin’ Blends for my projects this week.

For this card I used Lemon Lolly, Old Olive and Pumpkin Pie. When I had finished the colouring, I added Clear Wink of Stella to the flowers and leaves.

I placed the bunch of flowers on the card front using Stampin’ Dimensionals to lift them up, adding height.

The sentiment was stamped using Old Olive Classic Stampin’ Pad. I trimmed the sentiment panel to fit acroaa the card. It had dimensionals as well.

I stamped the card insert and envelope with just the top of the stamp, in Tuxedo Black Memento ink.

Using Linen Thread and gold trim, from the Simply Eleh=gant Trim pack, I tied a triple bow and secured it to the bunch of flowers using Mini Glue Dots.

Tomorrow’s card features the individual zinnia image.

Until then, happy stamping.

If you live in Australia, you can order any of the products I used to make this card by going to my online store. Just click on any of the images below.

Product List
Paper Snips
[103579]
$19.25