This week I am featuring projects using the Summer Happiness Bundle and Washi Tape.
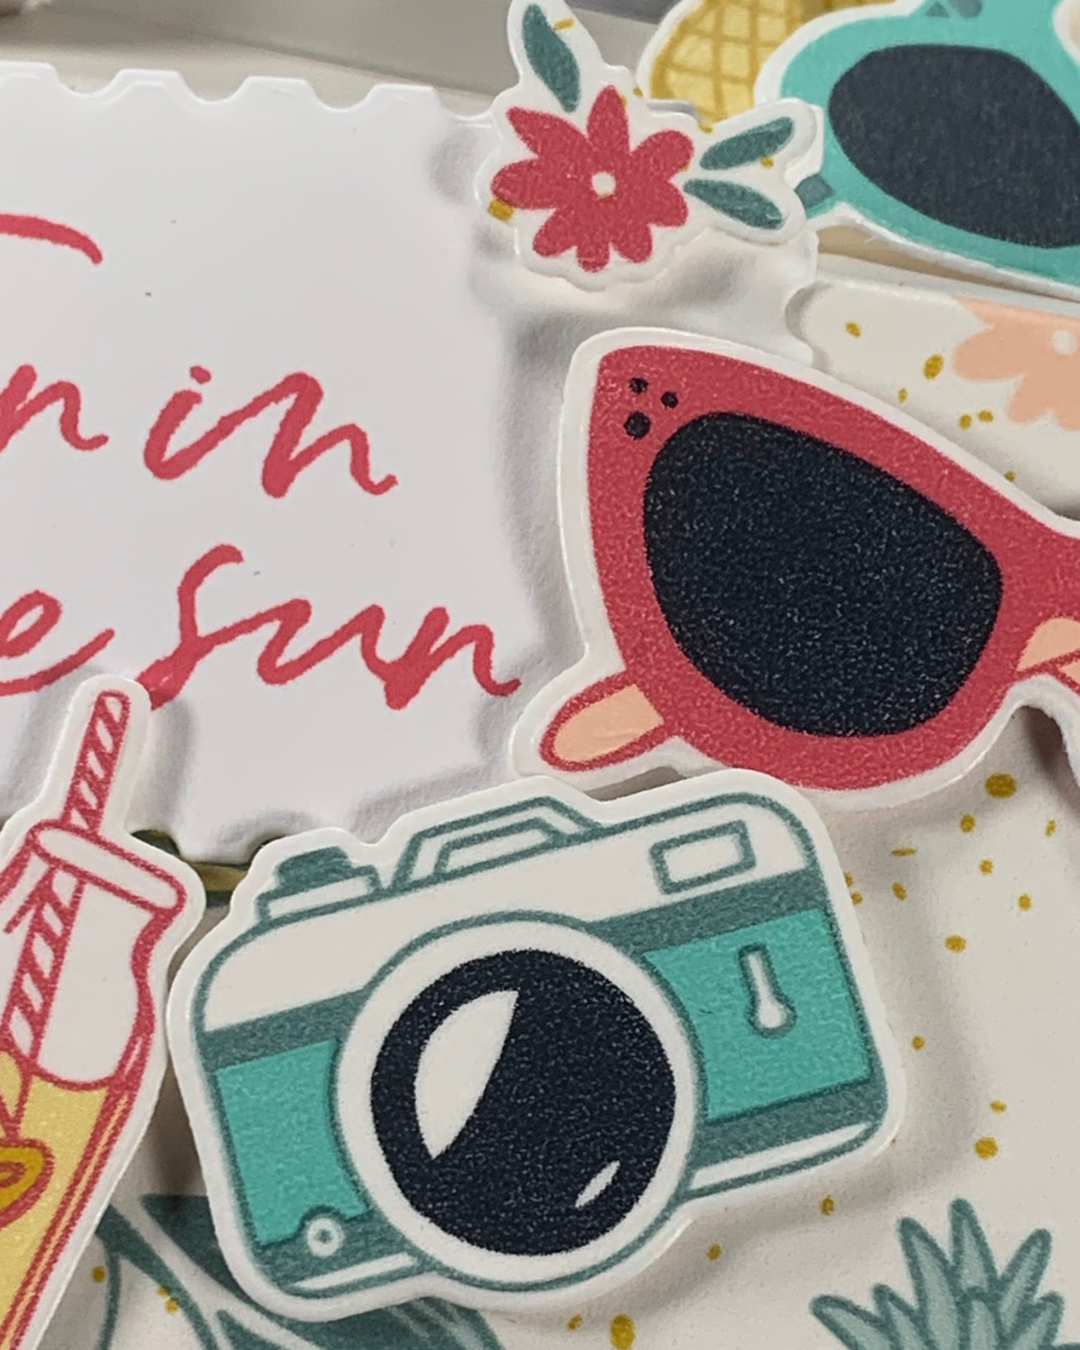
Summer adventures need to be photographed and journalled for memory keeping. I love that there is a camera stamp and coordinating die in this bundle.
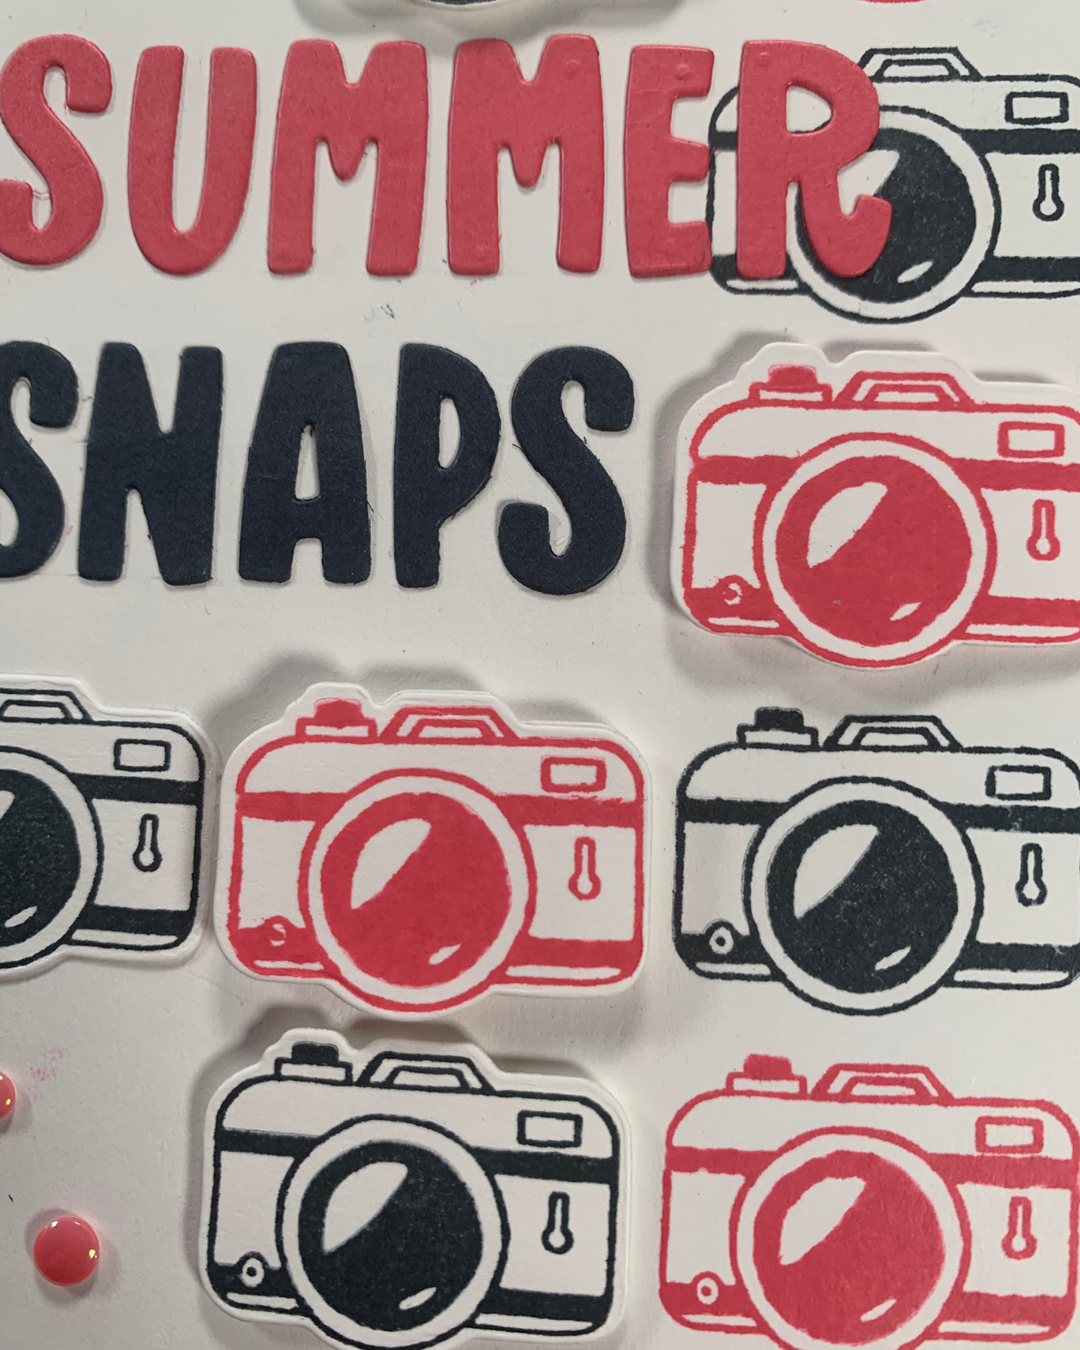
Here is my Summer Snaps card.

I decided to use Secret Sea and Strawberry Slush for this project.
Take a look at the column of cameras on the right hand side – perfectly spaced! How?

I used the new Stampin’ Positioner to stamp and space each image.
‘Summer Snaps’ were cut with the Mini Alphabet Dies from both Secret Sea and Strawberry Slush card … with Adhesive Sheets attached on the back. I positioned them on the card front before finishing the card.
Then I stamped and die cut several more cameras and added them to the card. I used many Stampin’ Dimensionals to layer them up on the card front.

To finish this card I added some 2025 – 2027 In Colour Flat Pearls.
Cameras are a little special for me. My father was a professional photographer who learned his craft in the RAF – Royal Australian Airforce. That’s where he met my mother and the rest is history. I’m not a pro but I think I inherited his ‘eye’ for image composure.
Tomorrow I have flip flops to share with you.
Until then, happy stamping.