Posted on Leave a comment

GROWING UP WITH TERRACOTTA POTS IN THE GARDEN

I have always loved terracotta pots and the colour of red clay.

For this project I needed to use Cajun Craze as my terracotta standby … and, it is a great colour substitute.

My plan was to create a card that incorporated lots of stacked pots with several of them having luscious plants growing in them.

The Copper Clay card base had a Basic White panel adhered to it.

My next step was to stamp, colour and die cut the five stacks of pots.

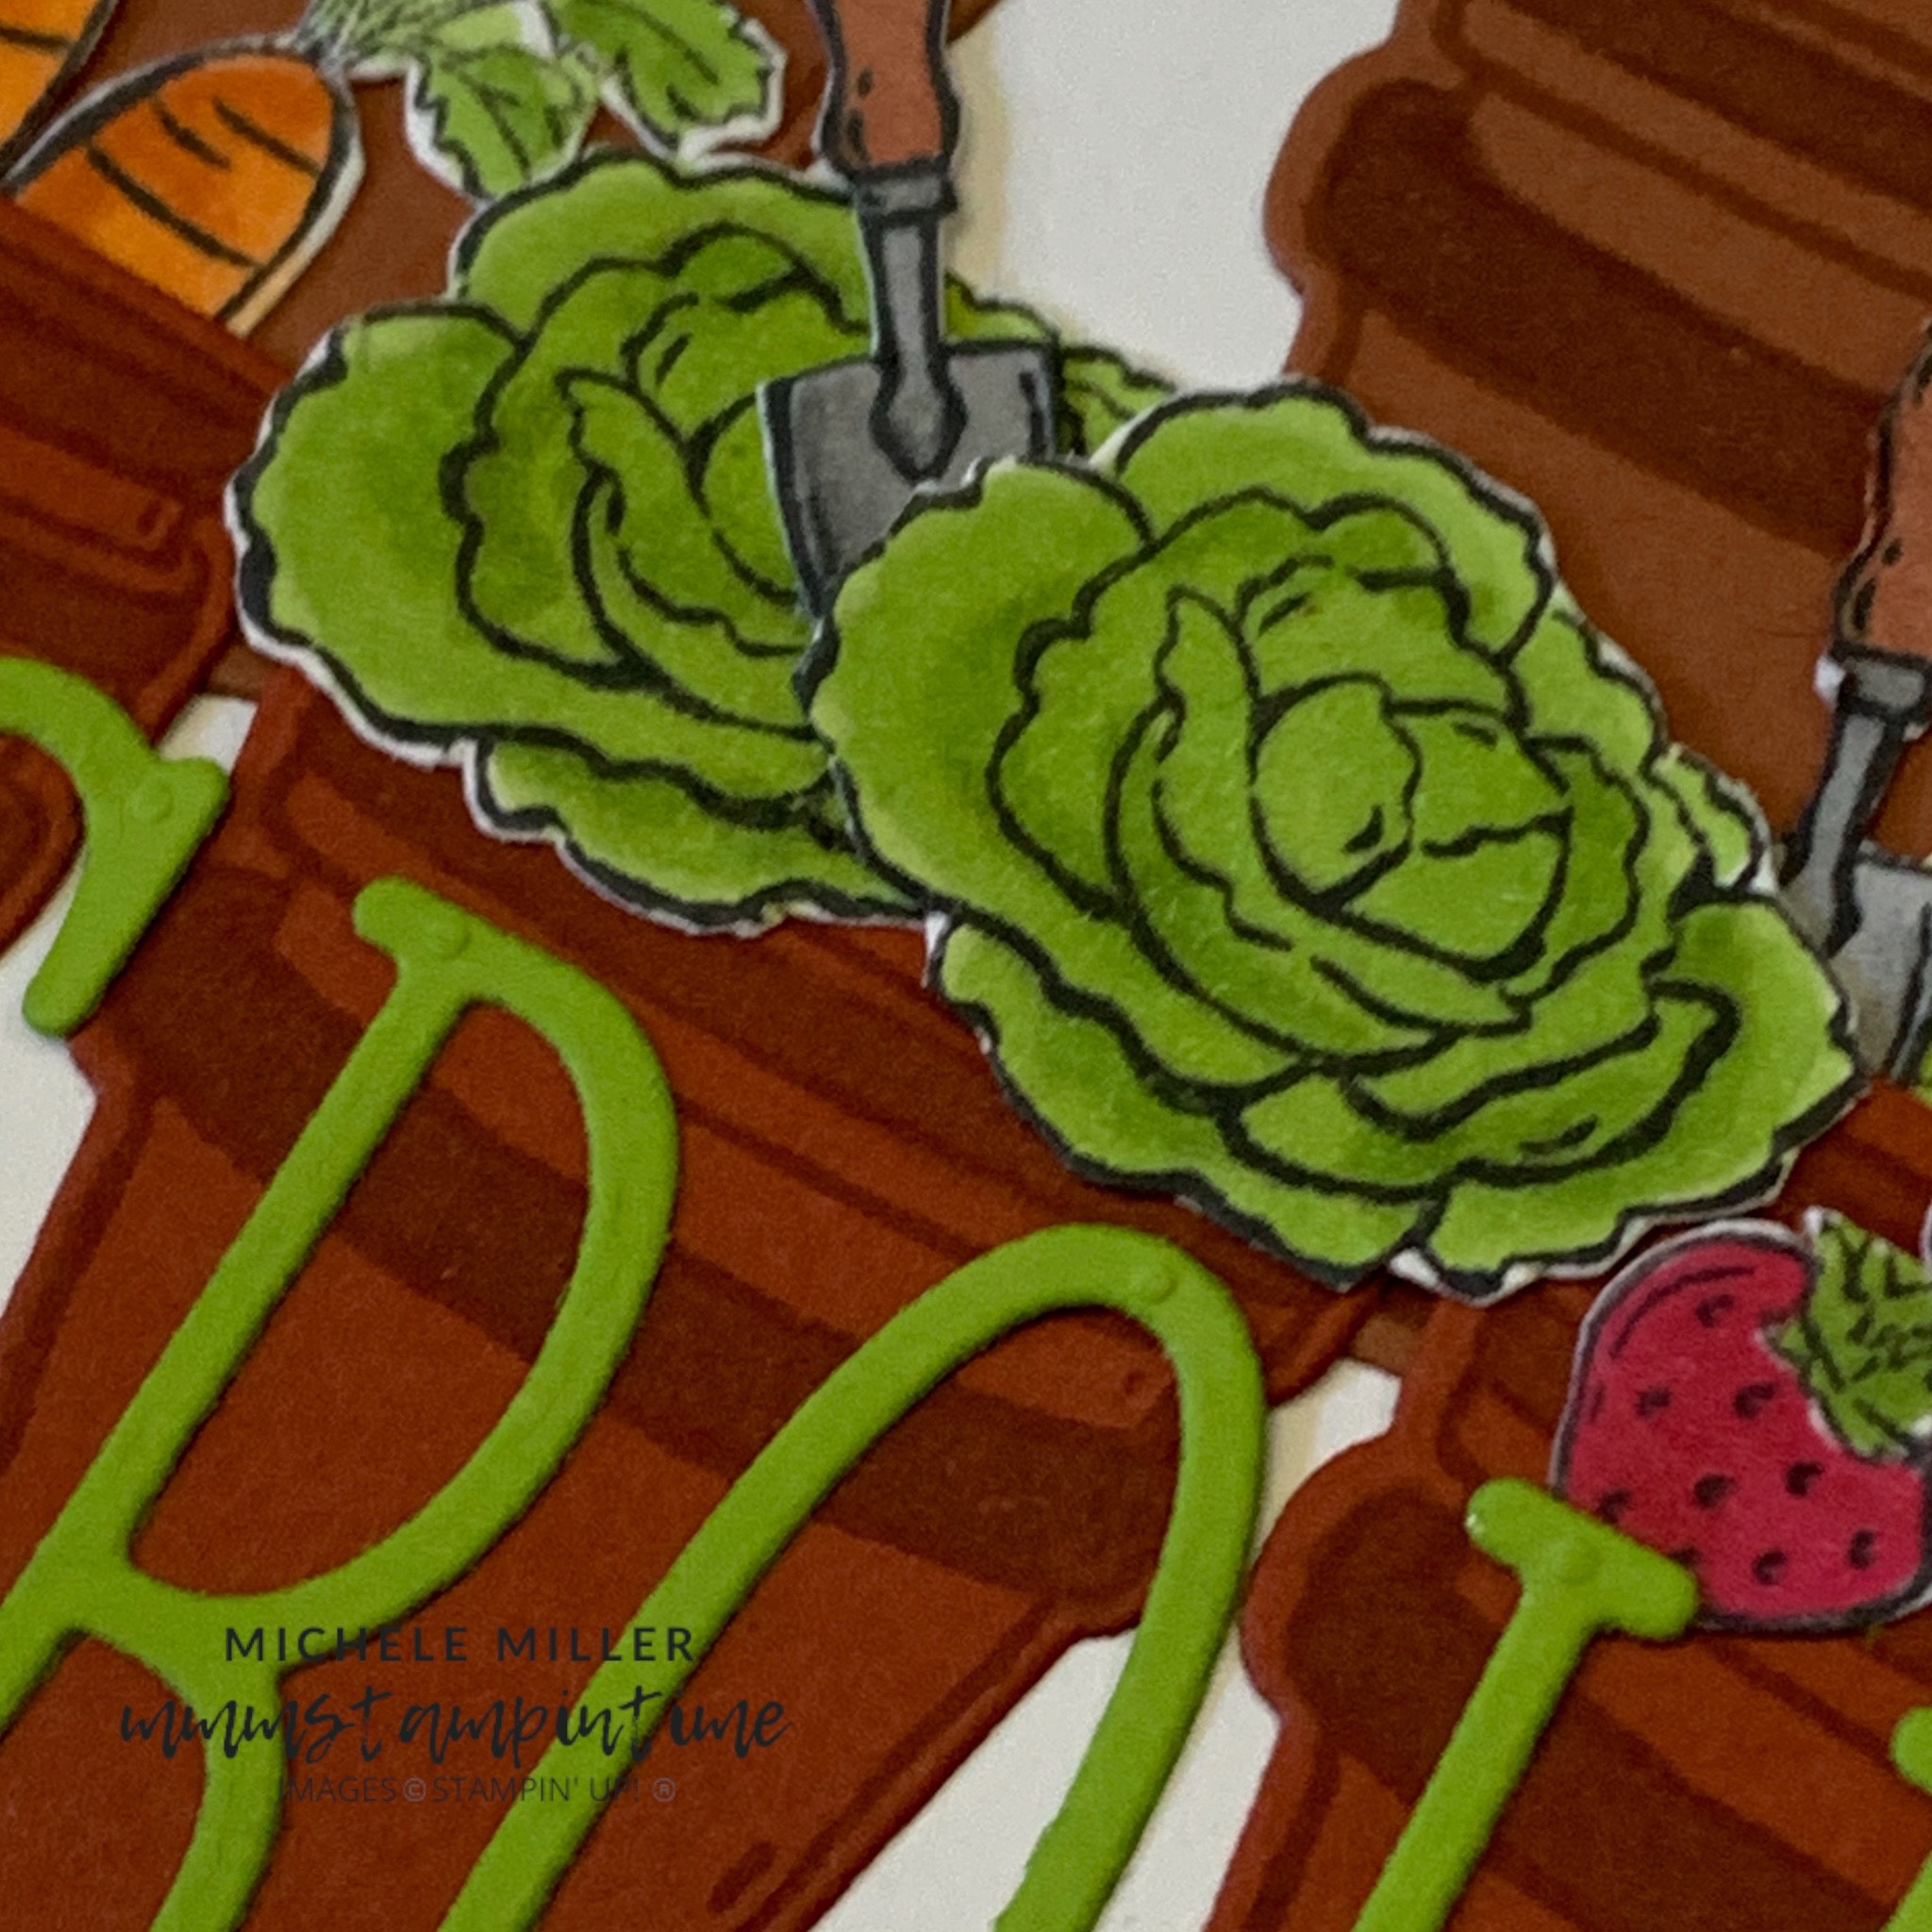
I stamped, coloured and fussy cut the carrots, lettuces, strawberries and radishes; as well as the garden trowels.

After adhering the three background pots, I adhered the plants and gardening tools to the four pots that were then added to the front of the card. These four pots overlapped the three background pots.

I added Adhesive Sheets to the back of some Lemon Lime Twist card and used the Alphabet A La Mode Dies to cut the letters for ‘GROWING UP’.

‘Growing’ was added to the card front.

The card insert had a stamped pots image and the word ‘UP’ added.

The same pots were stamped on to the back of the envelope.

This card was so much fun to create.

Tomorrow I have a scrapbooking page to share.

Until then, happy stamping.

If you live in Australia, you can order any of the products I used to make this card by going to my online store. Just click on any of the images below.

Product List
Paper Snips
[103579]
$21.00
Posted on Leave a comment

NO FUN FOLD CARD TODAY BUT A VERY CUTE CARD INSTEAD

Today’s card features some of the precut images from the images die cut sheets included in the Storybook Moments 12″x 12″ Designer Series Paper pack.

I started with a Basic White card base.

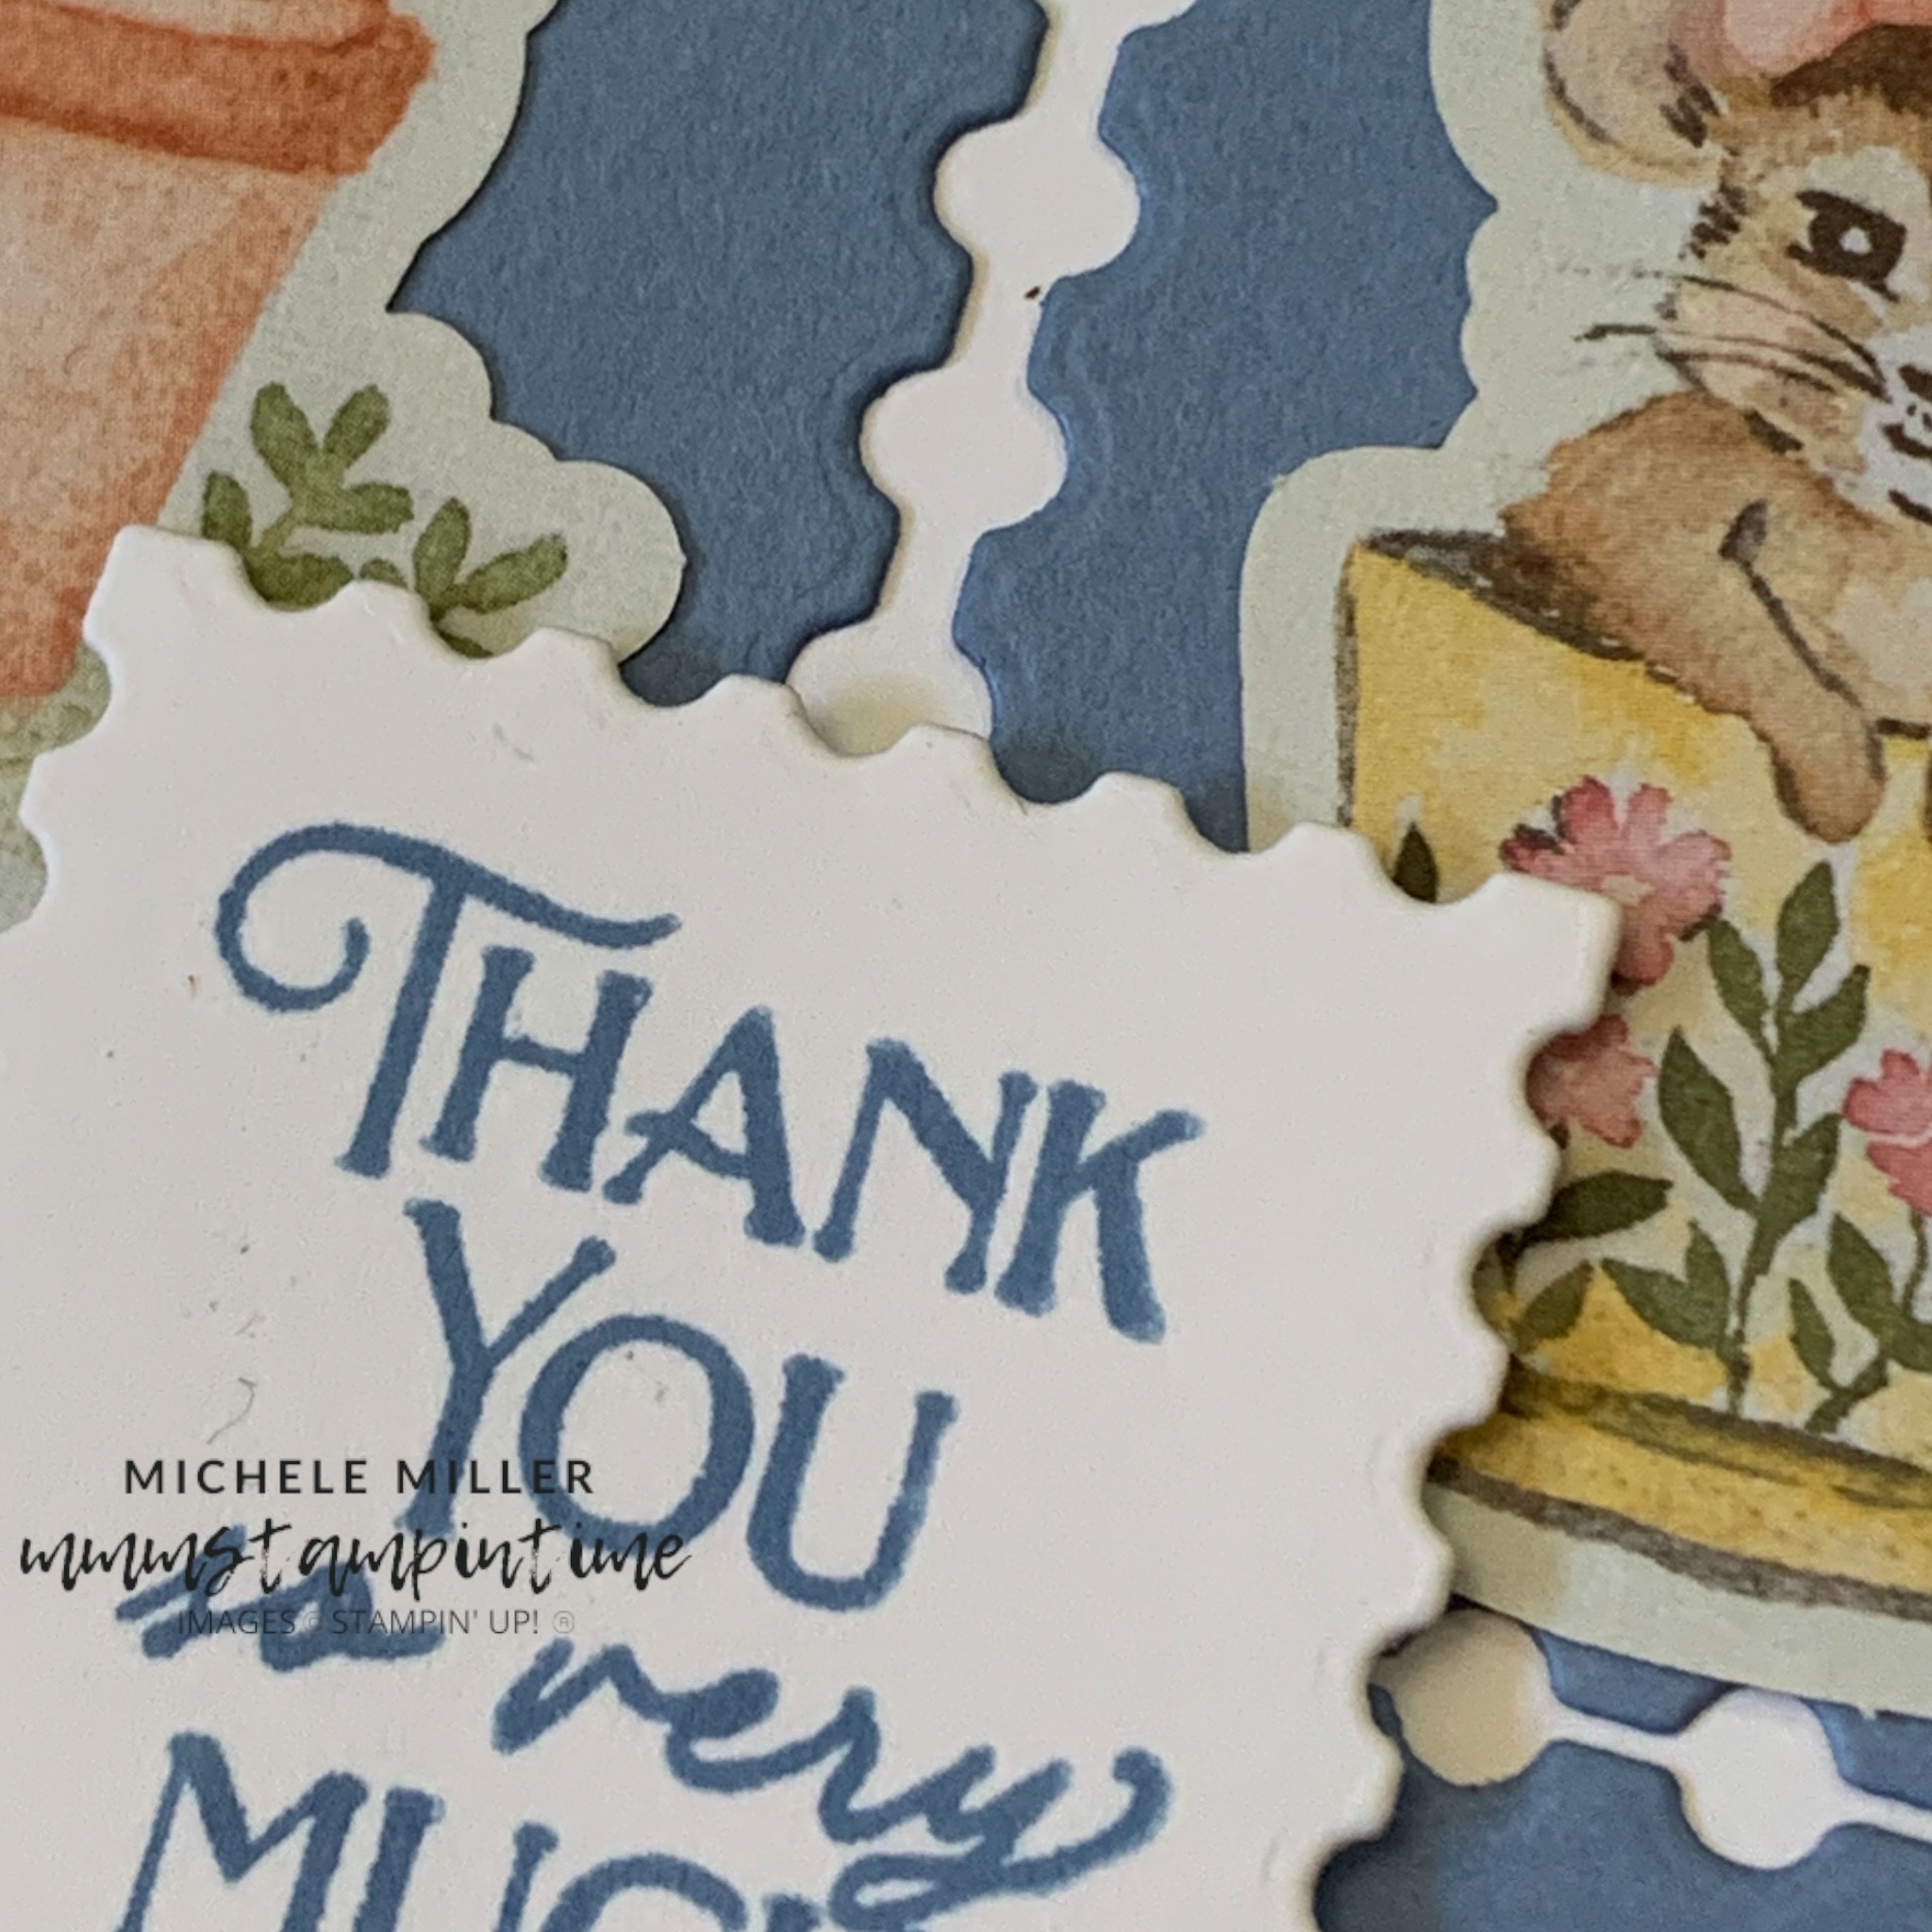
Using the largest square die, from the Perrenial Postage Dies, I cut 6 stamp shapes in Balmy Blue card.

The six stamp shapes were adhered to a panel of Basic White card.

This panel was then added to the front of the card base.

I looked through all of the precut images, from the die cut images sheets, and chose 6 images to attach to the blue die cut shapes.

The greeting, from the Storybook Friends Stamp Set,was stamped on to a scrap of white card using Boho Blue ink. Then it was cut using the smallest square Perennial Postage Die.

This square was attached to the card front using Stampin’ Dimensionals.

I chose two more precut images and added one to the card insert and the second to the back of the envelope.

This was such a super sweet and quick card to create.

It would be great for so many other events, especially a birthday.

Tomorrow I have another card featuring lots of Copper Clay pots.

Until then, happy stamping.

If you live in Australia, you can order any of the products I used to make this card by going to my online store. Just click on any of the images below.

Product List
Paper Snips
[103579]
$21.00
Posted on Leave a comment

MR McGREGOR NEEDS SEEDS FOR HIS GARDEN

Today is Thursday and that usually means it is time for a 3D project.

I decided to use the Pocket Thoughts Dies to make a small envelope to hold some packets of seeds.

The pocket envelope base was made using Old Olive card. After assembling the base I cut and trimmed two panels of the DSP and adhered them to the front and back of the envelope ‘box’.

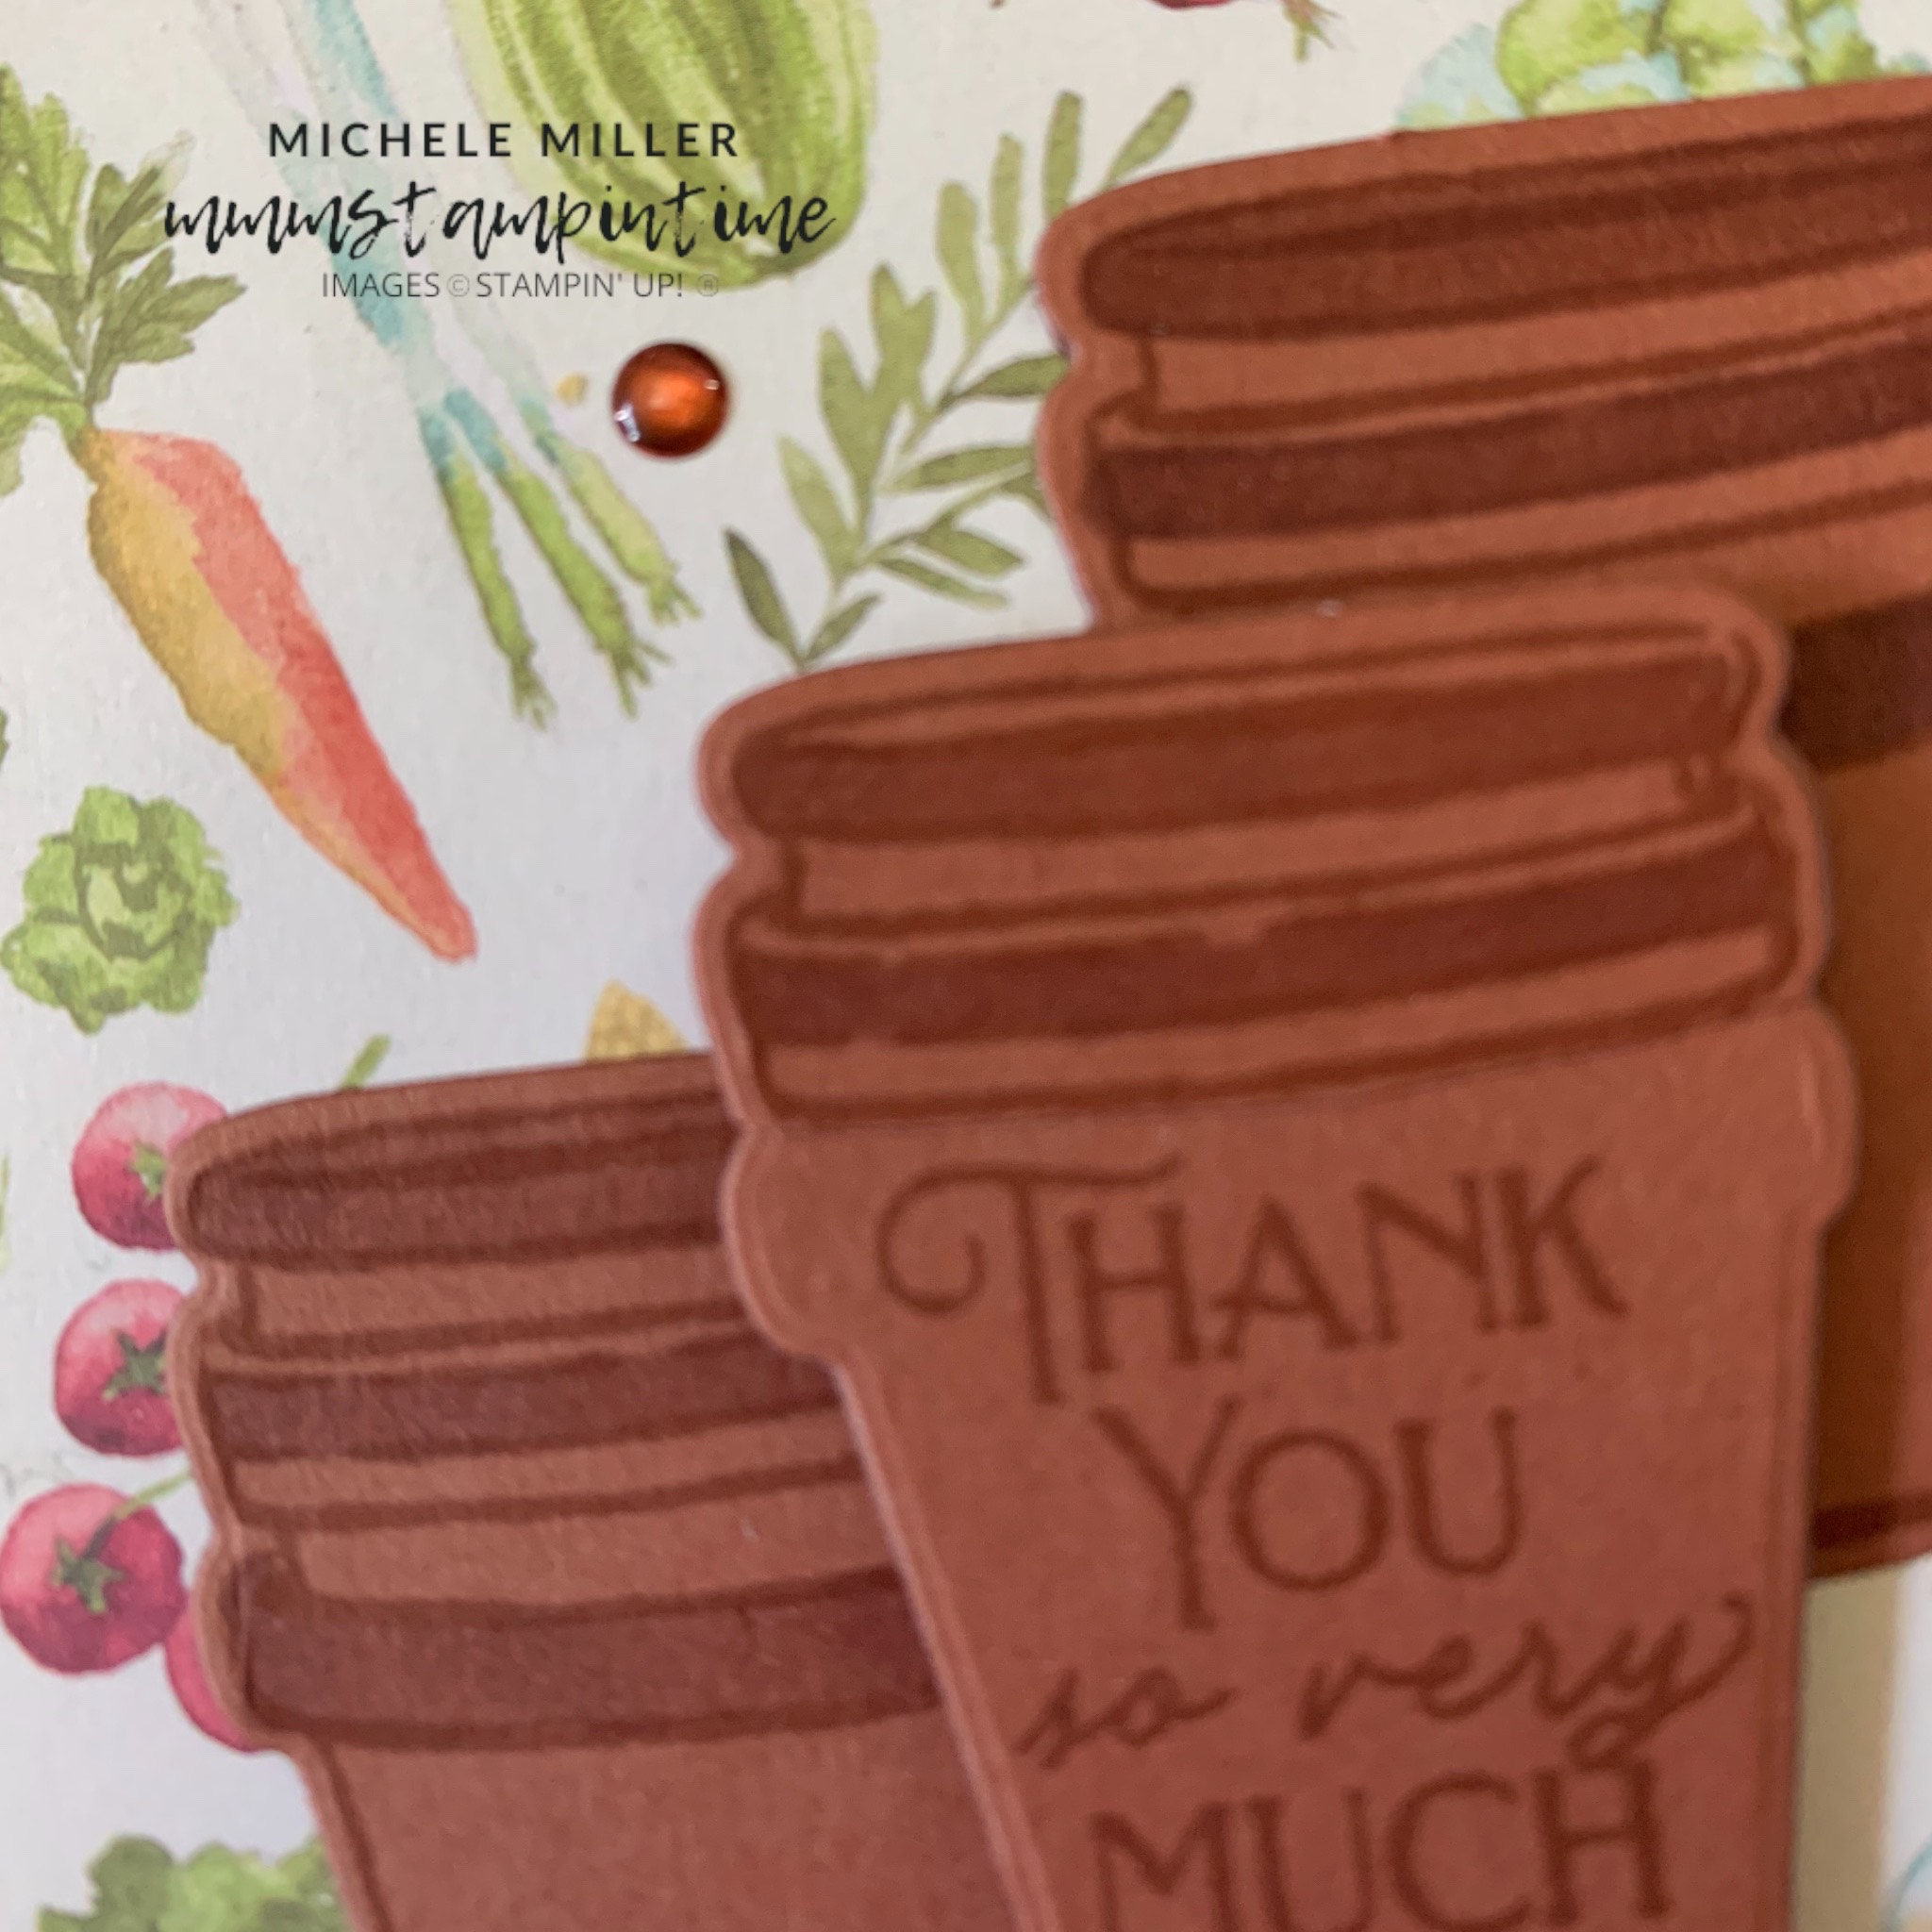
I stamped and coloured 4 sets of pots before die cutting them. One was added to the back of the box. For the front, one of the set of pots was stamped with a greeting and then partially coloured. The remaining two were coloured in the same way as thepots on the back of the box.

The envelope gift box holds three to four seed satchets very easily.

This makes a great gift for any green thumbed friend.

Tomorrow I have a lovely blue card to share with you.

Until then, happy stamping.

If you live in Australia, you can order any of the products I used to make this card by going to my online store. Just click on any of the images below.

Product List
Paper Snips
[103579]
$21.00