Posted on Leave a comment

THURSDAY MEANS THAT IT’S TIME FOR A 3D PROJECT

Today’s project was inspired by a project I made last year at a Paper Angels Team Day. It is a sweet and simple Easter basket.

The basket is made using a 7 1/2″ x 7 1/2″ piece of Lost Lagoon card.

It was scored at 2 1/2″ along both sides. Along the top and bottomsides, the card was cut 2 1/2″ in, leaving the centre panel uncut.

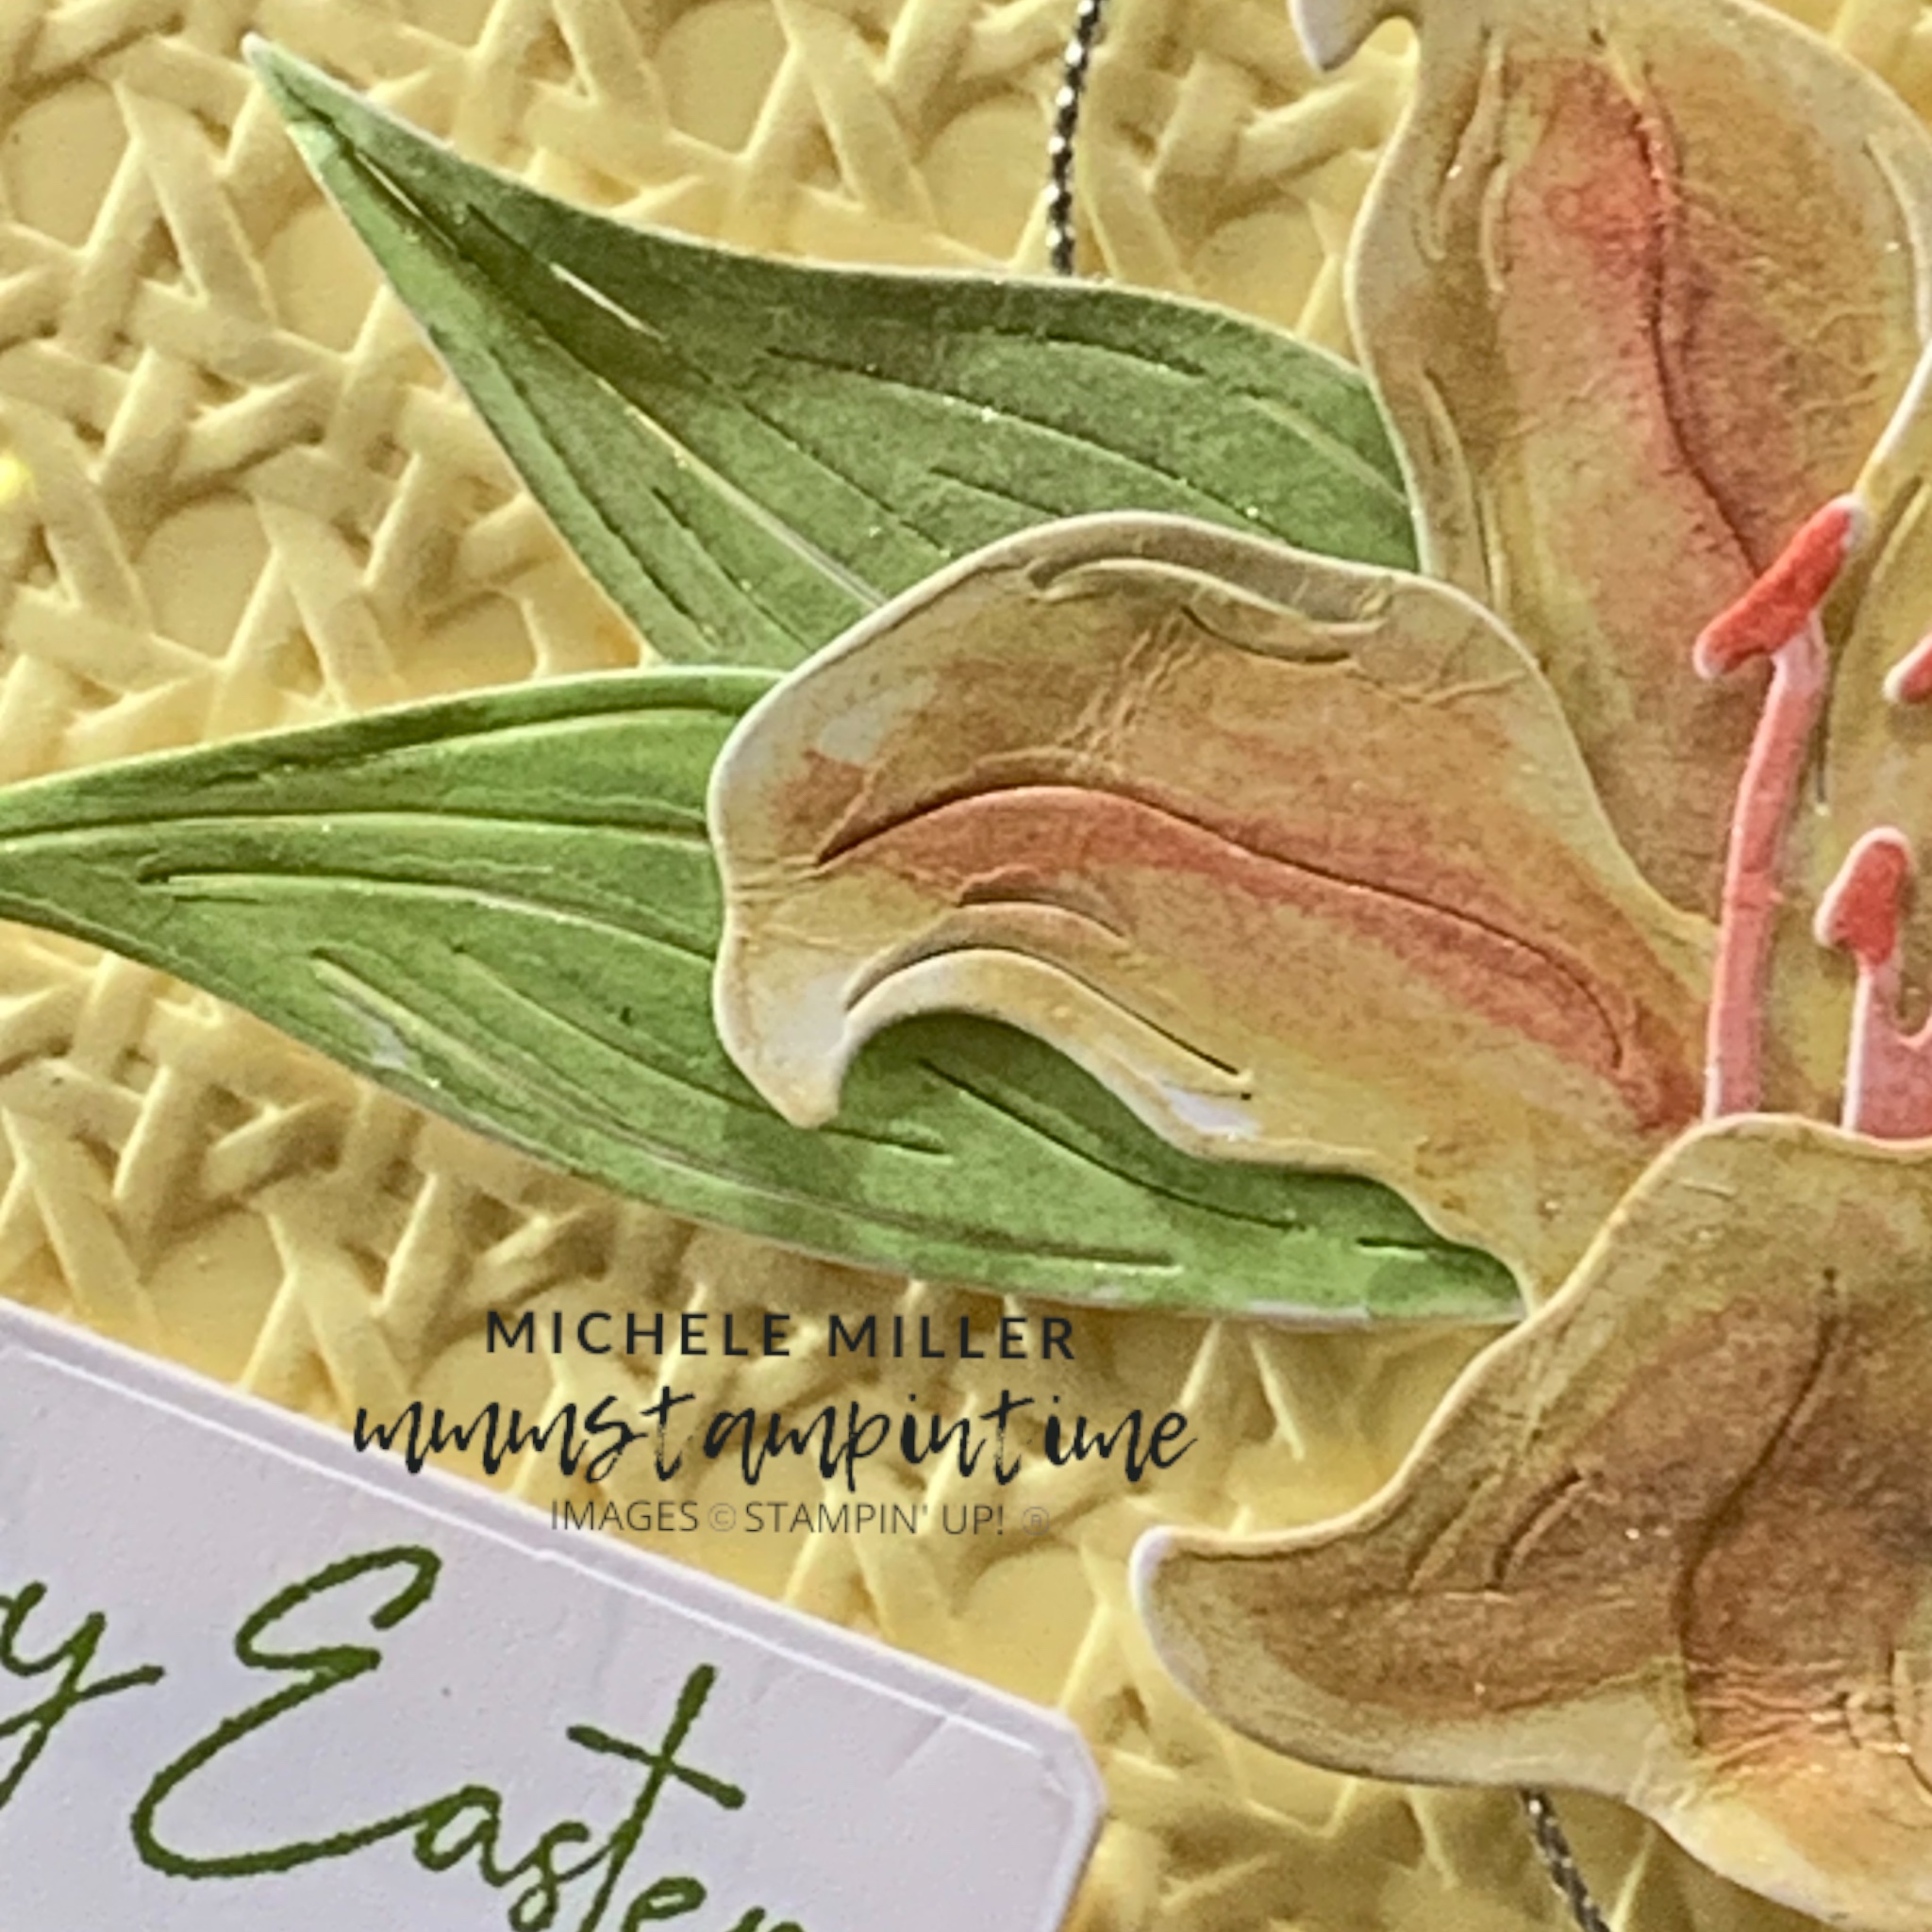
Then I cut six 2 3/8″ x 2 3/8″ Basic White squares. They were then embossed using the Cane Weave 3D Embossing Folder.

These embossed pieces were attached to the three panels on each side of the base.

I used Tombow Multipurpose Glue to overlap and adhere the top and bottom panels to create these angeled basket sides.

Before securing the central Lost Lagoon panel, I created the handle. I used a 3/4″ length of Lost Lagoon card and a 5/8″ strip of Basic White card.

The white card was also embossed, in two steps. Then the embossed strip was attached to the Lost Lagoon base piece.

I adhered the handle inside the basket and then the remaining Lost Lagoon panels were glued over the top of the handle ends to secure them.

The basked was finished with soem die cut and assembled eggs and a stamped and die cut Easter greeting.

Finally, I added some Lost LAgoon Tinsel Gems 3 Pack embellishments.

Last, but not least, I added some Easter eggs to the backet.

Product List
Paper Snips
[103579]
$19.25

Tomorrow I will be using a different stamp set for the last of my Easter cards.

Until then, happy stamping.

If you live in Australia, you can order any of the products I used to make this card by going to my online store. Just click on any of the images below.

Posted on Leave a comment

WELL, WHAT’S HAPPENING THIS WEDNESDAY?

For today’s card I decided to use the Countyrside Inn 12″ x 12″ Designer Series Paper, because one of the designs has bunnies on it!

As it turns out, there is no stamping on this card.

I started with a Misty Moonlight cardbase and then added a layer of the striped Designer Series Paper.

The largest Countryside Inn Die was used to cut a panel of the bunny design DSP.

The two layers of DSP were adhered directly to the cardbase.

Two of the smaller, detailed eggs were cut, with Adhesive Sheet on the back.

I also cut the ‘Celebrate’ die from the Wanted to Say Dies. After peeling back the adhesive sheet backing, I positioned the Misty Moonlight greeting over the whoite outline of the greeting.

The eggs and greeting were positioned on the card front.

I also cut two Misty Moonlight detailed eggs to add to the card insert and the envelope.

Using white twine, from the Baker’s Twine Essentials Pack, I created a triple bow to add to the card front.

Finally, I added some Irifescent PAstel Gems to the card front.

Tomorrow I have a classic Easter egg basket to share with you.

Until then, happy stamping.

If you live in Australia, you can order any of the products I used to make this card by going to my online store. Just click on any of the images below.

Product List
Paper Snips
[103579]
$19.25
Posted on Leave a comment

TODAY IS TUESDAY & IT’S TIME FOR SOME TIPS & TECHNIQUES

You are not missing anything – I did post this project a couple of weeks ago, for a Global Design Project challenge. TODAY And, because this is my Easter week of projects, I am sharing it again.

For this project I decided to use the Easter Lilies Bundle.

For this project, I dusted off my Soft Pastel Assortment to colour the die cut flower elements.

TECHNIQUE: Using pastel shavings and Clear Wink of Stella to colour stamped images.

TIP: I used the spatula end of my Take Your Pick tool to scrape some of the pastel onto my E acrylic block. Then I used my Clear Wink of Stella to paint the colour onto the flower elements. I used the Daffodil Delight and Mango Melody (a Calypso Coral stand in).

TIP: Make sure that turn off your desk fan before you start scraping the pastel – it will fly everywhere (speaking from experience).

I used the Granny Apple Green pastel powder to colour the leaves.

After the flower pieces and leaves were coloured and dried, I assembled the flower for this card.

I used the largest Countryside Corners Die to cut a piece of Lemon Lolly card. Then it had some texture added with the Cane Weave 3D Embossing Folder.

The embossed panel was placed on the Basic White card front with Stampin’ Dimensionals.

I looped some siver trim, from the Simply Elegant Trim, behind the flower. It was secured using Stampin’ Seal.

The flower was attached with dimensionals also.

The greeting was stamped in Granny Apple Green and then cut using one of the Countryside Corners Dies.

I used some Lemon Lolly DSP, from the Subtles 6″ x 6″ bundle, to add a strip inside the card and on the back of the envelope.

Finally, I added some Lemon Lime Twist gems, from the Tinsel Gems 4 Pack, to the card front.

Tomorrow I have a beautiful blue Easter card.

Until then, happy stampin’.

If you live in Australia, you can order any of the products I used to make this card by going to my online store. Just click on any of the images below.

Product List
Paper Snips
[103579]
$19.25