Posted on Leave a comment

Colour INKspiration Challenge #154 – IT’S A SCIENCE

Welcome to another Colour INKspiration Challenge.

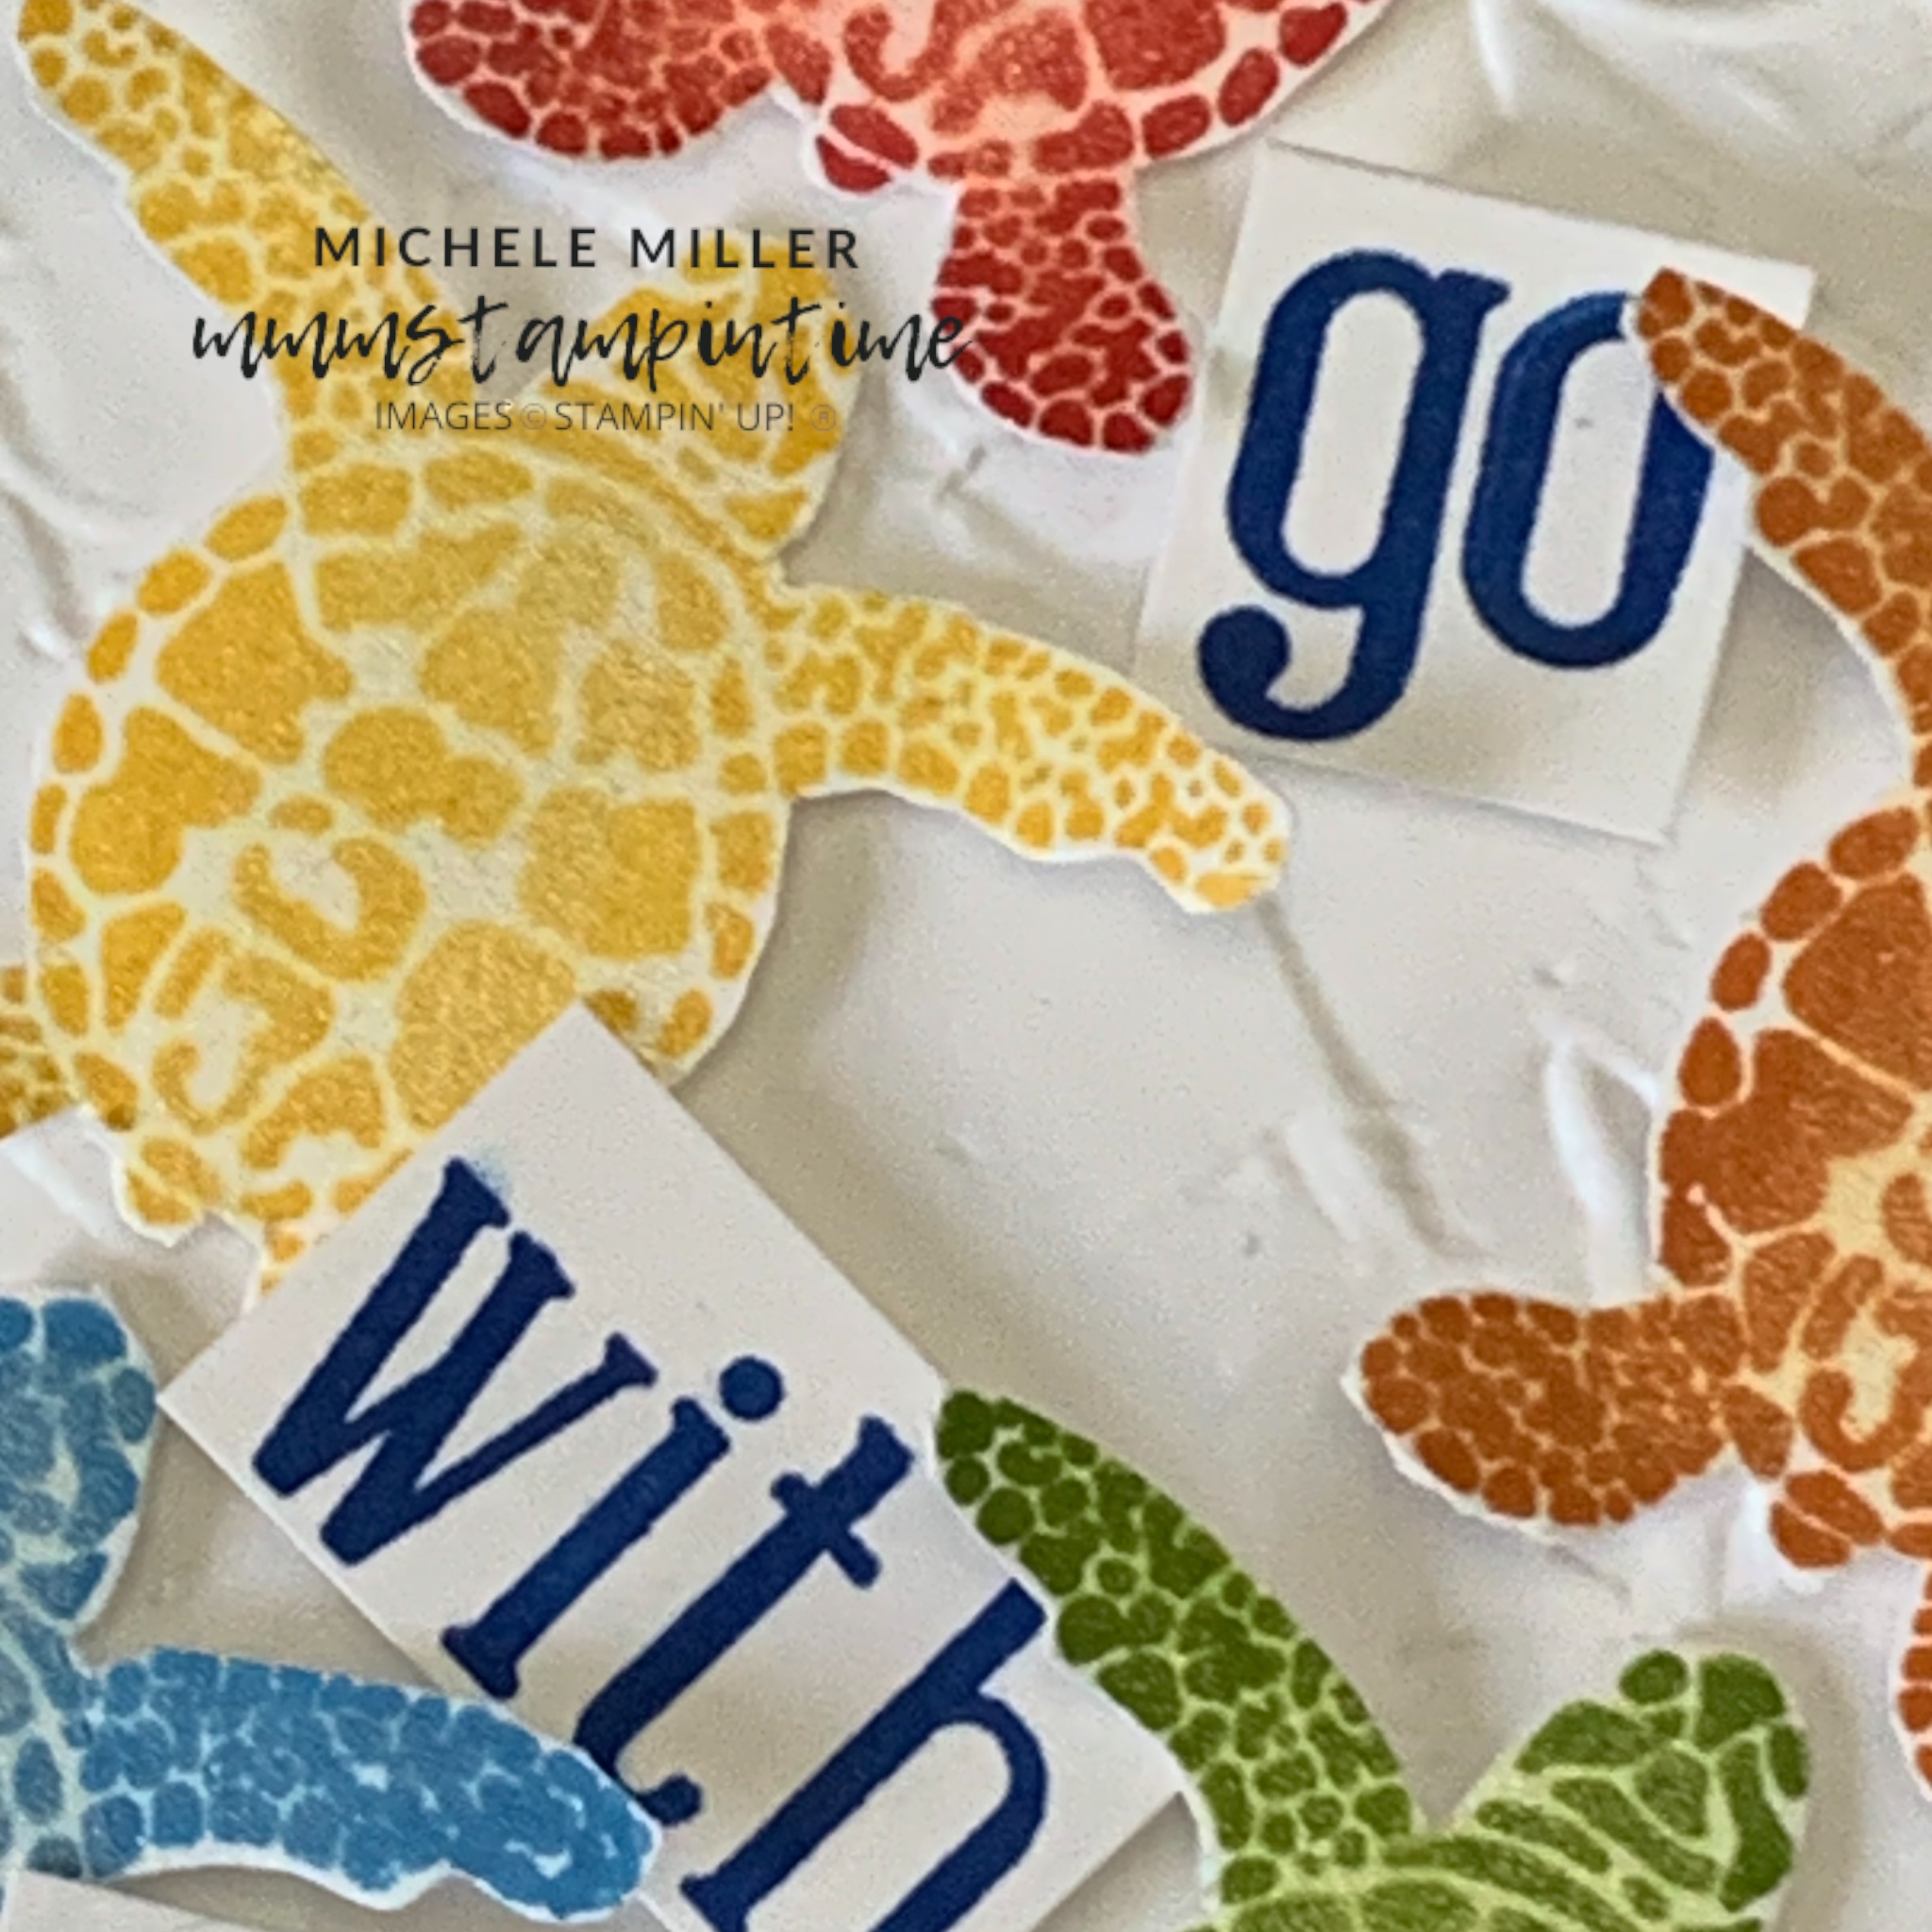
This inspiration picture which has inspired our colour palette was chosen by Crew Member, Rose Packer. 

Picture credit – https://www.instagram.com/p/CQxyZ-QB5CQ/

As well as the chosen colour combination for #CI154, Berry Burst, Poppy Parade, Pool Party and Crumb Cake, you may also add Basic White, Very Vanilla and metallics to your project. We also allow Ivory, Bronze and Natural Tones in Stampin’ Blends. If you don’t have the colours in our palette, feel free to use the closest Stampin’ Up! substitute.

To get your creative ideas flowing make sure you check out the Crew’s Projects in the CI#154 album. 

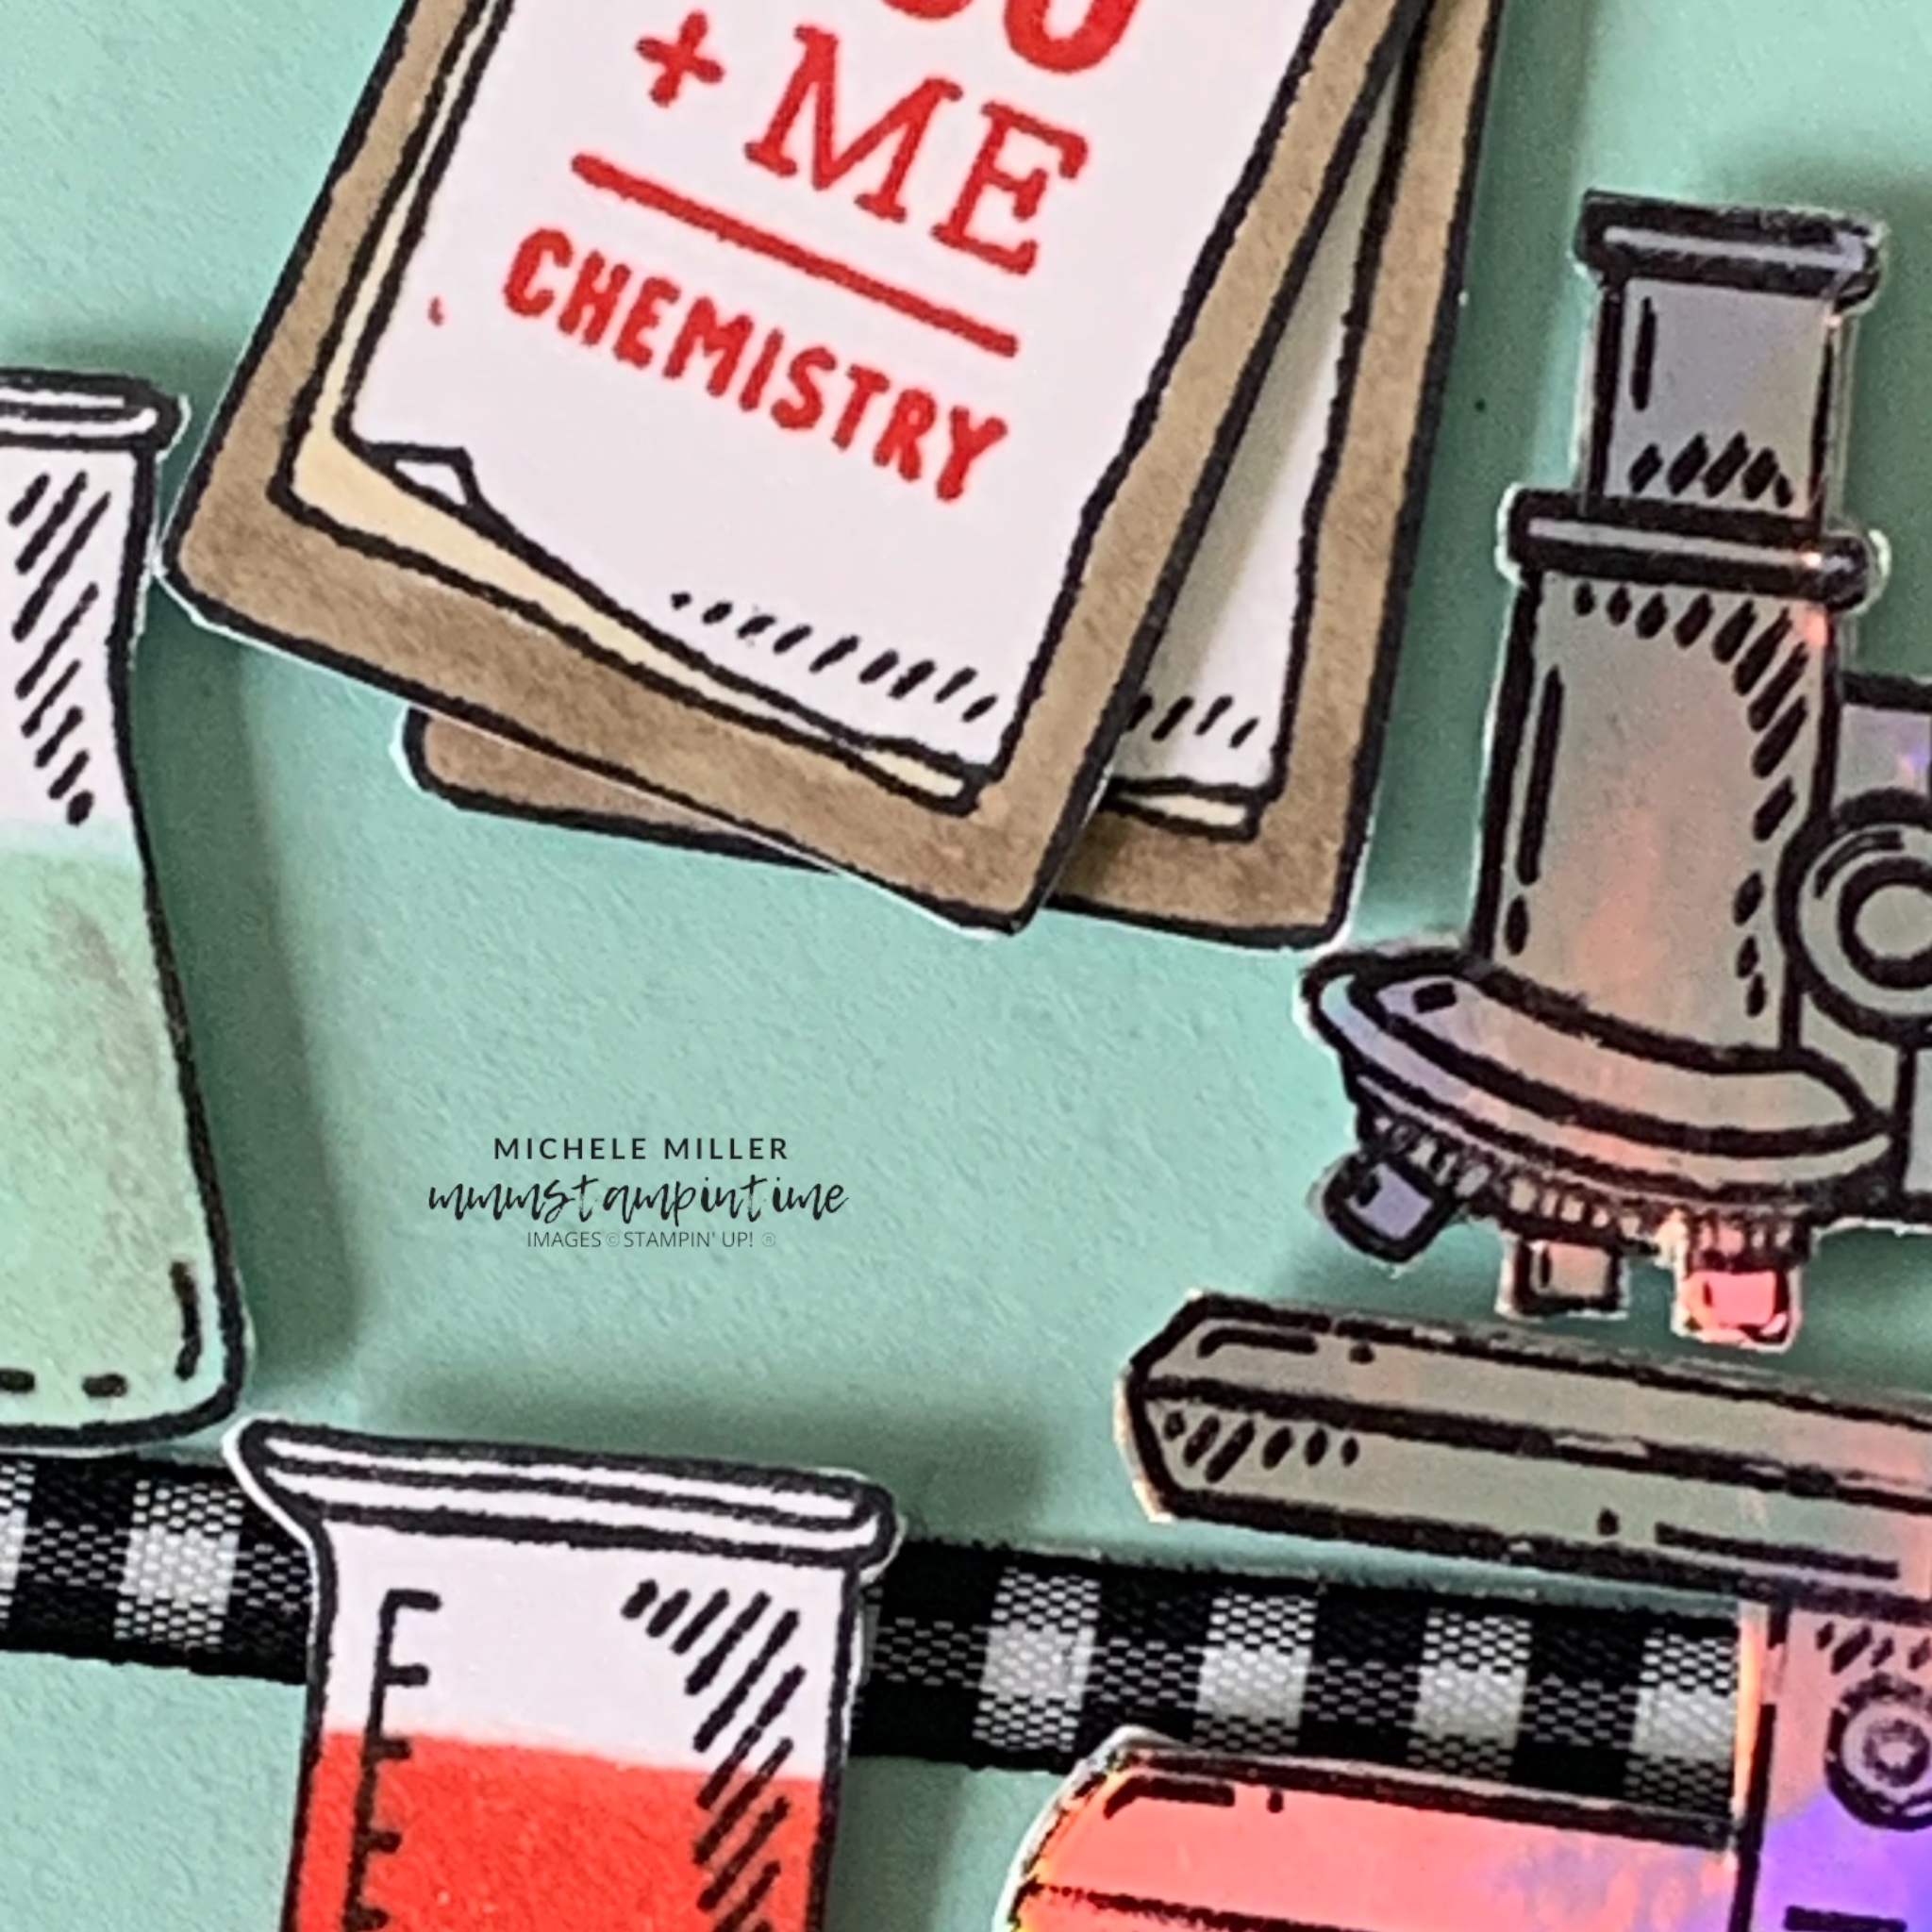
It took me a while to find a stamp set that I thought would work with this colour palette. Eventually I decided that I could use these colours with the It’s a Science Stamp Set.

I started by stamping the atomic structure image and chemical structure image across the Pool Party card front.

Then I wrapped a length of Black & White Gingham Ribbon around a panel of Pool Party card.

I used StazOn Jet Black ink to stamp the microscope image on to a piece of Holographic Trio Specialty Paper. Then I fussy cut the microscope and placed it on the card using Stampin’ Dimensionals.

I stamped the quartet of beakers and test tubes twice before fussy cutting each of them separately. The bubbles were stamped inside the round bottom flask.

Berry Burst, Crumb Cake, Poppy Parade and Pool Party Stampin’ Blends were used to ‘fill’ each of the vessels with colourful ‘liquids’. The black Stampin’ Write Marker was used for one of the test tubes. Wink of Stella was used to give the ‘liquids’ a little shimmer.

I stamped the clipboard twice, fussy cut them and coloured them.

The greeting was stamped with Poppy Parade. Then I pierced a hole in the top of both clipboards and used a black Square Brad to hold them together. I popped a Mini Glue Dot between them to keep them staggered.

Can you see the effect the holographic paper has? A piece of this specialty paper is in the bottom right hand corner of this photo – it was originally a silvery colour but appears blue and green in the corner. Yet, the microscope appears purple. How amazing is that!

One of the beakers was stamped on the card insert and envelope. Finally, I added several black Classic Matte Dots to the card.

I’m not sure what I’ll be sharing tomorrow. But until then, happy stamping.

If you live in Australia, you can order any of the products I used to make this card by going to my online store. Just click on any of the images below.

Product List
Paper Snips
[103579]
$19.25
Posted on Leave a comment

Colour INKspiration #153 – FRAMED FLORET BUNDLE

Welcome to another Colour INKspiration Challenge.

This inspiration picture which has inspired our colour palette was chosen by Crew Member, Vivki Boucher.

Picture credit – https://gabytaangeles.tumblr.com/post/613893814624649216/vintage-books

I decided to break out the Artistic Mix Decorative Masks and my Small Blending Brushes for this project.

I used some strips of Masking Paper to secure the mask to the Basic White layer and left only the three centre spaces open. The colours were blended in the same order as the colours of the books in the inspiration image.

The next step was to attach a length of Moody Mauve Textured Ribbon to the white layer.

Next, I stamped and die cut several of the flowers, buds and leaves, before colouring them with Stampin’ Blends.

When I had finished colouring the floral elements, I attached them to the card front using Mini Glue Dots and Stampin’ Dimensionals.

The sentiment was stamped and then I used one of the label dies from the Autumn Leaves Dies set. It was cut twice to make it narrower.

The finishing touches included stamping the larger flower image on the card insert and envelope. Some Moody Mauve 2023-2025 In Colour Dots added that little bit of bling.

Now it’s time to start thinking of my card for Colour INKspiration #154.

Until then, happy stamping.

If you live in Australia, you can order any of the products I used to make this card by going to my online store. Just click on any of the images below.

Product List
Paper Snips
[103579]
$19.25
Posted on Leave a comment

GLOBAL DESIGN PROJECT #409 – CARD NUMBER TWO

As I mentioned in my last post, I will possibly have a couple of rainbow projects to share this week.

The reason for rainbows is because this week’s GDP#409 Challenge is a colour challenge.

And, just like the last post my rainbow colours are Poppy Parade, Pumpkin Pie, Daffodil Delight, Granny Apple Green, Azure Afternoon, Blueberry Bushel and Gorgeous Grape.

For this card, I wanted to feature the Sea Turtle and Alphabest Photopolymer Stamp Sets.

I started by stamping the smaller turtle image in each of the seven rainbow colours. Then I used my wonderful Paper Snips to fussy cut each of the turtles.

Painting each of the turtles with the Wink of Stella brush spread the ink lightly into the white spaces. Each turtle then had two shades of each colour and a shimmery finish.

A panel of Basic White cardstock was dry embossed, with the Painted Texture 3D Embossing Folder, to create a fluid texture.

When I decided that I would use the Alphabest stamp set, to create my “go with the flow” greeting, I knew that I wanted to have all the turtles swimming in the same direction.

I used Stampin’ Dimensionals to pop each turtle up from the embossed layer.

After stamping the greeting, I trimmed down each word before adding them between the turtles.

I stamped the turtle on the card insert and the envelope.

It doesn’t take much to create a fun and colourful card.

Tomorrow I will share the card I made for GDP#408 that I missed submitting.

Until then, happy stamping.

If you live in Australia, you can order any of the products I used to make this card by going to my online store. Just click on any of the images below.

Product List
Paper Snips
[103579]
$19.25