Posted on Leave a comment

WORD PLAY TIME – #GDP307

Hello and welcome to today’s project share. Thank you for popping by.

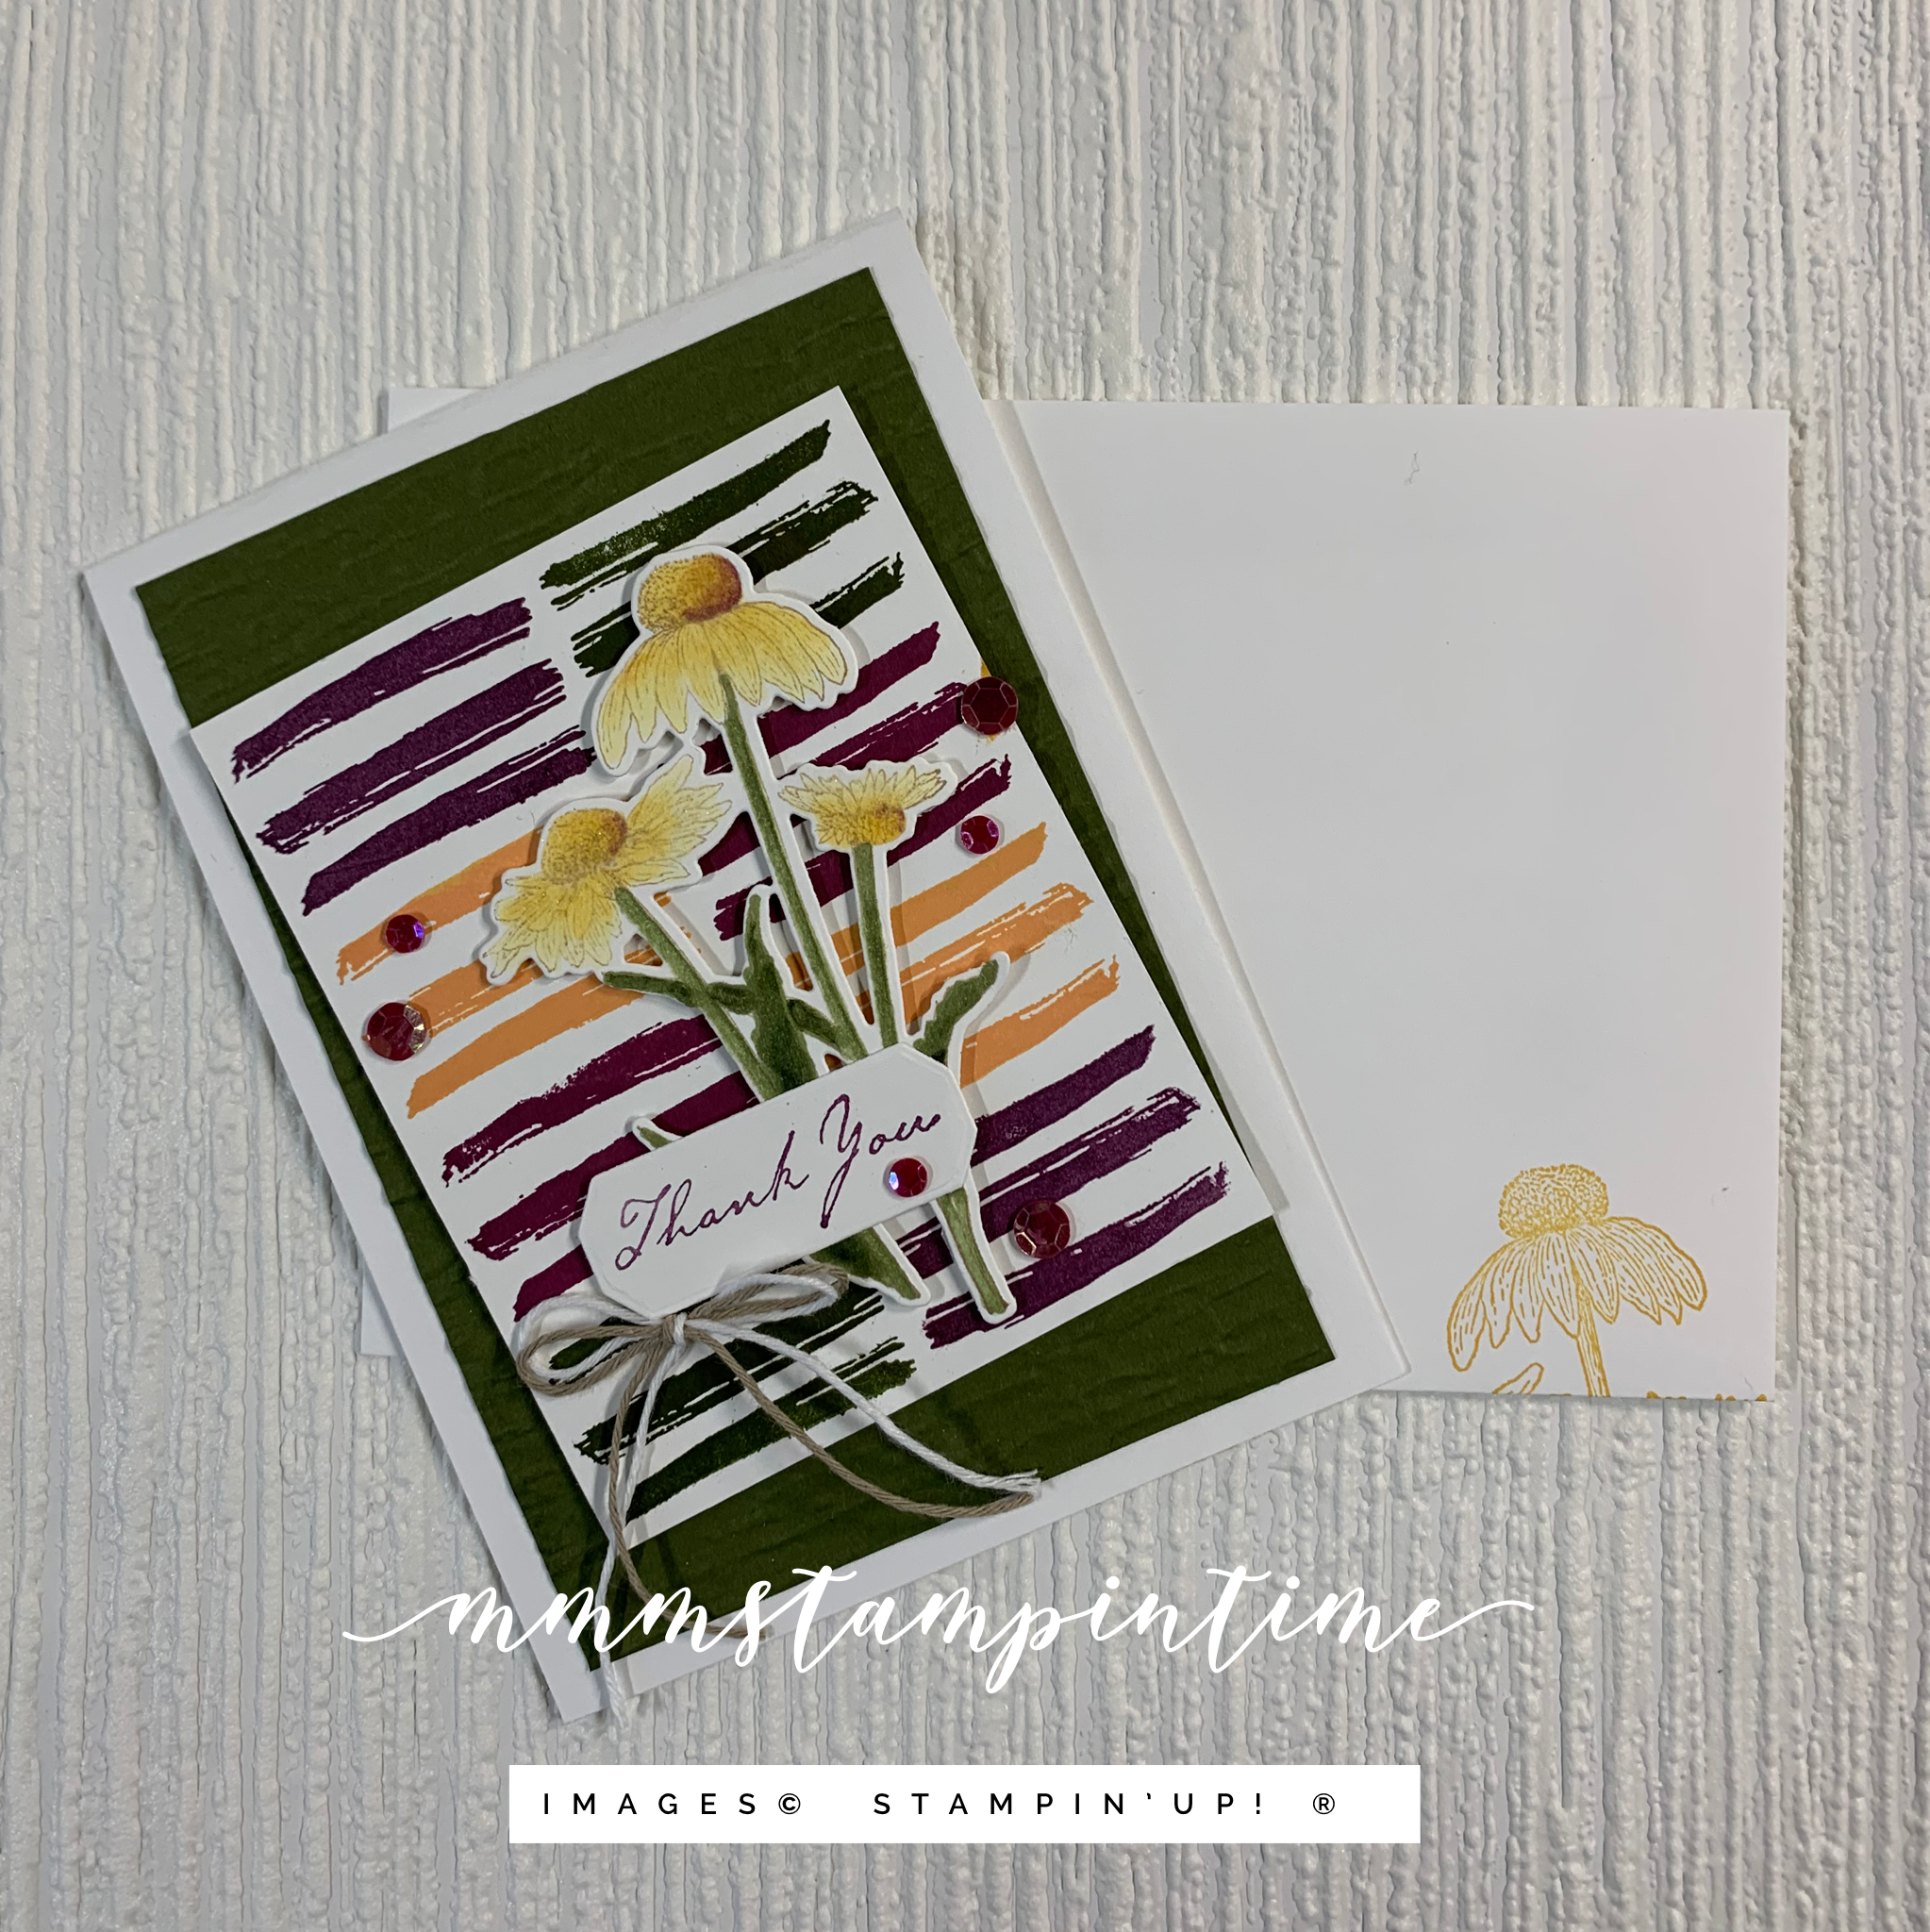
Today I have a card that I have made for this week’s Global Design Project theme – word play.

I love having loads of thank you cards on hand. When Rob and I travel, I take a pile of thank you cards with us. I leave them at the places we stay and have enjoyed. At the end of my recnt knee surgery, I had cards for the staff on my ward, the food services staff and admissions and volunteers staff. They had all been so wonderful in caring for me.

This is an unusual colour combination for me but I like the way they work together. I used the large floral stamp from the Artistically Inked Stamp Set in Bermuda Bay, Highland Heather and So Saffron before running the piece of cardstock through my Stampin’ Cut & Emboss Machine using the Tasteful Textile 3D Embossing Folder. Then I trimmed off two strips and separated the three panels across the Highland Heather card base.

The thanks greeting is from the same stamp set. After stamping it in all three colours I went to them with my Paper Snips and fussy cut each of them. I trimmed some Stampin’ Dimensionals to pop in behind each word so that they would be lifted up from the card front.

I stamped one of the other floral images on the card insert and envelope, as you know I do. The last step was to colour some diamond shaped Clear Epoxy Essentials using the coordinating Stampin’ Blends. I really like the way they look in clusters of three.

There are endless possibilities when it comes to crafting with the amazing and wide ranging Stampin’ Up!® products. I am always surprised by what I am able to create.

I always look forward to my next crafting project to see what emerges (and the mess that is left behind).

What do you enjoy most about your crafting process?

Until next time, happy stamping.

If you live in Australia, you can order any of the products I used to make this card by going to my online store. Just click on any of the images below.

Product List
Paper Snips
[103579]
$17.00
Posted on Leave a comment

TIME FOR ANOTHER CHRISTMAS CARD

Hello! Thanks for popping by to see today’s Christmas project.

I’m posting this one a little late today – thanks for your patience.

I used the Christmas Season Bundle and the Merriest Moments Stamp Set for this card.

The first step was to use the Brick & Mortar 3D Embossing Folder to add texture to the Basic White and Soft Suede panels. I used my Blending Brushes to lightly add Crumb Cake and Soft Suede to the white panel and then a Real Red bow and ribbon length was wrapped around it.

After the embossed panels were adhered to the card base, I stamped and die cut the pine cone and leaf elements. I arranged them, as you can see, creating a tight bouquet.

The Christmas greeting is from theMerristed Moments Stamp Set. It was cut using one of the dies from the Seasonal Labels Dies. This die set has 9 leaf, berry and pine cone dies; as well as 6 great frame dies – perfect for so many sentiments.

The holly berries were painted with some Clear Wink of Stella to add a little shimmer to them. I stamped the smaller pine cone on the card insert and envelope.

I’m very pleased with the Christmas cards that I have made so far this year! When do you get started with your Christmas preparations?

Until next time, happy stamping.

If you live in Australia, you can order any of the products I used to make this card by going to my online store. Just click on any of the images below.

Product List
Paper Snips
[103579]
$17.00
Posted on Leave a comment

CHRISTMAS CONIFERS

Hello and welcome. I am so pleased that you have popped by today. Make sure that you leave a comment to let me know where you’re from.

Today I have another Christmas card to share with you.

I started this card by choosing Designer Series Paper first. The Peaceful Place 12″x 12″ Specialty Designer Series Paper is a stunning collection of monochromatic and silver Christmas designs.

PEACEFUL PLACE 12" X 12" (30.5 X 30.5 CM) SPECIALTY DESIGNER SERIES PAPER

I chose two of the geometric designs because I wanted to use the Evergreen Forest 3D embossing folder and Evergreen Border Punch to add the conifers to my card.

I embossed a strip of the checked DSP and a panel of Basic Gray cardstock. The checked strip was then positioned to align with the trees on the base layer. Before I attached this to the card base I wrapped and secured a length of Smoky Slate Textured Ribbon around it.

The Christmas greeting, from the Holly Jolly Wishes Stamp Set, was stamped directly onto the second piece of DSP. To make sure this stamped piece would not buckle when it was popped up on Stampin’ Dimensionals, I adhered a slightly smaller piece of Smoky Slate card behind it.

Using Basic Gray, Mossy Meadow and Smoky Slate I punched several rows of trees and layered them together. After the trees were added to the front of the card, I chose one of the cabins from the same DSP bundle, fussy cut it and placed it in front of the trees. I also added trees to the card insert and envelope.

I like the way there is a small hint of colour, from the Mossy Meadow trees, just peeking out from behind the gray.

After a light brush of Clear Wink of Stella across the tree tops and roof, I placed some Silver Metallic Pearls to finish the card.

I’m rather pleased with the way this card looks. What do you think?

Until next time, happy stamping.

If you live in Australia, you can order any of the products I used to make this card by going to my online store. Just click on any of the images below.

Product List
Stamparatus
[148187]
$85.00
Paper Snips
[103579]
$17.00