Posted on Leave a comment

GLOBAL DESIGN PROJECT #309

Hello and welcome! Thanks for popping by to see my #GDP309 project.

This week’s Global Design Project is a colour challenge – black, white and any other colour.

For me that has to be black, white and Real Red. If you look in my wardrobe you will see lots of these colours in there.

For this colour combination I knew that I wanted to use the Painted Poppies Stamp Set and coordinating Poppy Moments Dies.

I stamped the poppies onto a piece of Shimmert White cardstock so that I could water colour the flowers. Then I cut this down into three pieces measuring 3-1/2″x 1-1/2″. I cut two Real Red scalloped trims using the Painter LAbels Dies. These were secured under the top and bottom stamped pieces. They stamped strips were glued onto a piece of black and white striped paper from the Beautiflly Penned 12″x 12″ Designer Series Paper.

I cut the large poppy shape and coordinating stamen and attached them to the card front.

The birthday greeting is from the Pansy Patch Stamp Set.

The small poppy image was stamped on the card insert and envelope. I painted the centre of the stamped poppies with some Clear Wink of Stella to add some glimmer. The card was then finished with some Matte Black Dots.

I am very pleased with my red, white and black card for the #GDP309 challenge.

Until next time, happy stamping.

If you live in Australia, you can order any of the products I used to make this card by going to my online store. Just click on any of the images below.

Product List
Paper Snips
[103579]
$17.00
Posted on Leave a comment

A SIMPLE CHRISTMAS CARD

Hello! I am so delighted that you are here to see my latest project.

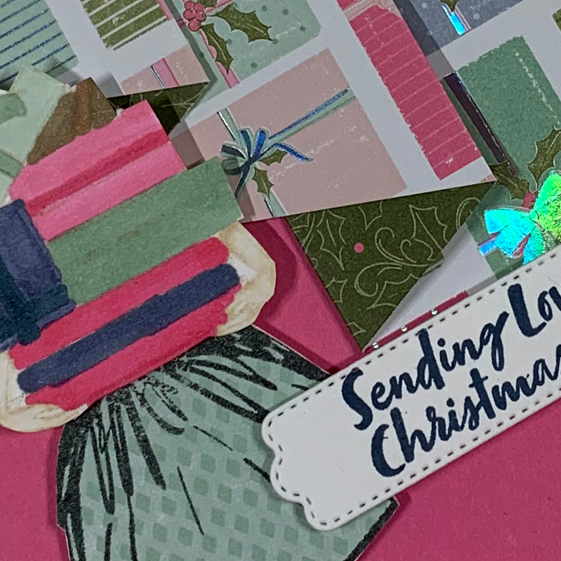
I have made quite a simple Christmas card using the FREE Sale-a-bration Peaceful Prints Designer Series Paper.

The card base is a portait tent fold in Sahara Sand.

The DSP background layer is the Sahara Sand checked paper. I cut three 7/8″ strips of three different Garden Green DSP patterns and then adhered them diagonally across the background layer.

I tied a bow into a length of the Black & White Gingham Ribbon and wrapped it around the DSP layer, using a Mini Glue Dot and Teat & Tape.

The greeting is from the Merriest Moments Stamp Set and was stamped in Garden Green. Then I cut it using one of the Seasonal Labels Dies. The die was longer than I needed so I recut it, shortening the label.

I attached strips of the trees DSP to the card insert and envelope before adding a few Matte Black Dots to the card front.

Look at some of the products I used to create this card.

Have you started making your Christmas cards? Do you have everything you need to make them this year? If not, please reach out and I can help you order what you need.

Until next time, happy stamping.

If you live in Australia, you can order any of the products I used to make this card by going to my online store. Just click on any of the images below.

Product List
Paper Snips
[103579]
$17.00
Posted on Leave a comment

OOPS … I MISSED A DAY!

Hello and welcome to today’s post. I am delighted that you’re here.

I missed posting yesterday because I spent the day crafting with the Paper Angels team. Although I am not a member of the team, I have been invited to their events for the last 18 months. It is such a fun and creative day.

I made two swaps to share and received many swaps in return.

The first is one that I shared on my blog a little while ago. I thought this would be a great card to make to share in a swap.

The second swap I made was a 3D project. I was out doing grocery shopping when I found 3D cupcake gummies in the confectionery aisle and I knew they would be perfect to pop inside the Mini Jam Jars.

No photo description available.

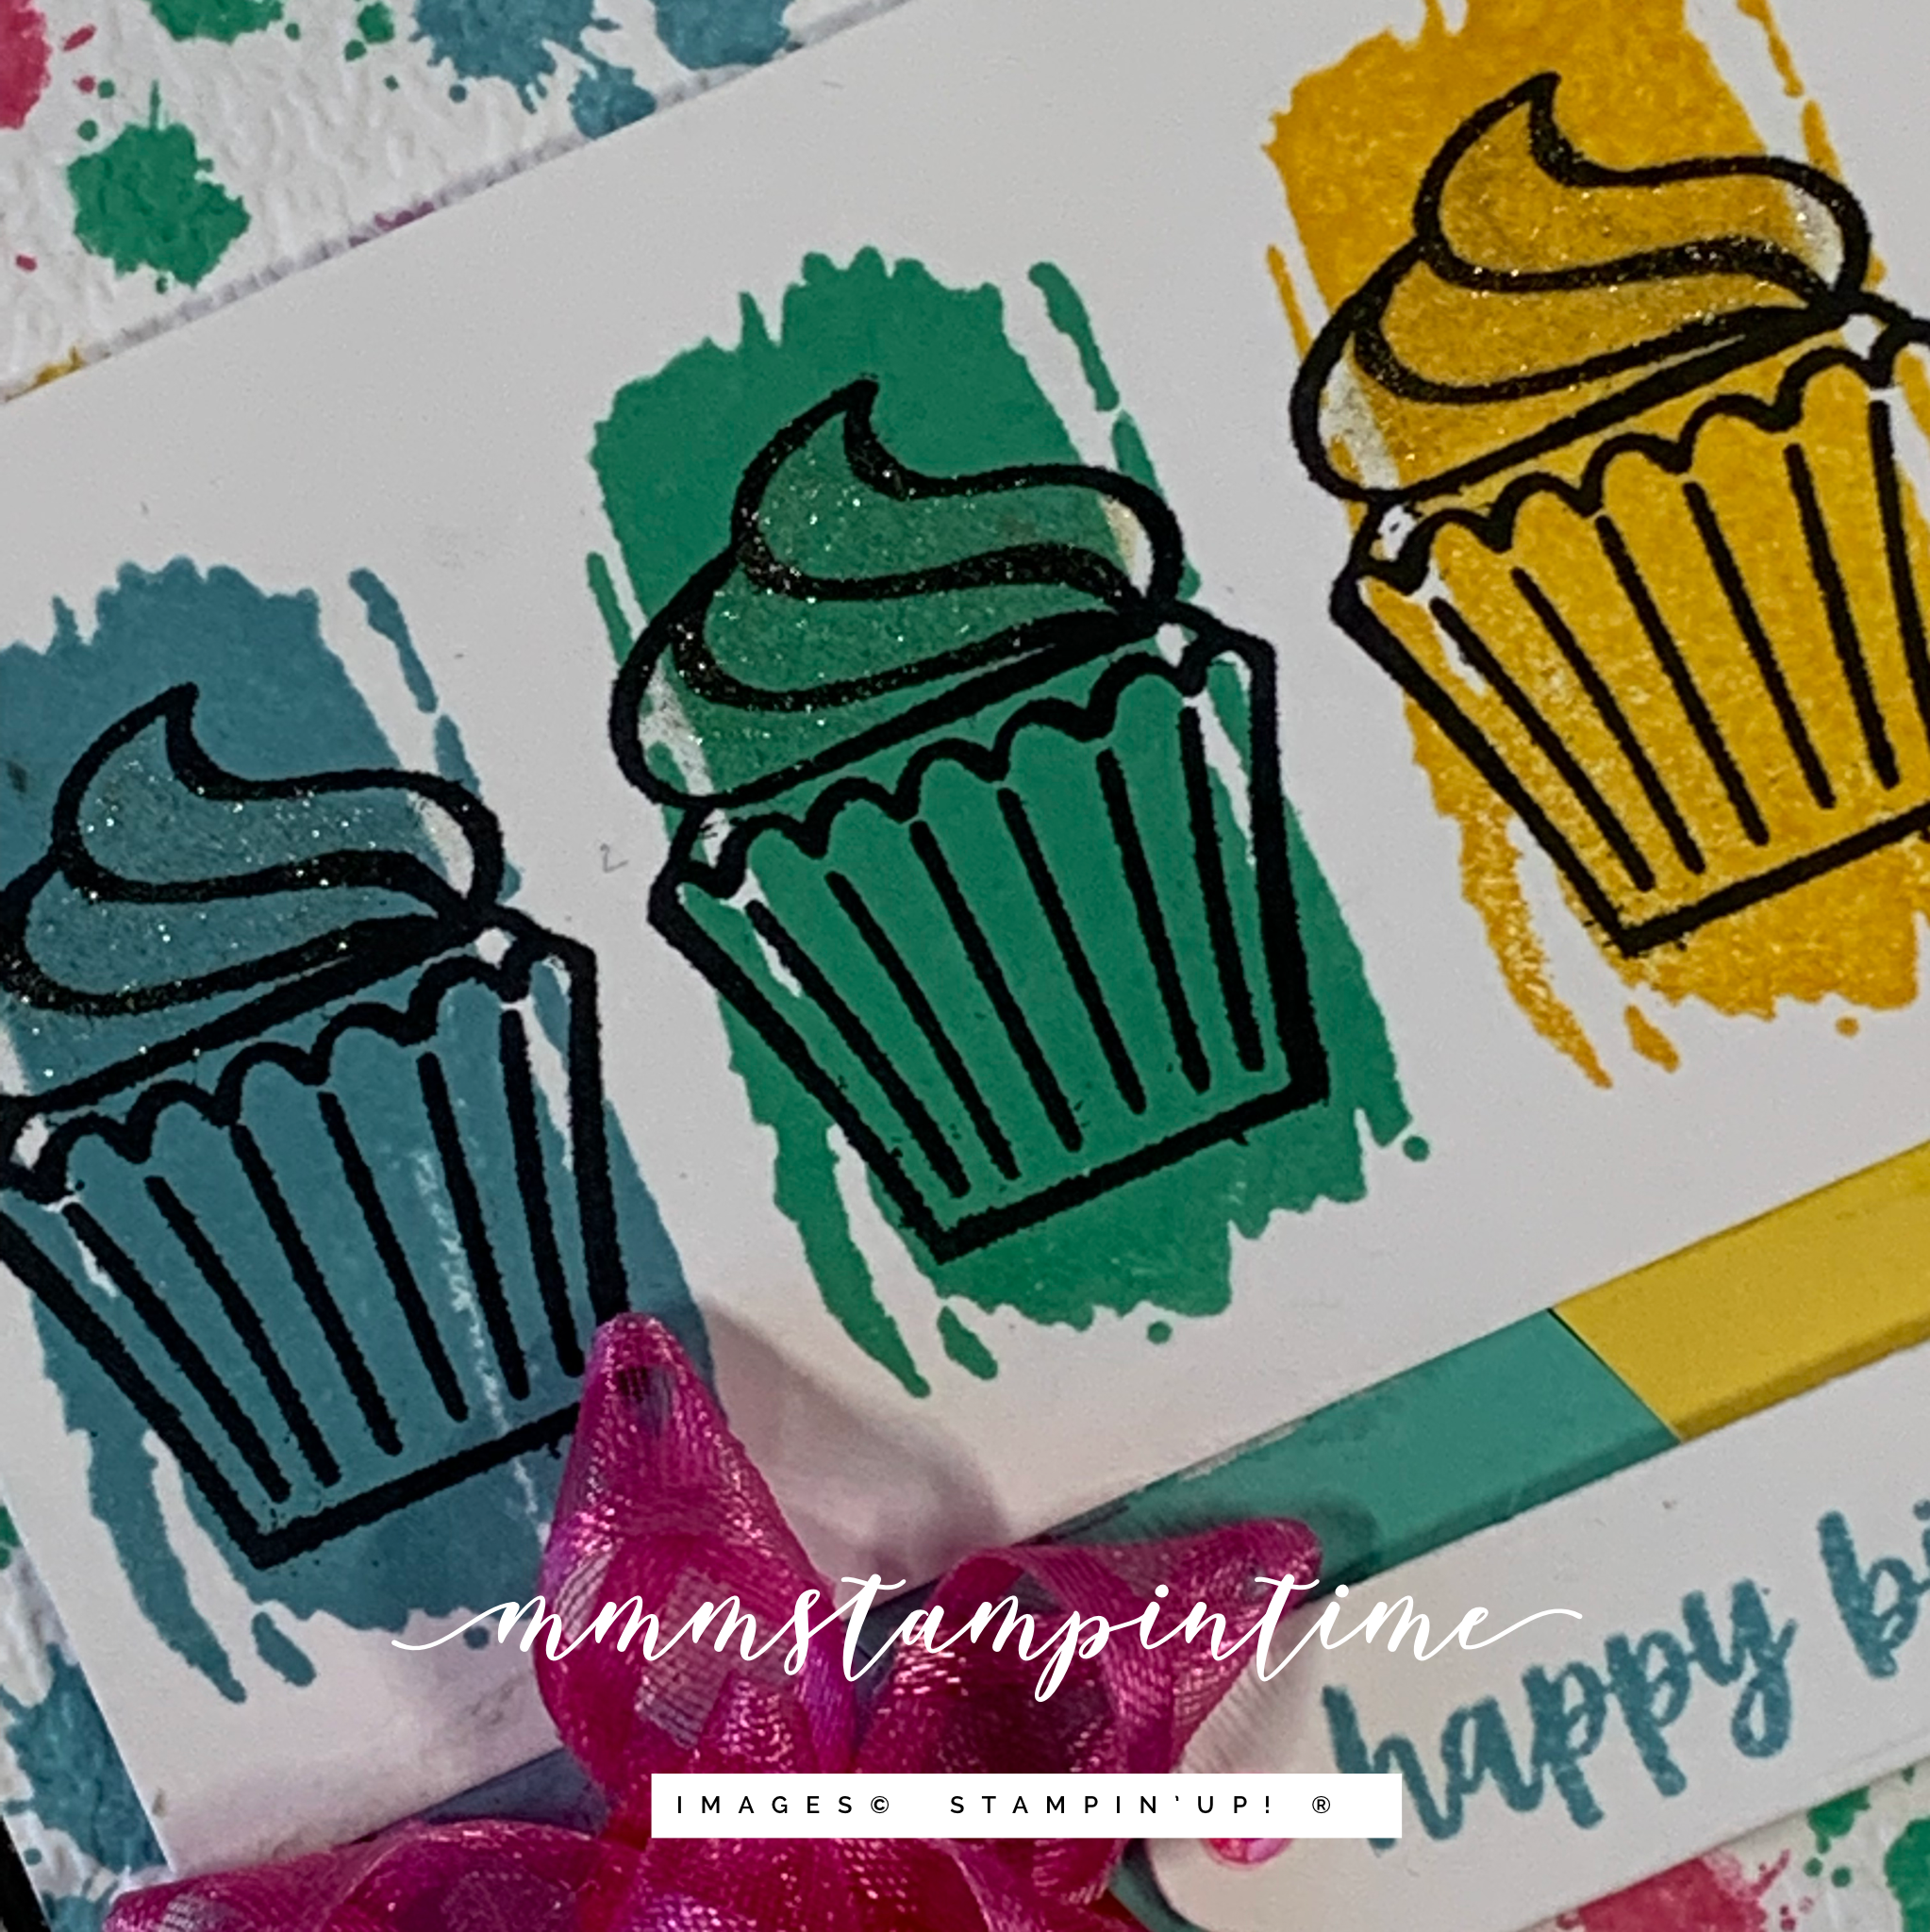
The cupcake from the Sweets & Treats Stamp Set was perfect for the lid of the jar. I stamped, coloured and cut the cupcake label using the Layering Circles Dies. I also used one of the scalloped circles from the set to cut a Bermuda Bay layer.

I wrapped a Bermuda Bay belly band around the jar and then added another label with the stamped sentiment.

I used Stampin’ Blends to colour some Clear Epoxy Essentials. The cupcake was also painted with Clear Wink of Stella.

May be an image of 6 people, including Peta Armstrong and Michele Miller and jewelry

Here I am with the amazing ladies I crafted with Peta, Caroline, me, Jenny, Danielle and Nicole (left to right).

As you can see, there was also an amzing display of projects shared by five team members.

One of things we do for the event is to make a name tag that reflects the training day theme – Treat Yourself/Gingerbread & Peppermint.

No photo description available.

To Bec, Anna and Liz – thank you for inviting me and allowing me to be an adoptee of your teams. It was an amazing day and I met such amazing ladies.

Until next time, happy stamping.