Posted on Leave a comment

NATURE’S HARVEST THANK YOU CARD

When I saw the images in the Nature’s Harvest Stamp Set, I knew they would coordinate beautifully with those in the Dragonfly Garden Stamp Set.

Thanks fro popping by today. I hope you like the card that I am sharing with you today.

I stamped one of the images from the Dragonfly Garden Stamp Set directly on to a 6″x 6″ piece of Harvest Meadow 12″x 12″ Designer Series Paper. This is a Cling Stamp Set and I used my Stamparatus to stamp the image evenly. I stamped it three times, hinge-stepping with a double space, at one height then shifted the DSP so that I could stamp it again at a lower level.

I coloured the flowers using the Light Pumpkin Pie Stampin’ Blend and Light Cajun Craze Stampin’ Blend, before cutting the front DSP panel using the largest Scalloped Contours Dies.

The white edge of a length of Pale Papaya & White Woven Ribbon was cut away so that I could create a frayed effect. This length was then threaded through the scalloped sides of the stamped panel.

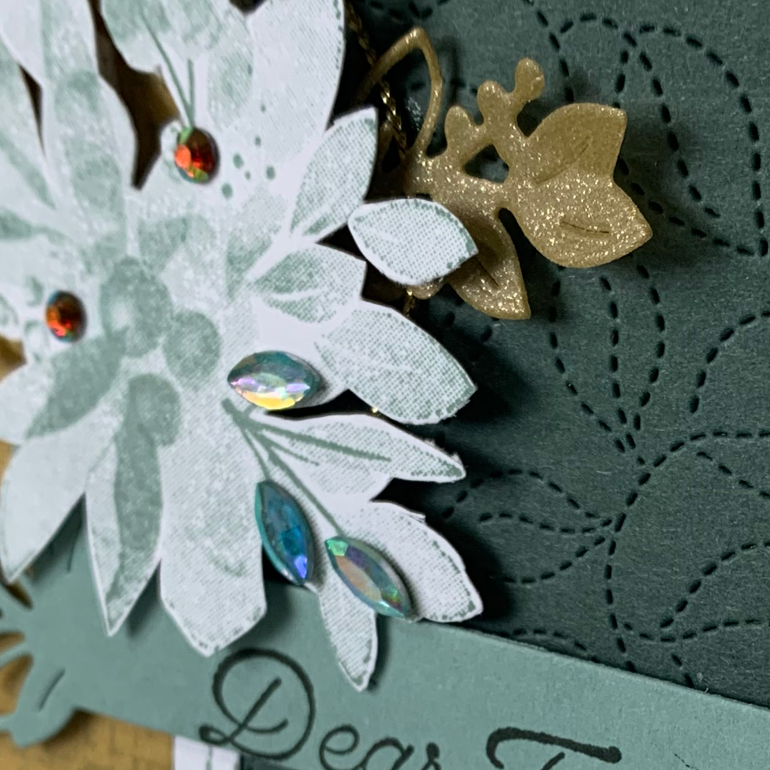
The large floral image from the Nature’s Harvest Stamp Set was stamped and then coloured using Light Cajun Craze, Light Pumpkin Pie, Light Soft Succulent and Dark Soft Succulent Stampin’ Blends. After colouring the image I fussy cut the floral trio and added it to the card front using Stampin’ Dimensionals.

The card insert and envelope each had half the remaining stamped DSP added.

The sentiment, from Nature’s Harvest, was stamped and trimmed down to place in the bottom right-hand corner of the card.

The final touch was to add some Soft Succulent jewels from the 2021-2023 In Colour Jewels.

Well, I have certainly come a long way in 12 months when it comes to fussy cutting. I still need to refine this technique but I am very pleased with my progress.

Make sure you let me know what think of this thank you card. If you live in Australai and would like me to send this card to you, leave a comment and I will make a random selection.

Until next time, happy stamping.

If you live in Australia, you can order any of the products I used to make this card by going to my online store. Just click on any of the images below.

Product List
Paper Snips
[103579]
$17.00
Posted on Leave a comment

OKTOBERFEST BIRTHDAY CELEBRATION

My youngest daughter asked me to make a card for her partner. He will be celebrating his 30th birthday on October 30. The celebration will be an Oktoberfest costume themed event.

For this request I knew that I wanted to make a lederhosen inspired card. The Suit & Ties Dies would be perfect.

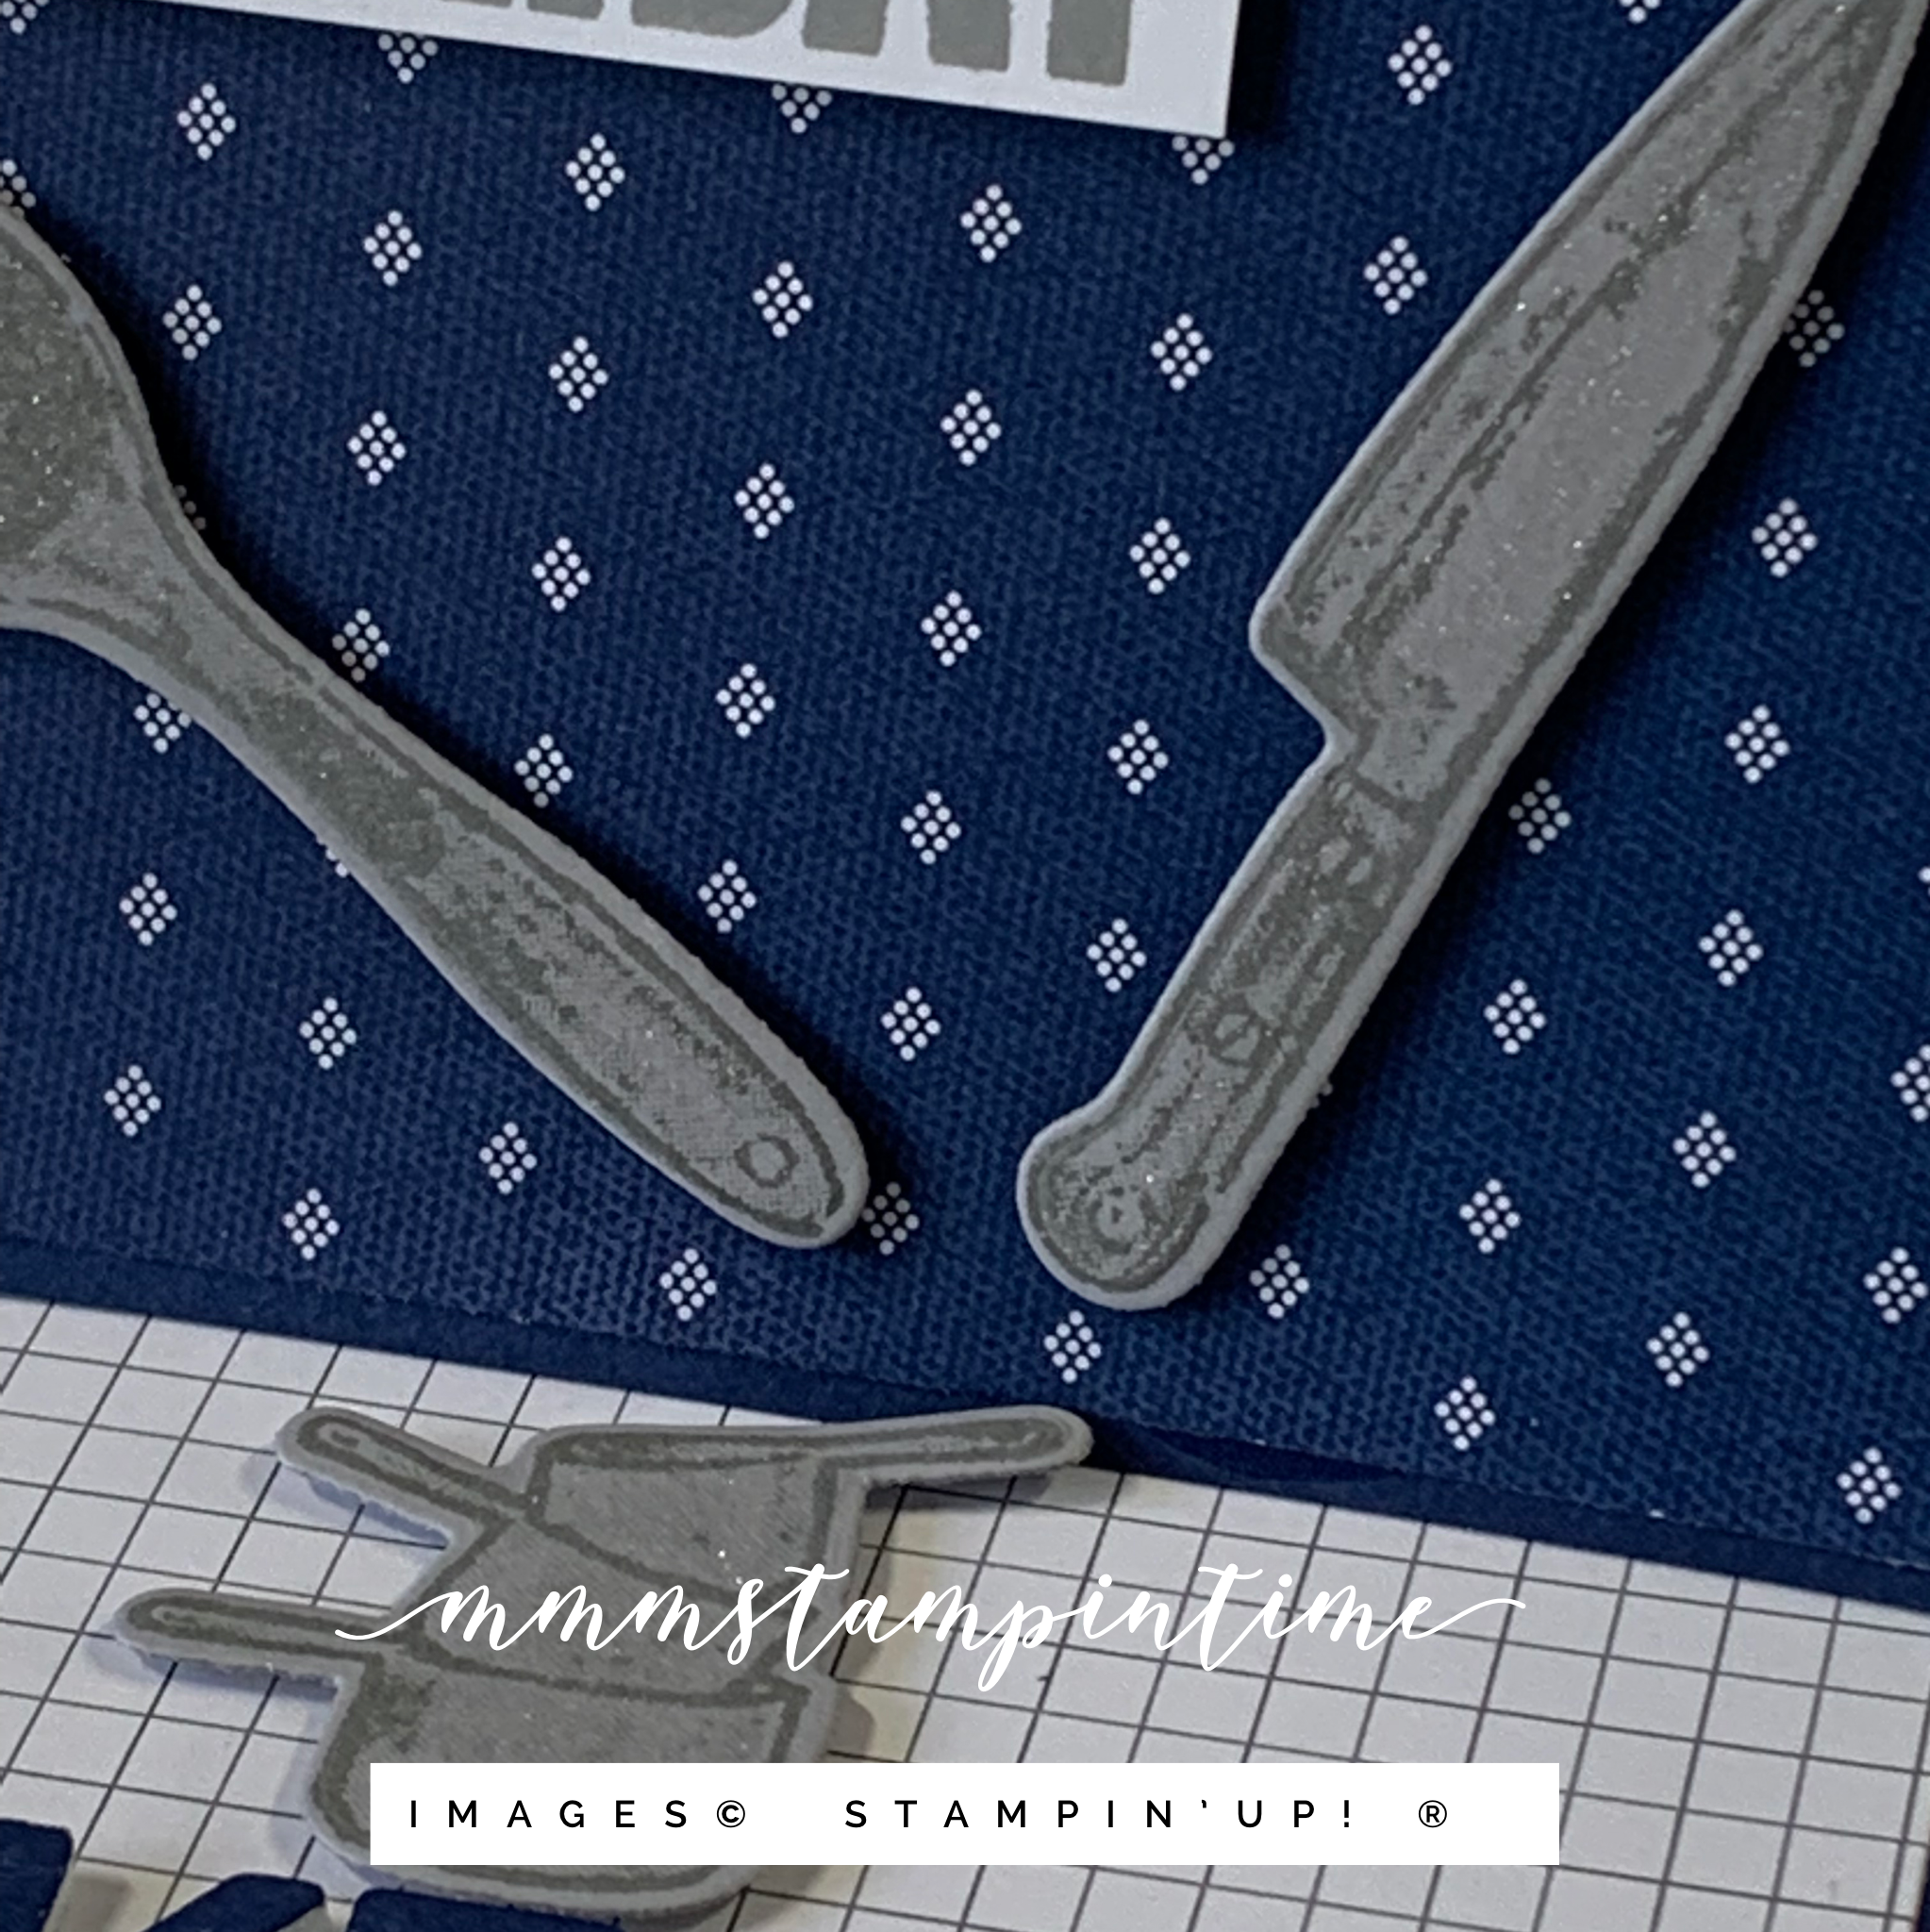
Althought the Well Suited Designer Series Paper is retired, I chose one design to use for the ‘shirt’.

The ‘shirt’ was so easy to create. I cut a piece of the DSP and trimmed away a triangle at the centre top to accommodate the collar.The collar had Stampin’ Dimensionals placed on the underside so that it would sit up from the ‘shirt front’. I also popped a small piece of Basic White card behind the triangle.

I small strip of the same DSP was cut using one of the Suit & Ties Dies and glued down the centre to appear to be the placket for buttonholes and buttons. The buttons were die cut from Basic Black card that has Adhesive Sheet attached.

For the lederhosen suspenders and front panel, I thought Cinnamon Cider card would be the perfect colour. The suspenders were cut using the same die I used for the placket.

The suspender buckles were also cut using the Suit & Ties Dies.

I created the centre panel of the lederhosen suspenders using the Seasonal Layers Dies. This piece was then recut to make the shape smaller and more authentic looking.

An image from the Batik Boutique Stamp Set was used to add the floral flourish to the centre panel. It was stamped in Tuxedo BLack Memento ink.

Inside the card, I stamped a birthday greeting on the insert and also created a calendar panel to mark the date of his birthday – turning 30 on the 30th.

I sent photos of the card to my daughter and she is very happy with what I have made for her. And I am very pleased with the end result.

Although, I must confess, I’m reallt sure that I want to go in costume.

Until next time, happy stamping.

If you live in Australia, you can order any of the products I used to make this card by going to my online store. Just click on any of the images below.

Product List
Paper Snips
[103579]
$17.00
Posted on Leave a comment

COLOURFUL FLOWER MARKET

Earlier this week I posted a card I made for the Global Design Project Challenge – #GDP312. I was also working on a second card idea that I finished last night.

For my second card I used the Flower Market Die to cut out the gorgeous floral design. Then I placed pieces of Rainbow Glimmer Paper under the cut layer.

Then I cut more of the Rainbow Glimmer Paper from the Bermuda Bay and Blackberry Bliss side of the sheet.

The birthday greeting was stamped using my Stamparatus to ensure a strong and clear image. Then I trimmed and fussy cut the greeting. It was popped up on the card front using Stampin’ Dimensionals.

For the card insert and envelope, I cut a stencil using the Flower Market Die and then I used my Blending Brush to colour them.

The triple bow was made using lengths of Whisper White Crinkled Seam Binding Ribbon, white Baker’s Twine and silver Simply Elegant Trim.

The final touch was to add some Artistry Blooms Sequins to the card front.

I am so delighted by the way this card turned out. What do you think? Shimmery and bling enough?

Until next time, happy stamping.

If you live in Australia, you can order any of the products I used to make this card by going to my online store. Just click on any of the images below.

Product List
Paper Snips
[103579]
$17.00