Posted on Leave a comment

A CANDY CANE KIND OF CHRISTMAS

I was doing some grocery shopping yesterday and found some unusual candy canes – there were orange and pink canes in the packet. Perfect for making another 3D project!

The boxes remind me of the shape of letter boxes I’ve seen in the United States. I was able to make them using a piece of cardstock measuring 8″x 5-1/2″. I scored along both sides of the long edge at 1-1/4″. After burnishing the score lines, I added Stampin’ Seal+ and overlapped the 1-1/4″ wide lengths to form the base.

The Real Cartoon: Red Letter Box Cartoon

I stamped the Candy Canes image in Melon Mambo and Pumpkin Pie to match the colour of the canes. After trimming the stamped cardstock to 5-1/2″x 4-5/8″, I used Multipurpose Glue to attach it to the gift box.

I coloured a length of White Glittered Organdy Ribbon using the coordinating Stampin’ Blends. After punching Rectangular Postage Stamp pieces of cardstock, I attached the ribbon to it before securing the ribbon to the base of the box.

I made an insert to hold the coloured candy canes and the ribbon ensured that, when tied in a bow, it would not slide out.

The Christmas greeting is from the Holly Jolly Wishes Stamp Set and the two tags were stamped in the coordinating colour. The tags were cut using the Tailor Made Tags Dies.

The tags were added to the ribbon before the bows were tied.

The final touch was to add some Artistry Blooms Sequins.

I’m still refining the way to use my new ring light when taking photos. Please be patient with me as I work on improving my lighting.

What do you think about my candy cane holders?

Until next time, happy stamping.

If you live in Australia, you can order any of the products I used to make this card by going to my online store. Just click on any of the images below.

Product List
Paper Snips
[103579]
$17.00
Posted on Leave a comment

GINGERBREAD MEN CHOCOLATES

When I was shopping recently I found a packet of cute chocolate cups with teeny, tiny gingerbread men on top. I knew that I had to make a gift box to present them in.

The Gingerbread & Peppermint 6″x 6″ Designer Series Paper and Memories & More Card Pack were perfect for this project.

The packaging was made using a piece of Early Espresso cardstock measuring 9-1/2″x 5-1/2″. It was scored at 1-1/4″, 2-1/2″, 3-3/4″ and 5″ along the long side.

After the score lines were burnished, the first 1-1/4″ scored section was then adhered to the back panel to create the standing background.

I cut two pieces of the DSP, measuring 5-1/2″x 1″, to decorate the top and front of the box.

I used several of the Gingerbread & Peppermint Memories & More Card Pack elements to decorate the background panel.

I made an insert to hold the chocolates and ensured that it would not slide out by securing Early Espresso Faux Suede Trim to the base of the gift box. The Faux Suede Ribbon ties into a bow so easily.

Aren’t the gingerbread chocolates cute?

To make sure they were separated, I created an insert for the box that has 1/2″ uprights between each chocolate. There are 5 chocolates in the box.

I am looking forward to giving this to someone for Christmas. Who would you give this treat to?

I have another Christmas gift box to share with you tomorrow. This is a great time of year for making 3D projects.

Until next time, happy stamping.

If you live in Australia, you can order any of the products I used to make this card by going to my online store. Just click on any of the images below.

Product List
Paper Snips
[103579]
$17.00
Posted on Leave a comment

AWESOME OTTERS

A new Stampin’ Up!® January – June Mini Catalogue will launch very, very soon. As a demonstrator I have been fortunate to see it already AND order some of the new products, in a special pre-release, because I attended the recent OnStage Online event.

If you have been around for a while, you will be aware that with a Mini Catalogue comes a Sale-a-bration Brochure and all of it’s FREE products that you can earn.

During this recent OnStage Online pre-order, I was able to order some of the great new products and earn one of the Sale-a-bration items. I was so delighted when I realised it was the Awesome Otters Stamp Set. My daughters are mesmerised by otters (and, to be honest, I think they are super cute as well).

After seeing the stamp set, this is the card I immediately imagined making – three otters floating around, just chilling in the water.

I started by taking a piece of Shimmery White cardstock and applying several layers of Pacific Point ink, water colouring it in a variety of ways. I was pleased to create a variety of colour hues and colour movement.

The next step was to stamp and colour the three floating otters. I knew that they would look totally adorable floating across the ‘water’, holding their fish tightly to their bodies. The Stampin’ Blends were perfect for this colouring. After they were coloured, I fussy cut the otters,

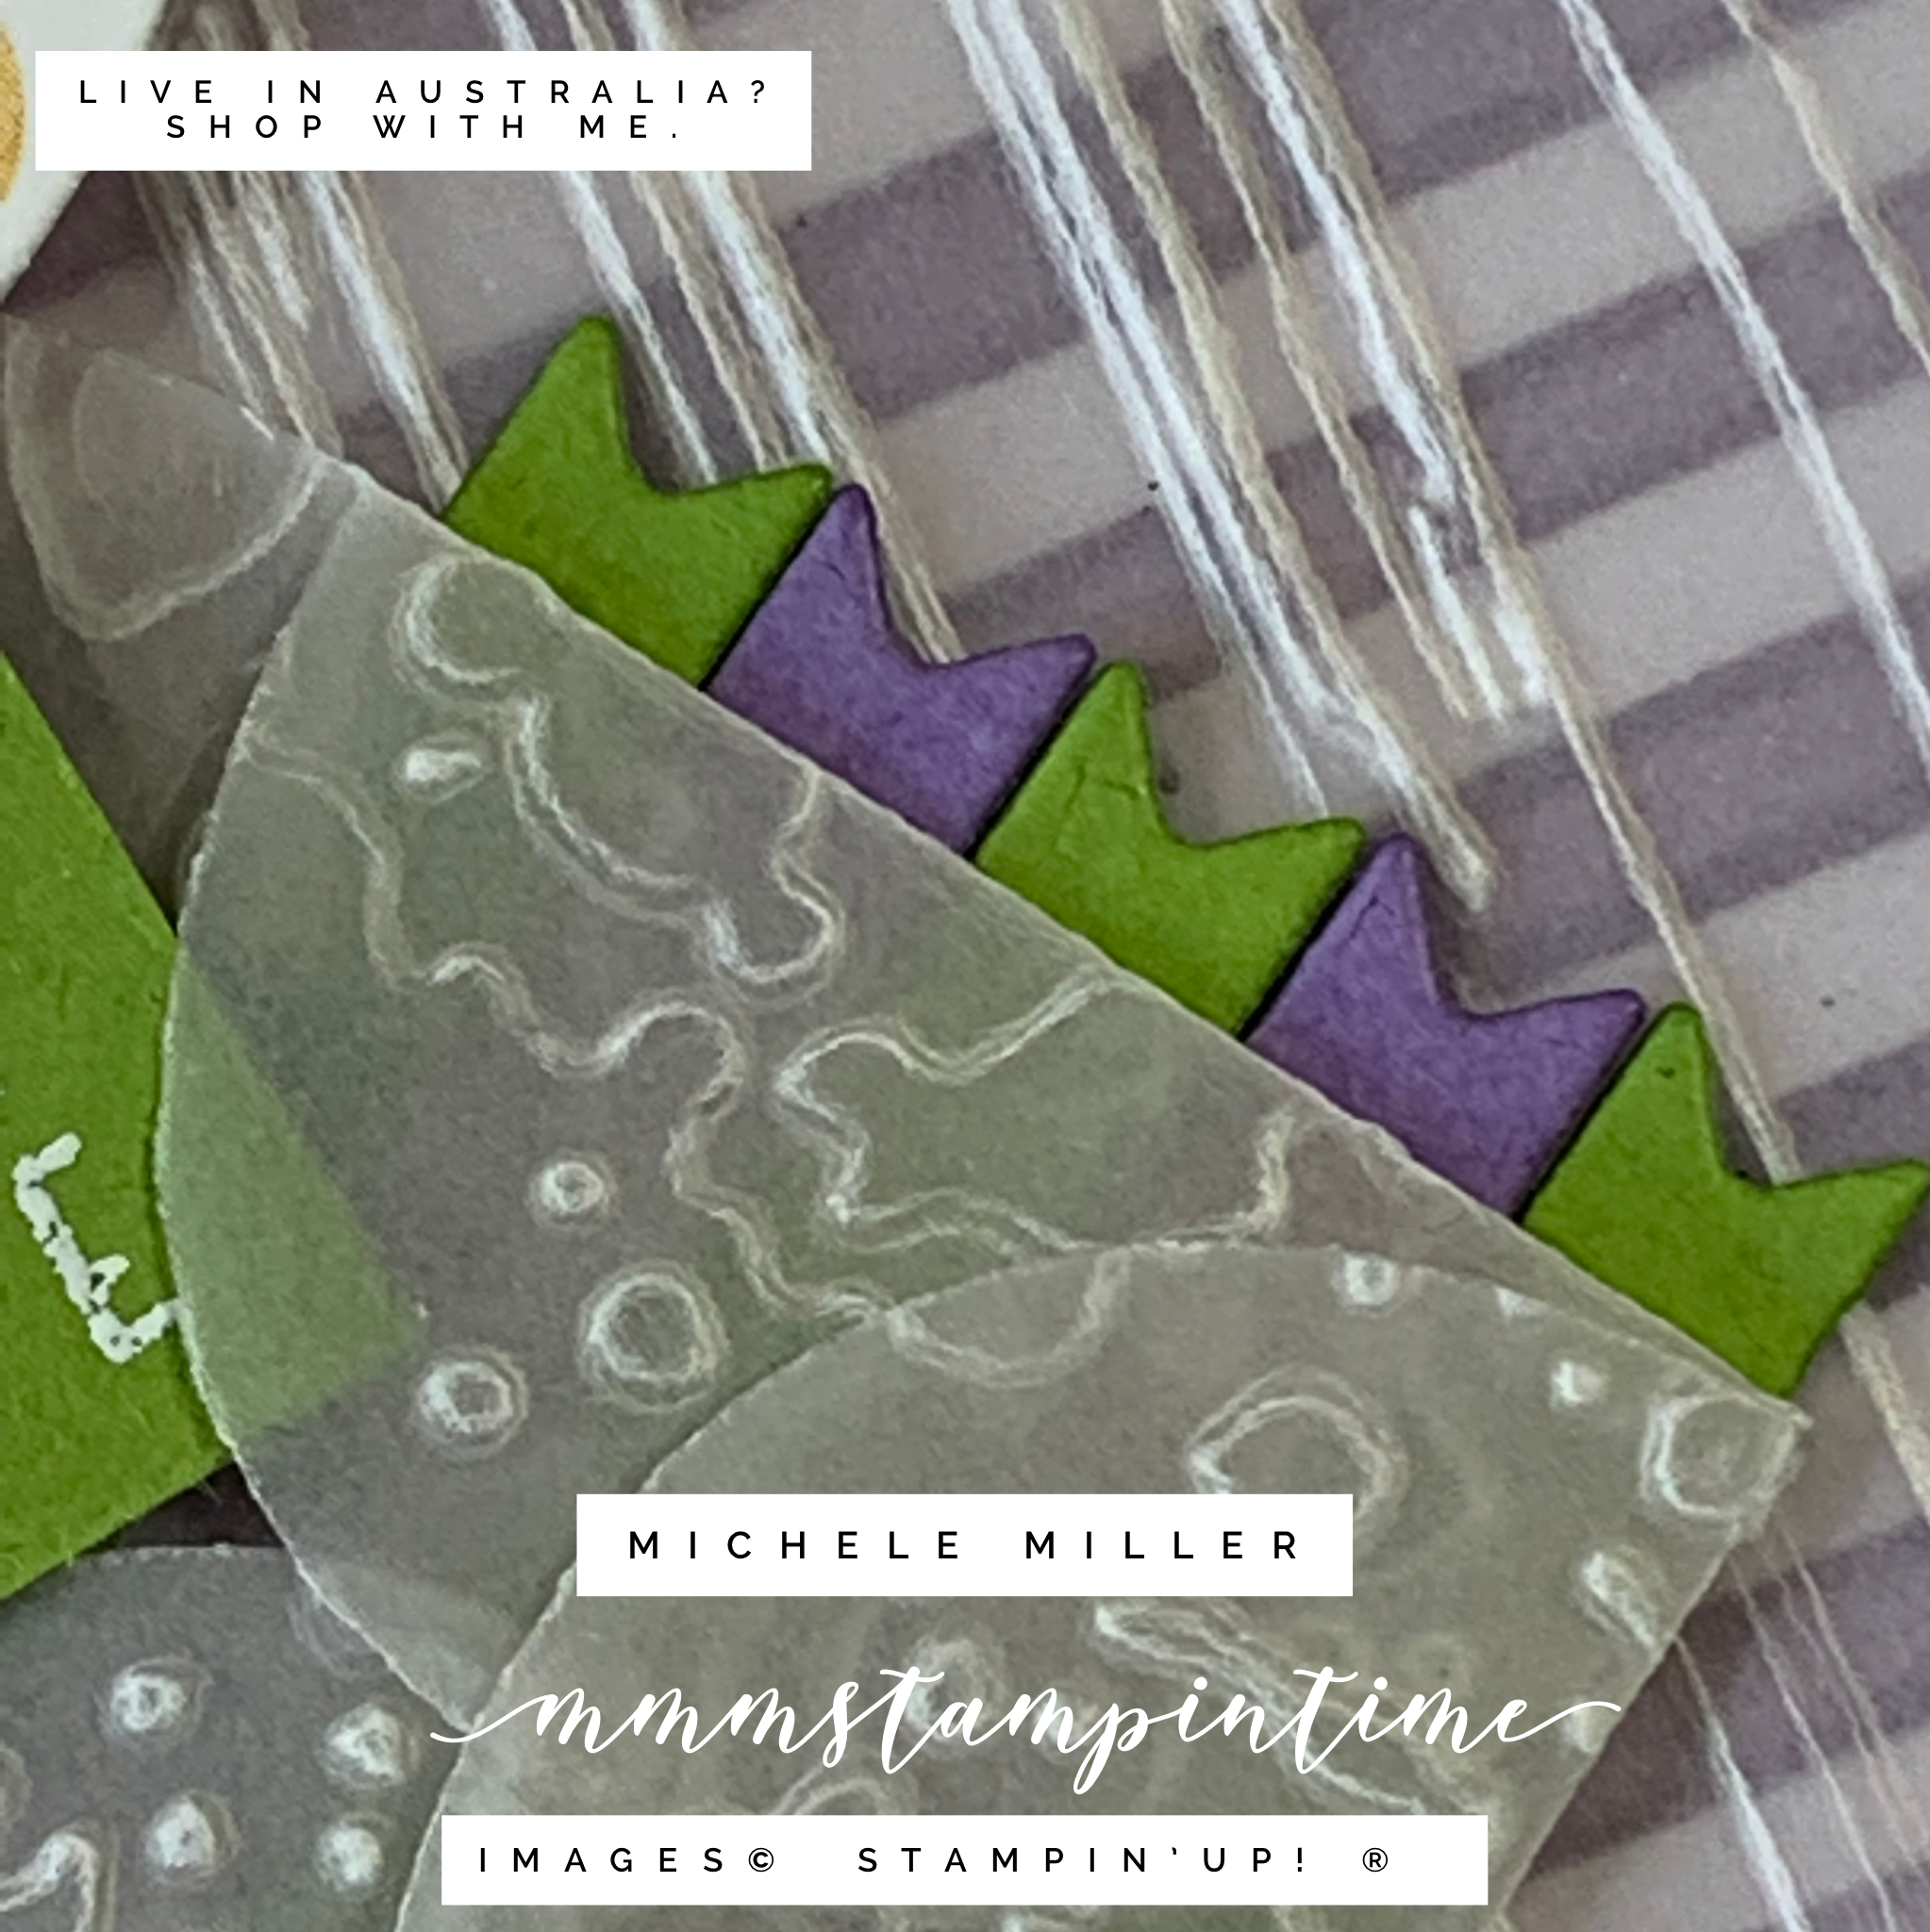
When the floating otter layer was completed I attached it to a piece of Pacific Point cardstock and then wrapped some white twine, from the Baker’s Twine Essentials Pack, and tied it in a bow.

Under the floating otters layer there is a piece of Basic White cardstock that has been randomly stamped with the same otter image using Pacific Point ink. This was then attached to the Pacific Point card base.

The terribly cute otter was also stamped on the card insert and the front of the envelope.

The only ‘bling’ that I added to this card was the Clear Wink of Stella I painted across the centre of the card front.

I am looking forward to making lots more fun projects using this super cute Awesome Otters Stamp Set.

Until next time, happy stamping.

If you live in Australia, you can order any of the products I used to make this card by going to my online store. If you read back through my post you will see the products I have used for this project.