Posted on Leave a comment

A NEW WEEK & TIME FOR A NEW COLLECTION OF GORGEOUS STAMPIN’ UP! PRODUCTS

For my projects this week I am featuring the WILDFLOWER BIRTHDAY SUITE COLLECTION.

Look at all the lovely goodies included in the collection!

What can I say? I love the fonts used for the sentiments in the stamp set. I am so pleased to have some numbers dies again. The decorative dies are also pretty perfect for birthday projects. The Gold Open Weave Trim is so delicate and soft, making great bows.

And, then there is the Designer Series Paper and its wonderful colour palette – Pretty in Pink, Peach Pie, Old Olive, Soft Sea Foam, Pool Party and Gold!

In addition to the 10 sheets (2 each of 5 double-sided designs), there are 2 sheets of die cuts. All 12 sheets include luxurious gold foil.

It was so easy to just let these goodies do the heavy lifting for my projects this week.

My first card focuses on the Peach Pie products.

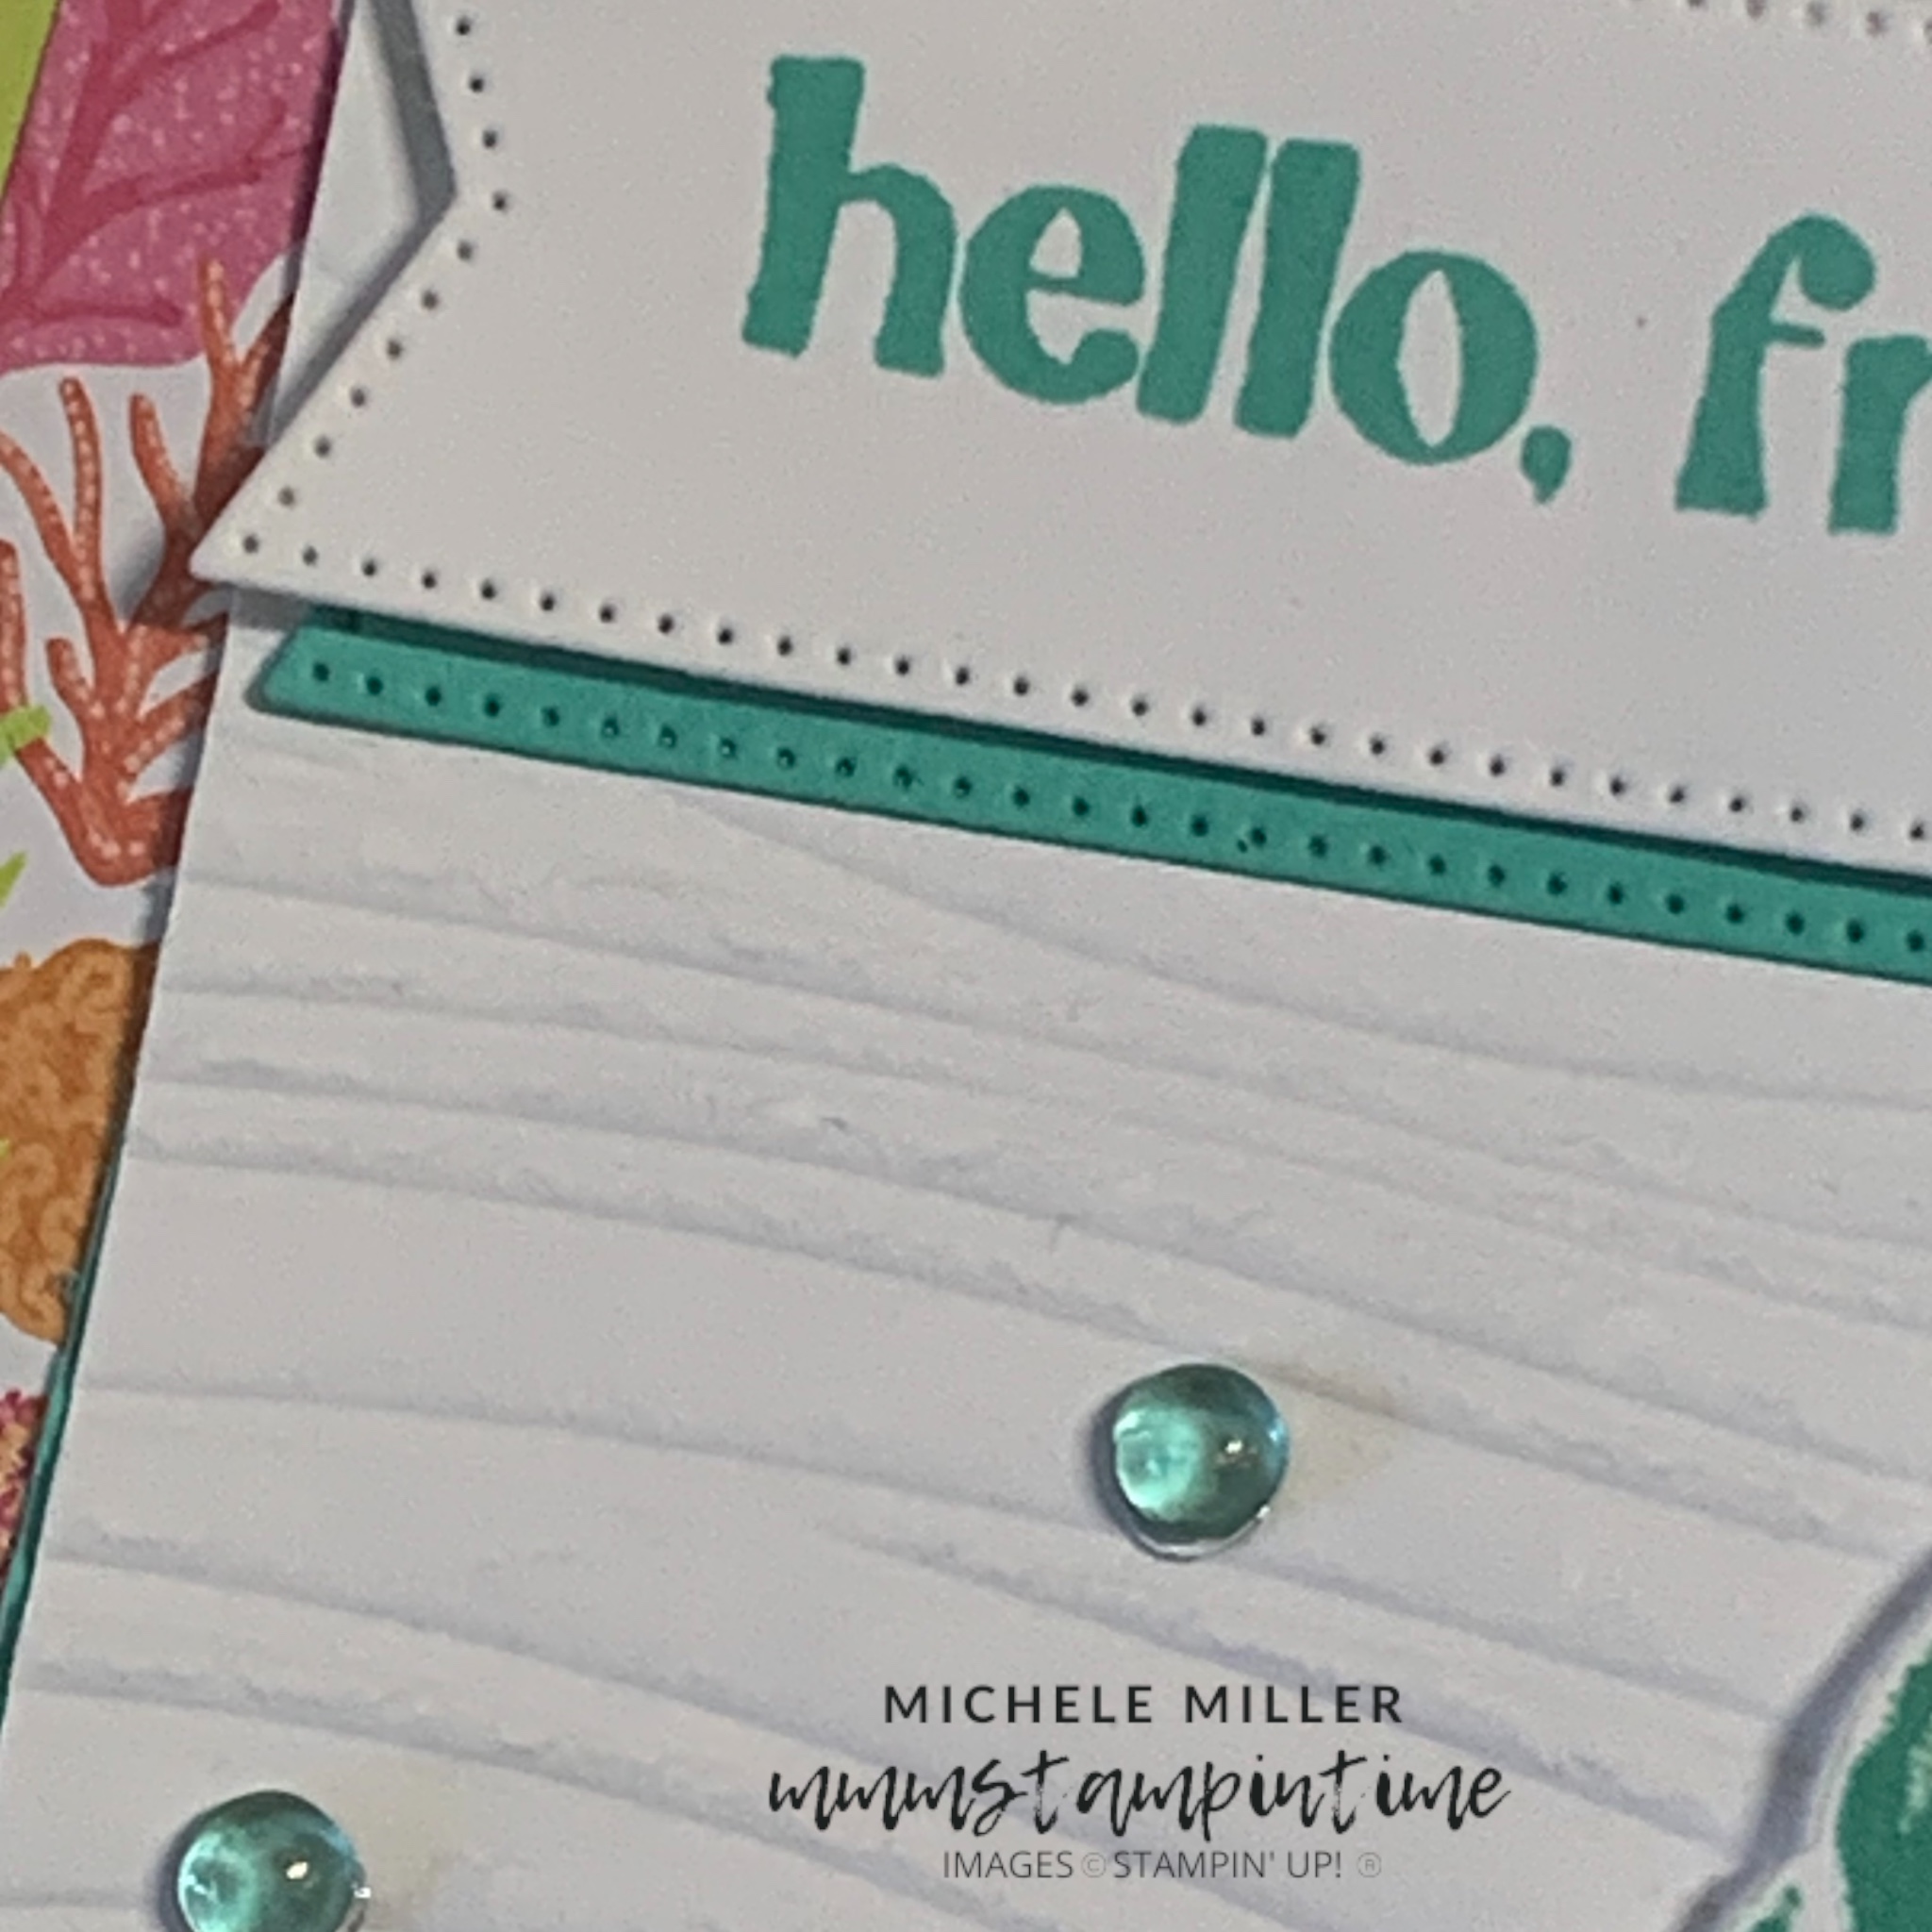
I used the Peach Pie Bordered Ribbon and Peach Pie dots from the Adhesive-backed Dappled Dots to coordinate.

I started with a Peach Pie card base and added a Basic White layer. Then I carefully cut a DSP panel and separated it to create a white space to wrap a length of ribbon across it.

The ends of the ribbon were tucked under the layer and secured with double-sided tape.

I took a shorter length of the ribbon and tied it around the longer piece.

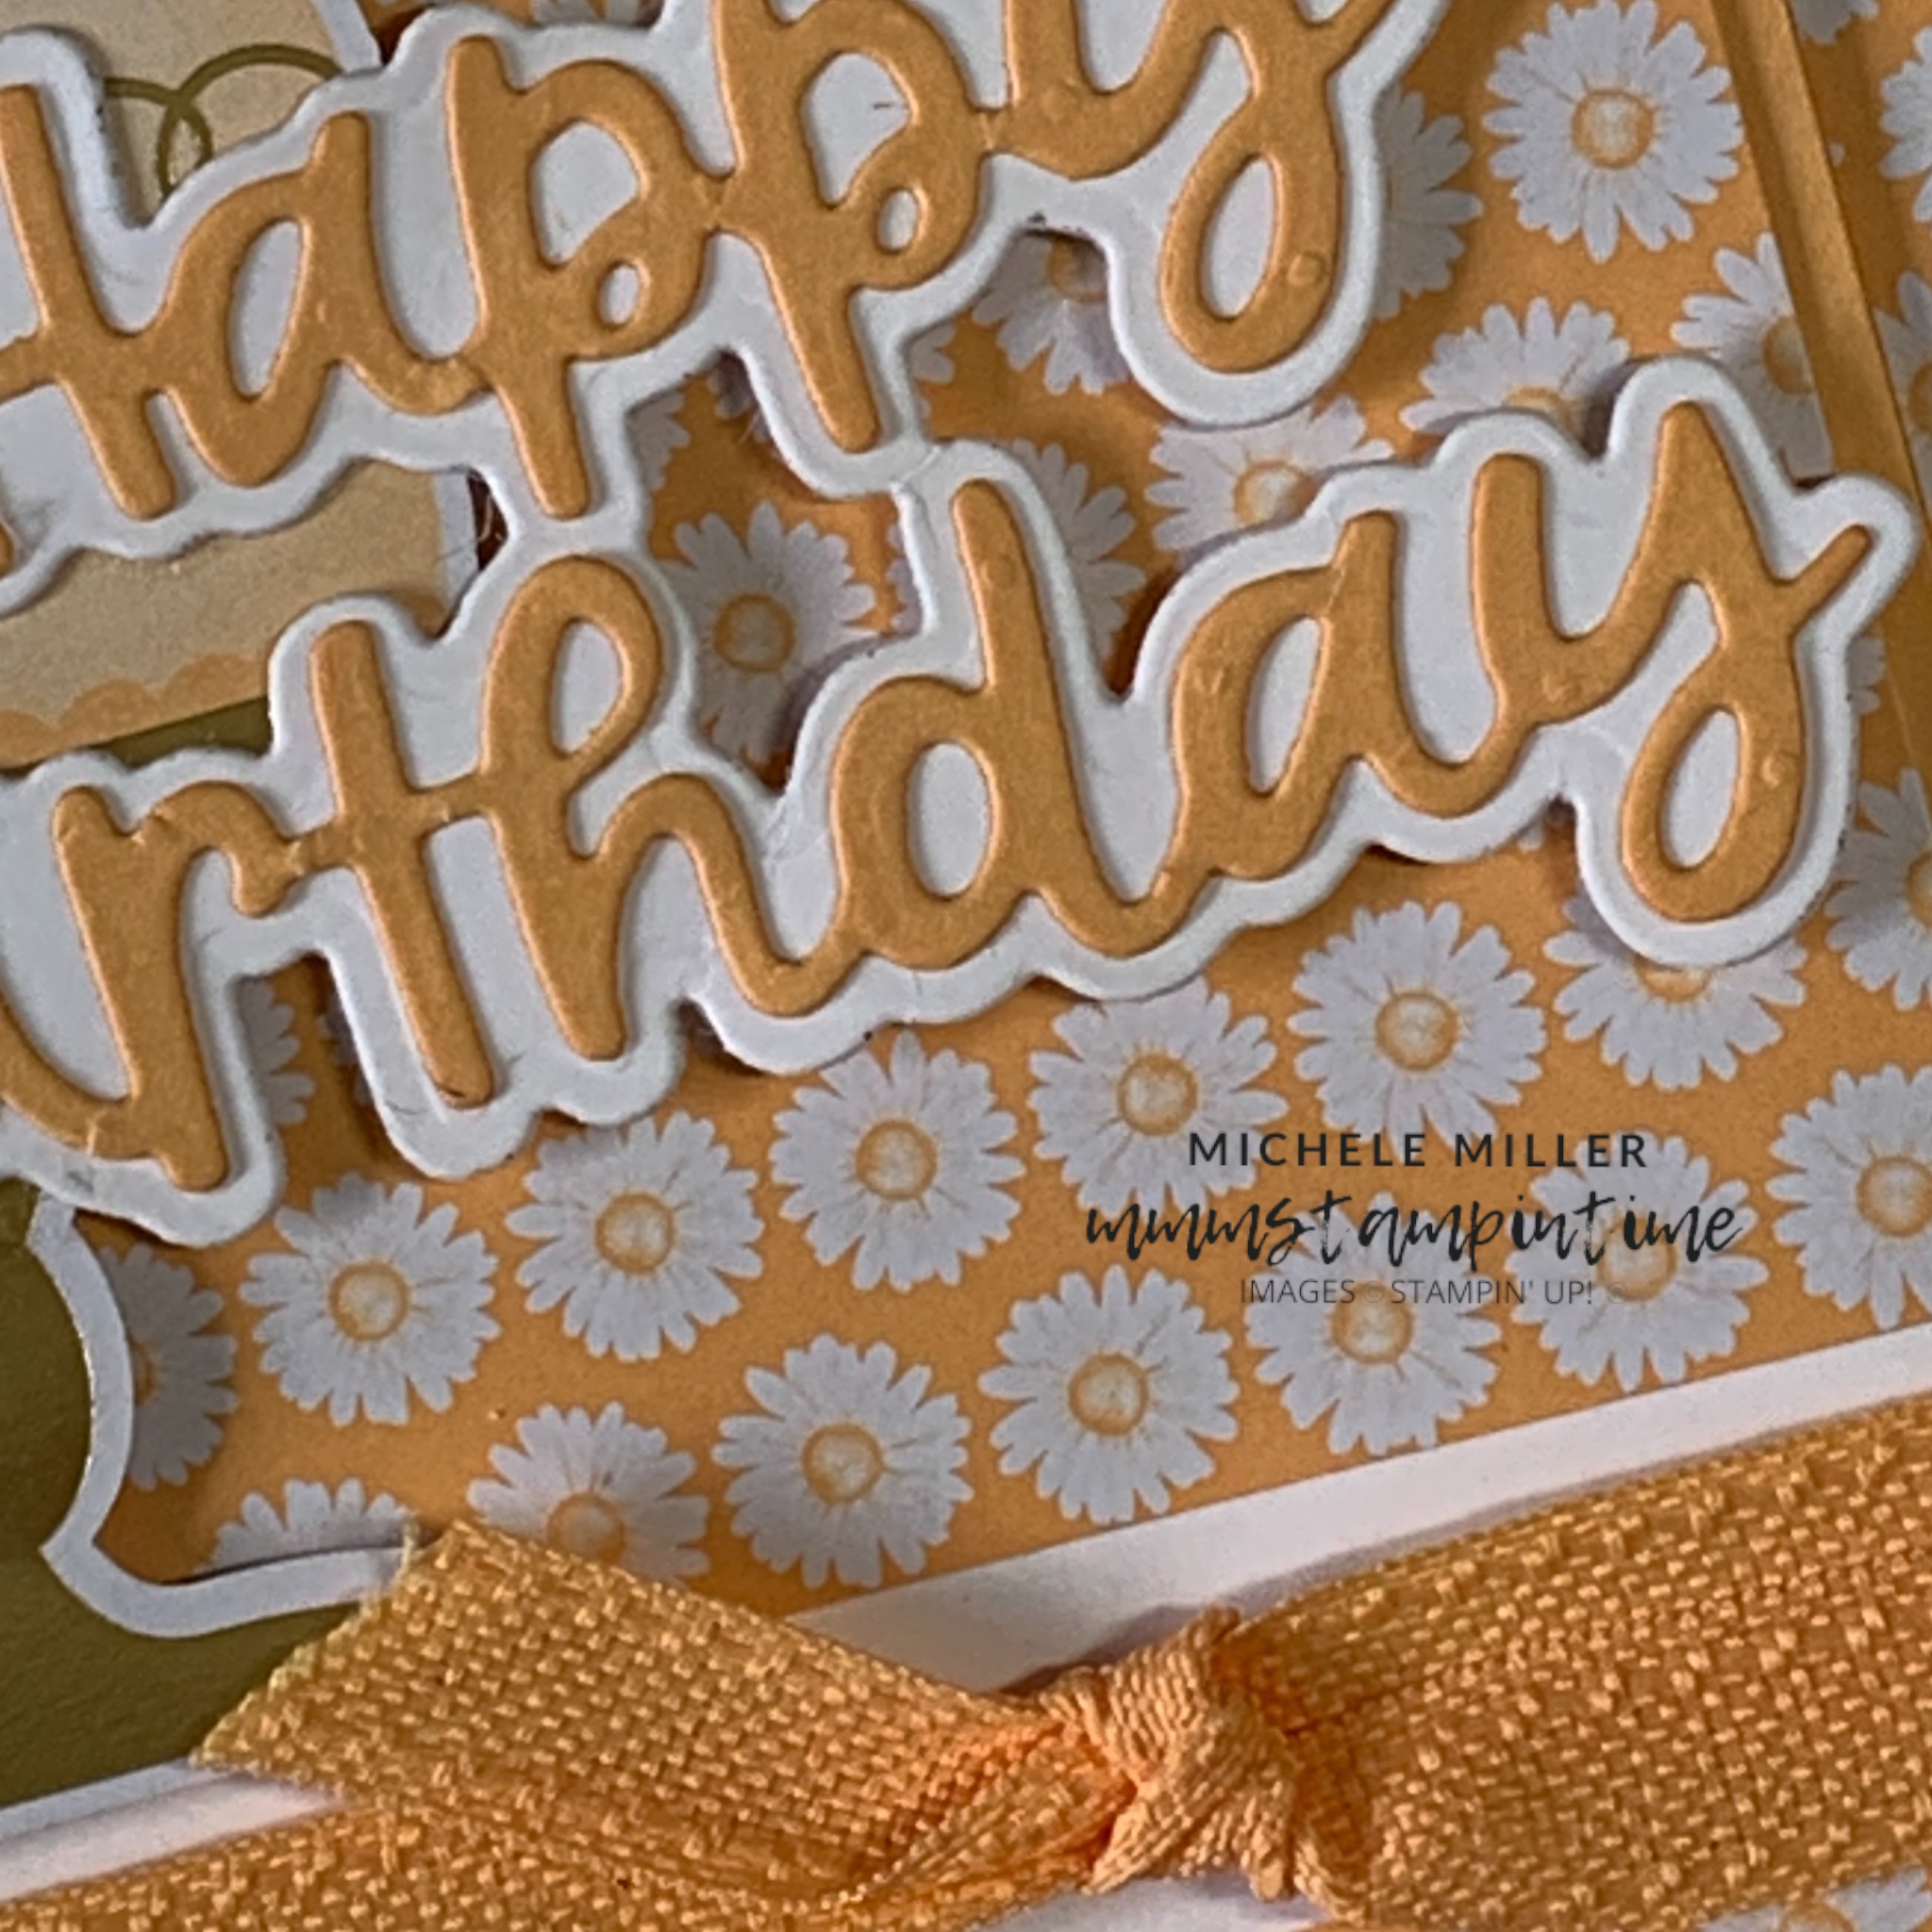
I chose one of the cake die cut shapes, from the DSP pack, and positioned it on the card front using Stampin’ Dimensionals.

After adding some Adhesive Sheet to the back of a Peach Pie scrap, I die cut the birthday greeting from the Wanted to Say Dies. I adhered the Peach Pie ‘Happy Birthday’ onto the Basic White outline. After adding Stampin’ Dimensionals to the back of the birthday greeting, I positioned it on the card front.

I added more of the DSP to the card insert and back of the envelope.

Finally, you can see where I used the Dappled Dots.

Tomorrow I have another fun birthday card to share with you.

Until then, happy stamping.

If you live in Australia, you can order any of the products I used to make this card by going to my online store. Just click on any of the images below.

Product List
Paper Snips
[103579]
$21.00
Posted on Leave a comment

HOW TO MAKE A FUN FOLD CARD THIS FRIDAY

For today’s fun fold card I decided to use the Everyday Arches Dies to create a triple fold card.

These are most of the products I used to make this card.

For this card I measured the width of the largest arch die ( 5-3/16″ x 3-15/16″/13.2 x 10 cm) and tripled it. I scored at 13.2cm and 26.4cm and folded the card and burnished the folds.

Then I positioned the die over the folded card making sure the left-hand cutting edge of the die was just outside the folds. This ensured the three arches were joined … a bit like an old-fashioned paper doll cutout.

For the front of this card I used the next size down arch die and cut some of the DSP. Then I adhered it to the front.

I cut a somewhat smaller arch and embossed it with the Soft Waves #D Embossing Folder.

The greeting was stamped onto Melon Mambo card in the same ink colour. Then I used one of the banner dies to cut it out.

To finish the card front I die cut two of the crabs from the DSP and added some of the Sunny Day Iridescent Dots.

When you open the card front you can see one of the arches deocrated with a DSP arch and piece of Summer Splash coral. THe other panel has Melon Mambo and Basic White arches added.

When you open out the Melon mambo and Basic White centre pael you get to see the completely decorated three inner panels of the card.

The coral and lobster are both die cut and the fish is fussy cut.

When you turn the card over this is the layout you will find.

I’m not sure what I have for you next week – yet.

But until then, happy stamping.

If you live in Australia, you can order any of the products I used to make this card by going to my online store. Just click on any of the images below.

Product List
Paper Snips
[103579]
$21.00
Posted on Leave a comment

TIME FOR 3D THURSDAY & HOW TO MAKE A GIFT BOX FOR A COLLECTION OF CARDS

Most Thursdays I try to share a 3D project with you.

Today I have a gift box that I made to hold all of this week’s card projects.

These are most of the new products, from the Friends of the Ocean Suite Collection, that I used to make the box.

I always start my gift boxes by taking the measurements of the item or items that I want to pop inside.

This box is designed to hold four cards and coordinating envelopes.

The gift box was made using Lemon Lime Twist card stock.

Then I added a panel of paper, from the Friends of the Ocean Designer Series Paper pack, to the top and sides of the box lid. I always try to cut the DSP carefully to ensure the design of the paper continues ‘seamlessly’ over the lid.

Then I cut two panels of card – one in Basic White and the other in Summer Splash.

I embossed the Basic White and Summer Splash panels, using the Soft Waves 3D Embossing Folder, and layered them before adding them to the top of the box. These panels were positioned at a slight angle.

The greeting was stamped and die cut using on eof the banner dies from the Stylish Shapes Dies pack.

I also cut a second banner, in Summer Splash, and positioned it under the stamped banner with dimensionals.

The lobster was stamped and die cut before adding it to the box lid as well.

Finally, I added some of the Sunny Day Iridescent Dots.

When you take the lid off you get a peek at tomorrow’s card design.

Tomorrow you will get to see more details about this card.

Until then, happy stamping.

If you live in Australia, you can order any of the products I used to make this card by going to my online store. Just click on any of the images below.

Product List
Paper Snips
[103579]
$21.00