Posted on Leave a comment

MY FRESHLY BREWED PROJECT IS MY CARD #2 THAT I HAVE TO SHARE WITH YOU TODAY

The Freshly Brewed Project Crew have a new theme each week. Although I have not shared in recent weeks, I am back today.

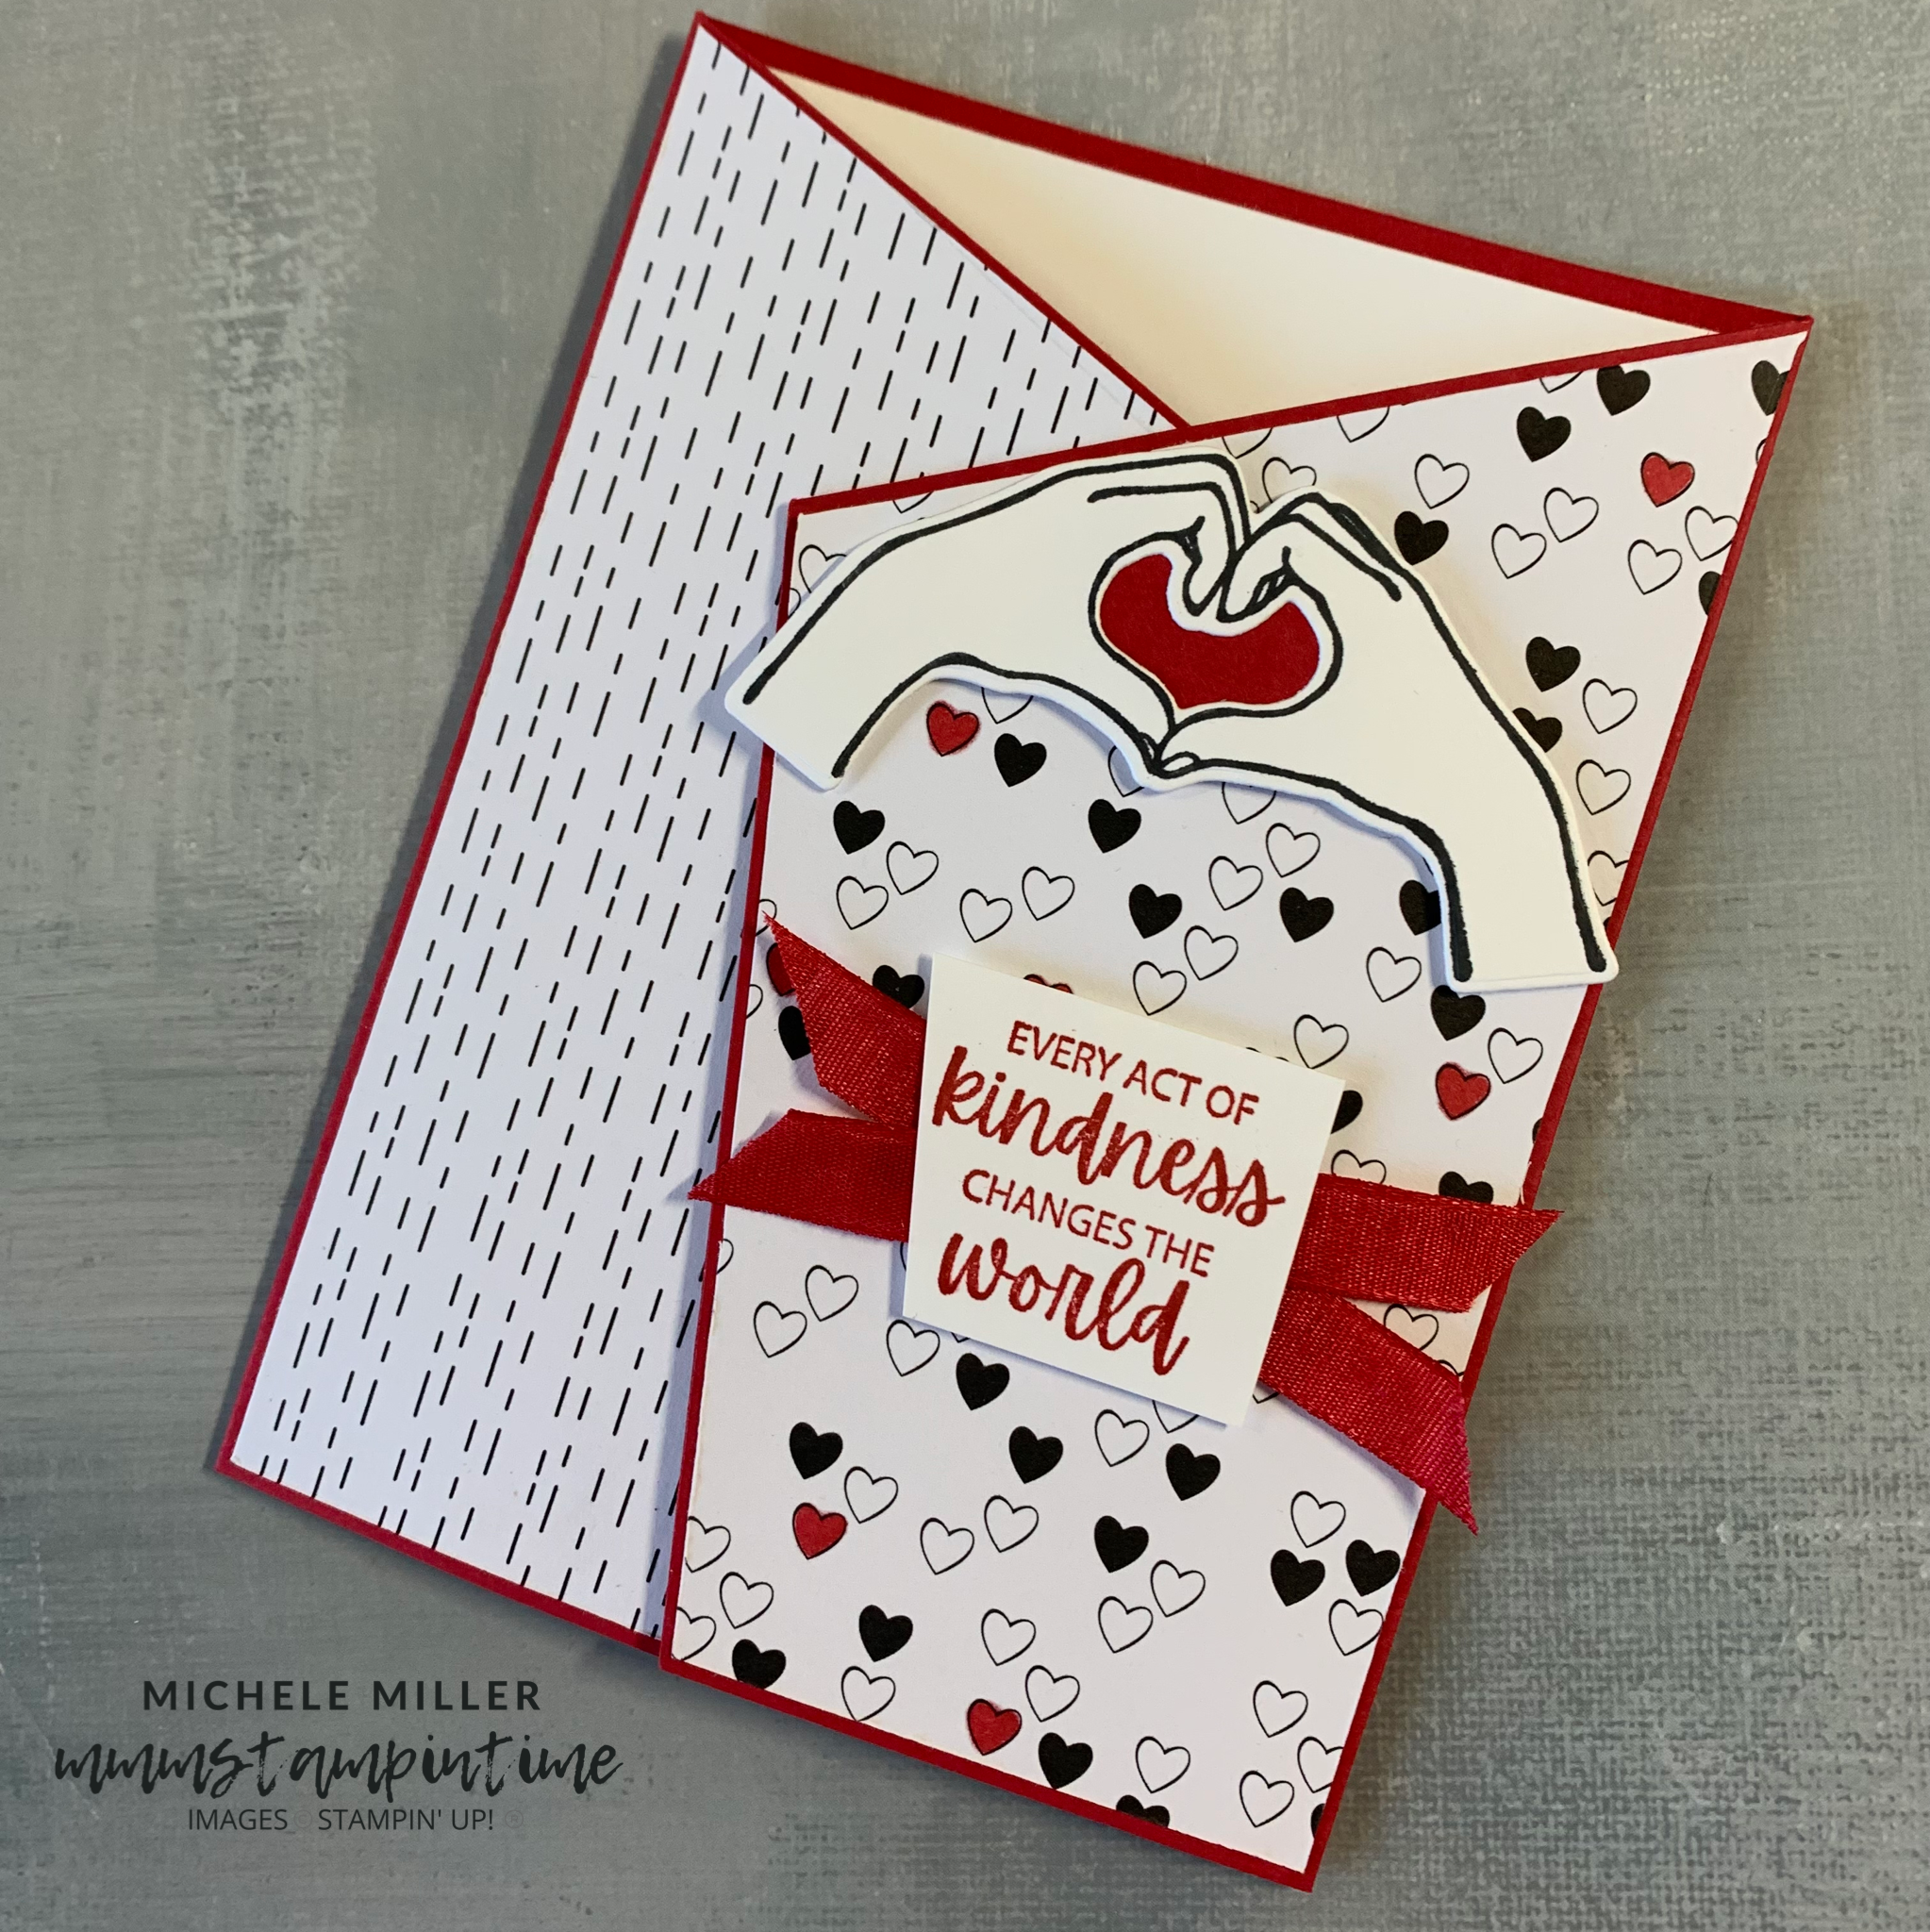
Our challenge this week was to create an angled trifold card, inspired by Lee-Ann Greff’s creation. I adjusted some of the measurements so that my card worked with our A4 cardstock and C6 envelopes.

And, for the record, I am still featuring the All Together Collection.

I cut the Real Red card base using my adjusted measurements.

Using two designs from the All Together 6″x 6″ Designer Series Paper, I cut paper for the left and right hand fronts of the card.

Between the cardstock and designer paper, I adhered small magnets that ensure the flaps close securely.

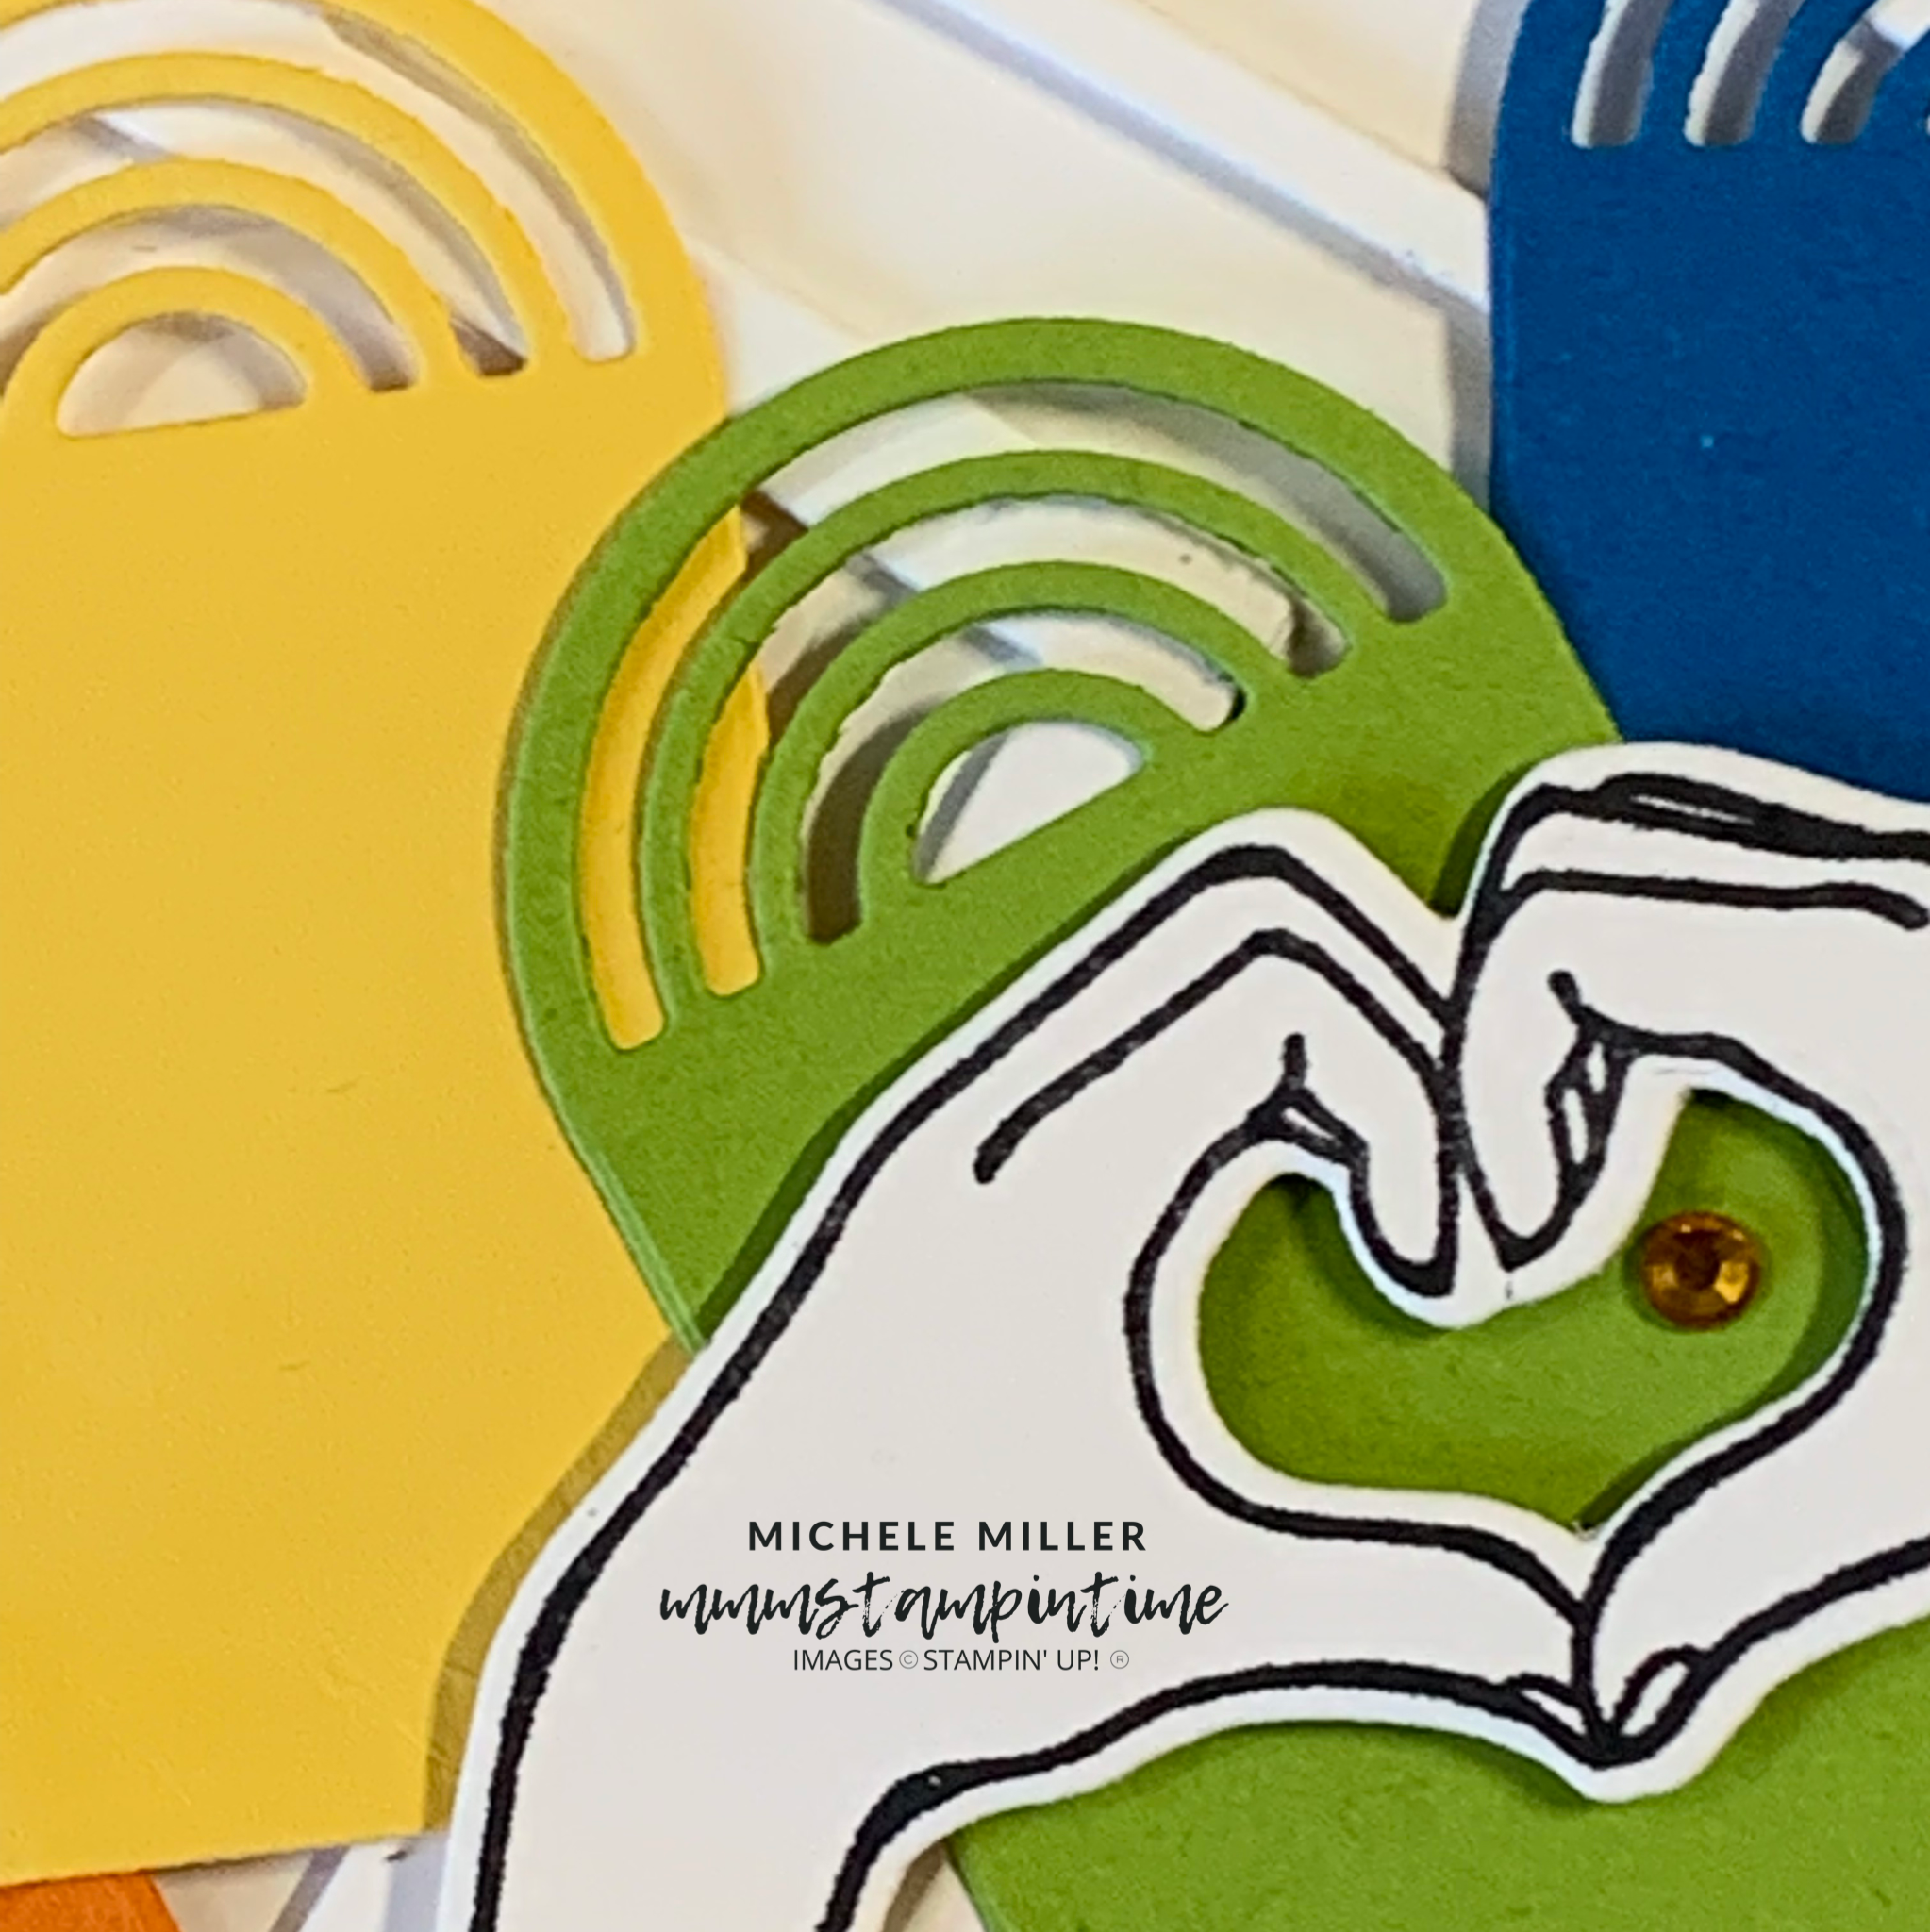
The “heart hands” were stamped and die cut. I attached a small scrap of Real Red cardstock behind the heart shape between the hands.

After attaching Stampin’ Dimensionals behind the stamped and cut hands, this shaped was attached to the card front, covering the magnet on the right hand flap.

The small heart was stamped on the card insert and envelope.

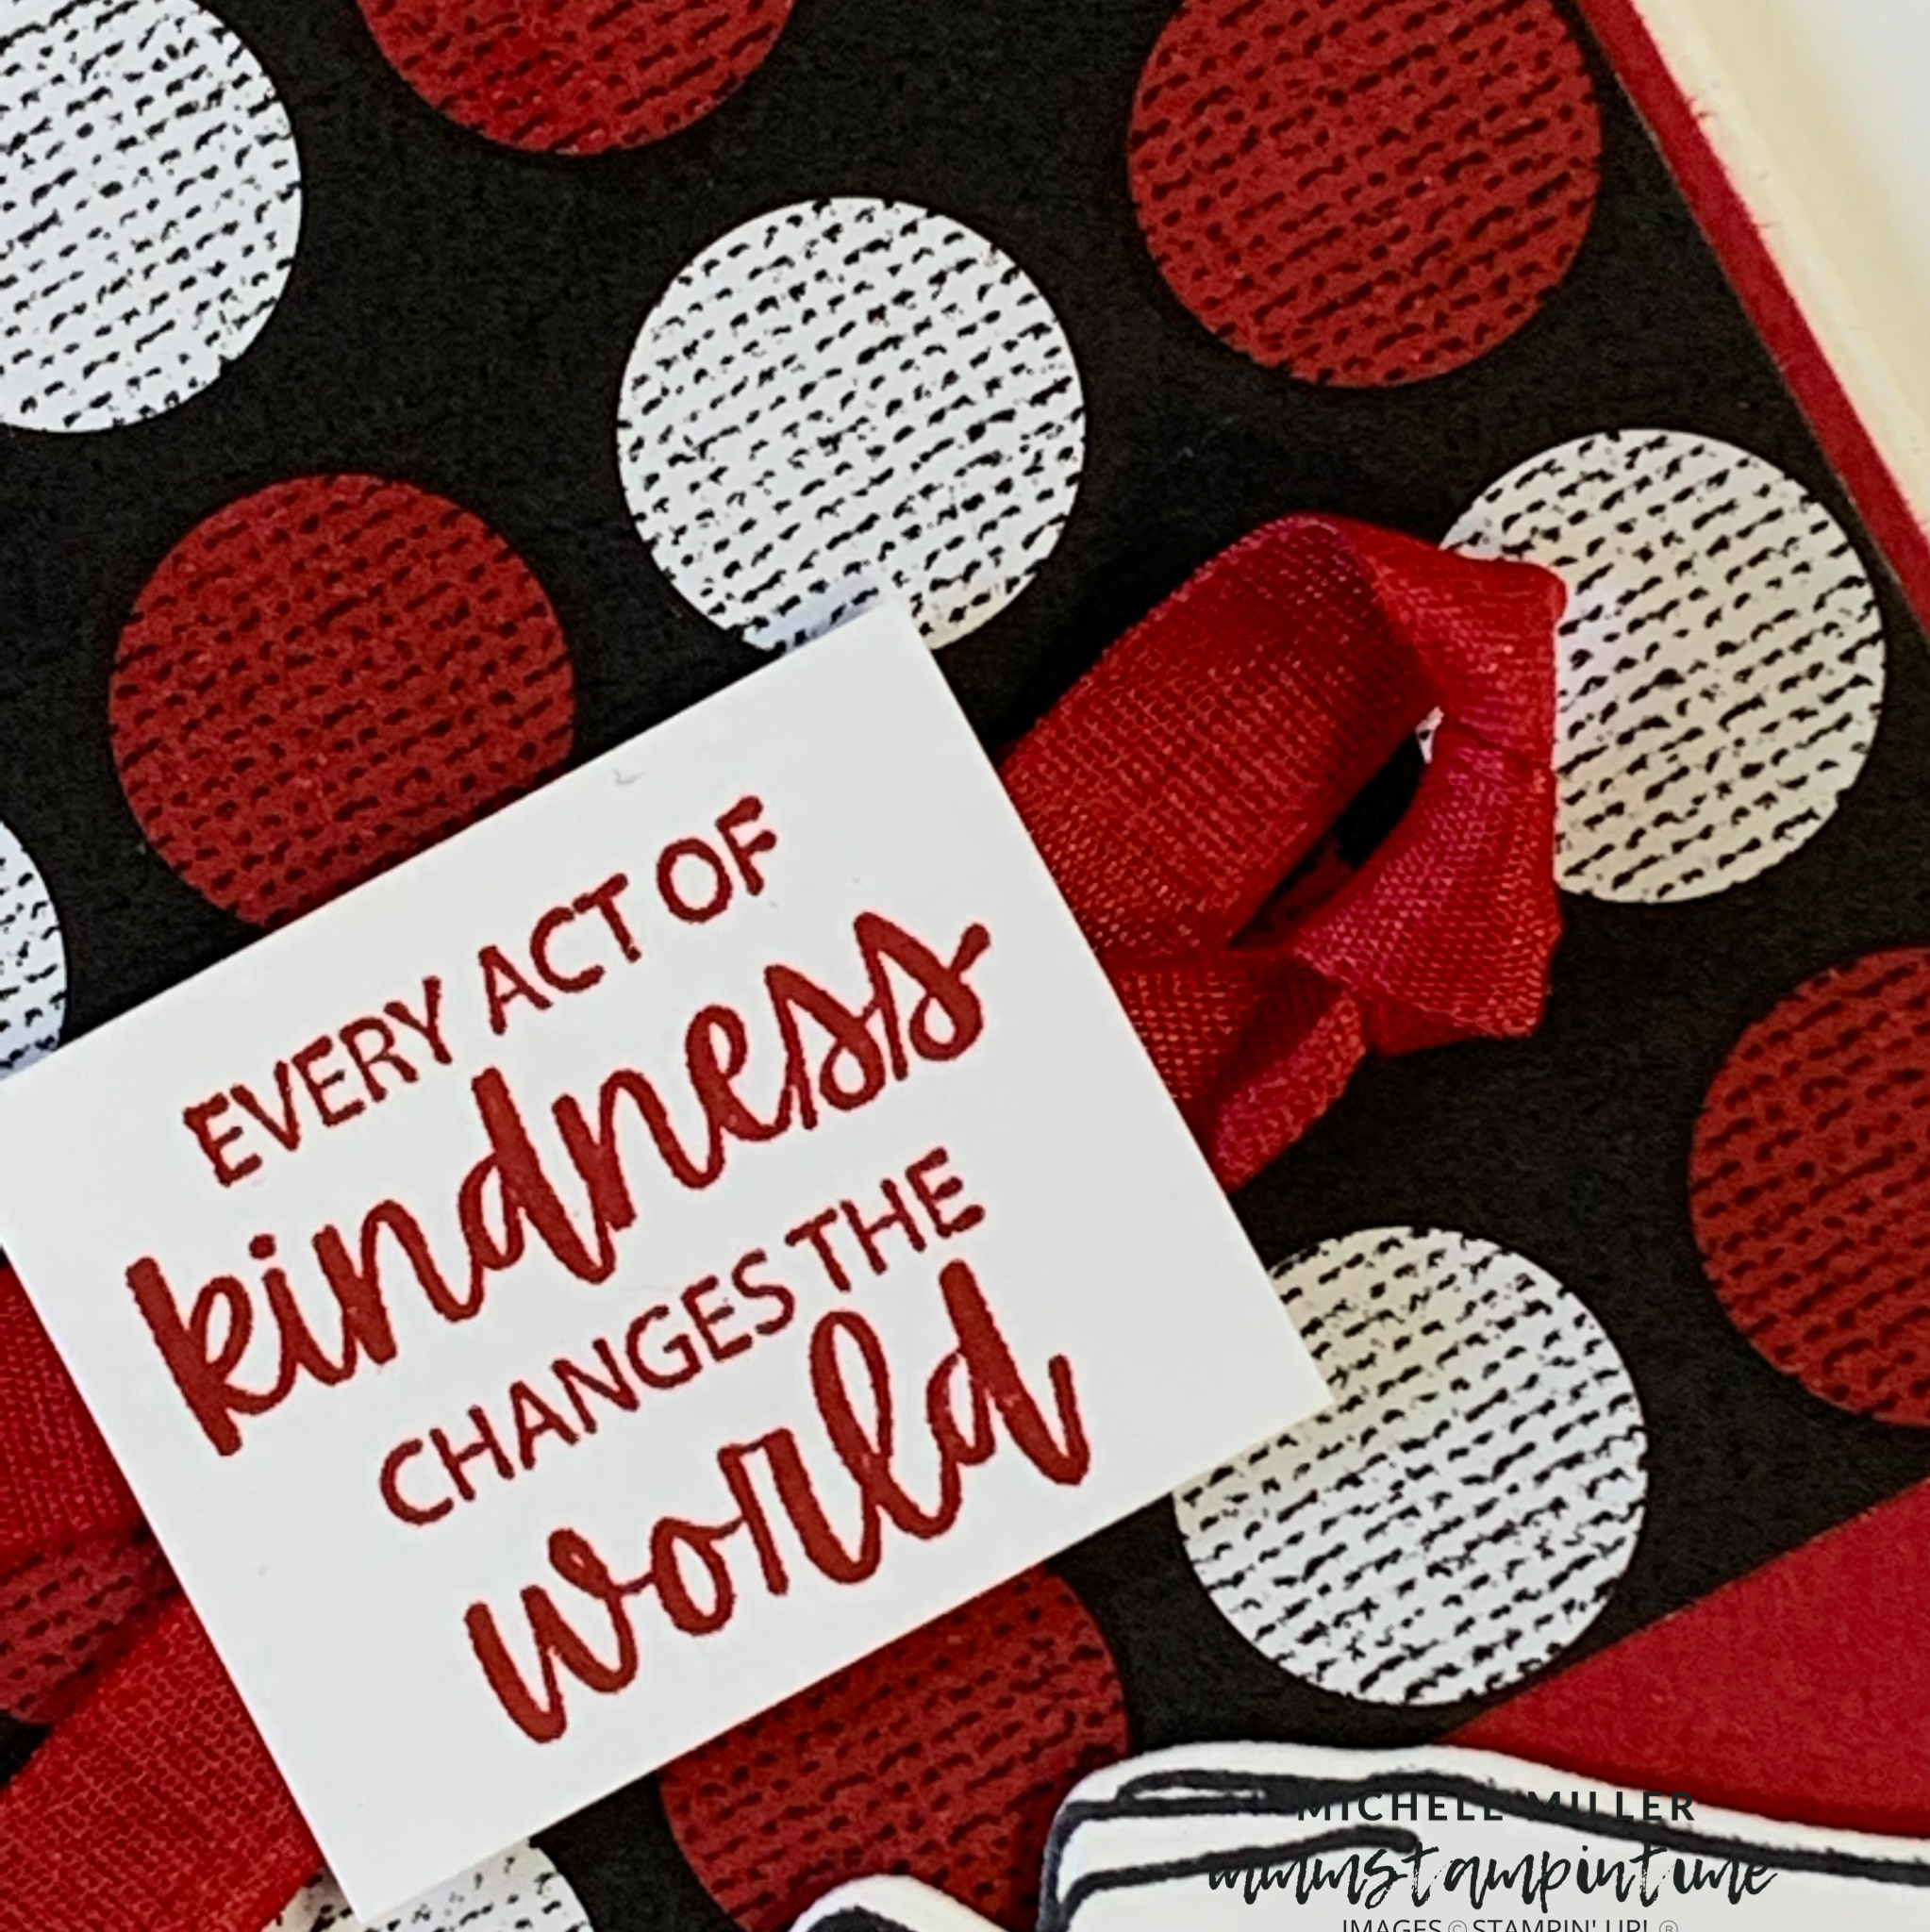
The sentiment was stamped on to a piece of Basic White cardstock and cut to match the shape of the card’s right hand panel.

Two short lengths of Real Red Faux Linen Ribbon were secured behind the sentiment panel, using Stampin’ Seal+. Stampin’ Dimensionals were then used to pop this panel up on the card front.

This angled trifold card has been a great project to use with these products.

Make sure that you hop along to see what the other Freshly Brewed Project Team members have been creating –

I am looking forward to using the card design many more times with different stamps and Designer Series Paper. What would you use it with?

Tomorrow is 3D Thursday and I have a fabulous triangular gift box to share with you.

Until then, happy stamping.

If you live in Australia, you can order any of the products I used to make this card by going to my online store. Just click on any of the images below.

Product List
Paper Snips
[103579]
$17.00
Posted on Leave a comment

IT’S WEDNESDAY AND I HAVE THREE GREAT CARD POSTS TO SHARE WITH YOU TODAY

The first card is for the Global Design Project #GDP335 challenge and the theme this week is Rain/Rainbow. Make sure that you click on the image below to go to the Global Design Project site to see all the amazing projects this design team has created.

My added constraint, each Wednesday, is that I feature a specific product collection or bundle. So to work with the challenge or blog hop, I am participating in, I will bring in other items to link them.

I decided to make a double rainbow slimline card – rainbow colours and rainbow shapes.

I am so pleased with the way this card turned out.

The Slim Card Dies were perfect for this this white on white card background. The card front measures 8-3/4″x 3-3/4″. I die cut four pieces of Basic White cardstock and adhered the layers together. When glued on the card front, they add great depth to the card.

Then I used one of the Brilliant Rainbow Dies to cut these shapes in rainbow inspired colours – Real Red, Pumpkin Pie, Daffodil Delight,Granny Apple Green, Pacific Point, Gorgeous Grape and Highland Heather.

The sentiment, from the Here Together Stamp Set, was stamped on the Highland Heather rainbow piece.

The rainbow shapes were then adhered to the front of the card, overlapping at different angles.

I stamped the “heart hands” and cut them with the coordinating Here For You Dies die. Stampin’ Dimensionals were popped underneath the hands and this piece was then centred on the card front.

I added a single Pumpkin Pie jewel,from the Holiday Rhinestone Basic Jewels pack, inside the hands.

The inside of the card and envelope are stamped with one of the Rainbow of Happiness stamps.

Card one of three projects today – I hope you drop by again to see the other two.

Until then, happy stamping.

If you live in Australia, you can order any of the products I used to make this card by going to my online store. Just click on any of the images below.

Product List
Paper Snips
[103579]
$17.00
Posted on Leave a comment

WHEN IT COMES TO TECHNIQUES THIS IS ONE OF THE SIMPLEST

Today’s technique is one the easiest that exists. It is so simple that this will be a very short post.

It is a great technque to use when you have black and white Designer Series Paper. It is so easy, a small child could do it.

Take a look!

This is black and white piece of All Together DSP had alternate spots coloured in using a Dark Real Red Stampin’ Blend. I did say it was easy.

The DSP was cut into two pieces – a 5 spot by 5 spot and a 1 spot by 5 spot. These were then adhered to a Real Red layer that was then added to the card base.

By colouring some of the white spots, the DSP takes on a completely different appearance.

The heart hands were stamped and cut. Then I popped Stampin’ Dimensionals behind the hands and added it to the card front.

I tied a loose single knot in a length of Real Red Faux Linen Ribbon and secured it under the sentiment panel. After dimensionals were placed on the back of the sentiment, I added it to the card.

I might try and focus on different colouring techniques over the next few weeks. What do you think?

Tmorrow is the day I share challenge and blog hop projects.

Until then, happy stamping.

If you live in Australia, you can order any of the products I used to make this card by going to my online store. Just click on any of the images below.

Product List
Paper Snips
[103579]
$17.00