Today I want to share my project for this week’s Global Design Project. This week it is a theme challege.
If you click on the image below, you will go to the GDP site and you can see all the amazing projects created by the design crew and other crafters who are participating.

For my project, I decided to combine the Share a Milkshake and Simply Sparkling Bundles, to make a milkshake shaker card.

I started by cutting out the milkshake glass. This panel worked as a perfect template to stamp the glass filler image onto a second Basic White panel.
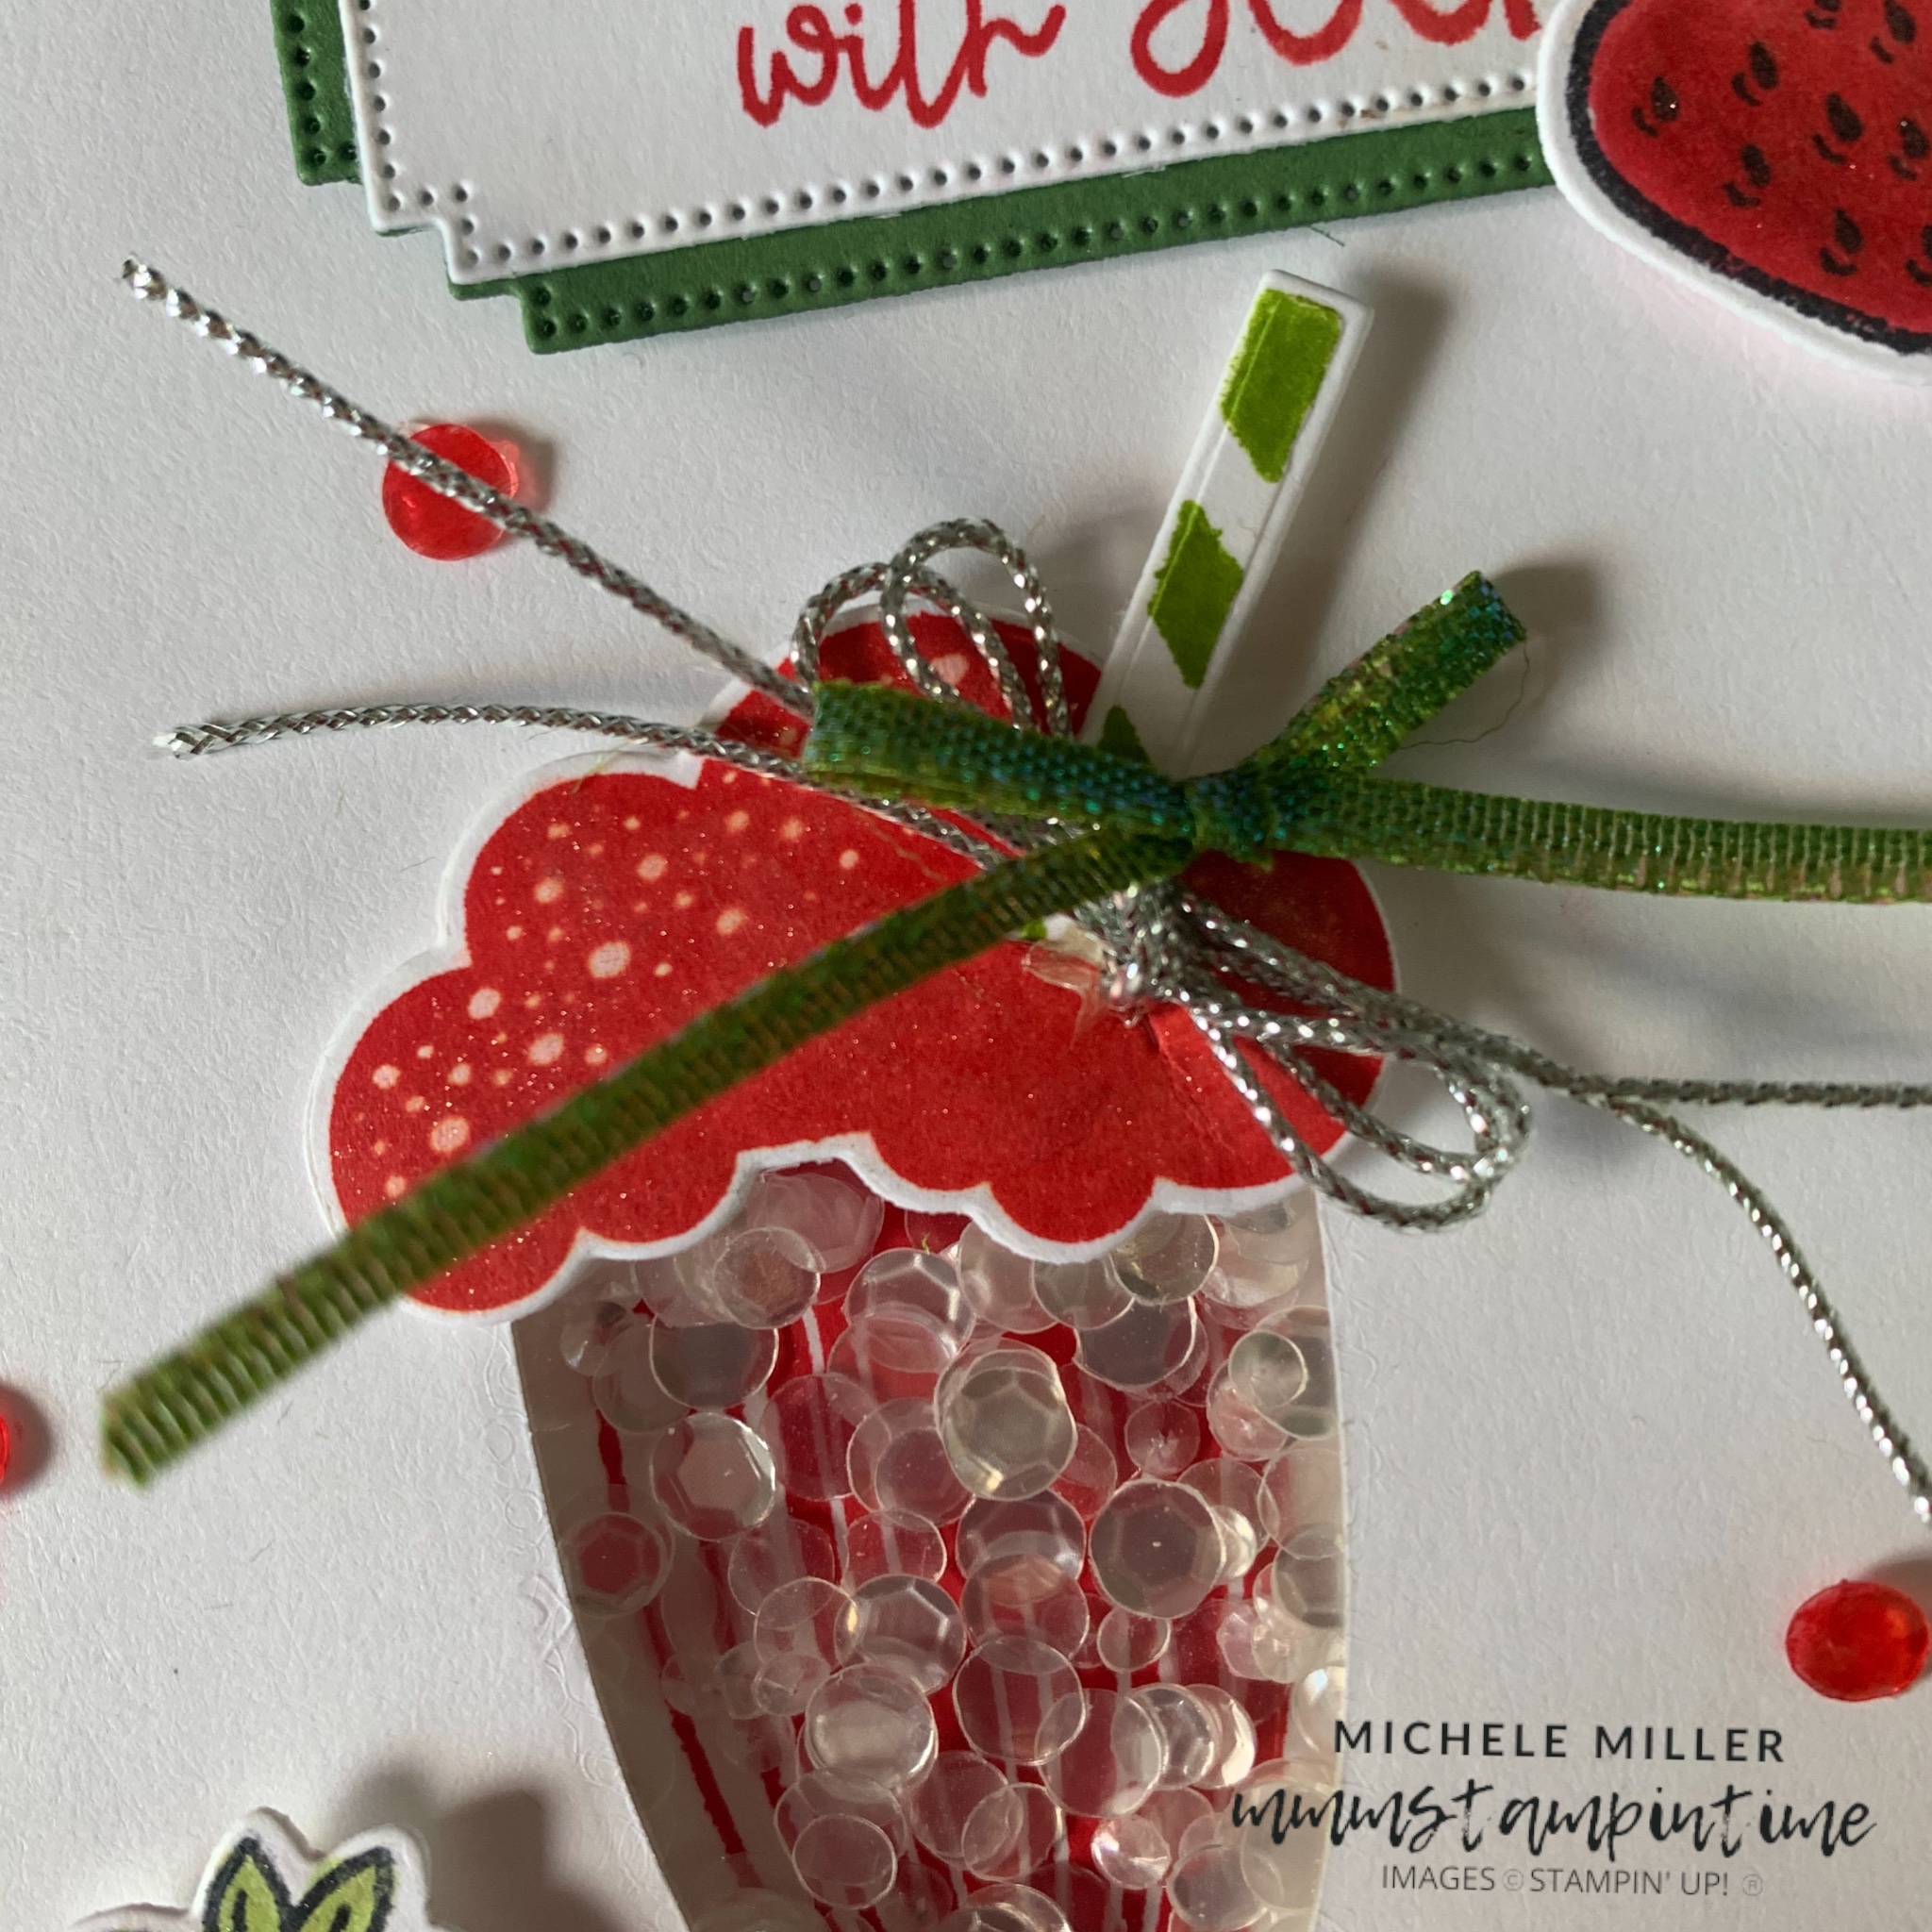
I secured a Window Sheet panel behind the die cut layer and then added lengths of Foam Adhesive Sheets to create the shaker space.
For the shaker shimmer, I used the Loose Silver Sequins. After I had added then over the stamped image, I secured the top layer to the base.
The Basic White layers were then adhered to a Poppy Parade card base.

I stamped, coloured and die cut the frothy milkshake top. After stamping and cutting the Granny Apple Green straw, I inserted it into the ‘froth’ and secured it in place with some Tear & Tape.
Stampin’ Dimensionals were attached to the back of the froth and then it was added to the top of the glass.
I stamped, coloured and die cut several strawberries. After painting them with some Clear Wink of Stella, I added them around the base of the glass using Multipurpose Glue and Stampin’ Dimensionals.
The greeting, from the Share a Milkshake Stamp Set, was stamped in Poppy Parade. Then it was cut using one of the Autumn Leaves Dies. I also cut two Granny Apple Green layers that were staggered under the greeting layer.
I placed dimensionals under the greeting layers and positioned it on the card front. Then I added an extra strawberry to the greeting layers.
I coloured and trimmed down a length of White Iridescent Ribbon before tying it into a bow. Using silver trim, from the Simply Elegant Trim, I tied a double bow. I used Mini Glue Dots to attach both of these bows just under the straw.
The two extra strawberries were added to the card insert and the back of the envelope.
Finally, I used the Dark Poppy Parade Stampin’ Blend Pen to colour some of the Loose Silver Sequins. They were attached to the card front using Mini Glue Dots.

I am very happy with this very sweet little card. What do you think?
Tomorrow, I will start the week with a new collection of projects featuring the Beach Day Bundle.
Until the, happy stamping.

If you live in Australia, you can order any of the products I used to make this card by going to my online store. Just click on any of the images below.

 |  |  | ||
 |  |  |  | |
 |  |  |  |  |
 |  |  | ||
 |  |  |  |  |
 |  |  |