Posted on Leave a comment

IT’S FRIDAY & TIME FOR SOME FEATURES AND ANOTHER EASTER CARD

I don’t have a Friday Fun Fold card for you today but I do have a beautiful Easter card to share.

Today I am featuring the Everyday Details Bundle.

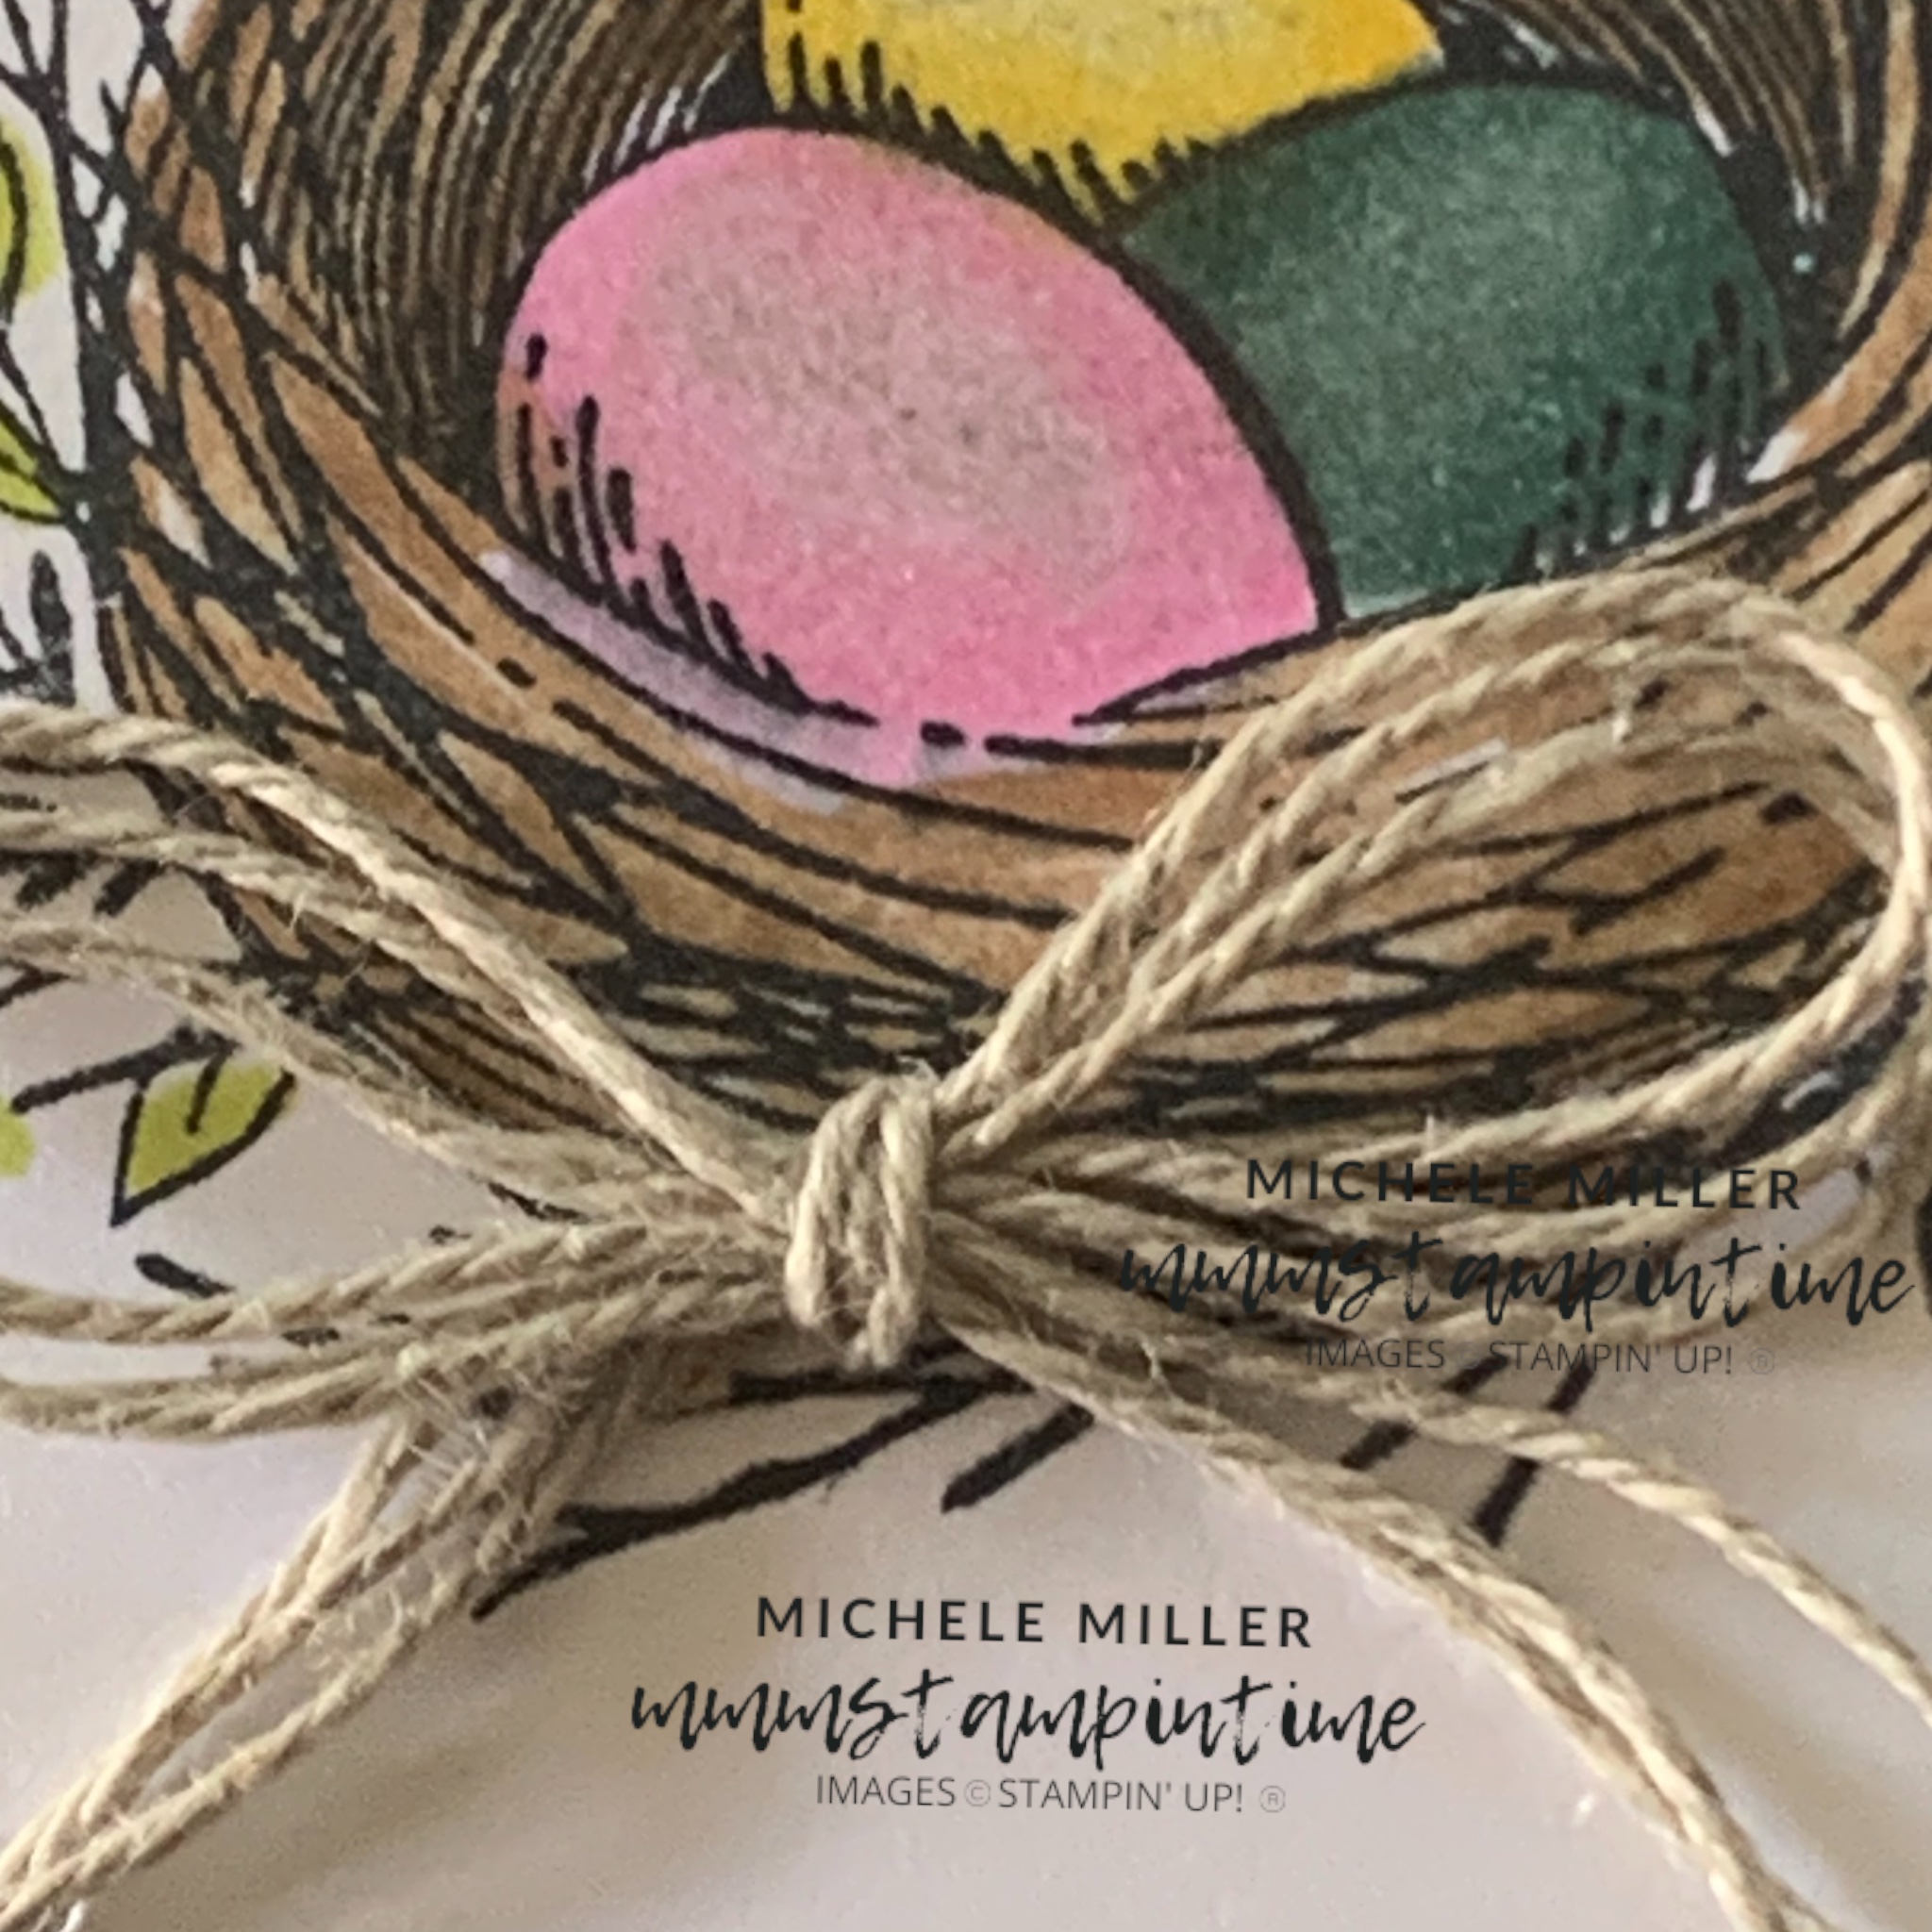
I thought the nest with eggs would be delightful for a card this Easter.

The little nest was stamped before I coloured it with Stampin’ Blends – Bubble Bath, Granny Apple Green, Lemon Lolly, Lost Lagoon and Pecan Pie.

I used the colour lifter to lighten areas of the eggs shells before painting them with Clear Wink of Stella.

After I finished colouring the nest, I used the largest of the circles from the Everyday Essentials Dies to cut it out.

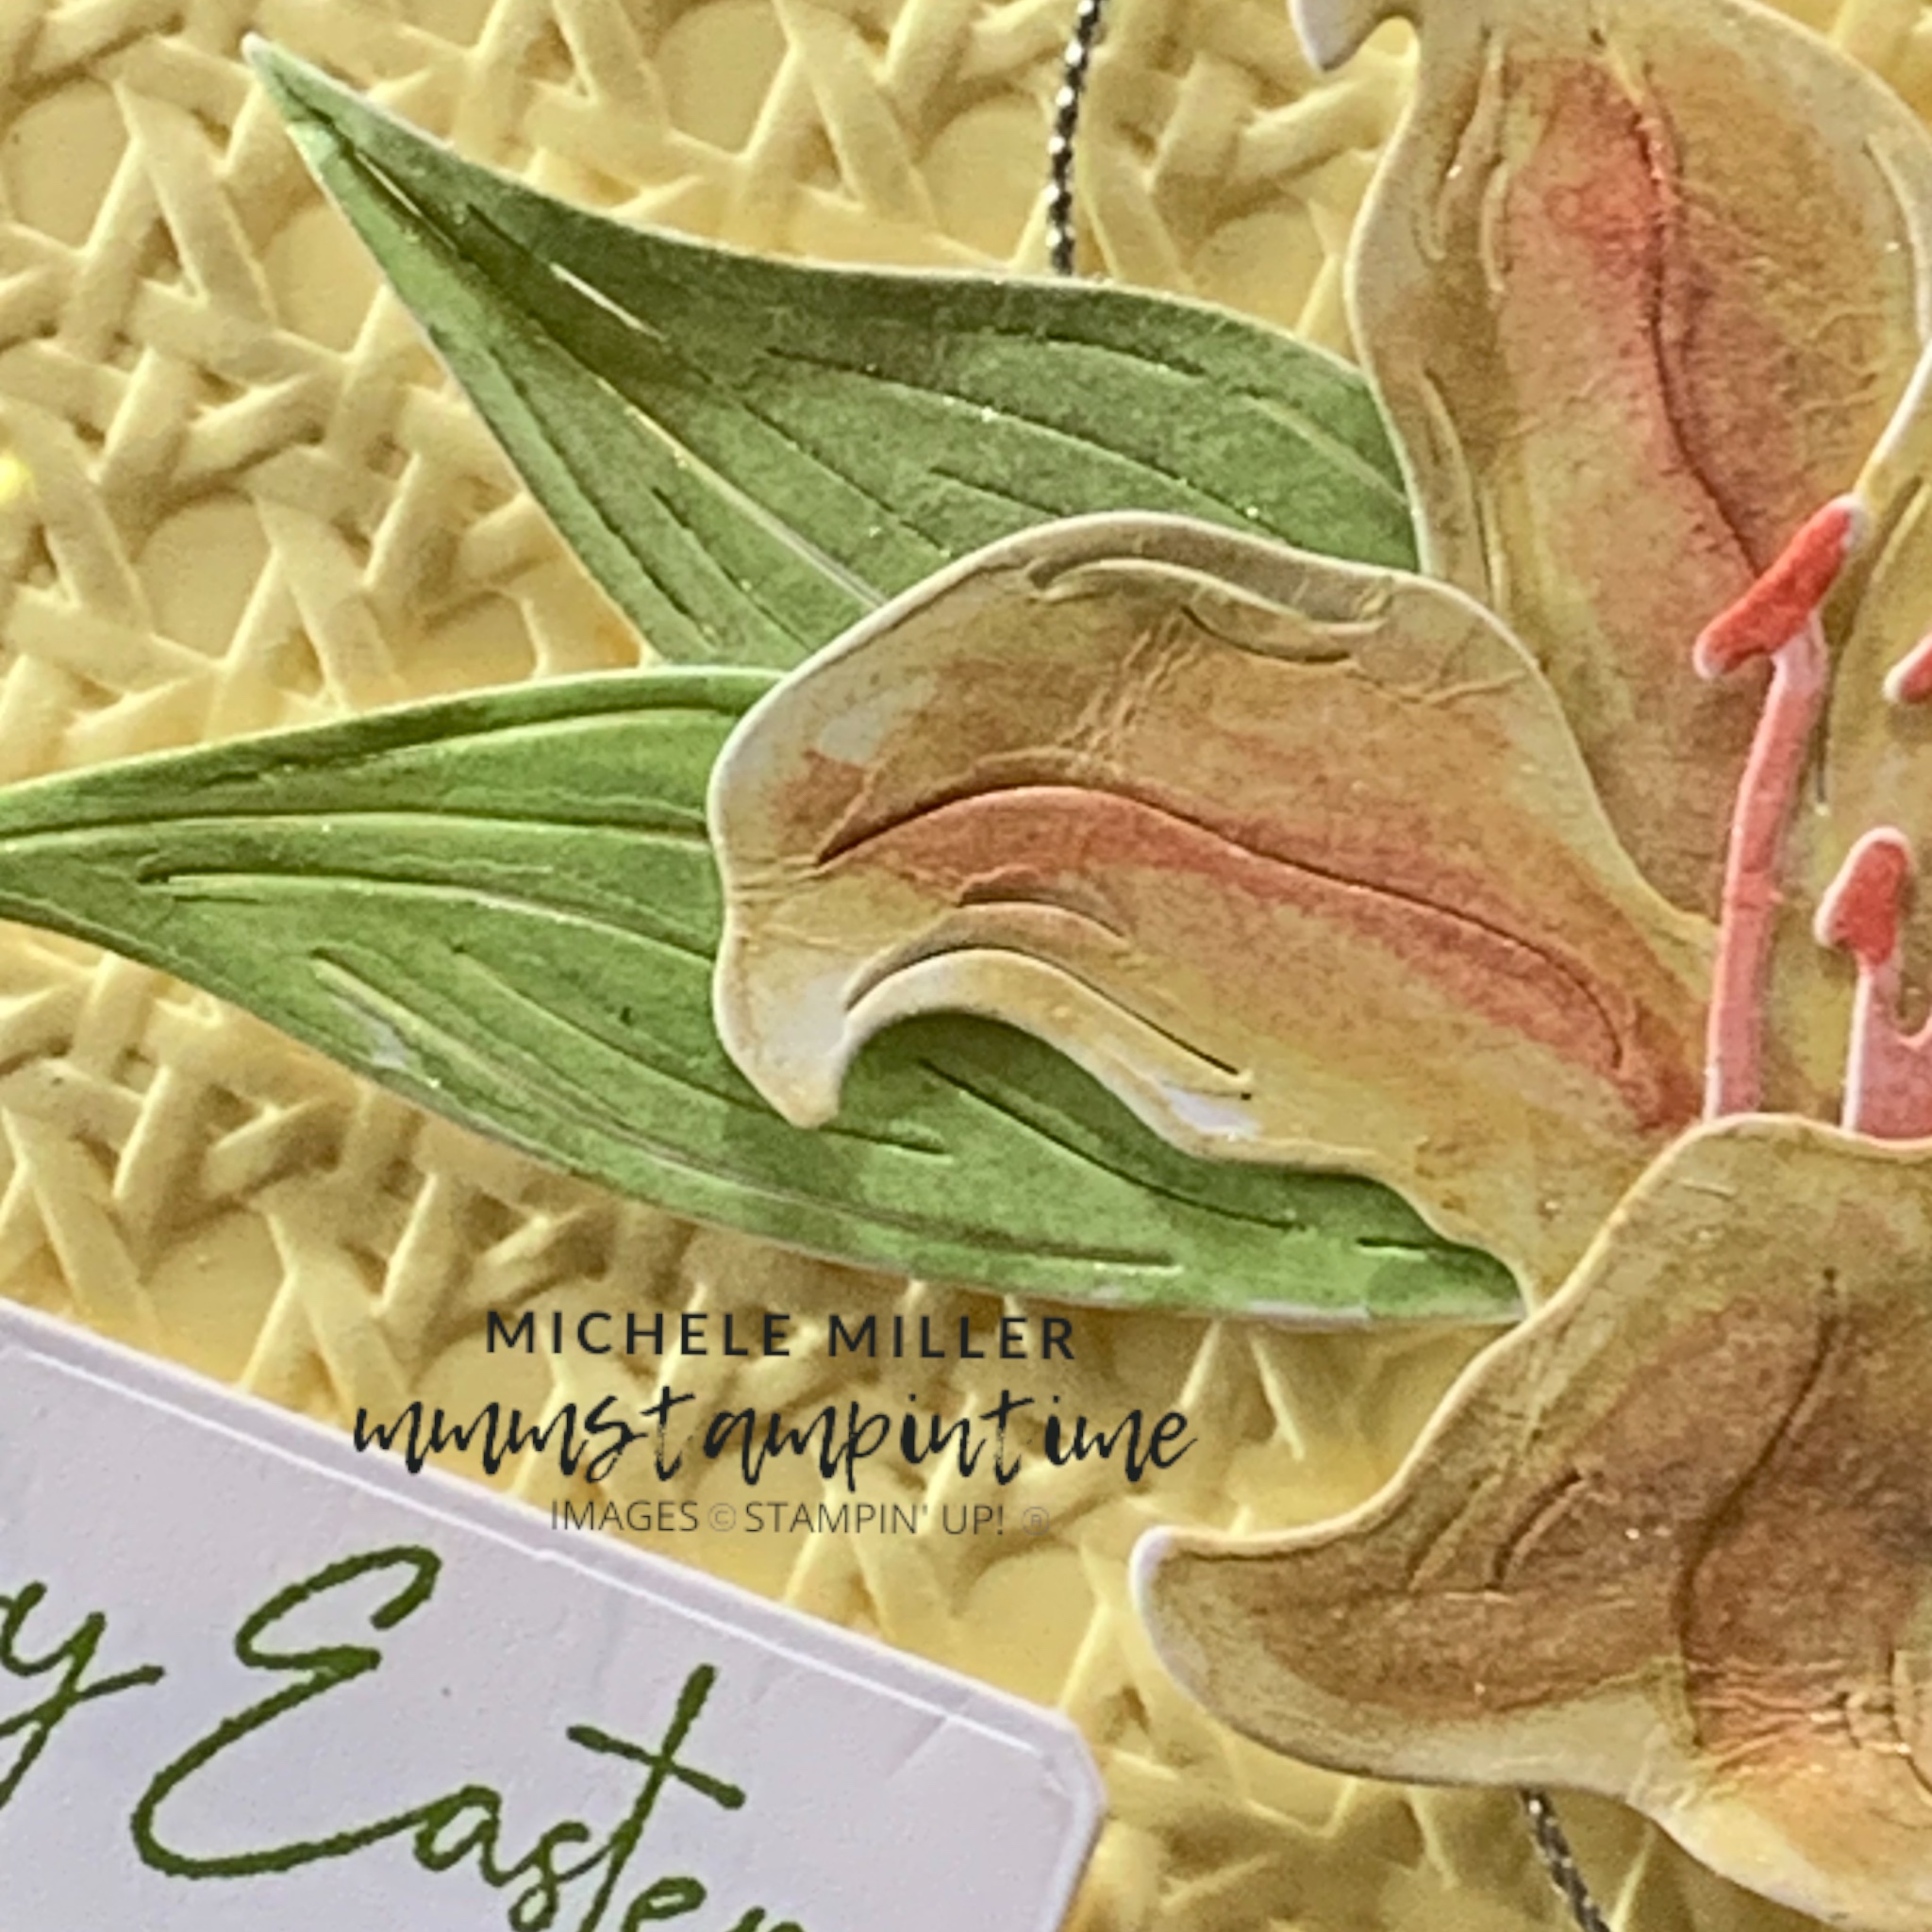
The greeting was stamped using Lost Lagoon and cut with anothe rof the dies from this same set.

Before attaching them to the front of the card, I took a panel of White Vellum and embossed it using the Basics 3D Embossing Folder.

I attached the embossed vellumto the Lost Lagoon cardbase and then, using Stampin’ Dimensionals, added the die cut elements to the card.

Using Linen Thread, I teid a triple bow and attached it to the nest, using a Mini Glue Dot.

The nest was stamped on the card insert and on the envelope, using Pecan Pie ink.

The final flourish was the addition of some Lost Lagoon embellishments from the Tinsel Gems 3 Pack.

The plan next week is to feature the new Magnolia Mood products.

Until then, happy stamping.

If you live in Australia, you can order any of the products I used to make this card by going to my online store. Just click on any of the images below.

Product List
Paper Snips
[103579]
$19.25
Posted on Leave a comment

TODAY IS TUESDAY & IT’S TIME FOR SOME TIPS & TECHNIQUES

You are not missing anything – I did post this project a couple of weeks ago, for a Global Design Project challenge. TODAY And, because this is my Easter week of projects, I am sharing it again.

For this project I decided to use the Easter Lilies Bundle.

For this project, I dusted off my Soft Pastel Assortment to colour the die cut flower elements.

TECHNIQUE: Using pastel shavings and Clear Wink of Stella to colour stamped images.

TIP: I used the spatula end of my Take Your Pick tool to scrape some of the pastel onto my E acrylic block. Then I used my Clear Wink of Stella to paint the colour onto the flower elements. I used the Daffodil Delight and Mango Melody (a Calypso Coral stand in).

TIP: Make sure that turn off your desk fan before you start scraping the pastel – it will fly everywhere (speaking from experience).

I used the Granny Apple Green pastel powder to colour the leaves.

After the flower pieces and leaves were coloured and dried, I assembled the flower for this card.

I used the largest Countryside Corners Die to cut a piece of Lemon Lolly card. Then it had some texture added with the Cane Weave 3D Embossing Folder.

The embossed panel was placed on the Basic White card front with Stampin’ Dimensionals.

I looped some siver trim, from the Simply Elegant Trim, behind the flower. It was secured using Stampin’ Seal.

The flower was attached with dimensionals also.

The greeting was stamped in Granny Apple Green and then cut using one of the Countryside Corners Dies.

I used some Lemon Lolly DSP, from the Subtles 6″ x 6″ bundle, to add a strip inside the card and on the back of the envelope.

Finally, I added some Lemon Lime Twist gems, from the Tinsel Gems 4 Pack, to the card front.

Tomorrow I have a beautiful blue Easter card.

Until then, happy stampin’.

If you live in Australia, you can order any of the products I used to make this card by going to my online store. Just click on any of the images below.

Product List
Paper Snips
[103579]
$19.25
Posted on Leave a comment

IT’S FRIDAY & IT IS MEANT TO BE A FEATURES AND FUN FOLD DAY

I’m ready to share some features of this week’s product collection but I don’t have a Fancy Fold card for you – just a staight forward and simple card to use the products.

The LAtte Love Photopolymenr Stamp Set has 15 pieces. Four of them are greetings and the remaining stamps are a variety of coffee related images, including some wonderful barista artwork images.

The Latte Love Dies has 20 pieces. There are some great pieces that create a French press and a drip filter coffee maker. Then there is a spoon, coffee beans and cups.

The A Little Latte 12″ X 12″ Designer Series Paper is made up of 12 sheets of patterned paper: 2 each of 6 double-sided designs. The designs in this pack of paper is fantastic.
There is also a Natural 3/8″ Polka Dot Trim and a pack of Adhesive-backed Swirl Dots in this collection. I haven’t even used these two products this week – something I will correct very soon.

Today’s project includes some other SU products. I just wanted to show how well other catalogue items can work with new products,

For this card I used the Basics 3D Crosshatch Embossing Folder to add a textured panel to the Pecan Pie cardbase.

Then I cut 5 large Early Espresso and 5 smaller DSP Perennial Postage Dies squares.

I adhered the smaller square over the larger one. I stamped the greeting on one of them.

I glued the four corner squaresinto place using Multipurpose Glue.

For the centre panel, that has the greeting, I loopd a length of Gold Faux Leather Trim under the square. Afer adding some dimensionals I was able to pop it into the centre with added height.

I stamped the coffee beans o the card insert and envelope.Finally, I added some Adhesive-backed Cork Rounds to the card front.

Next week I think I will sharing some Easter projects.

Until then, happy stamping.

If you live in Australia, you can order any of the products I used to make this card by going to my online store. Just click on any of the images below.