Posted on Leave a comment

TIME FOR A 3D GIFT BOX WITH A WAVE INSPIRED

As I was stamping the wave image, for yesterday’s project, I had an idea start to develop in my mind.

I wanted to see if it would create an interesting pattern if rotated around a central point – so, I began experimenting.

And, this is the result.

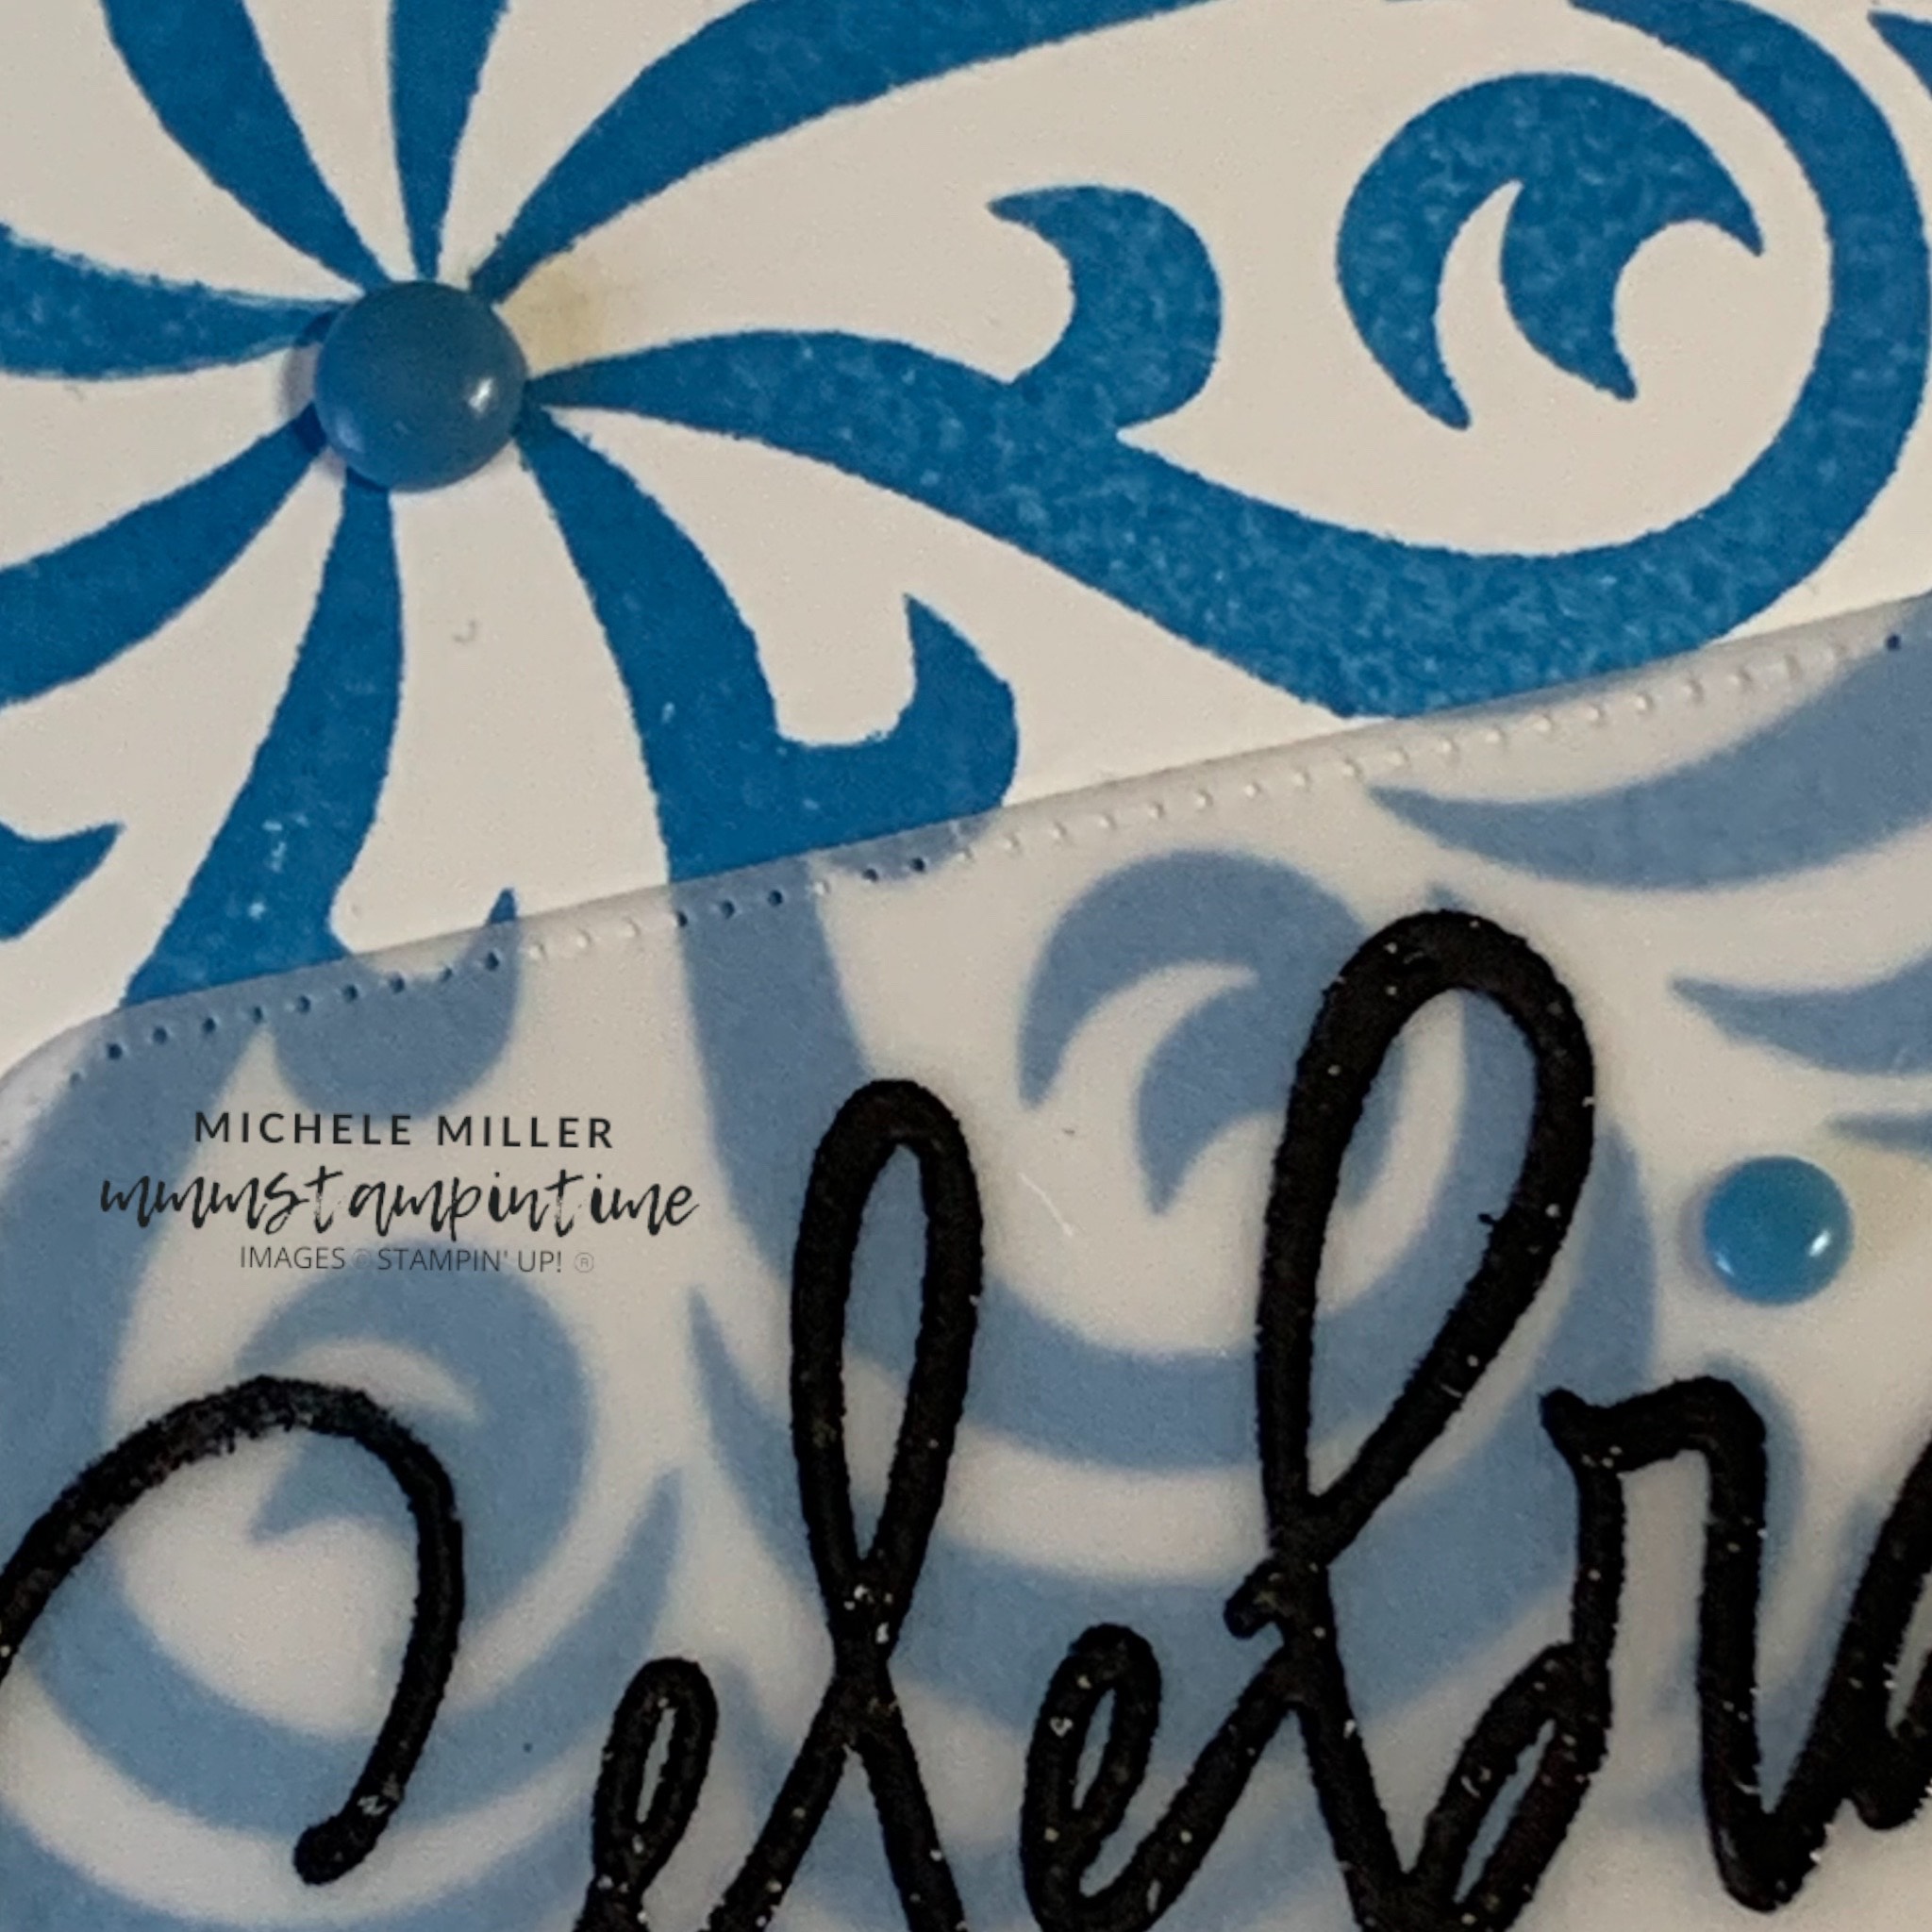
I cut a piece of Basic Thick White card, measuring 5″x 5″, and then lightly marked the card into quarters.

The wave image was stamped around each horizontal/vertical quarter and then stamped between each of these images. The resulting pattern has 8 wave images rotating through the central point.

The Azure Afternoon gift box measures 5 1/2″x 5 1/2″x 3″. The lid is only 1″ deep.

Across all sides of the lid and box base I added panels of Azure Afternoon striped DSP.

The greeting is from the Iconic Imagery Stamp Set and was heat embossed in WOW Black Embossing Powder and cut using one of the Iconic Imagery Dies.

A few Mini Glue Dots and some strategically positioned Rainbow Dots were the perfect way to attach the greeting to the card front.

Tomorrow I have a slightly more tanned surfing Santa card to share with you.

Until then, happy stamping.

If you live in Australia, you can order any of the products I used to make this card by going to my online store. Just click on any of the images below.

Product List
Heat Tool
[129056]
$56.00
Bone Folder
[102300]
$14.00
Paper Snips
[103579]
$21.00
Posted on Leave a comment

TIME FOR COLOUR InkSPIRATION CHALLENGE #178

I have missed the past two challenges but now I’m back in the swing of things.

This challenge features Calypso Coral, Old Olive and Soft Sea Foam.

My starting point for this card were the three colour circles you can see above. It has been a long time since I have used coloured shapes and dry embossing tp create a textured background for a card.

I used the two smallest circles from the Stylish Shapes Dies to cut the shapes in each colour. Then they were positioned across the Basic White panel and glued in place.

This panel was then embossed using the Forever Plaid 3D Embossing Folder.

A length of Iridescent Striped Trim was wrapped around the embossed panel. Then I tied a short length of the trim to create this effect.

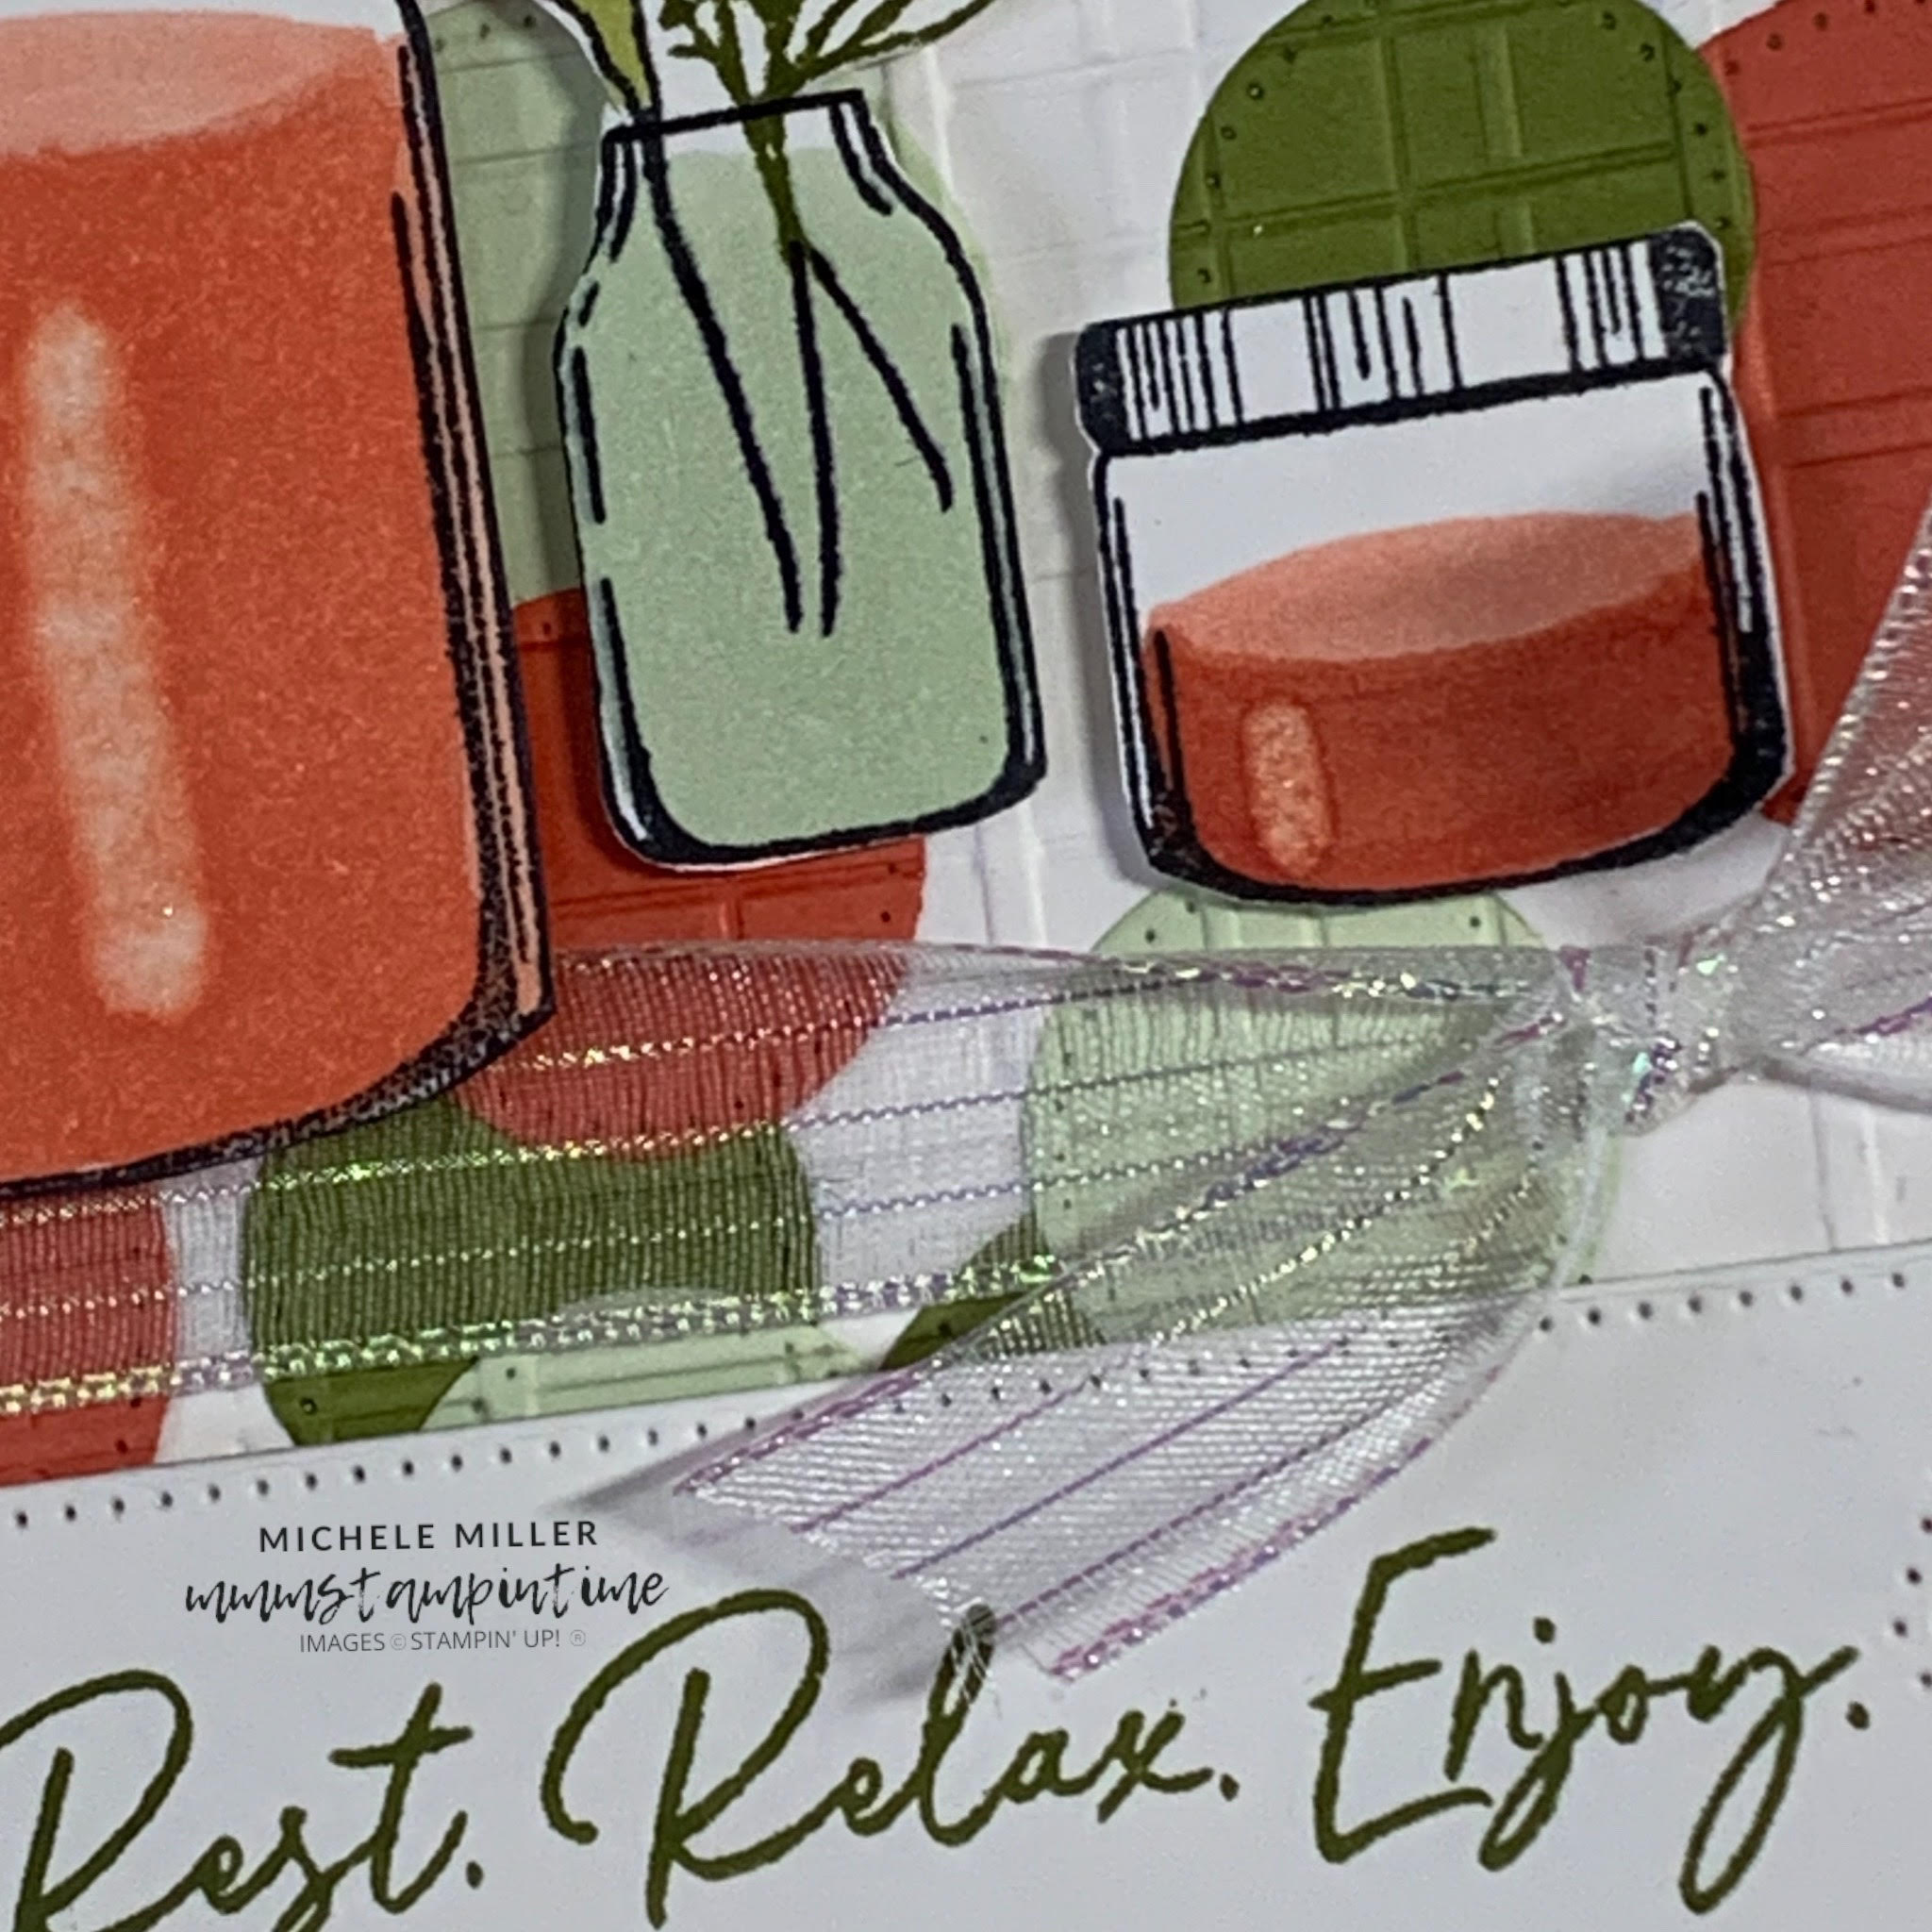
I used the Rest Relax Enjoy Stamp Set to decorate the card.

For the vase I stamped the glass bottle and flower. Then stamped the flower onto a Post It note to create a mask so that I could stamp the leaves.

I extended the stems of the flower and leaves using my Basic Slack Stampin’ Write Marker.

After the jar, vase and dispenser were stamped and coloured, I fussy cut them and attached them to the card front using Stampin’ Dimensionals.

The greeting was stamped before being cut using the largest banner die from the Stylish Shapes Dies.

Both the card insert and envelope had circles added to coordinate with the card.

The next Colour INKspiration Challenge will start on December 11. But for now make sure you head to the Colour INKspiration Facebook page to see what the crew have created … AND … share your project, using these colours, with us!

Until then, happy stamping.

If you live in Australia, you can order any of the products I used to make this card by going to my online store. Just click on any of the images below.

Product List
Paper Snips
[103579]
$21.00
Posted on Leave a comment

TIME FOR A SATURDAY SHARE

My final Nests of Winter project is a Zigzag Fold card.

To create the zigzag card base I took a 12″ x 12″ piece of Early Espresso card and cut it along the diagonal from one 12″ corner across to 3″ on the opposite side.

Then I scored the card at 4″ and 8″.

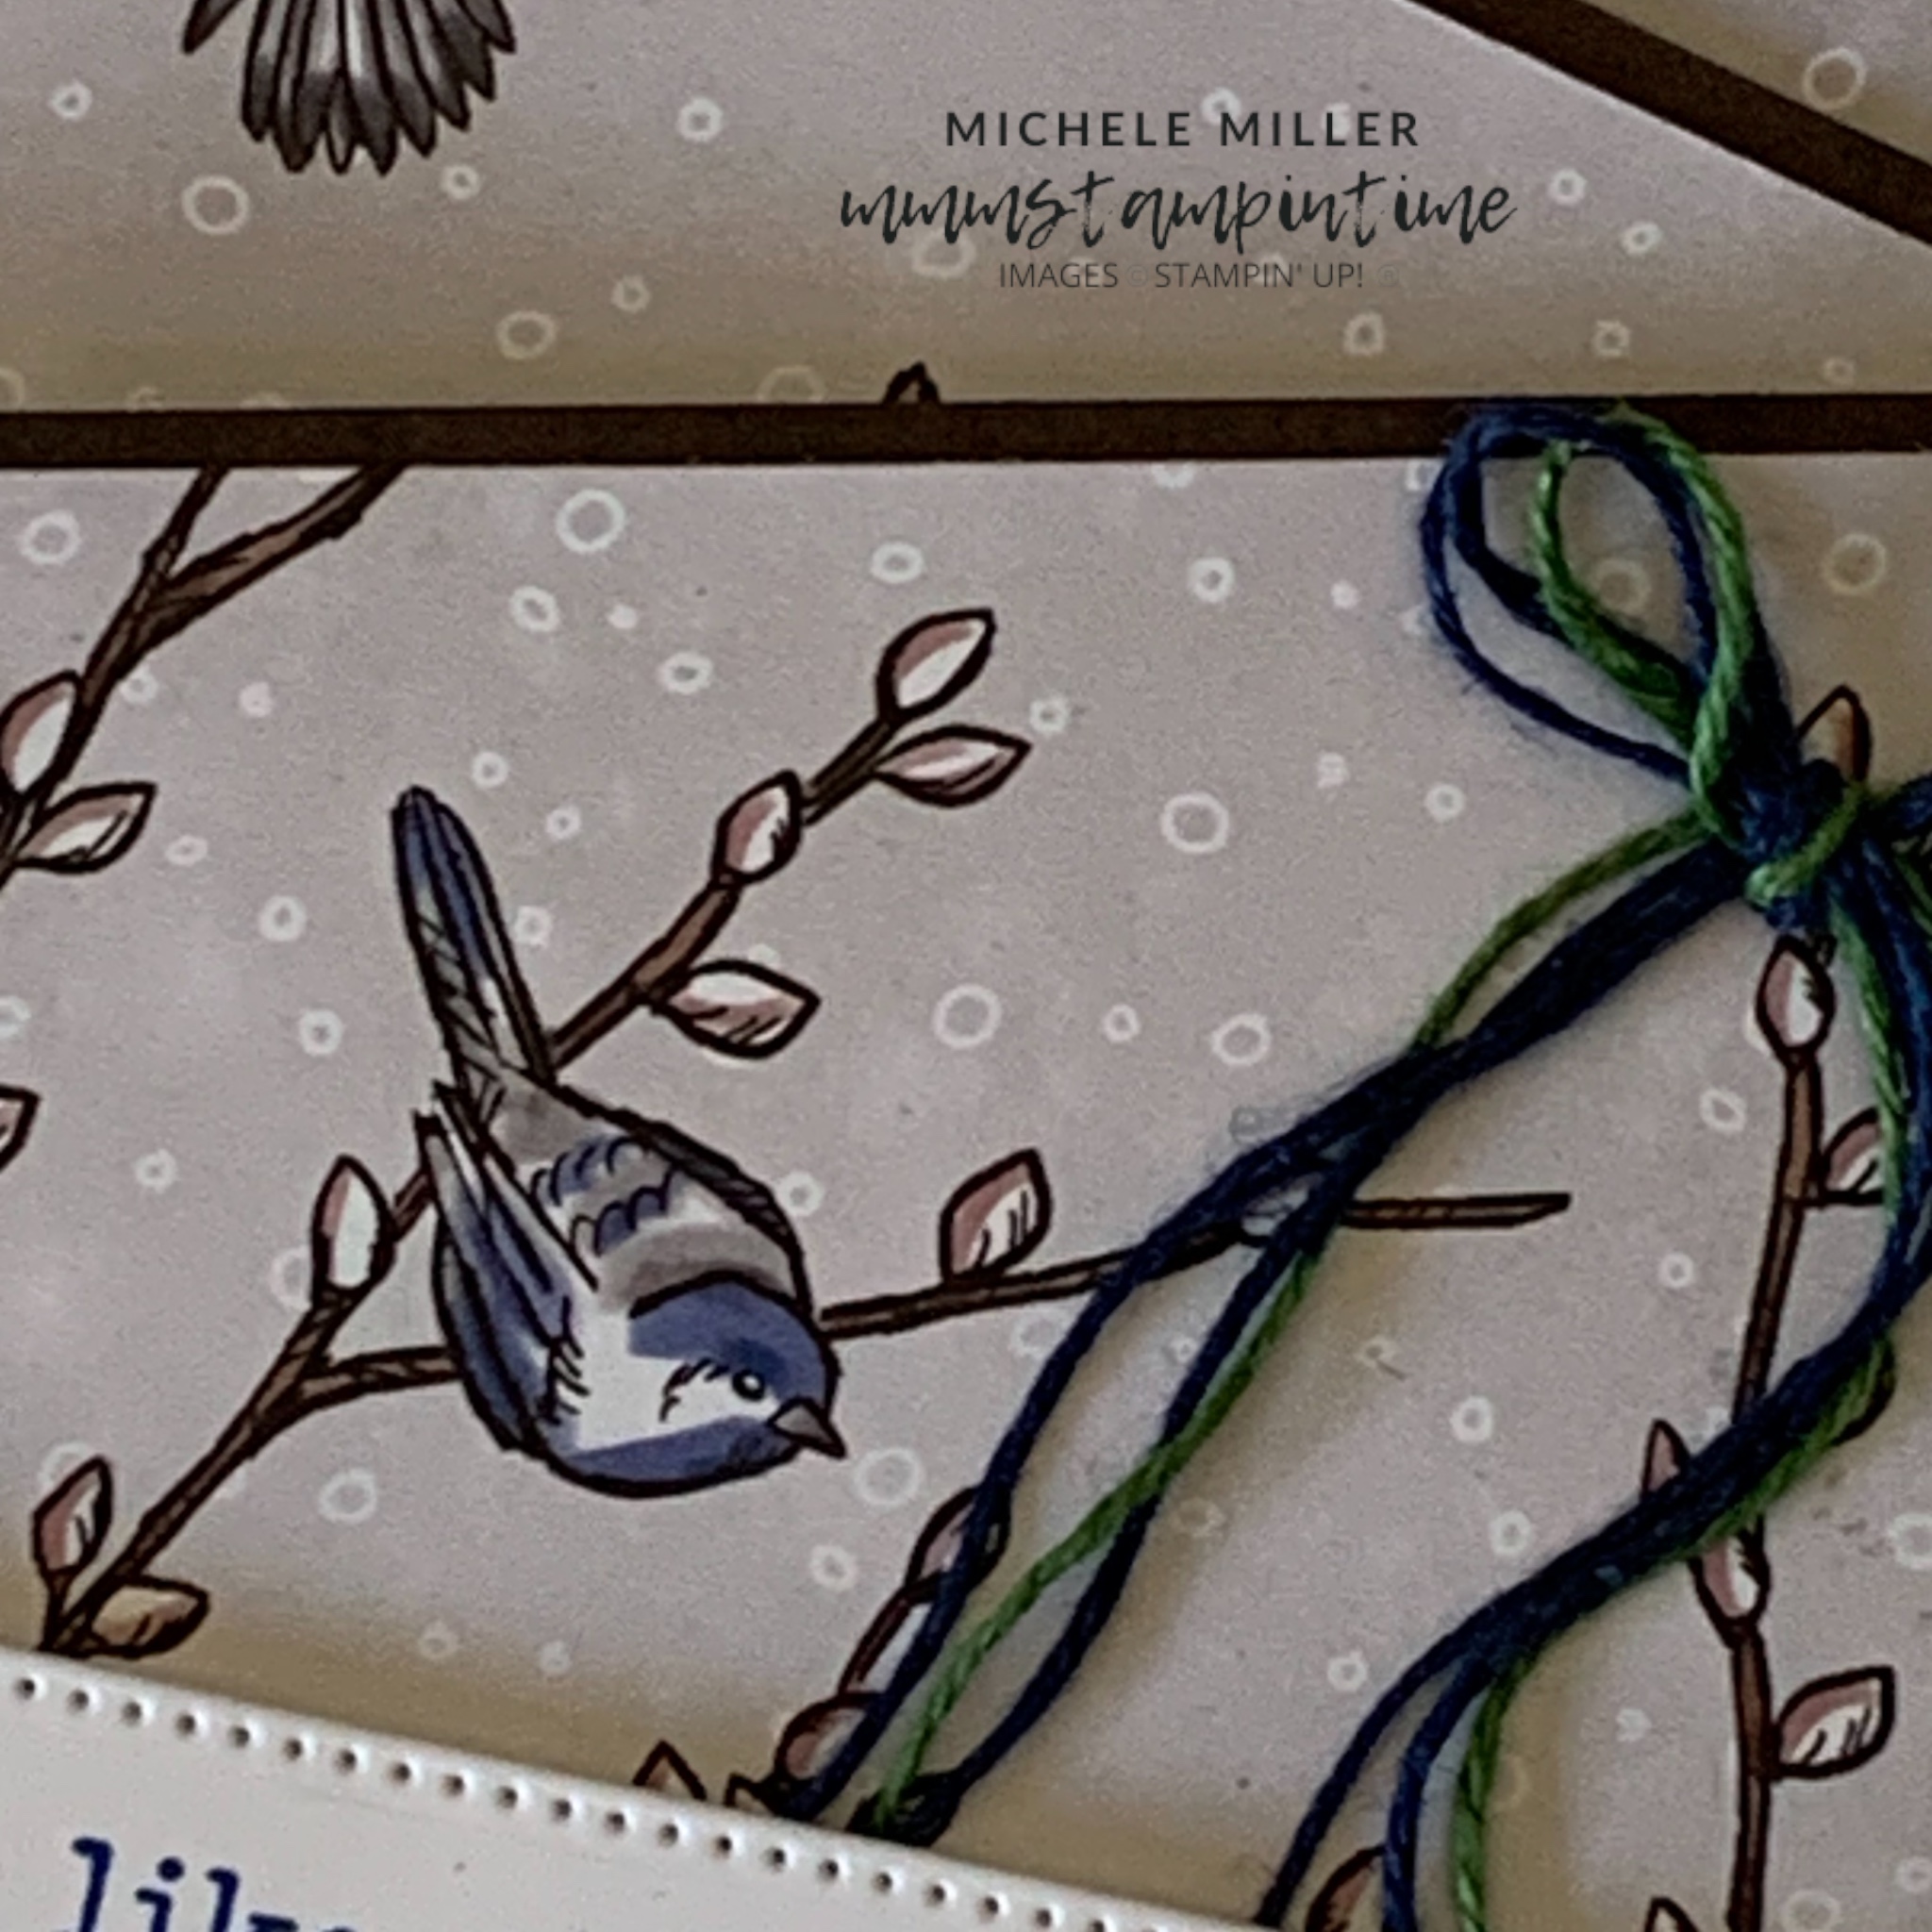
I was able to use one sheet of the DSP to add three angled panels to both sides of the card.

TIP: When cutting these DSP panels make sure that you cut the angles in opposite directions. Look at the images, above and below, to see what I mean.

For the ‘front’ side of the card I added a piece of Basic White in the centre panel.

I also added the stamped and die cut greeting to the front panel, using Stampin’ Dimensionals.

A second piece of Basic White was added to the back panel for more messages to be written.

The back of the envelope had DSP added to it.

Finally, I added some Blueberry Bushel gems from the Tinsel Gems Four Pack to the front of the card.

i also added a bow made from both Blueberry Bushel adn Garden Green Linen Thread.

Thanks for checking out my projects this week. I’m not sure what next week will bring, yet, but pop by Monday to find out.

Until then, happy stamping.

If you live in Australia, you can order any of the products I used to make this card by going to my online store. Just click on any of the images below.

Product List
Paper Snips
[103579]
$21.00