Posted on Leave a comment

GLOBAL DESIGN PROJECT #406 SKETCH CHALLENGE

This week the Global Design Project Team has a great sketch challenge for everyone to try.

Check out their projects at http://www.global-design-project.com/2023/08/global-design-project-406-sketch.html

I have made two cards for this challenge. Both of them use some of the new products from the September – December 2023 Mini Catalogue. I love being a demonstrator and being able to see the catalogue and place a preorder before it goes live to customers in September.

The first card features the Merry Bold & Bright Suite Collection. It is so colourful and bright!

I started with a Blueberry Bushel card base.

The Merry Bold & Bright Designer Series Paper strip was adhered to a piece of Crushed Curry cardstock.

A second panel of Crushed Curry was embossed using the Basics 3D Crosshatch Embossing Folder.

I added Adhesive Sheets to the back of some of the gorgeous and shiny Melon Mambo & Granny Apple Green Foil Sheets. I also used some Shaded Spruce cardstock and some gold More Dazzle Specialty Paper.

The Christmas lights were cut using the Merry & Bright Dies. I positioned the Shaded Spruce string before ‘hanging’ the light bulbs and fittings, using Stampin’ Dimensionals. The dazzling bulb filaments were then added to the bulbs.

I stamped the greeting in Melon Mambo and granny Apple Green then used Versamark and Clear Embossing Powder to have it shimmer like the foil. The greeting was then fussy cut and popped up with dimensionals also.

The greeting was also stamped on the card insert and on the back of the envelope.

Finally, I added some of the Melon Mambo Iridescent Adhesive-Backed Discs for some more shine.

After all this bold and bright colour, I wanted to make a toned down card.

This time I wanted to feature the some of the products in the All About Autumn Suite Collection.

I used the same layout and dimensions for this card. TheCopper Clay & Basic White layered panel was adhered to the Basic White card base.

The second Basic White panel was embossed using the stunning new Distressed Tiled 3D Embossing Folder. This was then placed on the card front with Stampin’ Dimensionals.

The leaf was cut using one of dies from the Autumn Leaves Dies. Then I added Metallic Enamel Effects Basics in Copper to the leaf and waited for it to dry.

I added some Adhesive Sheet to the back some silver More Dazzle Specialty Paper to cut the leaf ‘veins’. As soon as the enamel was dry I removed the backing from the adhesive sheet and positioned the dazzle piece in place.

The sentiment was stamped using Versamark and white embossing powder before heat setting it.

Finally, I used the enamel to create three small circular embellishments directly on the card front.

One sketch design and two very different cards. Which one do you prefer?

I’m not sure yet what I will have to share with you next but it will certainly involve new products.

Until then, happy stamping.

Because some of the products I have used to make this card are not yet available to customers, I am not able to show them at this time. As soon as product images go live, I will create this section.

If you live in Australia, you can still go to my online store and order existing products while waiting for the new catalogue to go live.

Posted on Leave a comment

Colour INKspiration #149 – Earthern Textures

Welcome back for another Colour INKspiration challenge. This inspiration picture which has inspired our colour palette was chosen by Crew Member, Lou Kitzelmen. 

Picture credit – https://500px.com/photo/251449445/night-cherry-blossom-by-kenjieda0910

As well as the chosen colour combination for #CI149, Fresh Freesia, Moody Mauve and Misty Moonlight, you may also add Basic White, Very Vanilla, Crumb Cake, Basic Black, and metallics to your project. We also allow Ivory, Bronze and Natural Tones in Stampin’ Blends. If you don’t have the colours in our palette, feel free to use the closest Stampin’ Up! substitute.

To get your creative ideas flowing make sure you check out the Crew’s Projects in the CI#149 album. 

My contribution features the Earthern Textures Stamp Set and coordinating Dies.

This card has a full size back and half front. After adhering panels of the Earthen Elegance Designer Series Paper, I attached two pieces of Basic White cardstock that were cut using the Deckled Rectangles Dies.

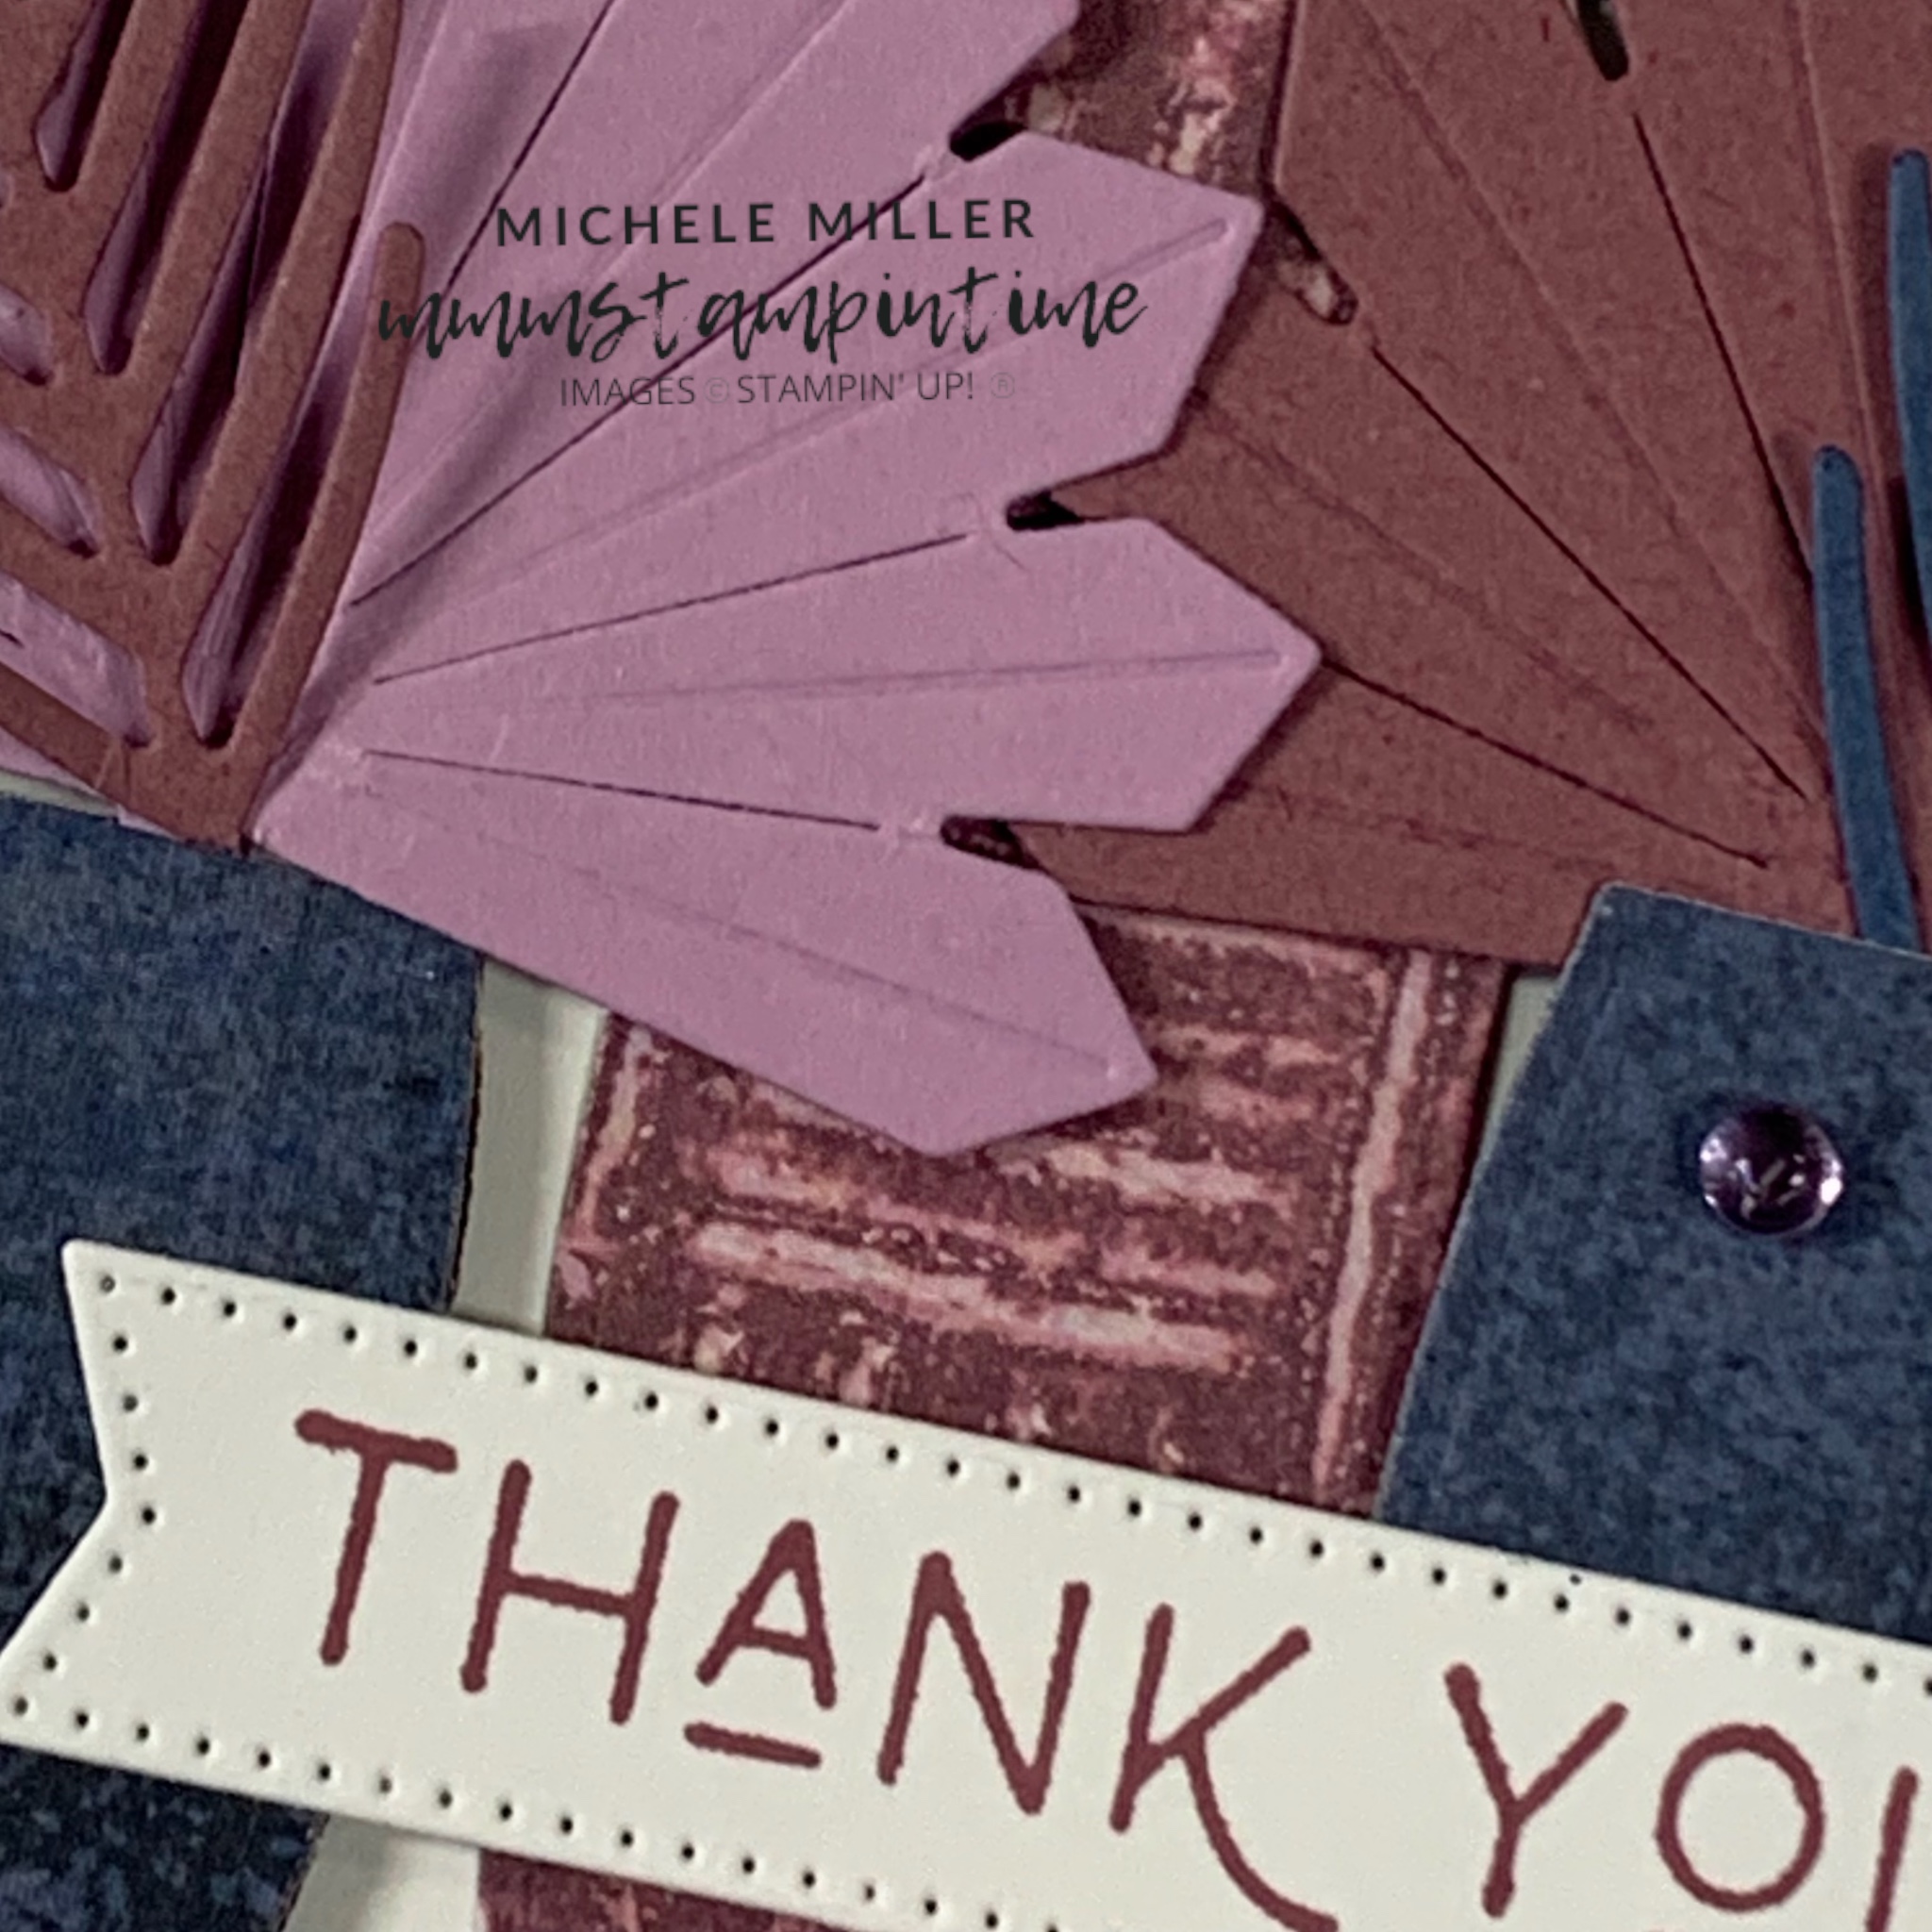
The three planter pots were cut from DSP using the Earthen Textures Dies. Then I cut the palm fronds and long slender leaves branches from the three Challenge colours card stock.

As you can see, I alternated the colours across the pots before adhering them to the Deckled Rectangle layer. The tallest pot was adhered directly onto the deckled layer while the other two pots were attached using Stampin’ Dimensionals.

The sentiment is from the Earthern Textures Stamp Set and was cut using one of the banner dies from the Stylish Shapes Dies.

The card insert and envelope were both stamped using one of the images from the stamp set.

The card was finished with a few Moody Mauve gems from the 2023-2025 In Colour Dots.

My favourite die from this set is the palm shaped die that also embosses crease lines so it can be folded. Who thinks of this stuff? Totally awesome!

I hope to have lots more posts to share with you soon!

Until then, happy stamping.

If you live in Australia, you can order any of the products I used to make this card by going to my online store. Just click on any of the images below.

Product List
Paper Snips
[103579]
$19.25
Posted on Leave a comment

YOU ARE JUST MY TYPE

I made these cards for my Coffee & Card Class this week.

It was time to share with the ladies, in attendance, the magic of the Stamparatus and the hinge step technique. Although the Stamparatus is now retired, I will help any of them to find one that someone has to sell.

As you can see, the two samples I made vary in the colours I used and some of the stamps from the set.

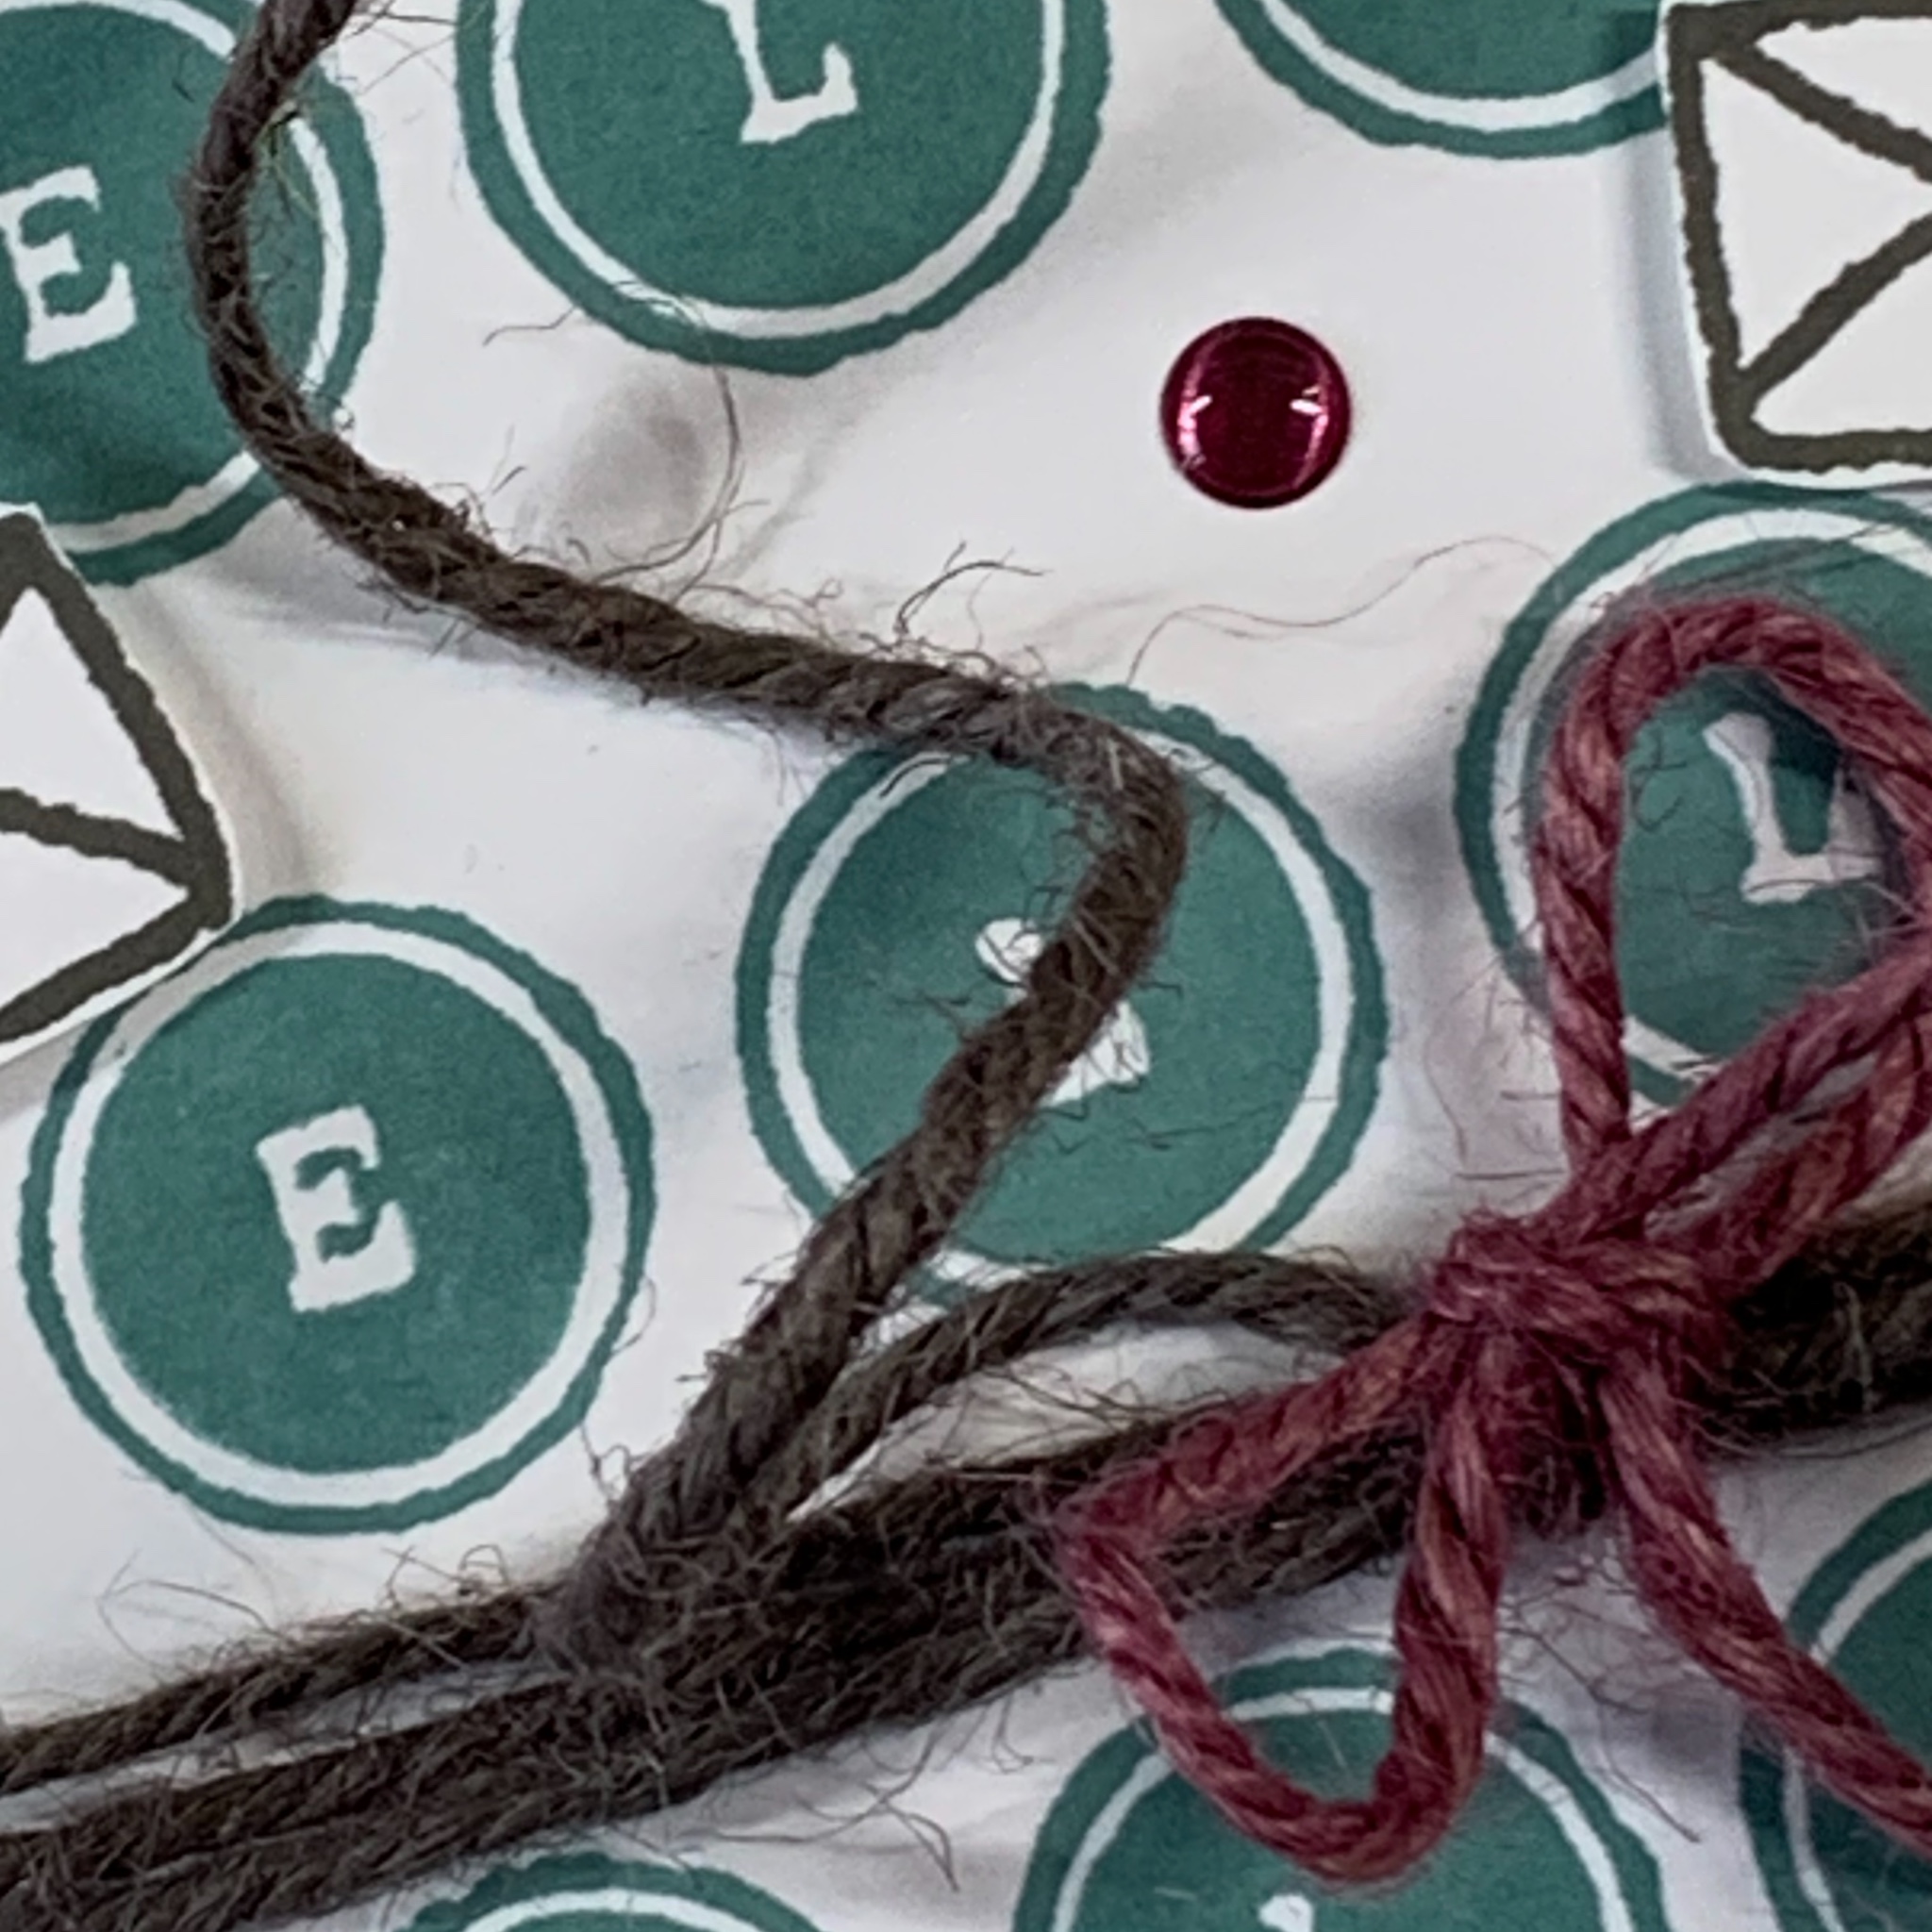
I chose Lost Lagoon, Moody Mauve, Pebbled Path and Wild Wheat. The trim is from the 2023-2025 In Colour Jute Trim and the bling is from the the same In Colour Dots.

The paper in the typewriter is longer than the image on the stamp. Fortunately, because it is a photopolymer stamp, I was able to turn it around and stamp the paper a second time. THis gave me more space to stamp the words and images.

Three lengths of Pebbpled Path jute trim were wrapped around the Basic White layer and secured with Tear & Tape.

Then I tied a shorter length of the same trim across the three stands. Then I added a length of a different colour and tied a bow.

I like the way the jute trim holds the curls from being wrapped around the cylinder.

After the paper was stamped and adhered behind the typewriter rollers, I used a matching Stampin’Write Marker™ to draw in the missing sides.

There are so many colour combinations that could be used with this layout and product bundle.

If you live in Australia, you can order any of the products I used to make this card by going to my online store. Just click on any of the images below.

Product List
Paper Snips
[103579]
$19.25
Stamparatus
[148187]
$85.50