From 13th – 16th March, I had the most amazing time at the Stampin’ Up!® OnStage Event in Brisbane.
It was wonderful to catch up with so many of my demonstrator friends, meet other demonstrators, swap projects and be a volunteer in the Product Playground.
As a Stampin’ Up!® demonstrator, one of the significant benefits is being able to attend events like this … and, seeing the new Catalogue before anyone else … and being able to have an extra early pre-order.
At OnStage there are a wide range of elements in the agenda – presentations (creative and business related), break out sessions, make and takes and lots of opportunities to catch up. We also enjoyed a Welcome Party on the first night.
Swaps are a big part of the OnStage experience. I was so pleased to bring home so many great project ideas from other demonstrators. One of my best experiences is having made loads of swaps so that I can swap but also gift my project to new demonstrators and the SU team who have worked so hard to make our event so amazing.
In my post today I want to show you the Make and Takes we made and introduce you to the new 2025-2027 In Colours. Then I will show you the projects we made at the After Hours crafting session.
The 3 Make & Take Projects were featured the soon to be released Layered Thoughts Stamp Set and the Celebration Expressions Memories & More Card Pack.
There were 2 cards in our Make & Take pack. We were given one each of the two sizes of card bases and envelopes from the Basic White Assorted Memories & More Cards & Envelopes.
Both of the cards involved some tearing and stamping. Then we used the fine tip end of a Basic Black Stampin’ Marker to draw a box around the outer edges of the card front.
The banner was fussy cut and added to the card front.
GREAT NEWS – There is a new pack of 3 Journaling Pens coming in the new May 2025 – April 2026 Annual Catalogue!
The final Make & Take was a scrapbooking layout.
NOTE TO SELF – learn to take better photos of scrapbooking pages!
This layout is so bright and cheery. THe Gold Foil hearts and fussy cut banners finished the layout so well.
Friday night was our opportunity to continue creating. The After Hours was a ‘pay to play’ crafting experience. We were able to choose from two soon to be released new products – Impressions Abloom or Turtle-y Awesome. I chose the Impressions Abloom.
We had four projects to make.
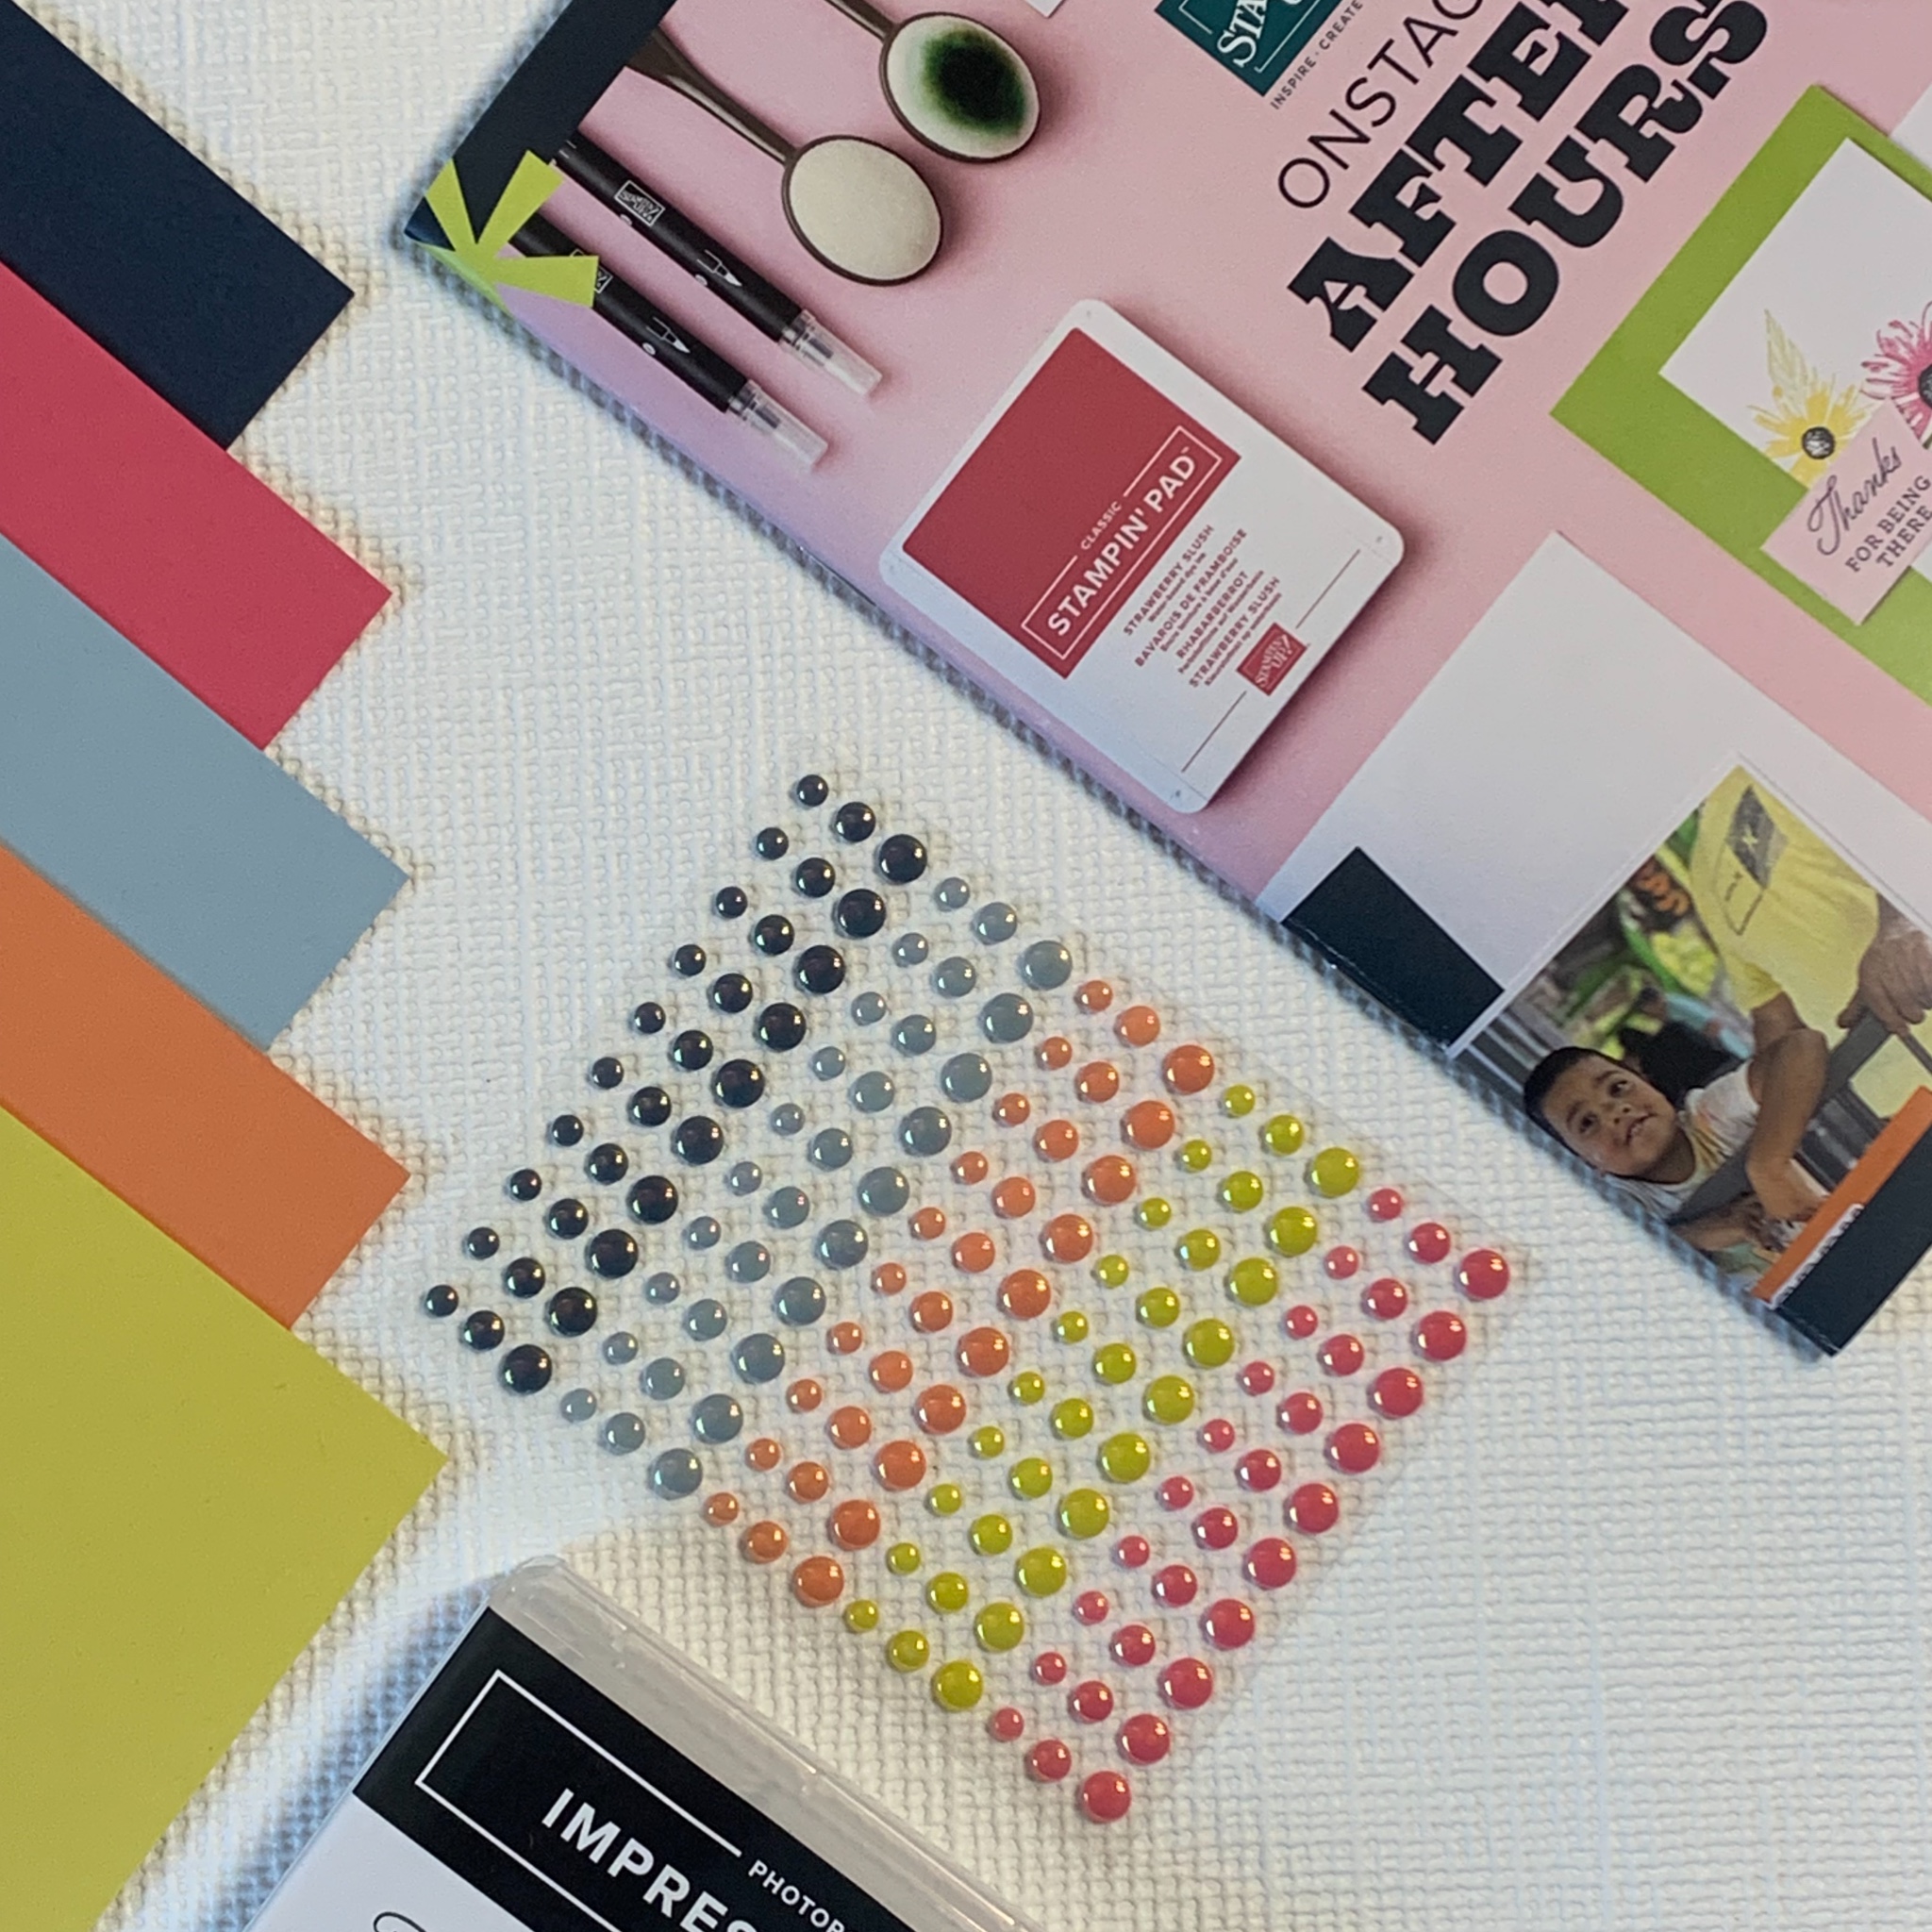
We received the stamp set and the Greetings for All Mix & Match Ephemera Pack, a 12″ x 12″ cardstock pack, a 2025–2027 In Color Cardstock pack, and 2025-2027 In Colour Flat Pearls.embellishments.
The new 2025-2027 In Colours are: Cloud Cover*, Darling Duckling, Secret Sea, Strawberry Slush and Timid Tiger.
(* – Stampin’ Up! discovered a qulaity issue with the Cloud Cover Classic Stampin’ Pad and have decided to withdraw its availability until the problem can be resolved.)
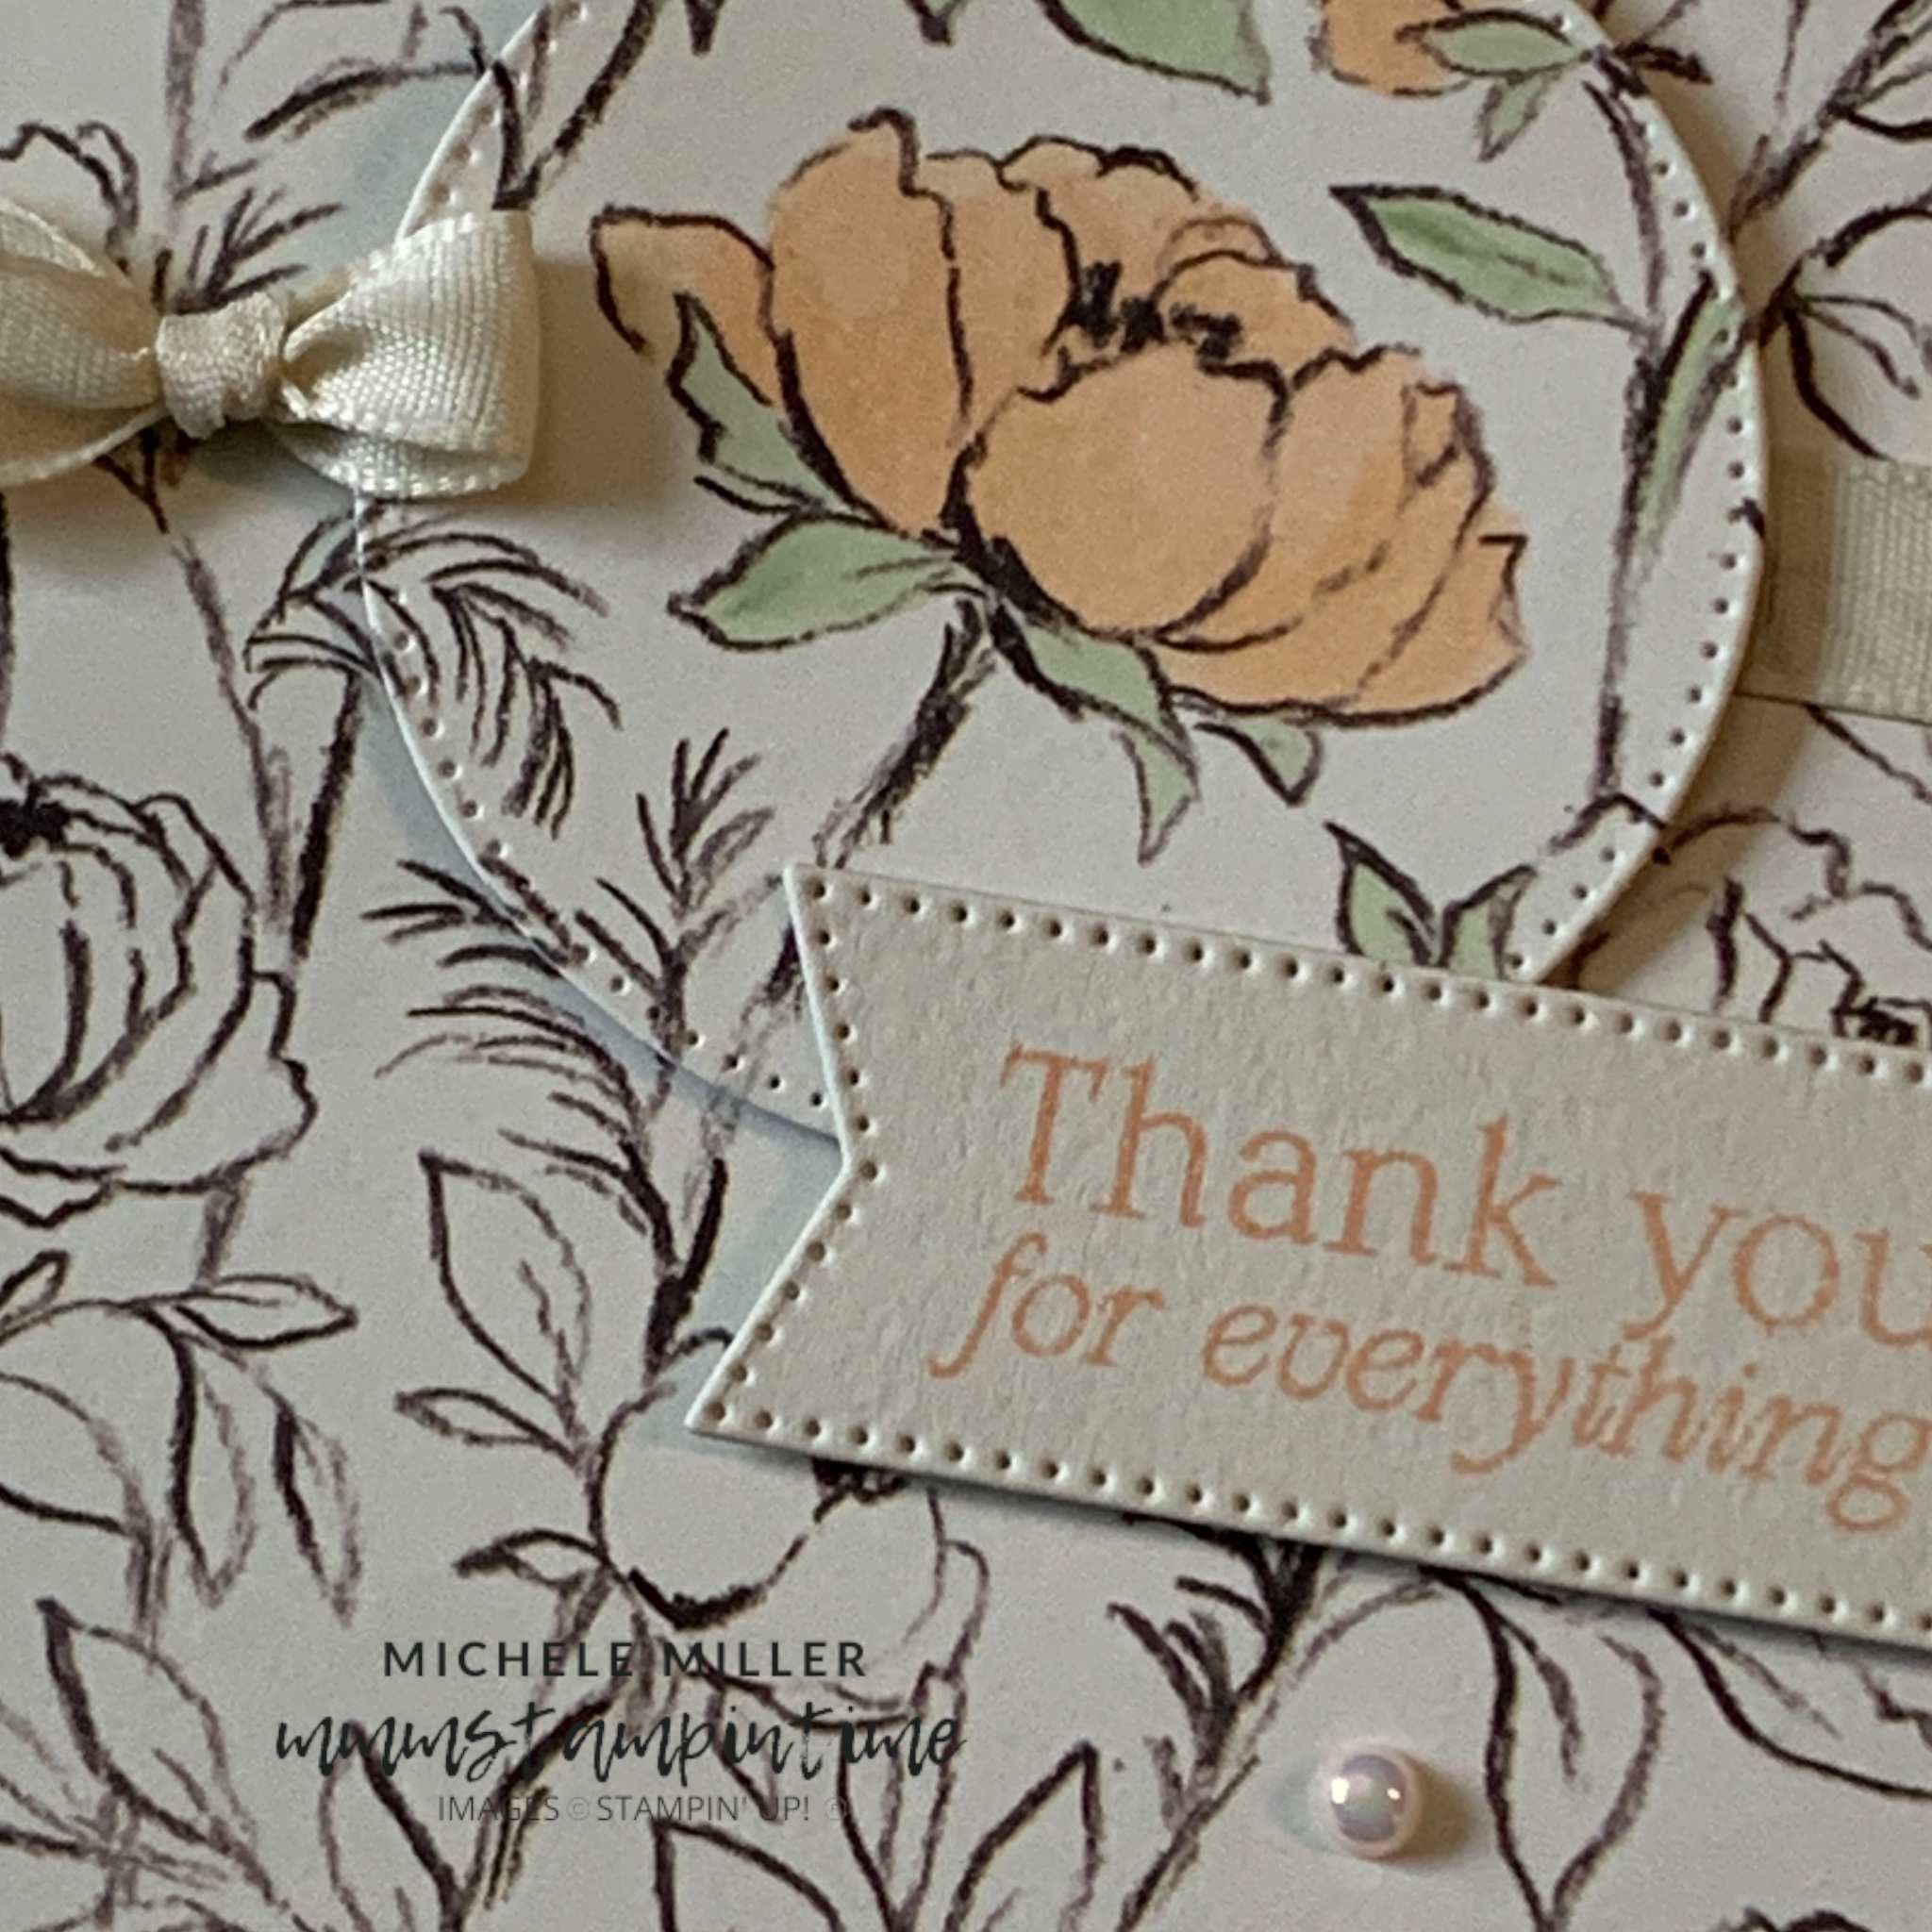
The two cards both used a technique where the stamped card is cut and spread apart.
Then we had two scrapbooking pages to create.
This layout gave us the opportunity to create our own ‘DSP’ by stamping some of the Impressions Abloom images.
The sentiments, for both layouts, are from the Greetings for All Mix & Match Ephemera Pack.
And, they each have photo mattes and a journaling layer included.
I needed to place this layout on the a coloured background so that you could see it more effectively.
As usual, OnStage was an amazing experience – catching with friends, making new ones, seeing great presentations, learning more about ways to build my business and of course, getting to see the new catalogue and new products before anyone else! WIN WIN
In my next post I have some scrapbooking layouts to share with you.
Until then, happy stamping.


")
")
")

 Designer Series Paper")


