Posted on Leave a comment

SATURDAY IS ALL ABOUT SHARING A CHALLENGE PROJECT

This week’s Global Design Project challenge is a COLOUR CHALLENGE.

These colours, all from the Brights family, are lovely and warm.

Make sure you pop over and see what the GDP Design Team have created. As you scroll down, you can also see all the entries from non-team members, from around the world.

I decided to use the Excellent Eggs Stamp Set from the January – April 2024 Mini Catalogue (162808 – $76.50AUD).

Here are my colourful Easter Eggs.

Yes, my photos are finally loading!

I started by die cutting many of the stitched zigzag shapes and then adhered them to a Basic White panel.

Then I stamped, coloured and die cut the three Easter Eggs. For colouring, I used my Daffodil Delight, Flirty Flamingo and Pumpkin Pie Stamppin’ Blends. Then I gave each egg a CLear Wink of Stella paint job.

I wrapped some gold Simply Elegant Trim behidn the central egg. The two remaing eggs were trimmed so tht would align with the outer sides of the white panel.

The trimmed eggs were adhered directly over the zigzag background and the central egg was popped up with Stampin’ Dimensionals.

The ‘Happy Easter’ greeting was stamped separately, using tape to cover each half. After I inked each word I removed the tape and stamped. This gave me two cleanly stamped words with enought space to die cut them with one of the Wonderful Thoughts Dies.

The greeting elements were added to the card front using dimensionals.

The card insert and envelope each had a cardstock zigzag die cut added to them.

Finally, a little bling – white Neutrals Adhesive-backed Sequins coloured with my Pumpkin Pie Stampin’ Blends pen.

I look forward to sharing new projects next week.

Until then, happy stamping.

Posted on Leave a comment

IT’S FRIDAY & TIME FOR SOME FEATURES AND A FUN FOLD CARD

The title says it all. So, here we go.

The Heartfelt Hexagon Stamp Set is a photopolymer set which is perfect for accurately stamping the greetings inside the two hexagon framing images.

There are six different greetings which makes it so versatile. The stamp set also has a variety of five small images that can be added to your projects.

Today I have a Triangle Fold Card with an extra triangle to pop a gift card in.

This is such a lovely card and I am so pleased with it.

I started with an A4 piece of Very Vanilla cardstock and trimmed it back to 11 1/2″, my preferred length for cards.

Then I scored and burnished the card into quarters, as you can see below.

Then two right-angled trianges were cut away from the card base – top right and bottom left.

Keep these triangle cut aways because they are very helpful when cutting the patterned paper or card.

I cut the Golf Foiled Flowers Card, using the triangles as a template. Then these pieces were trimmed down to allow a small margin of Very Vanilla card base to be seen as a border.

The card insert had one of these triangles adhered leaving the longest edge open, creating a space for a gift card. There is also enough Very Vanilla inside the card for a message to be written.

I love the way this card opens out, revealing all its layers.

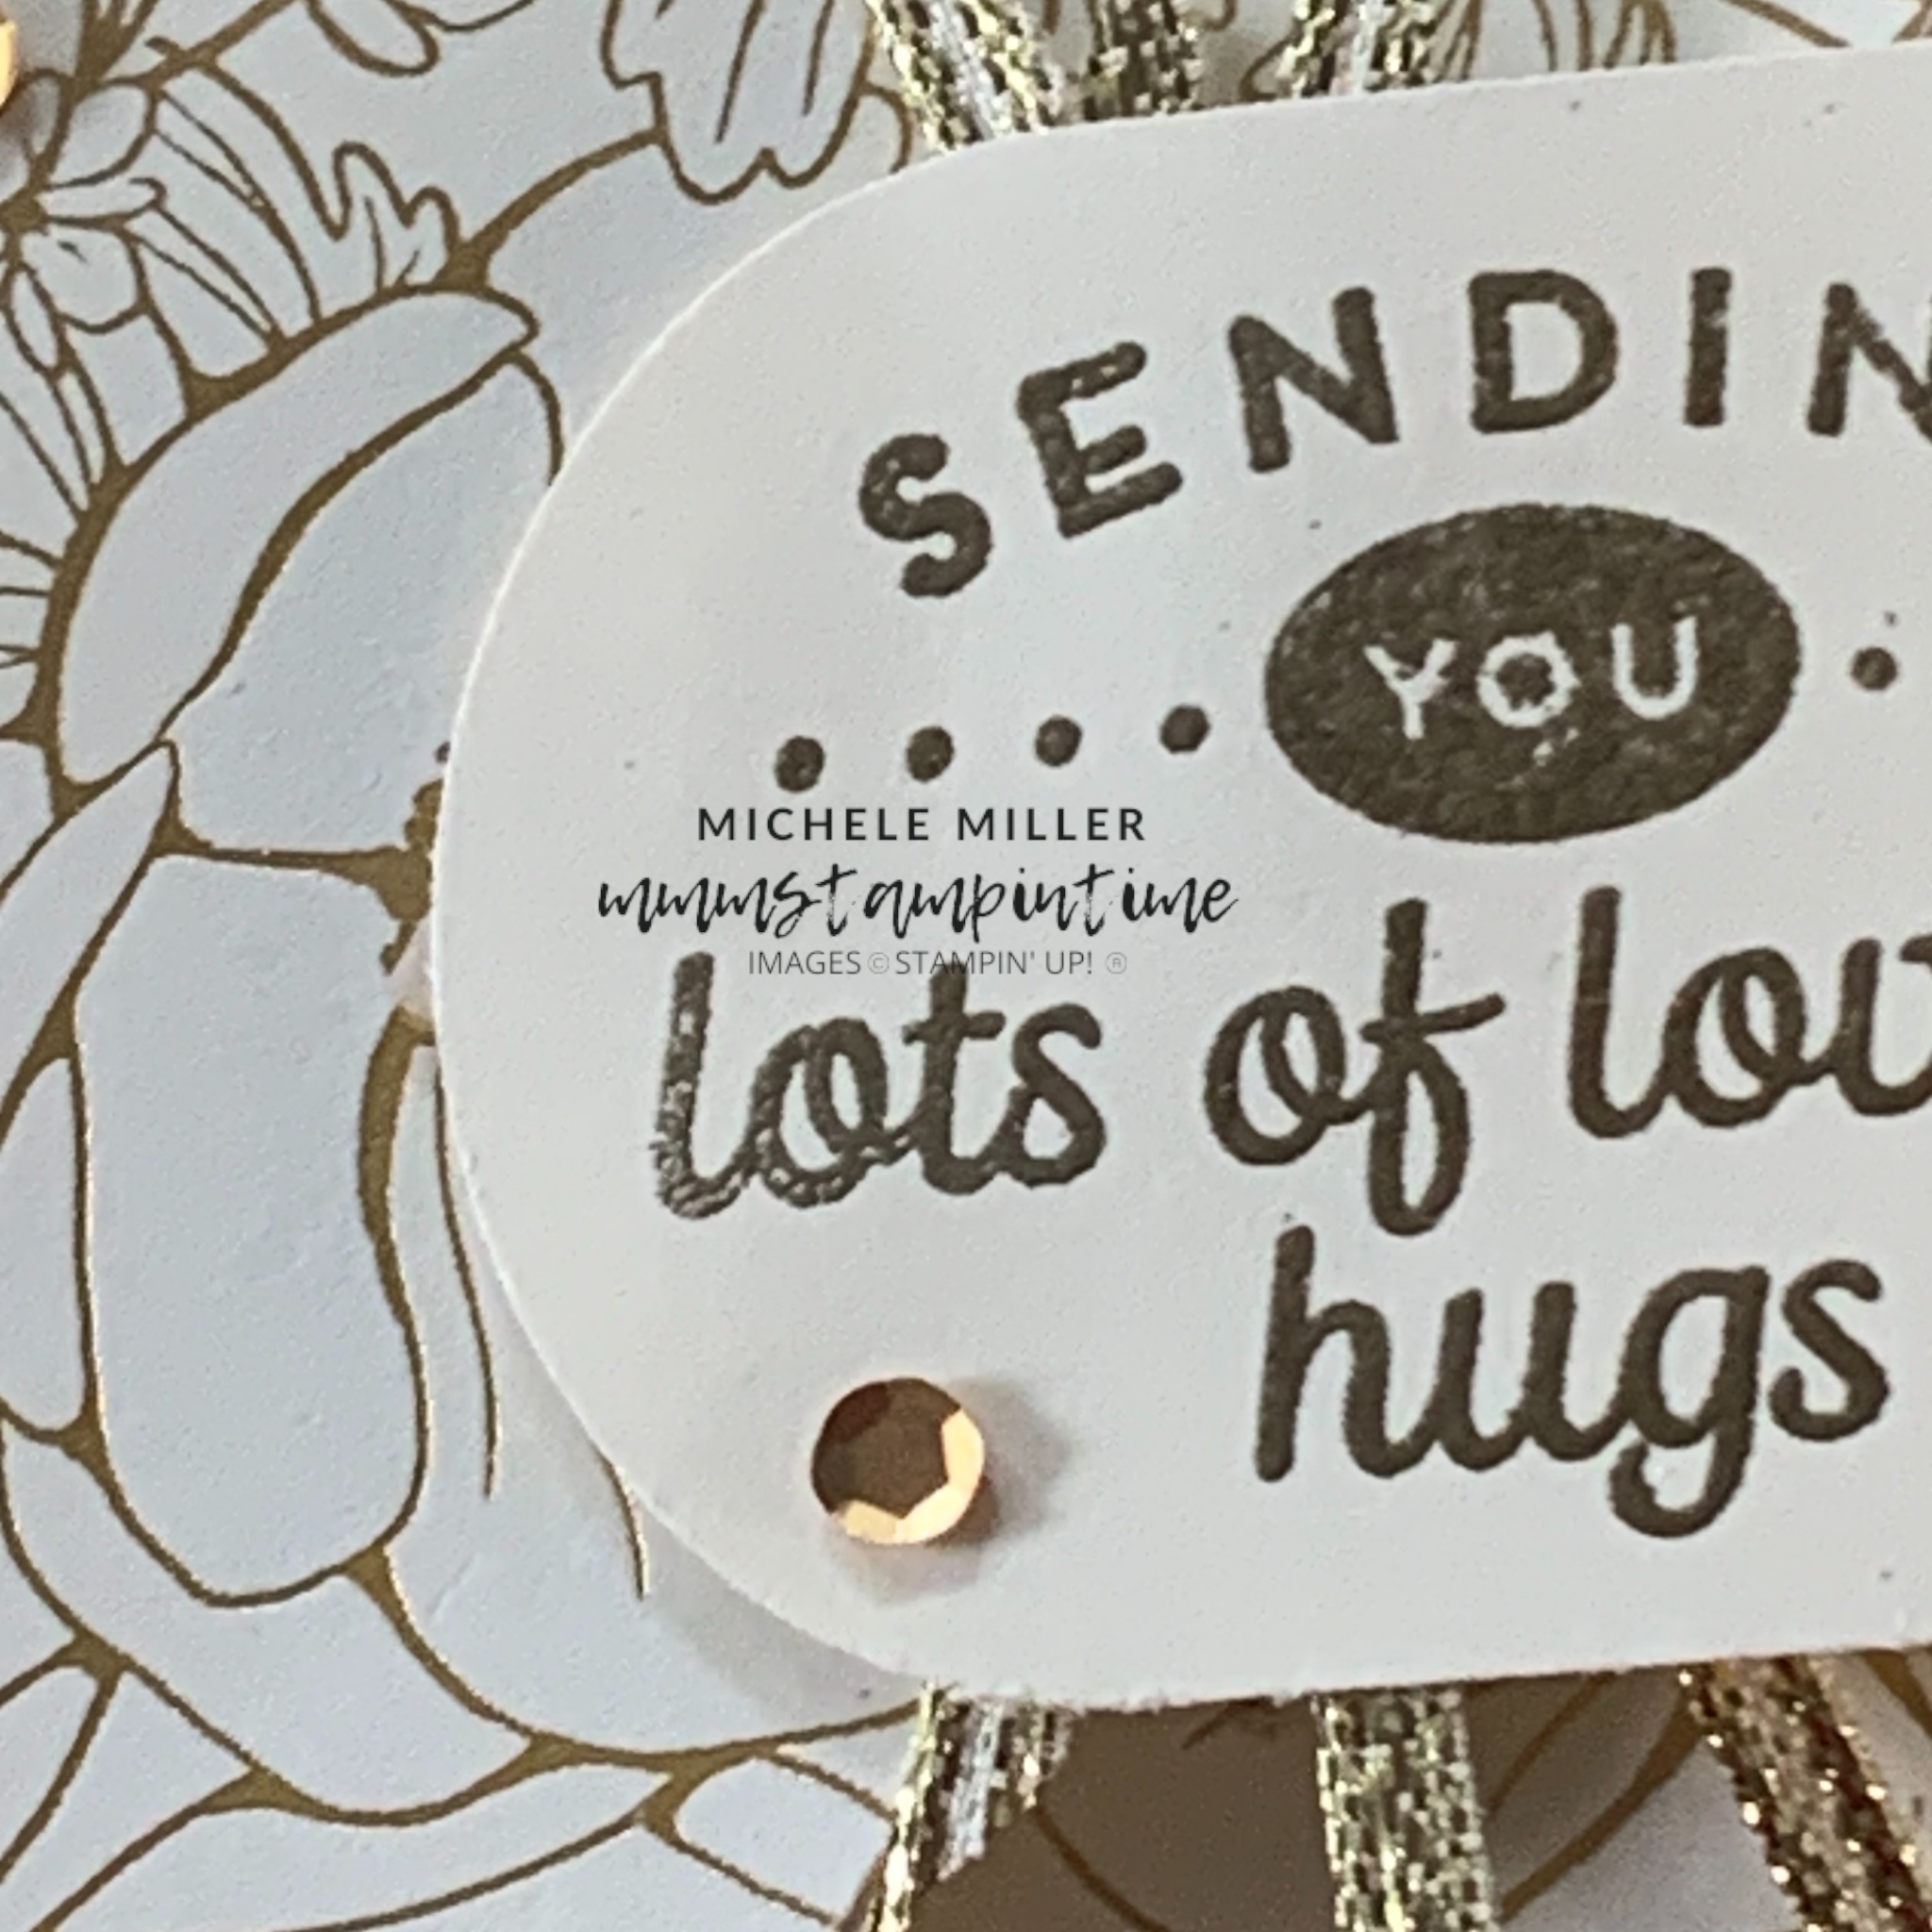
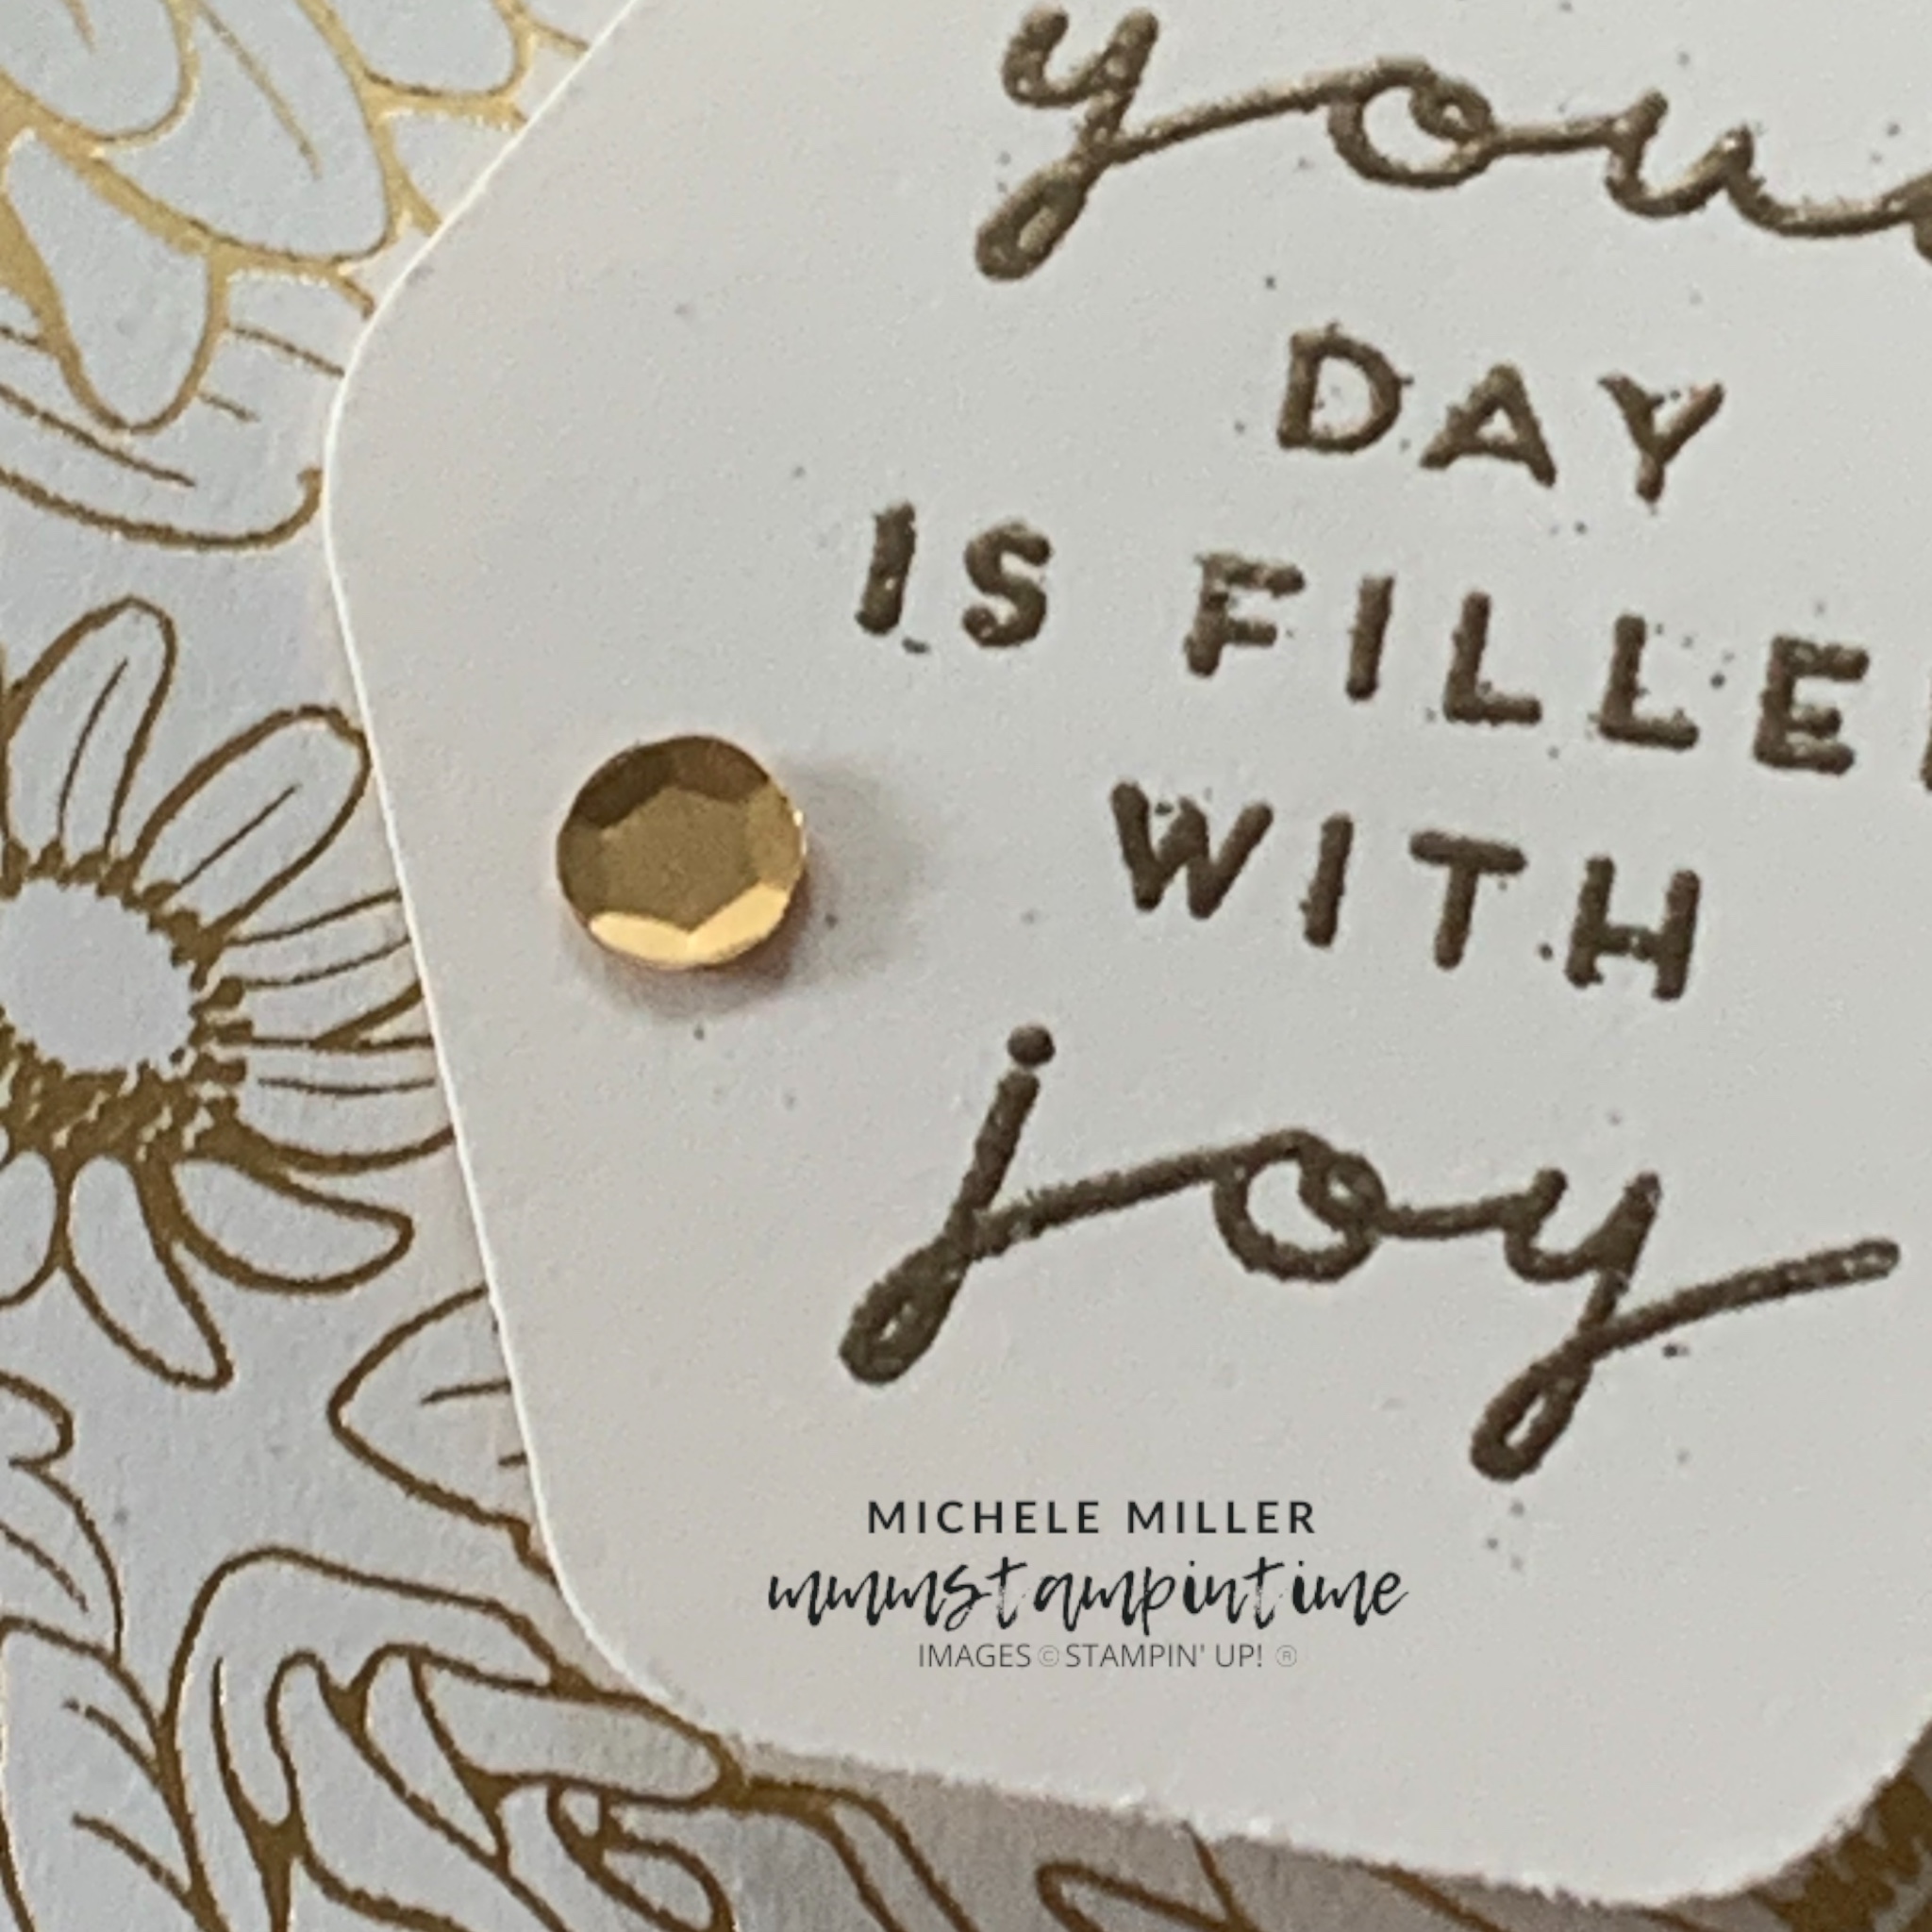
The greetnig was heat embossed and punched out.

A length of gold ribbon, from the Gold & Silver 1/8″ Trim Combo was wrapped behind the punched greeting and secured with Stampin’ Seal+.

To finish the card I added some gold sequins, from the Neutrals Adhesive-Backed Sequins.

We have some amazing new Online Exclusives joining the Online Store from the 5th of March for customers OR for preorder now if you are a demonstrator. So if you join now you can add some of these to your Starter Kit.

With that in mind, I have chosen the Flowering Zinnias Suite Collection for all of next week’s projects just to get you excited – and, you will be. This is such a vibrant, colourful collection.

Until then, happy stamping.

If you live in Australia, you can order any of the products I used to make this card by going to my online store. Just click on any of the images below.

Product List
Paper Snips
[103579]
$19.25
Posted on Leave a comment

THURSDAY MEANS THAT IT’S TIME FOR A 3D PROJECT

i used one of the Gold Foiled Flowers Card to create a small and super simple gift bag to hold some sweet little red foil wrapped Ferrero chocolates.

Along the long side of the card, I scored at 1/2″ and 1″ and then 1/2″ and 1″ from the centre prescored line. Then I scored the bag base at 1″ from long side.

The join the bag, I used a 5 1/2″ x 3/4″ strip of Very Vanilla cardstock. This was scored down the centre length of the piece. I used Stampin Seal+ the hold the bag togeter.

THe bag base was then burnished, snipped and adhered.

I heat embossed the greeting and then punched out the gift tag. After punching a small hole in the top of the tag, I tied it to a small gold bulldog clip.

I took a length of gold thread, from the Simply Elegant Trim, through the tag and tied it to a small gold bulldog clip.

The tag was secrued to the front of the gift bag with a Stampin’ Dimensional.

Tomorrow I have a Fun Fold card to share with you.

Unti lthen, happy stamping.

If you live in Australia, you can order any of the products I used to make this card by going to my online store. Just click on any of the images below.

Product List
Paper Snips
[103579]
$19.25