Posted on Leave a comment

CUSTOM CARD

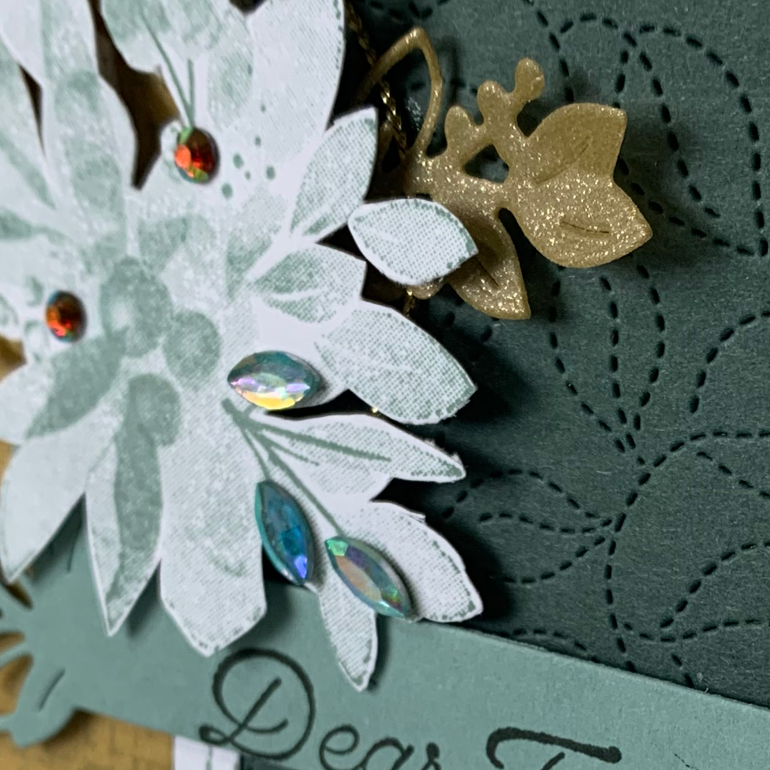
I posted this card last week but want to share it again for the Freshly Brewed Projects Blog Hop. The theme this week is Masculine Birthday and think this one is perfect. I hope you don’t mind seeing it again.

My daughter asked me to make a birthday card for one of her neighbours. When I asked her to tell me something about him, she said that he makes jam – especially rosella jam.

Rosellas - edibles for your garden | PLANTS WHITSUNDAY
The fruit from the rosella plant can be used to make jam.

With that information I decided to use the What’s Cooking and Measure of Love Stamp Sets. I laso used some of the retired Well Suited Designer Series Paper because it is perfect for masculine cards.

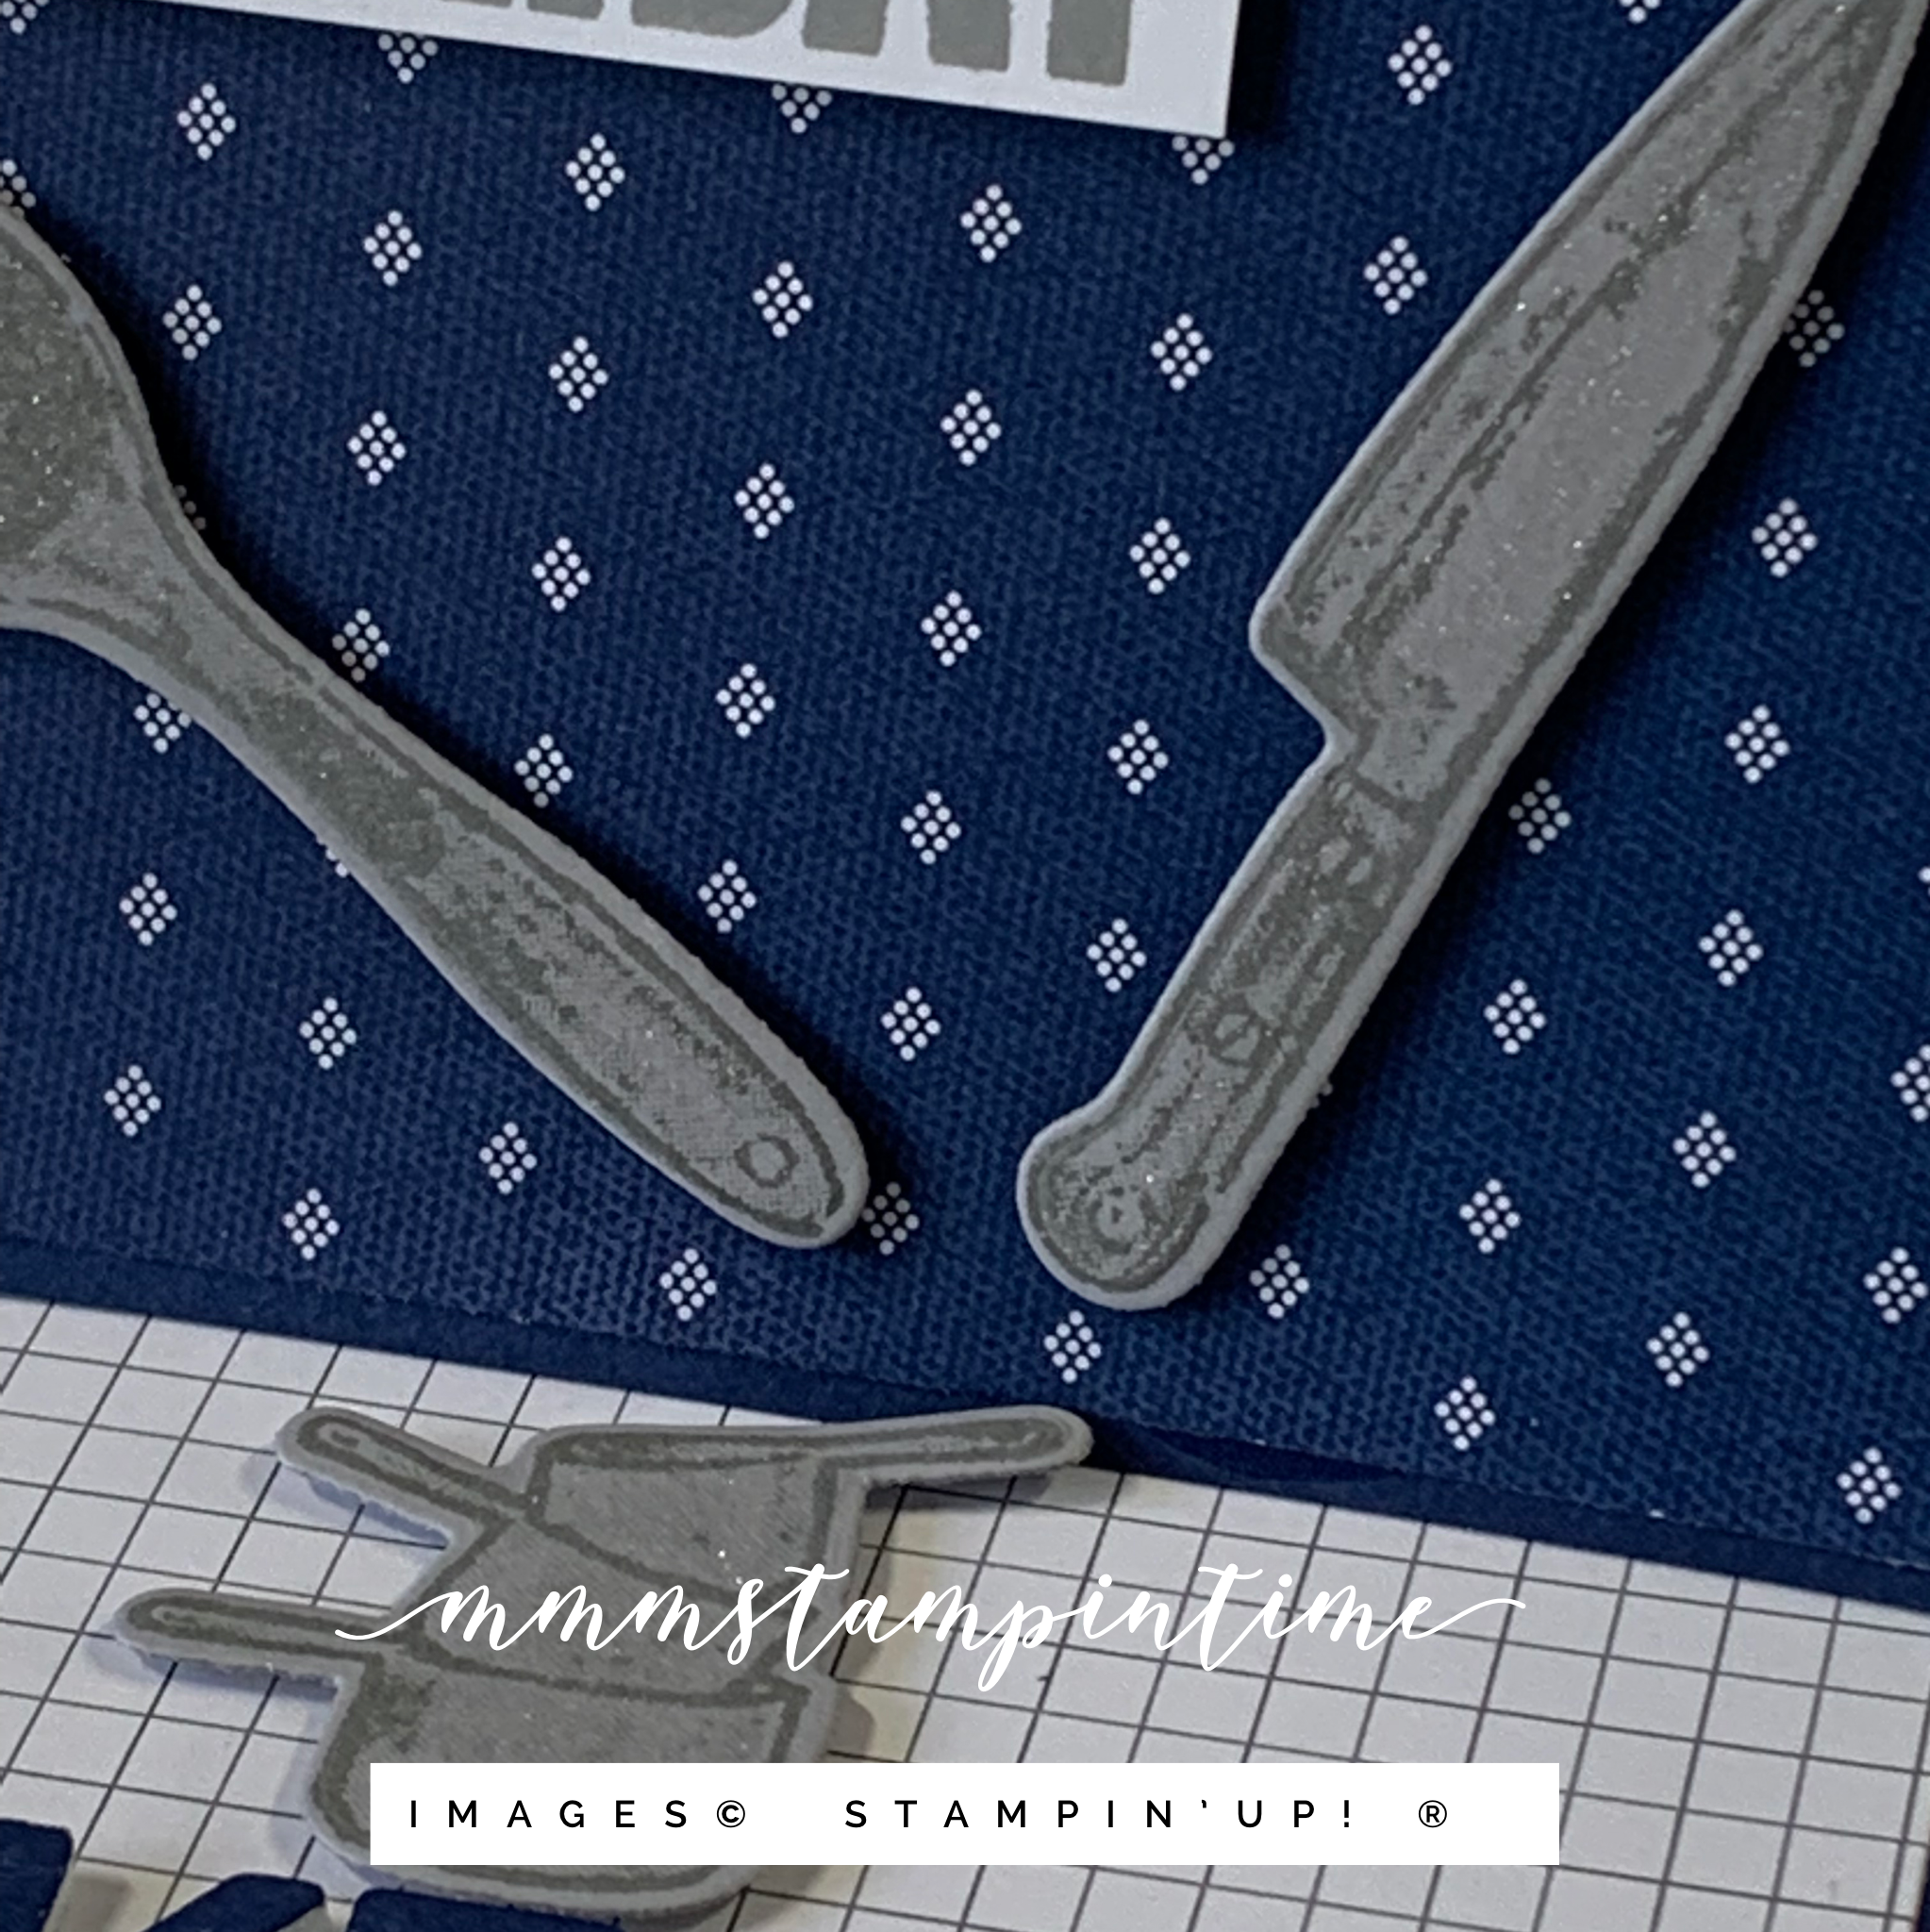
The fornt of the easel card has Night of Navy scales weighing some ‘rosellas’ and a knife and spoon for preparation. I stamped these on Gray Granite card using Smoky Slate ink.

I fussy cut the scales and cut the utensils using the Cookin’ Dies.

The birthday greeting, from the Biggest Wish Stamp Set, was trimmed and fussy cut. Then all of these elements were placed on the front using Stampin’ Dimensionals.

The front is lifted up and tucked in under the saucepans to create the easel card.

I added some Foam Adhesive Sheets behind a piece of Night of Navy card and cut the letters using the Playful Alphabet Dies. I’m thinking of printing jammin’ on a piece of Basic White card, trimming that down and popping just ablove the word ‘in’. What do you thing?

The back of the card has a Basic White panel for writing a message. It also has the three chef’s hats image stamped. I added the same image to the envelope.

My daughter also said that Ken’s grandson often joins him for his jam making sessions. I hope Ken likes his custom made birthday card.

I didn’t add any embellishments to the card but did paint a little Clear Wink of Stella on the utensils.

I make lots of birthday cards but really enjoy making them for a particular person so that I can customise it – it’s more special when the card matches the person.

Now make sure that hop across to see what the rest of the team has created:

Until next time, happy stamping.

If you live in Australia, you can order any of the products I used to make this card by going to my online store. Just click on any of the images below.

Product List
Cookin' Dies
[154333]
$50.00
Paper Snips
[103579]
$17.00
Posted on Leave a comment

A NEW WEEK & TIME FOR A NEW GLOBAL DESIGN PROJECT CHALLENGE

I look forward to each week’s new challenge from the Global Design Project team. This week it’s a sketch challenge – #GDP314.

The projects shared by the GDP team are amazing – you must check them out.

For my project I decided to use the Eden’s Garden Collection which is available to customers, during a pre-release period, from 2 November to 3 January. The stamp set and die bundle will be found in the January to June Mini Catalogue.

Shareable Image

I hope that you like the card that I made.

I started with an Evening Evergreen card base and cut a slightly smaller layer in the same colour. Then I used one of branch images from the Eden’s Garden Stamp Set and stamped it across the smaller layer in the same coloured ink. Then I attached the layer to the card front.

The rectangular layers were cut from the Shimmery Gold Vellum and from the Ever Eden 12″x 12″ Specialty Designer Series Paper then adhered together before having Stampin’ Dimensionals popped on the back to give it some height.

The same was done with the Shimmery Gold Vellum circle and the Soft Succulent Cotton Paper scalloped circle.

The larger leaf bouquet image was stamped in Soft Succulent ink and fussy cut. I tucked some gold vellum branches, that were cut using the Eden Dies, in behind the bouquet.

The sentiment, from the same stamp set, was stamped on Basic White card and cut with the banner die from the Eden Dies. The banner and bouquet were overlapped and then popped up using Stampin’ Dimensionals.

I stamped the same small branch image on the card insert and envelope. To finish off the card, I added three of the Garden Gems to the card front.

This collection will soon to be available for early release ordering and is full of products that are truly stunning. The Specialty DSP, Cotton Paper and Garden Gems are only available during the early release period.

Until next time, happy stamping.

If you live in Australia, you can order any of the products I used to make this card by going to my online store. Just click on any of the images below.

Because some of the products I have used to make this card are not yet available to customers, I am not able to show them at this time. As soon as product images go live, I will create this section.

Product List
Paper Snips
[103579]
$17.00
Posted on Leave a comment

THREE DIFFERENT CARDS

Today I want to share three cards using the early release Eden’s Garden Collection. As a demonstrator I have been able to pre-order it during October and customers can order it from November 2 until January 3.

The Stamp Set and Dies will continue in the January to June Mini Catalogue. The Designer Series Paper, Cotton Paper and Garden Gems will only be available during the early release promotion period.

I decided to use the Notecards and Envelopes for these three cards. All three cards have a same starting layout with extra elements added for the second and third cards.

The first card is an example of #simplestamping. It is perfect for beginner stampers and those who only have a few supplies. Simple stamping projects rely on stamps, ink and paper.

The image and sentiment have been stamped directly on the card front using Evening Evergreen and Soft Succulent ink. The image and sentiment are from the Eden’s Garden Stamp Set.

After stamping the small branch image on the card insert and envelope, I decided to sneak a few of the Garden Gems to the card as well.

The second card steps up the techniques and products used. It is ideal for someone who has been stamping more often and for longer and have a wider variety of tools and products on hand. Some describe this as a casual stamper.

The same stamp set and colours have been used. This card also incorporates Soft Succulent card, Ever Eden 12″x 12″ Specialty Designer Series Paper and Evening Evergreen Cotton Paper.

The trimmer and Mini Stampin’ Cut & Emboss Machine were used the cut the different paper layers. The layers were attached using both Multipurpose Glue and stampin’ Dimensionals.

The same sentiment was stamped onto a piece of Soft Succulent card this time and was trimmed down to a rectangle.

The leaf bouquet was stamped and fussy cut before being attached to the card front using dimensionals. I cut three small branches from Basic White card using the Eden Dies and ticked them behind the bouquet.

The small branch image was also stamped on the card insert and envelope. This card also has the Garden Gems added.

The third card follows the same process – adding more elements to the same card layout. This is more like the type of cards I make – lots of layers and elements. I find it challenging now to make ‘simple’ cards. I think it’s because I have been making cards and paper projects for a long time now and have lots of products and tools to use. This type of card maker is often referred to as an avid stamper.

I cut a layer of Gold Shimmer Vellum to attach to the card base. Then I used the Stitched Greenery Die to add this stitched effect to a piece of Evening Evergreeen card.

I used a strip of Ever Eden Specialty DSP and a strip of Gold Shimmer Vellum to add layers to the card front.

Before attaching the fussy cut bouquet I added some swirls of gold Simply Elegant Trim behind it and secured it with Tear & Tape. Then I die cut the small branches from a small scrap of the shimmer vellum.

For the sentiment I cut the banner piece first and, using my Stamparatus, I positioned the stamp and used the masking technique to stamp just the ‘dear friend’ part of the sentiment.

The small branch was stamped again on the inside of the card and the envelope. Then I added a few more of the Garden Gems to embellish the card.

Using the same starting layout and adding a few more elements and using a wider variety of tools and techniques, the three cards move from beginner to casual to avid. Which type of stamper do you think you are more like?

Unti lnext time, happy stamper.

If you live in Australia, you can order any of the products I used to make this card by going to my online store. Just click on any of the images below.

Because some of the products I have used to make this card are not yet available to customers, I am not able to show them at this time. As soon as product images go live, I will create this section.

Product List
Paper Snips
[103579]
$17.00