Posted on Leave a comment

TODAY IS TUESDAY & IT’S TIME FOR SOME TIPS AND TECHNIQUES

As I mentioned yesterday, I have another card to share that uses a technique shared by Emma Parkin-Wilson last week on the Demonstrator Planning Place Facebook group.

The technique is called STACK, CUT & SHUFFLE and is a method to use different designs from Designer Series Paper bundles.

TIP: Choose three paper designs that compliment each other in colour and in terms of scale.

TIP: Once you have cut your chosen DSP to the size you want as a panel for your card front, take a pencil and make a tick mark 1″ in from the top left and bottom right of the DSP. I also made a tick mark 2″ down from the top right hand side of the DSP.

TIP: Align the cut DSP pieces and hold them in place using paperclips. This should minimise the paper slipping.

You can play around with the layout of the cut pieces of DSP until you are happy with the end result.

I have two to share and the options are almost endless.

With different colours for the cardbases and different DSP layouts, the cards will look unique.

The greetings were stamped on Basic White card scraps and cut using one of the Autumn Leaves Dies (and, this die is currently missing on my desk – don’t ask me how!)

The Latte Love Dies include this awesome French press coffee maker. I used two different shades of the Rose Gold 12″ x 12″ Specialty Paper, Vellum and Early Espresso card to cut the coffee maker elements.

TIP: Make sure you add Adhesive Sheet to the back of the foil specialty paper so that you can more easily adhere the elements together.

After the French press was constructed, I added them to each of the card fronts.

I also cut three coffee cups for each card. The die leaves a small slit at the top of each cup so that they can be tucked insode each other to create a cup stack.

I added some die cut coffee cups to the card insert and envelope.

Finaly, I coloured some Flat Adhesive-backed Pearls using the Calypso Coral and Pecan Pie Stampin’ Blends.

MAKe sure that pop by tomorrow to see my next project.

Until then, happy stamping.

If you live in Australia, you can order any of the products I used to make this card by going to my online store. Just click on any of the images below

Product List
Paper Snips
[103579]
$19.25
Posted on Leave a comment

ONSTAGE HERE I COME … BUT FIRST MY GLOBAL DESIGN PROJECT CHALLENGE CARD

I always wake up early when I am about to set off on an adventure. This morning was no different. I was at my crafting desk at 3.30 working on my #GDP436 project.

This week’s challenge is a CASE project.

I decided to use the Taco Fiesta Stamp Set.

I wanted to create a bright and whimsical card for this design challenge.

After lots of stamping, colouring and fussy cutting, I was able to fill the front of the card with a feast of Mexican flavours.

The Gorgeously Made Dies allowed me to create an interesting edge to the Granny Apple Green central layer.

i stamped the chilli on the card insert and coloured it. The envelope was simply stamped with the chilli.

When I return from OnStage, I will have lots more to share with you.

Until then, happy stamping.

If you live in Australia, you can order any of the products I used to make this card by going to my online store. Just click on any of the images below.

Product List
Paper Snips
[103579]
$19.25
Posted on Leave a comment

IT’S MONDAY & THAT MEANS IT IS TIME TO HIGHLIGHT SOME NEW STAMPIN’ UP! PRODUCTS

From today, everyone can go online and order the new Online Exclusives. Click on the new products below and you will go straight to my online store. Enjoy your shopping.

As I mentioned yesterday, this week’s featured products belong to the A Little Latte Suite Collection.

Today I have a simple little card to share with you.

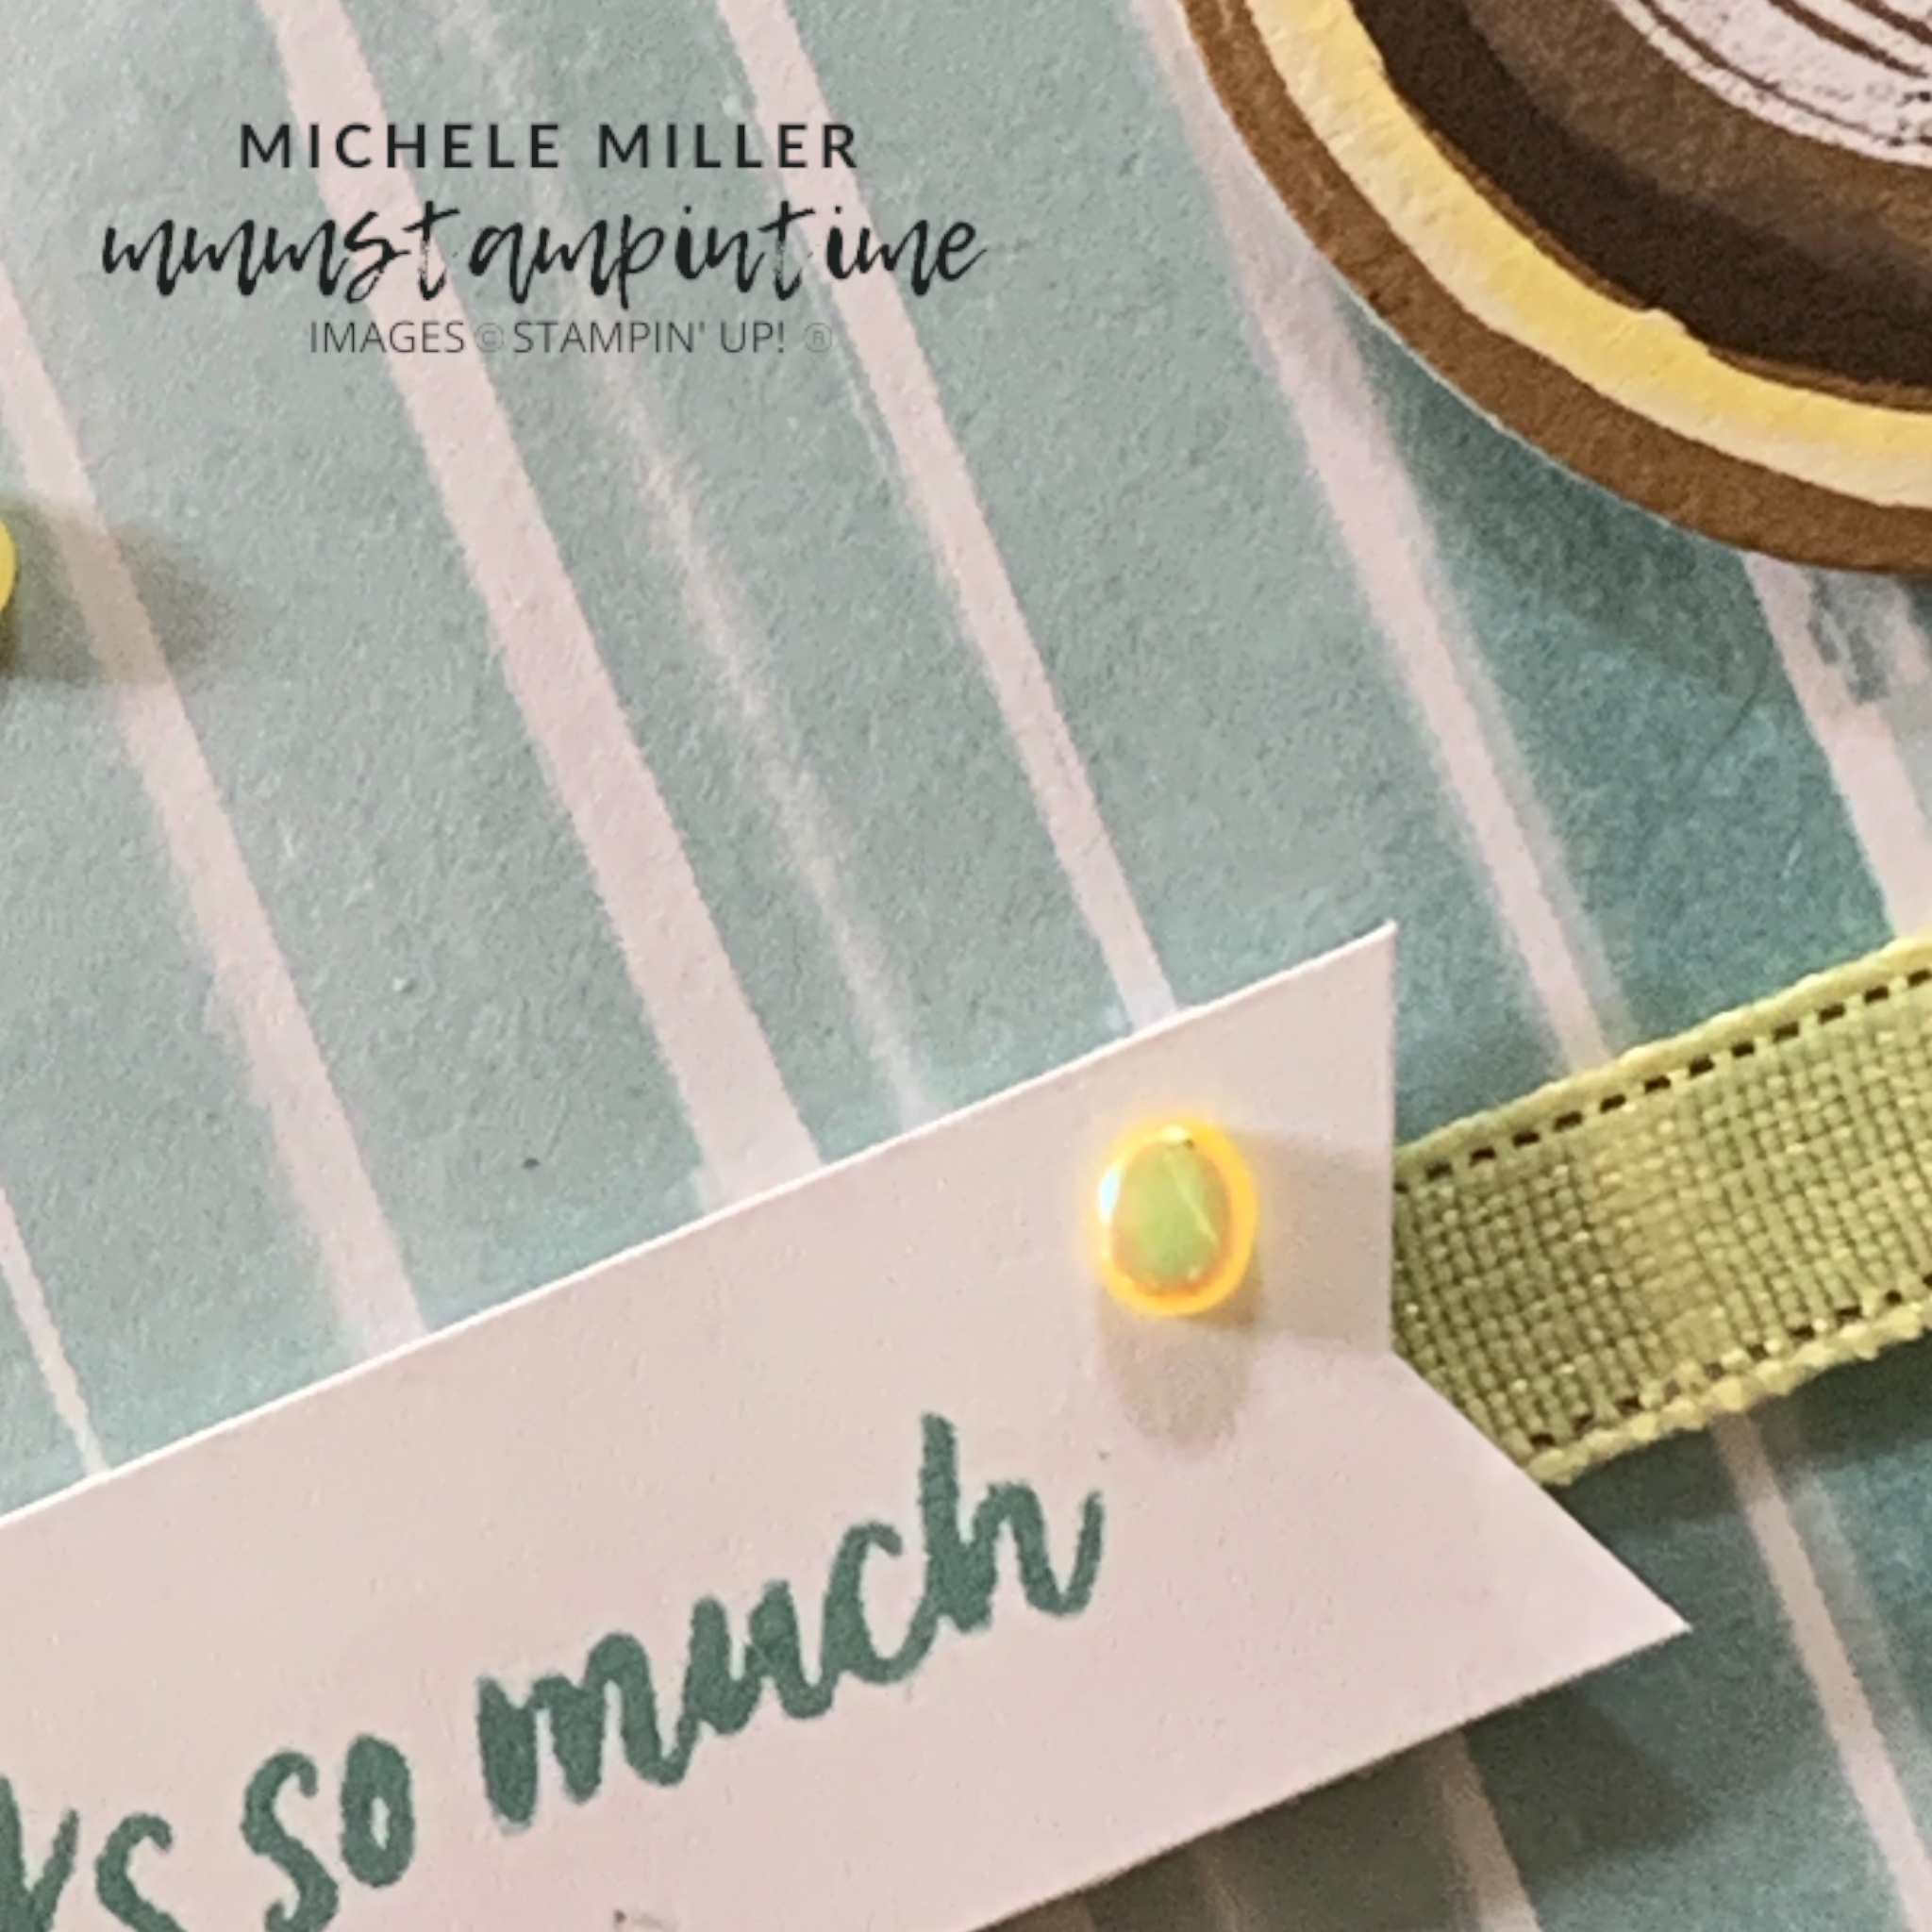
I teamed the Lost Lagoon cardbase with this panel of white and Lost Lagoon striped Designer Series Paper

A length of Lemon Lolly Sheer Ribbon, from the Combo pack, was wrapped and secured under the DSP panel.

The panel was then adhered to the front of the card base.

I used my Lemon Lolly Stampin’ Blends pens to colour the outer rim of the die cut coffee cup.

After adding some Stampin’ Dimensionals under the cup shape, I attached it to the front of the card.

I cut and coloured two more die cut cups and adhered them to the card insert and envelope.

The greeting was stamped on to a 3/4″ Basic White card and used the Banners Pick a Punch to shape the end of the card.

Finally, I used the same Blends pens to colour some of the Flat Adhesive-backed Pearls before adding them to the card.

Tomorrow have a technique card to share with you.

Until then, happy stamping.

If you live in Australia, you can order any of the products I used to make this card by going to my online store. Just click on any of the images below.

Product List
Paper Snips
[103579]
$19.25