Posted on Leave a comment

STEP IT UP SUNDAY

Today I take the #simplestamping cards from yesterday and step them up a bit.

For this card I added a panel of the FREE Daffodil Afternoon 12″x 12″ Designer Series Paper from the Sale-a-bration brochure.

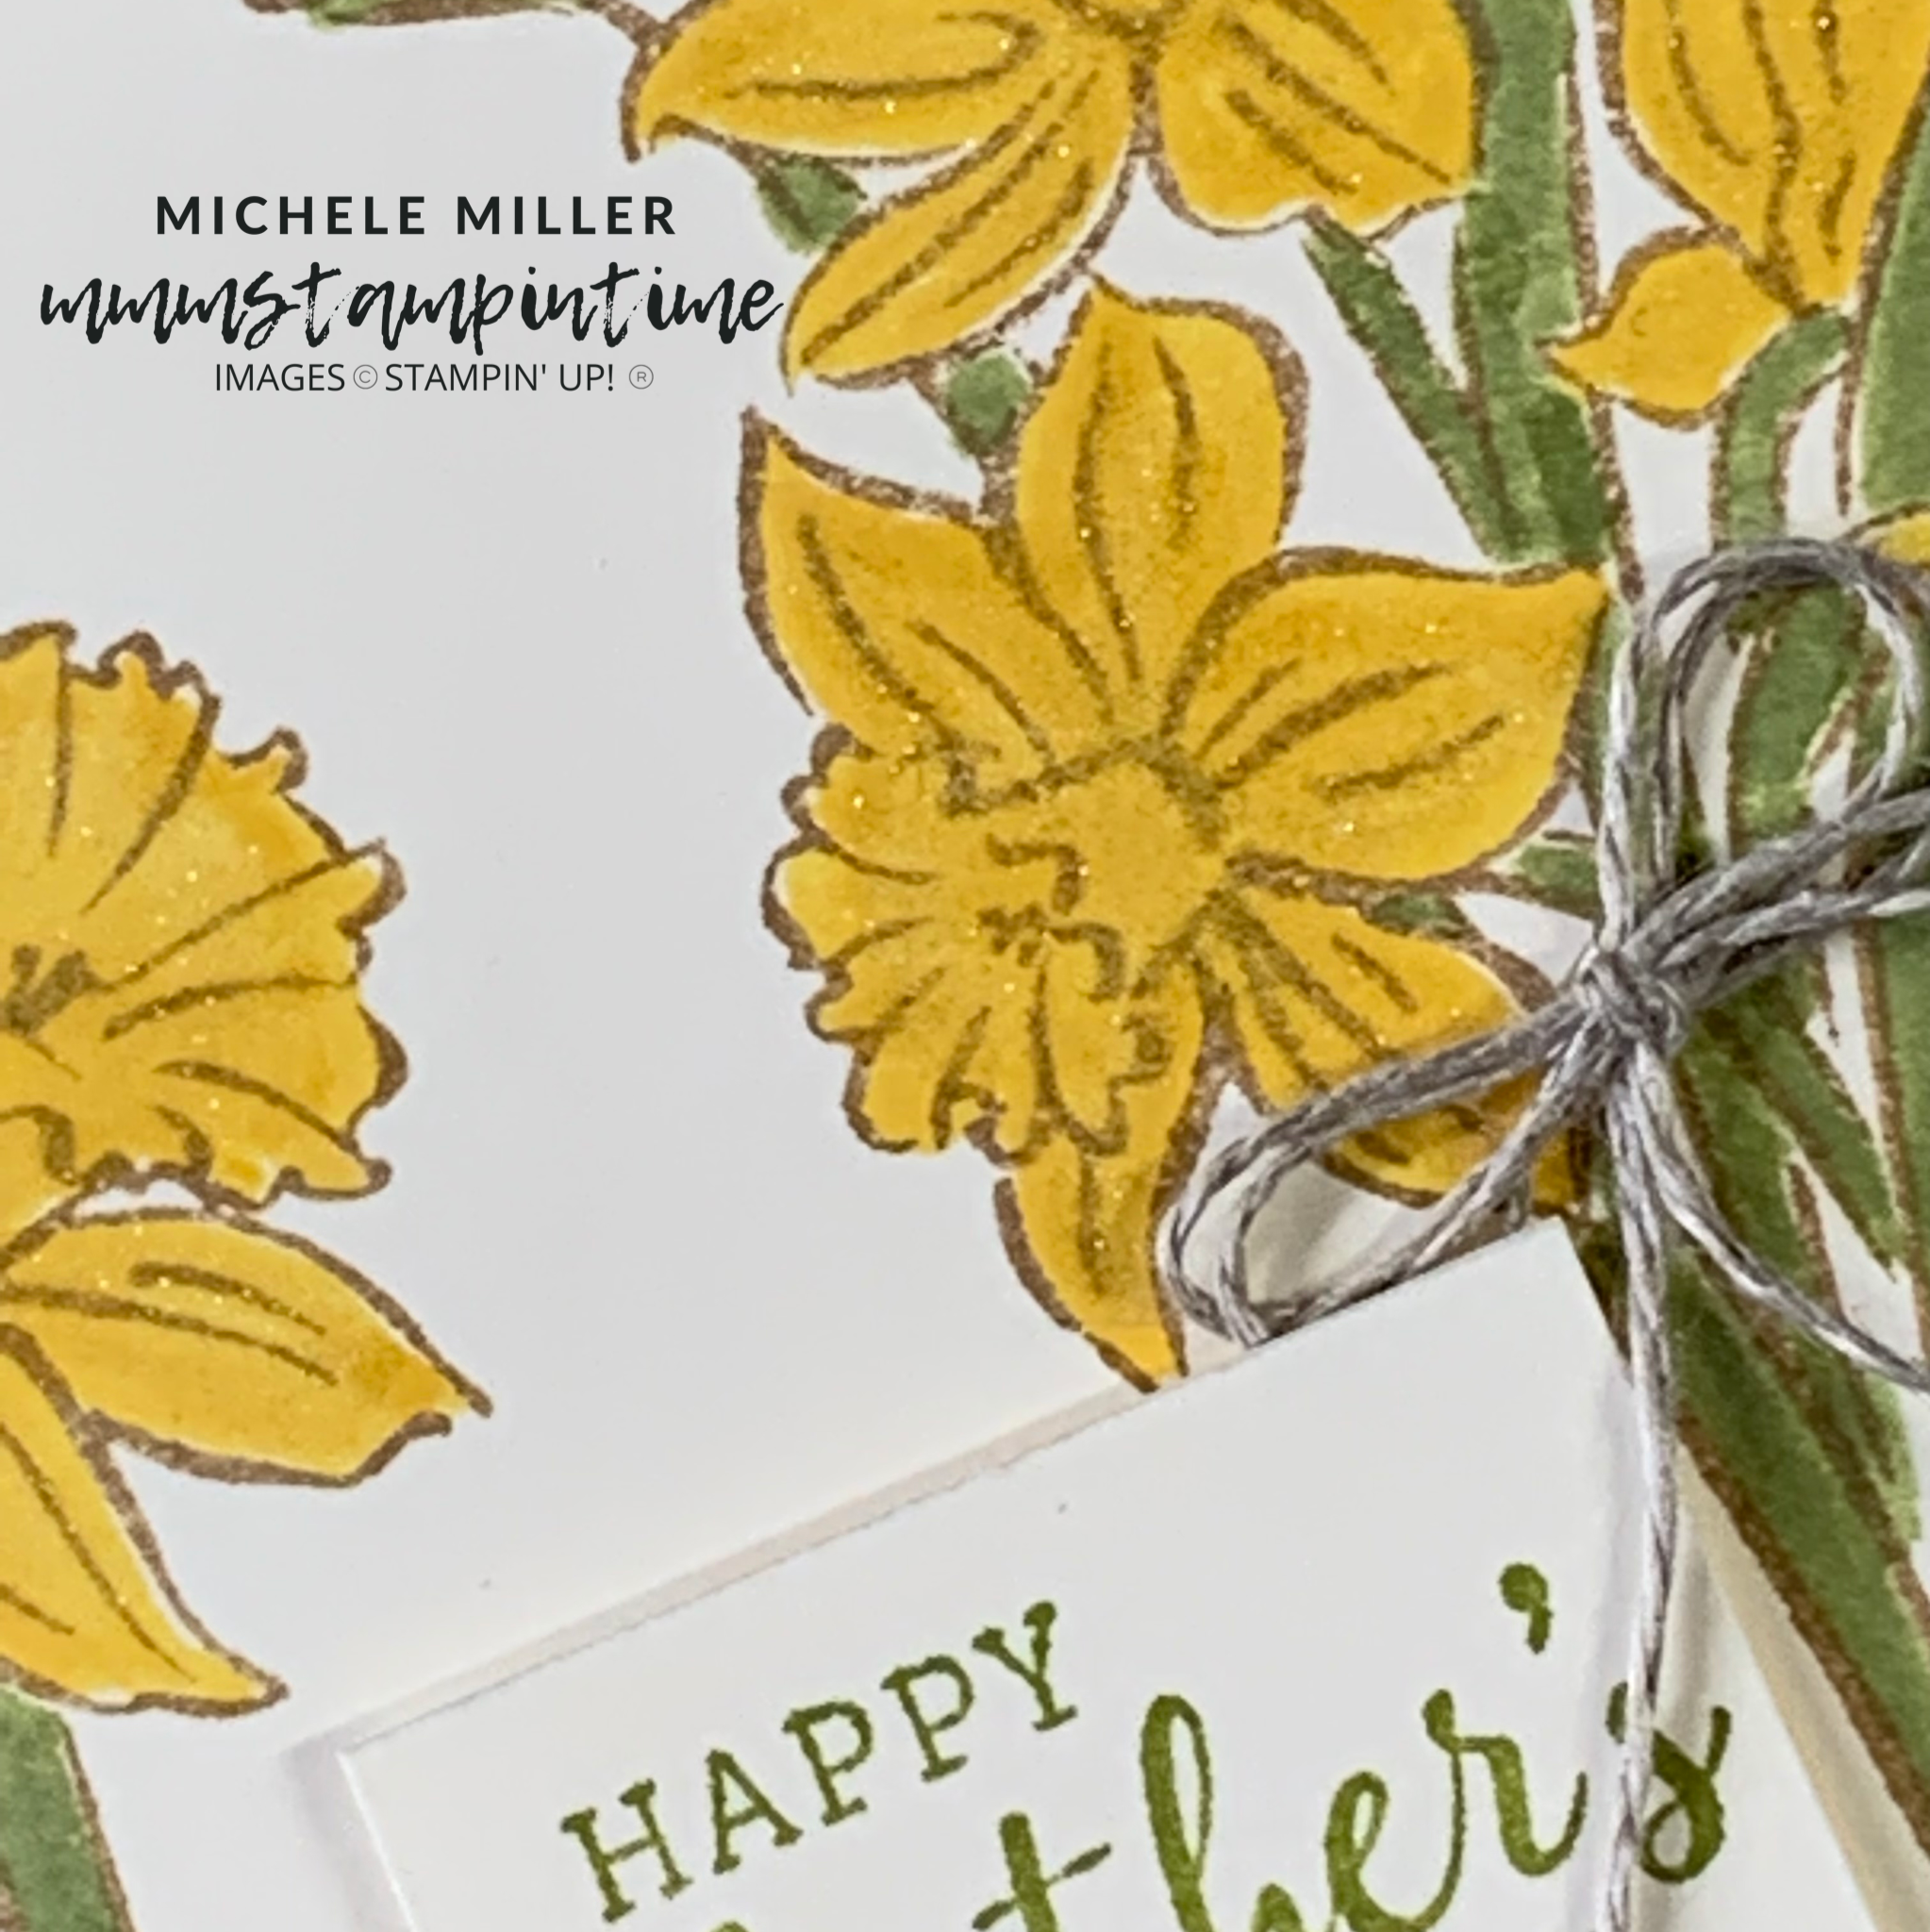
I stamped, coloured and cut the flowers using the Daffodil Daydream Stamp Set and Daffodil Dies. The flowers were then attached to the card front using Multipurpose Glue and Stampin’ Dimensionals.

The LinenThread was used to create a double bow and a Mini Glue Dot was used to secure it in place.

After stamping the greeting on a piece of Basic White cardstock it was cut using one of the Stitched Rectangle Dies. Dimensionals were used to pop the greeting up off the front of the card.

The butterfly image was stamped inside the card and on the envelope.

Finally, I added some 2021 – 2023 In Colour Jewels to the card front.

The second card has a few extra features.

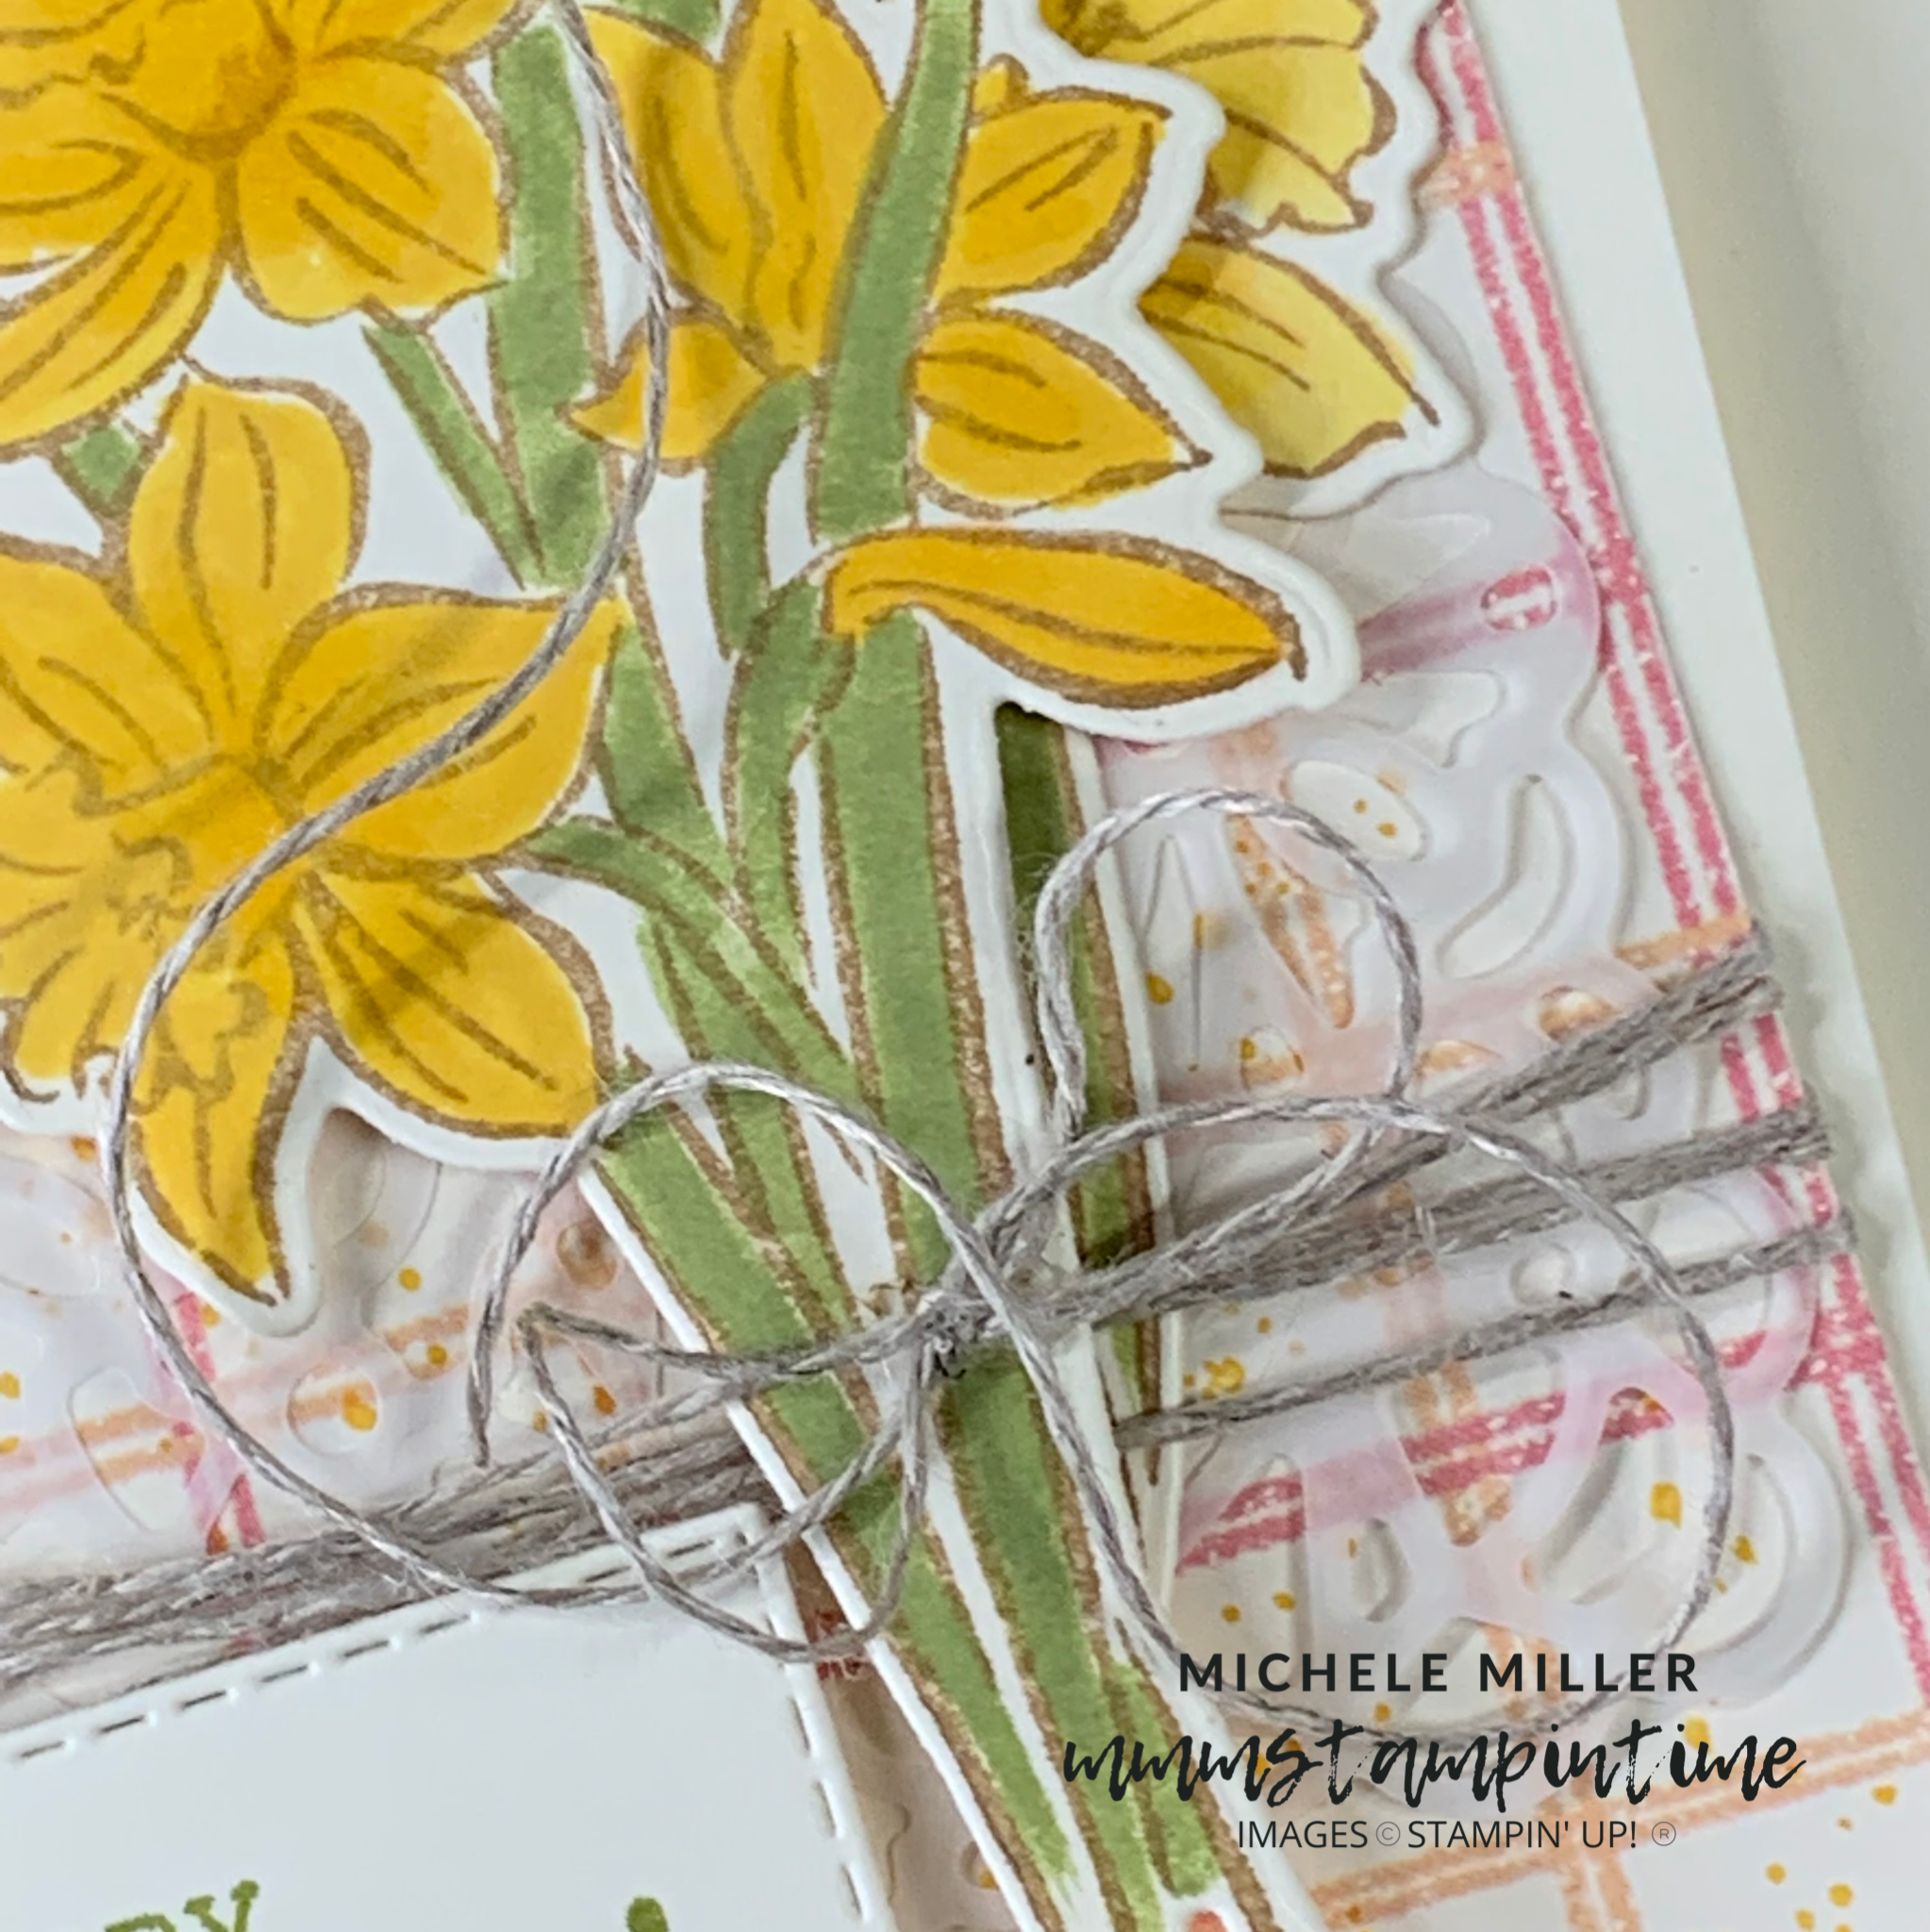
I used the same panel of DSP and stamped the splotches image across it. Then a Square Vellum Doiley was attached to the DSP. I wrapped some Linen Thread several times around this panel and tied a bow.

The stamped, coloured and die cut daffodils were then attached to the card front.

I used the same greeting as I did in the previous card.

Just like the previous card, the butterfly image and In Colour Jewels were used.

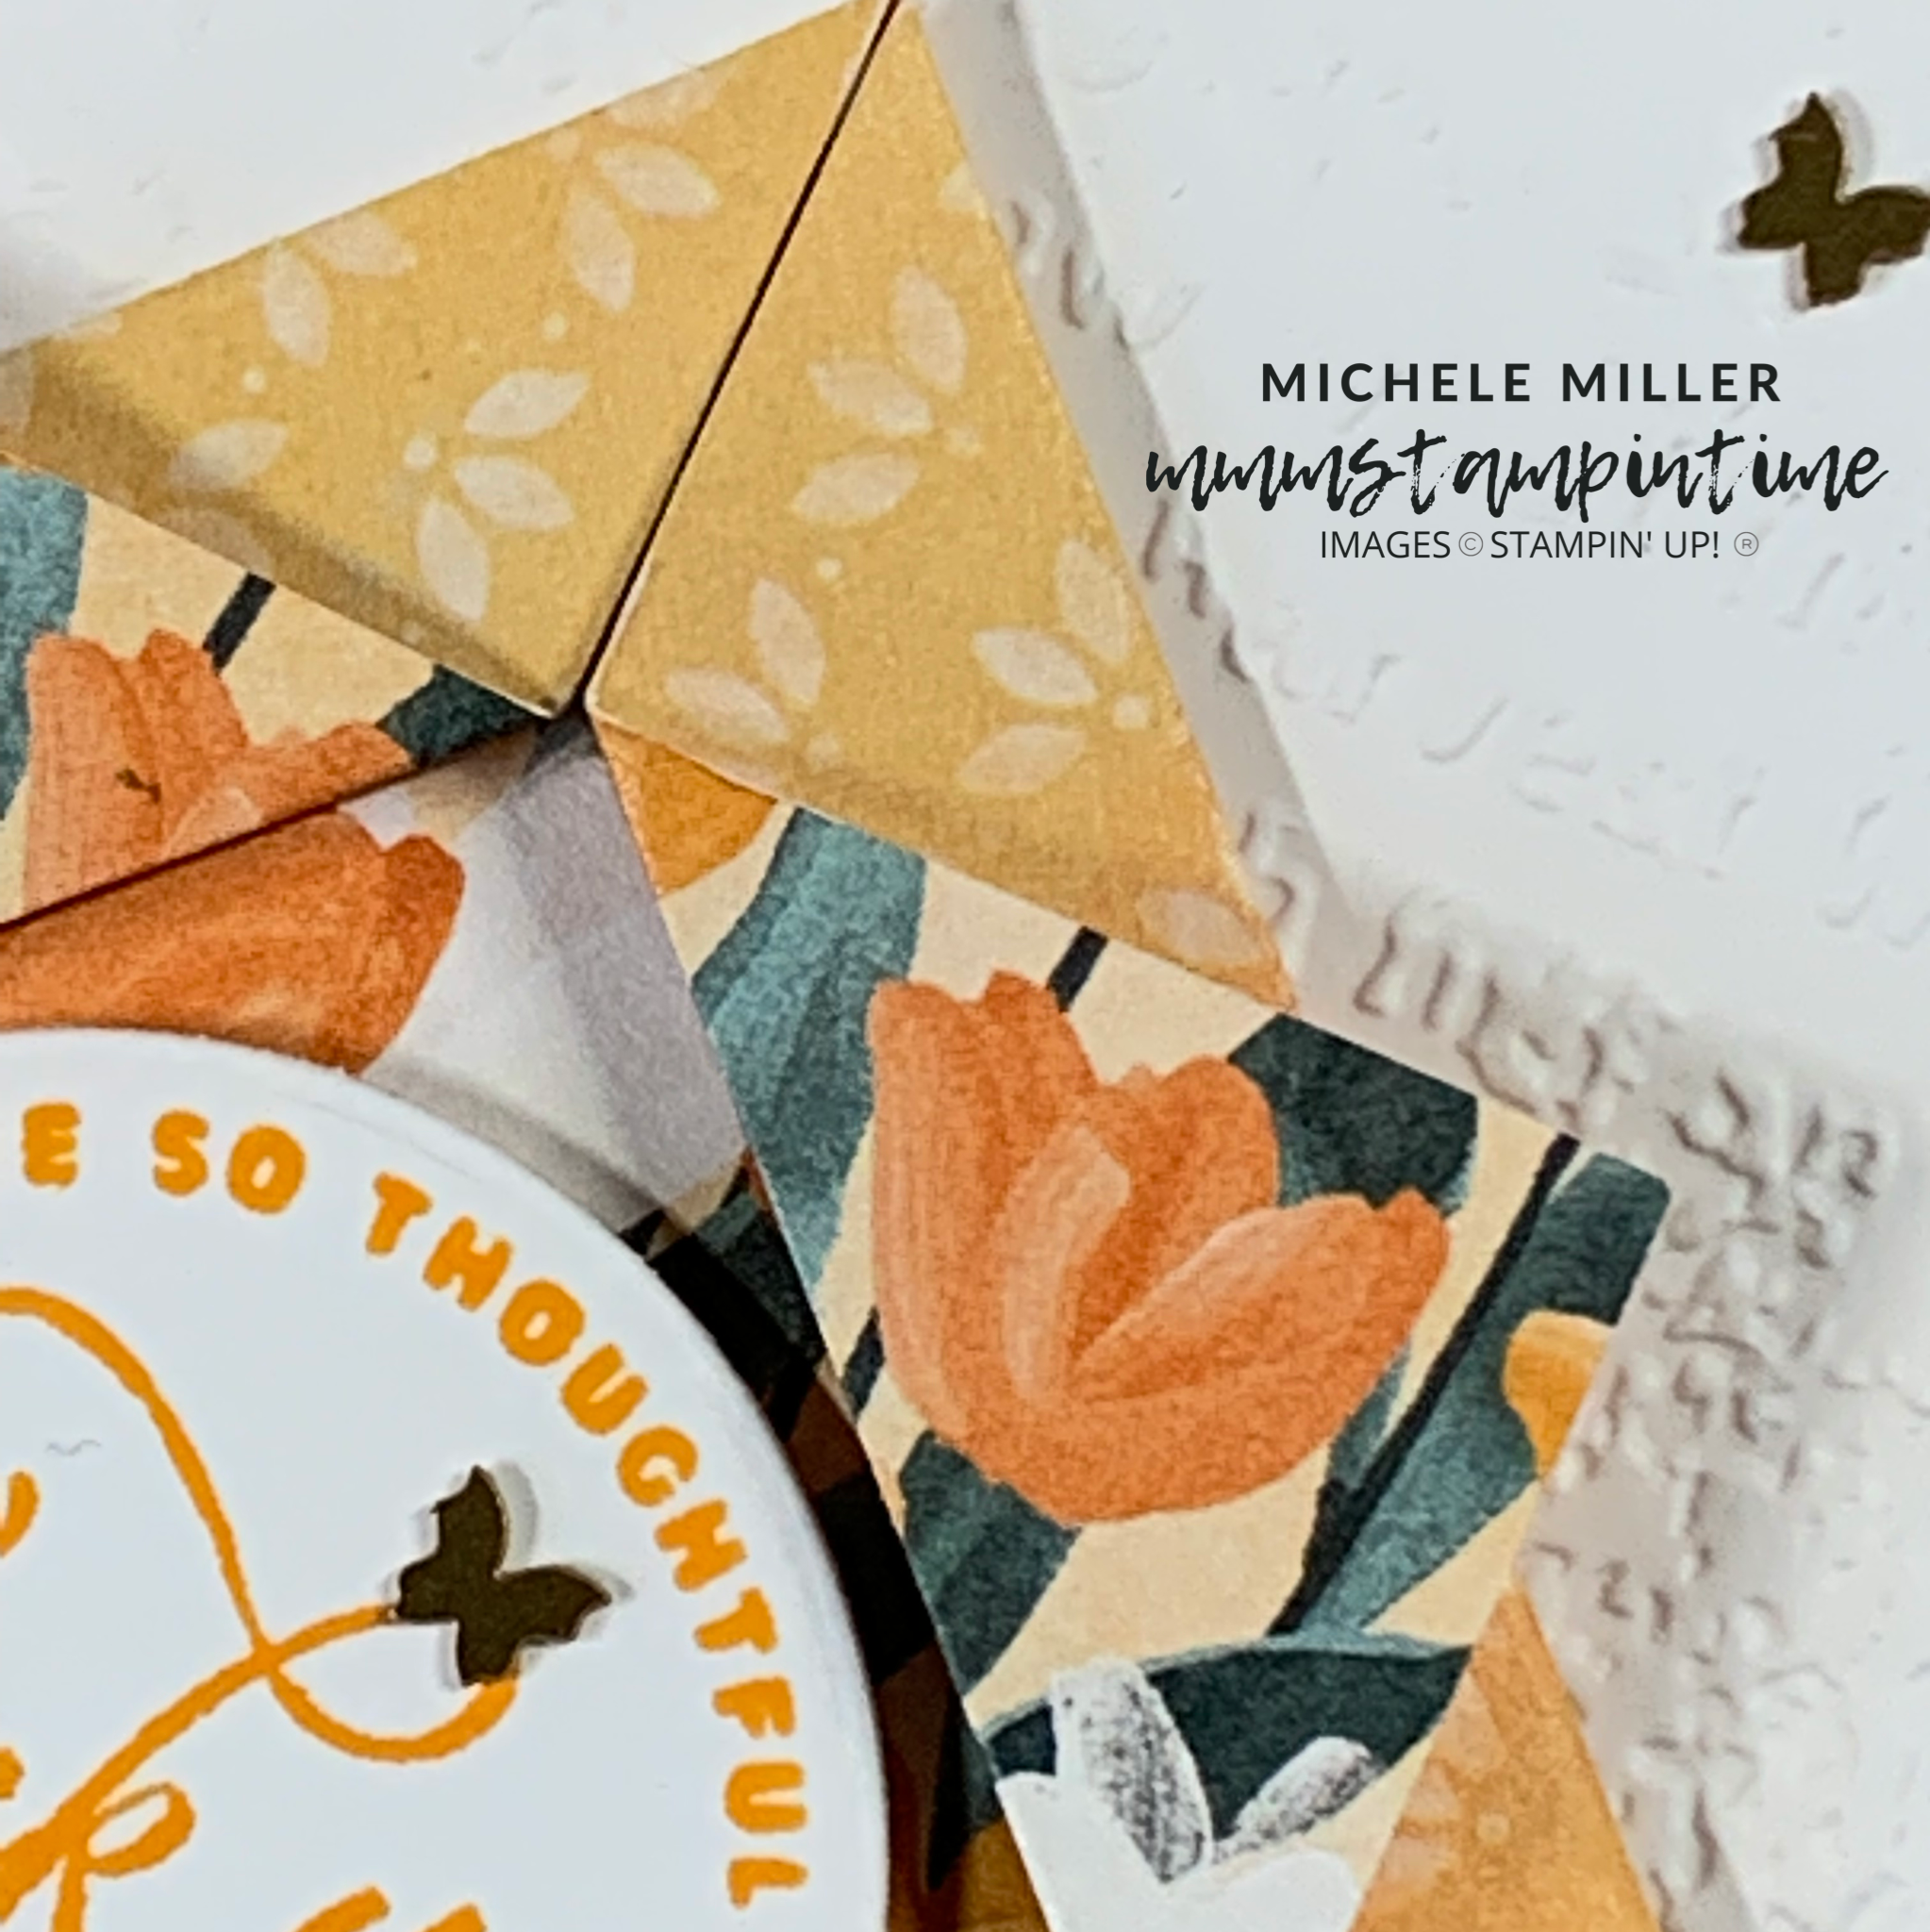
For the third card I stamped a mirror image of the single daffodil image. To do this, I placed my Silicon Craft Sheet onto my Stamparatus and the stamp onto the hinged platform. I inked the image and stamped it onto the silicon mat several times. Then I placed a piece of Very Vanilla cardstock carefully over the sheet and stamped the image again. Having the stamped image on the other side of the mirror image allowed me to die cut the image.

I used three strips of the DSP to the card front and attached the cut flowers using Stampin’ Dimensionals.

The same greeting was used and I die cut it the same way. I also stamped the splotches image on that piece. The Linen Thread was then used tie a triple bow.

Then I repeated the butterfly image and jewels steps.

Using the Daffodil Daydream Suite Collection this week is going to be so much fun.

Tomorrow is Memories on Monday and I have a great scrapbook page to share with you.

Until tomorrow, happy stamping.

If you live in Australia, you can order any of the products I used to make this card by going to my online store. Just click on any of the images below.

Product List
Stamparatus
[148187]
$85.00
Paper Snips
[103579]
$17.00
Posted on Leave a comment

IT’S TIME FOR SATURDAY’S #SIMPLESTAMPING PROJECT SHARE

My new paper crafting week begins each Saturday. I let you know which product suite I will feature each and every day.

To kick start the week, I begin with cards that suit beginners or crafters who want super quick and easy projects. These projects use a limited range of products.

This week is all about the Daffodil Dream Bundle –

DAFFODIL DAYDREAM BUNDLE

and, the FREE Daffodil Afternoon 12″x 12″ Designer Series Paper. You can select this free Sale-a-bration product with a qualifying order. Contact me for more details.

N.B. I have not used the DSP in today’s projects. You will need to look at tomorrow’s Step It Up Sunday post to see how I have used this amazing FREE DSP.

DAFFODIL AFTERNOON 12" X 12" (30.5 X 30.5 CM) DESIGNER SERIES PAPER

Today I have three #simplestamping cards to share with you.

The first is totally quick and easy!

I have used the Very Vanilla Notecards & Envelopes for today and tomorrow.

As you can see, I have only used one inkpad colour and two stamps. Very easy STAMPS, INK & PAPER project.

To step this #simplestamping card up ever so slightly, I stamped a second flower and used my Daffodil Delight Stampin’ Write Marker™ to colour the flowers. Each flower was also brushed with Clear Wink of Stella to add a little glimmer.

I used a length of Linen Thread to tie a double bow that was secured to the front of the card with a Mini Glue Dot.

All three cards have the butterfly image stamped inside and on the front of the envelope.

For this card, I used my Stamparatus to position the long scroll image and stamp it evenly at the top and bottom of the card front. Strips of Postit tape were used to mask the back of the card for this stamping. I also used the tape to mask the bottom scroll image when I stamped the daffodils.

This time I used my Daffodil Delight and Pear Pizzazz Stampin’ Write Markers™ to colour the daffodils.

The greeting was stamped onto a scrap of Very Vanilla cardstock and trimmed down. Then I placed Stampin’ Dimensionals behind it to pop it up on the card front.

Again, I used a length of Linen Thread to tie a double bow that was secured to the front of the card with a Mini Glue Dot.

Using the Notecards & Envelopes, as well as a few products, makes #simplestamping very straight forward. Using just a few products makes card making easy for beginners who may have only a limited crafting supply. It is also useful for experienced crafters who just want to use a few products to create cards very quickly and easily.

Tomorrow is Step It Up Sunday and I will share a few more cards that have been taken to a whole new level. I hope that you are looking forward to seeing what I have created.

Until the, happy stamping.

If you live in Australia, you can order any of the products I used to make this card by going to my online store. Just click on any of the images below.

Product List
Stamparatus
[148187]
$85.00
Posted on Leave a comment

FUN FOLD FRIDAY

The title says it all. Today is the day to share another FUN FOLD CARD with you.

Today, I have a card that was inspired by a Dawn Olchefski creation. I adapted her Origami Shadowbox Fold card to suit A4 measurements and the Flowering Fields Designer Series Paper I have chosen for this card. This is Dawn’s card.

And, here is my adaptation.

After selecting the DSP design, I prepared the Mango Melody card base.

The Basic White background layer was embossed using the Timeworn Type 3D Embossing Folder. Then I adhered a piece of the DSP and a strip of Evening Evergreen cardstock over the embossed white background.

The envelope and card insert both have 1/2″ strips of the Designer Series Paper added.

For the origami shadowbox fold, I cut a piece of the DSP to 6″x 6″. I marked the centre and then brought each of the four corners up to that point. A bone folder was used to crisply burnish the folded edges. To finish the fold, the corners were then turned back until they were 1/4″ past the first burnished edge. These folds were also burnished.

Stampin’ Dimensionals were used to pop up the origami fold up on the card front.

The ‘thank you’ greeting was stamped in Mango Melody and cut using one of the Layering Circles Dies. THis piece also had dimensionals attached so that it would sit up in the centre space of the origami fold.

To finish the card I added a bow tied from the Evening Evergreen Windowpane Check Ribbon and some Brushed Brass Butterflies.

This was a fun card to make and the last project featuring the Flowering Fields Collection for this week’s schedule.

Tomorrow I will introdcue the new weekly focus suite with my Simple Stamping Saturday projects.

Until then, happy stamping.

If you live in Australia, you can order any of the products I used to make this card by going to my online store. Just click on any of the images below.

Product List
Paper Snips
[103579]
$17.00