Posted on Leave a comment

TIME TO SHARE SOMETHING THIS SATURDAY

Today I want to share another project that I made this week.

It is a gift box that uses the Book Treat Boxes as a base.

Each pack contains 10 stampable boxes.
When folded each box measures 3″ x 4″ x 1″ (7.6 x 10.2 x 2.5 cm) and is food safe.

For the top of the box, I used several die cut elements, from the Frames & Flowers Specialty Designer Series Paper pack, to add layers of decoration.

The first element was one of the floral/leaf wreaths that had a greeting stamped inside the inner circle. The greeting was from tbe Unbounded Beauty Stamp Set and was stamped in Pretty Peacock.

I added small magnets to the tab and inside the box lid to help create a secure ‘lock’.

The tab was decorated with several layered elements.

I added some of the DSP and Petal Pink card to the sides of the inner box section.

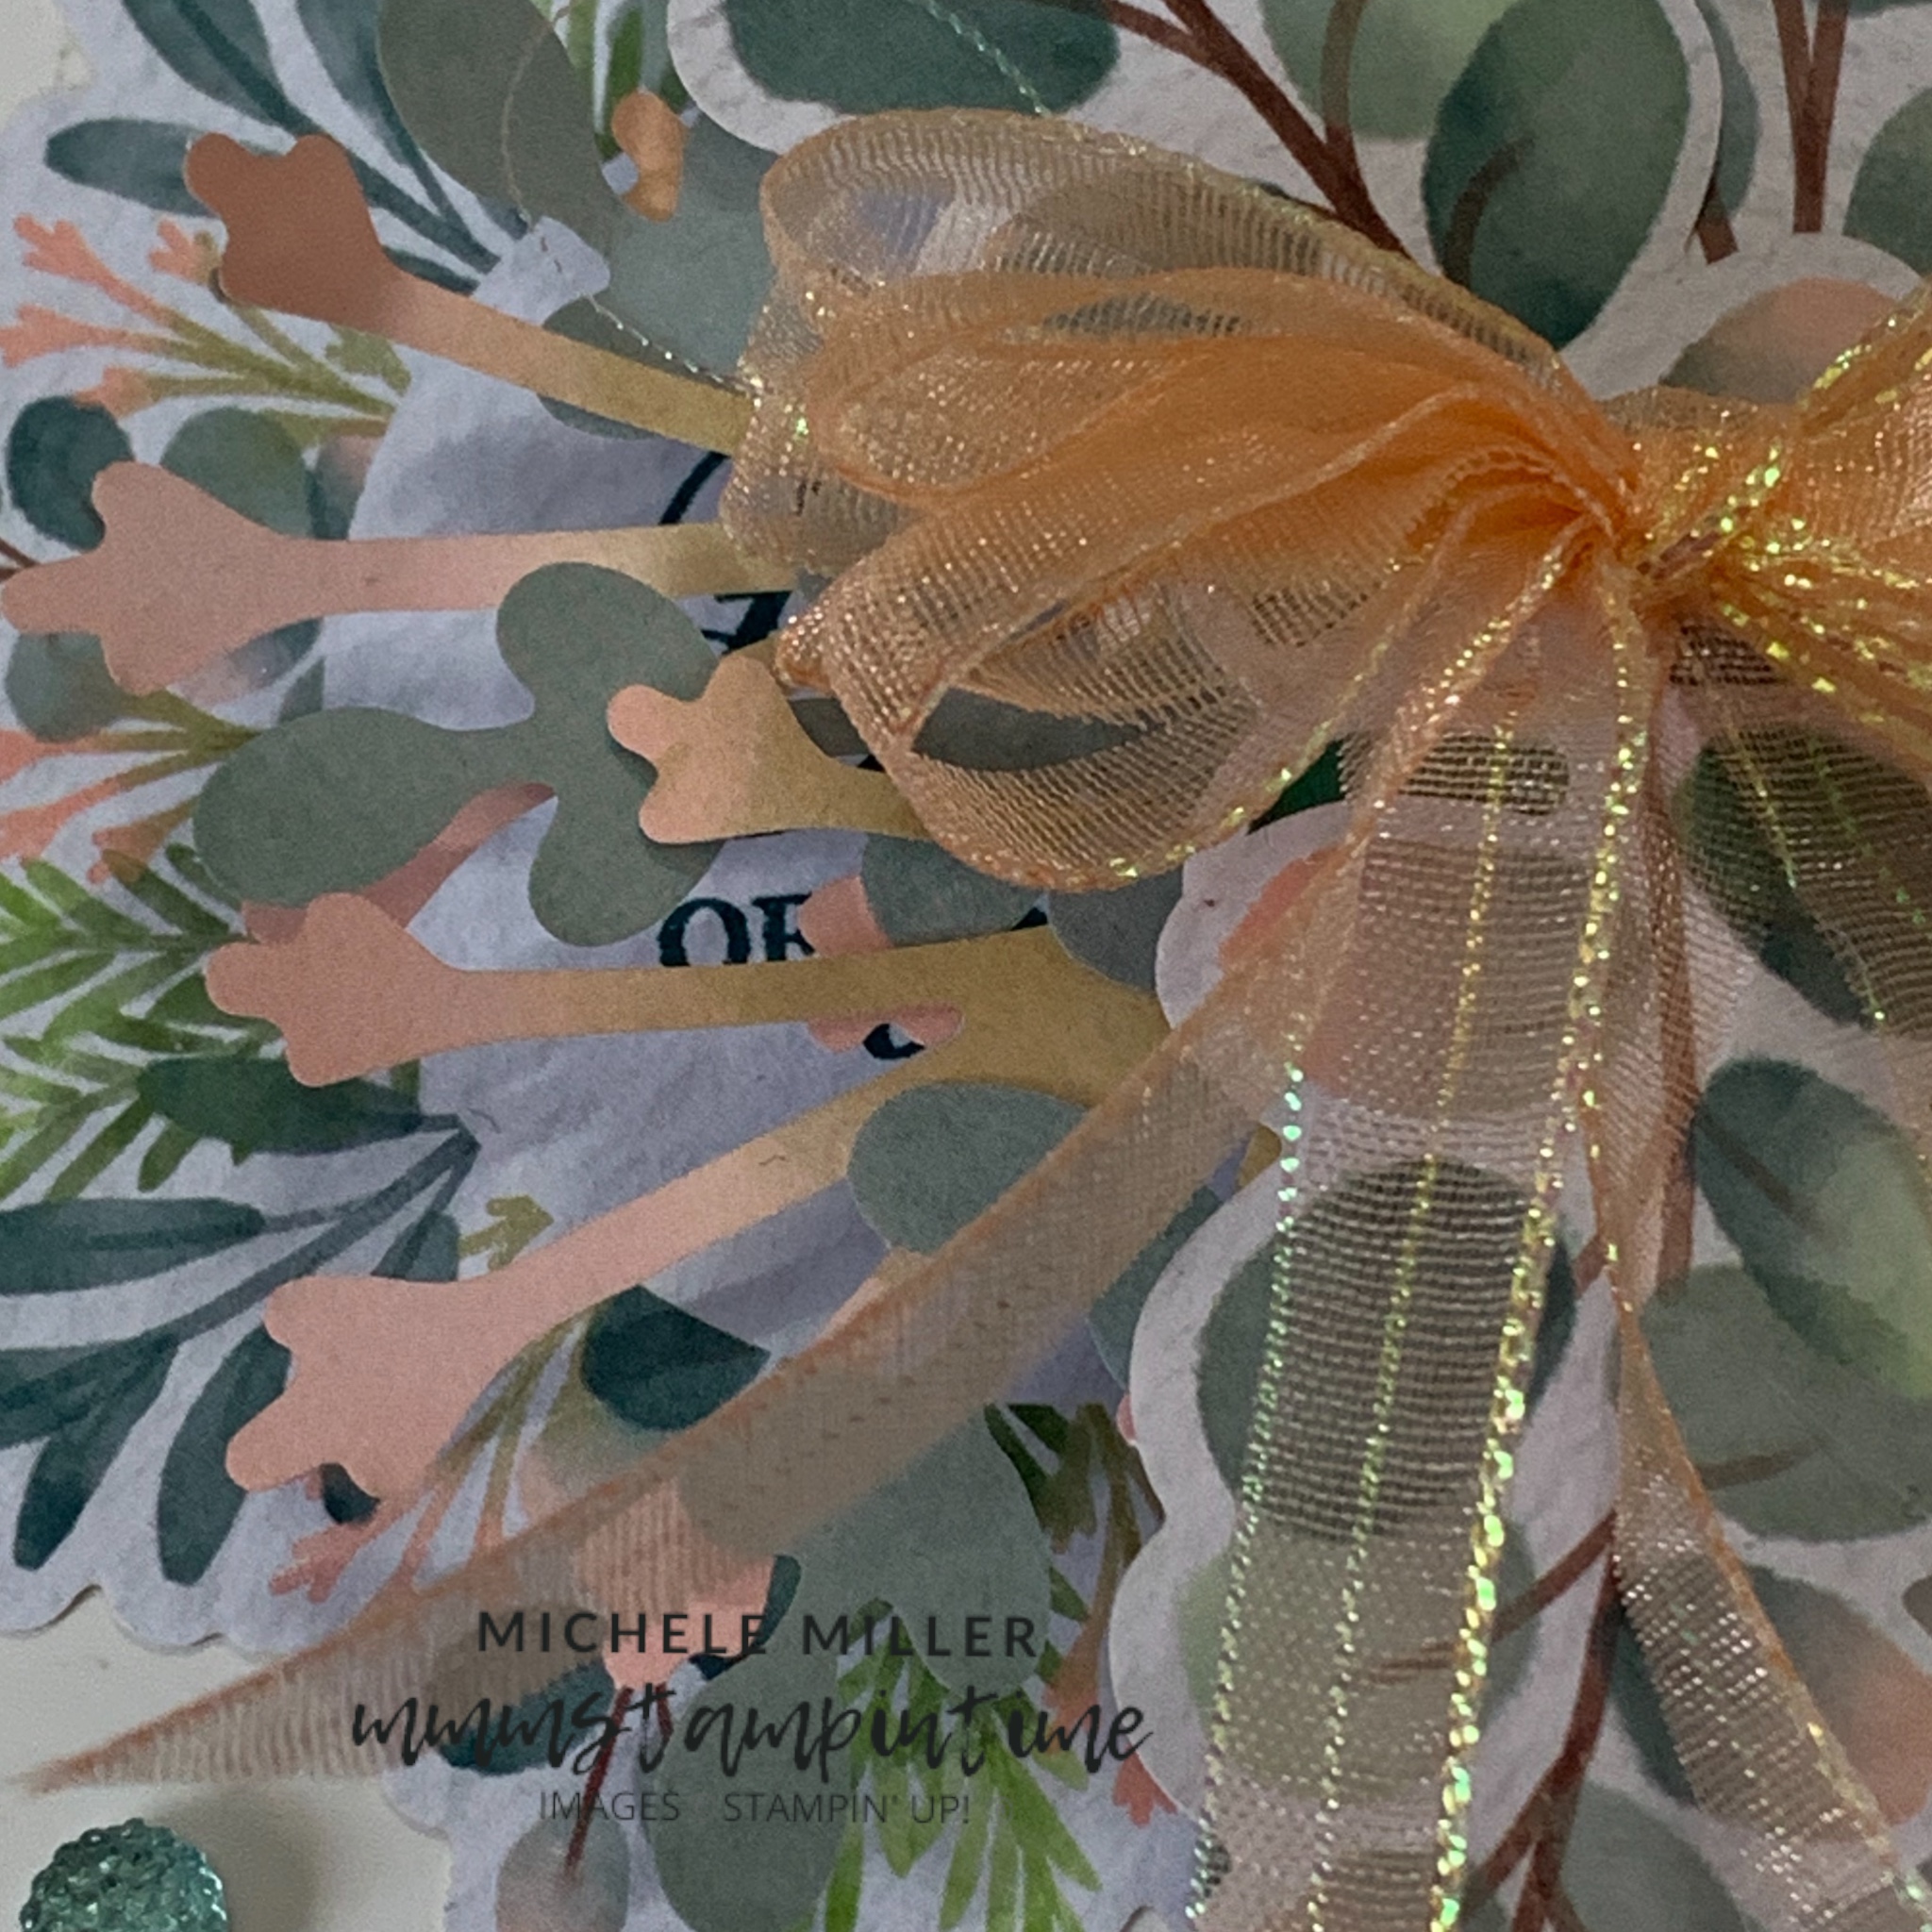
To finish the gift box I created a “Tammy bow” – I coloured a very, long length of Iridescent Striped Trim with the Dark Petal Pink Blends pen and cut it in half lengthwise.

Once the bow was folded and tied off, I secured it using a Mini Glue Dot.

Finally, I added some of the Lost Lagoon gems from the Facted Gems Trio Pack. These added that little bit of bling needed to complete this project.

Monday will bring a new collection of products to share with you.

Until then, happy stamping.

If you live in Australia, you can order any of the products I used to make this card by going to my online store. Just click on any of the images below.

Product List
Paper Snips
[103579]
$21.00
Posted on Leave a comment

THURSDAY MEANS THAT IT IS TIME FOR A 3D PROJECT

Today’s 3D project was inspired by one of the die-cut frames that I found in the Frames & Flowers Specialty Designer Series Paper pack.

The box measures 5 3/8″ (L) x 4 1/8″ (W) x 2″ (D).

The box has a Lost Lagoon base and a Petal Pink lid.

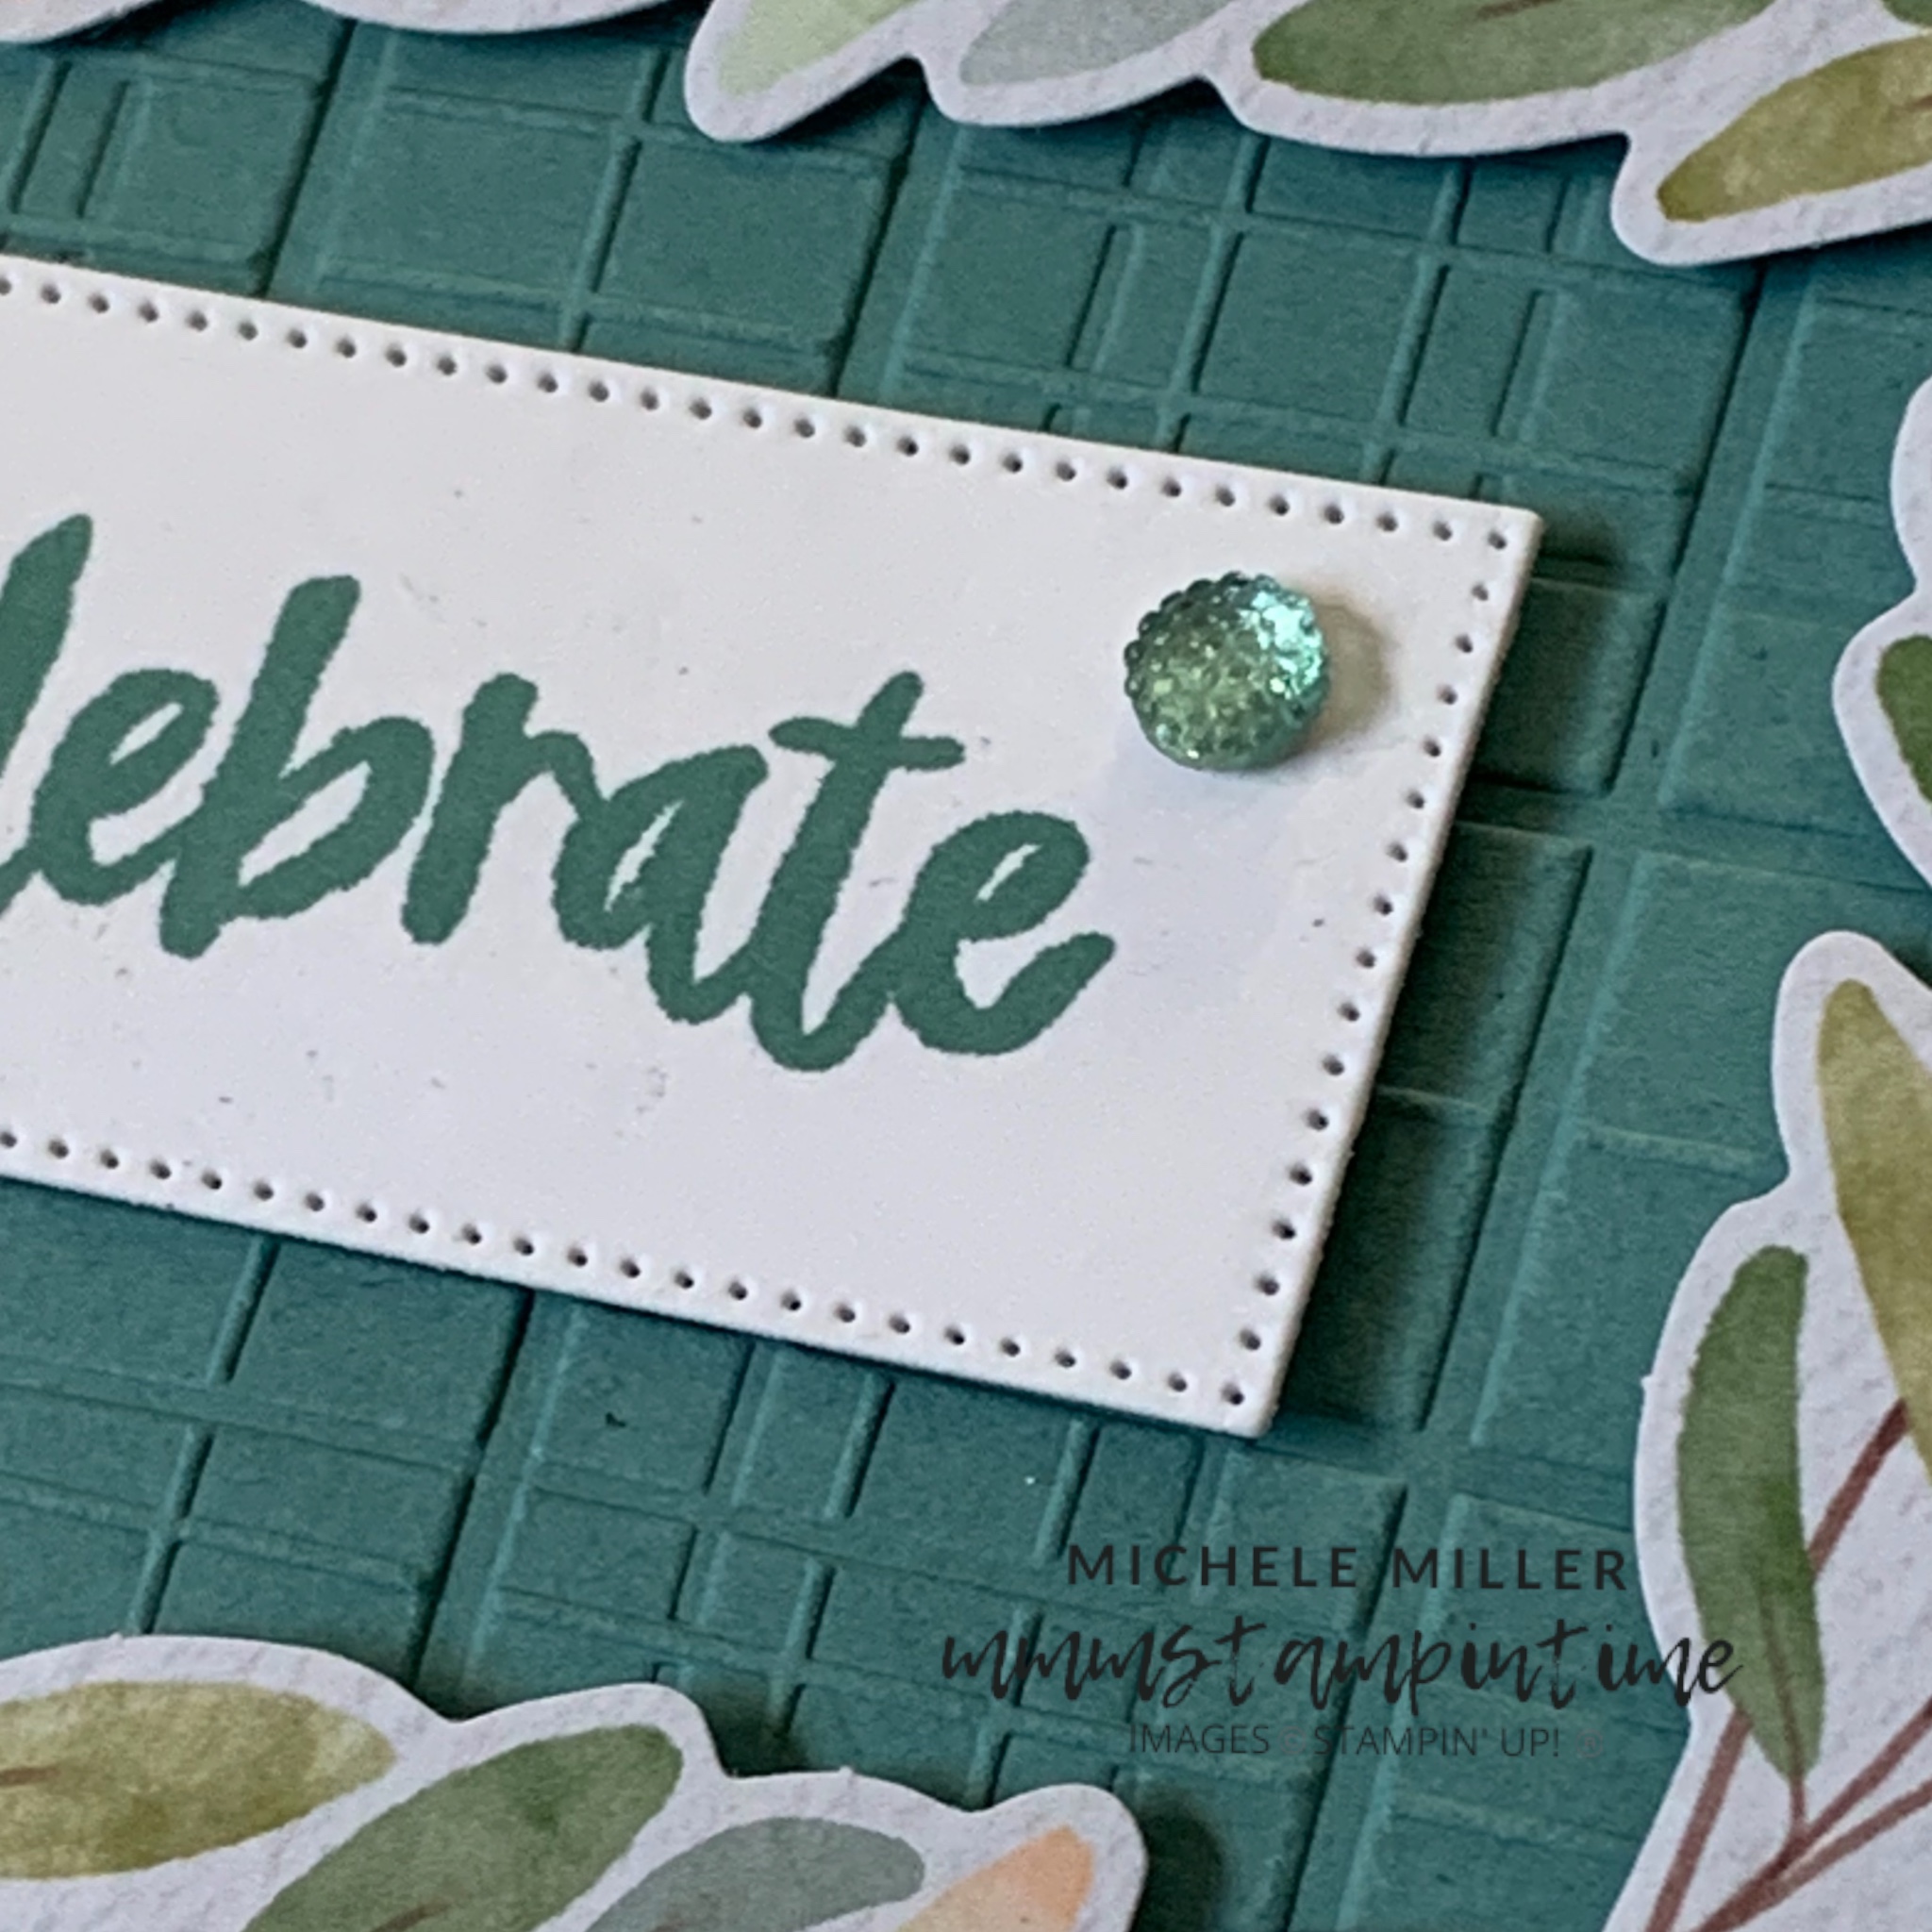
I took a panel of Lost Lagoon card and embossed it with the Forever Plaid 3D Embossing Folder.

A 24″ length of Petal Pink ribbon, from the Diagonal Trim Combo Pack, was secured to the base of the box and then tied in a bow at the upper, right-hand side of the box.

The embossed panel was then adhered to the box lid with Multipurpose Glue.

The frame had Stampin’ Dimensionals added so that it could sit up above the embossed panel.

the greeting, from the Softly Said Stamp Set, was stamped in Lost Lagoon and cut using the largest square, from the Stylish Shapes Dies set. After cutting the square the die was repositioned to cut the square down to a rectangle.

The final touch was to add some of the Lost Lagoon gems, from the Faceted Gems Trio Pack, to add a little bling.

tomorrow I have a new fun fold card to share with you.

Until then, happy stamping.

If you live in Australia, you can order any of the products I used to make this card by going to my online store. Just click on any of the images below.

Product List
Paper Snips
[103579]
$21.00
Posted on Leave a comment

THURSDAY MEANS THAT IT IS TIME FOR A 3D PROJECT

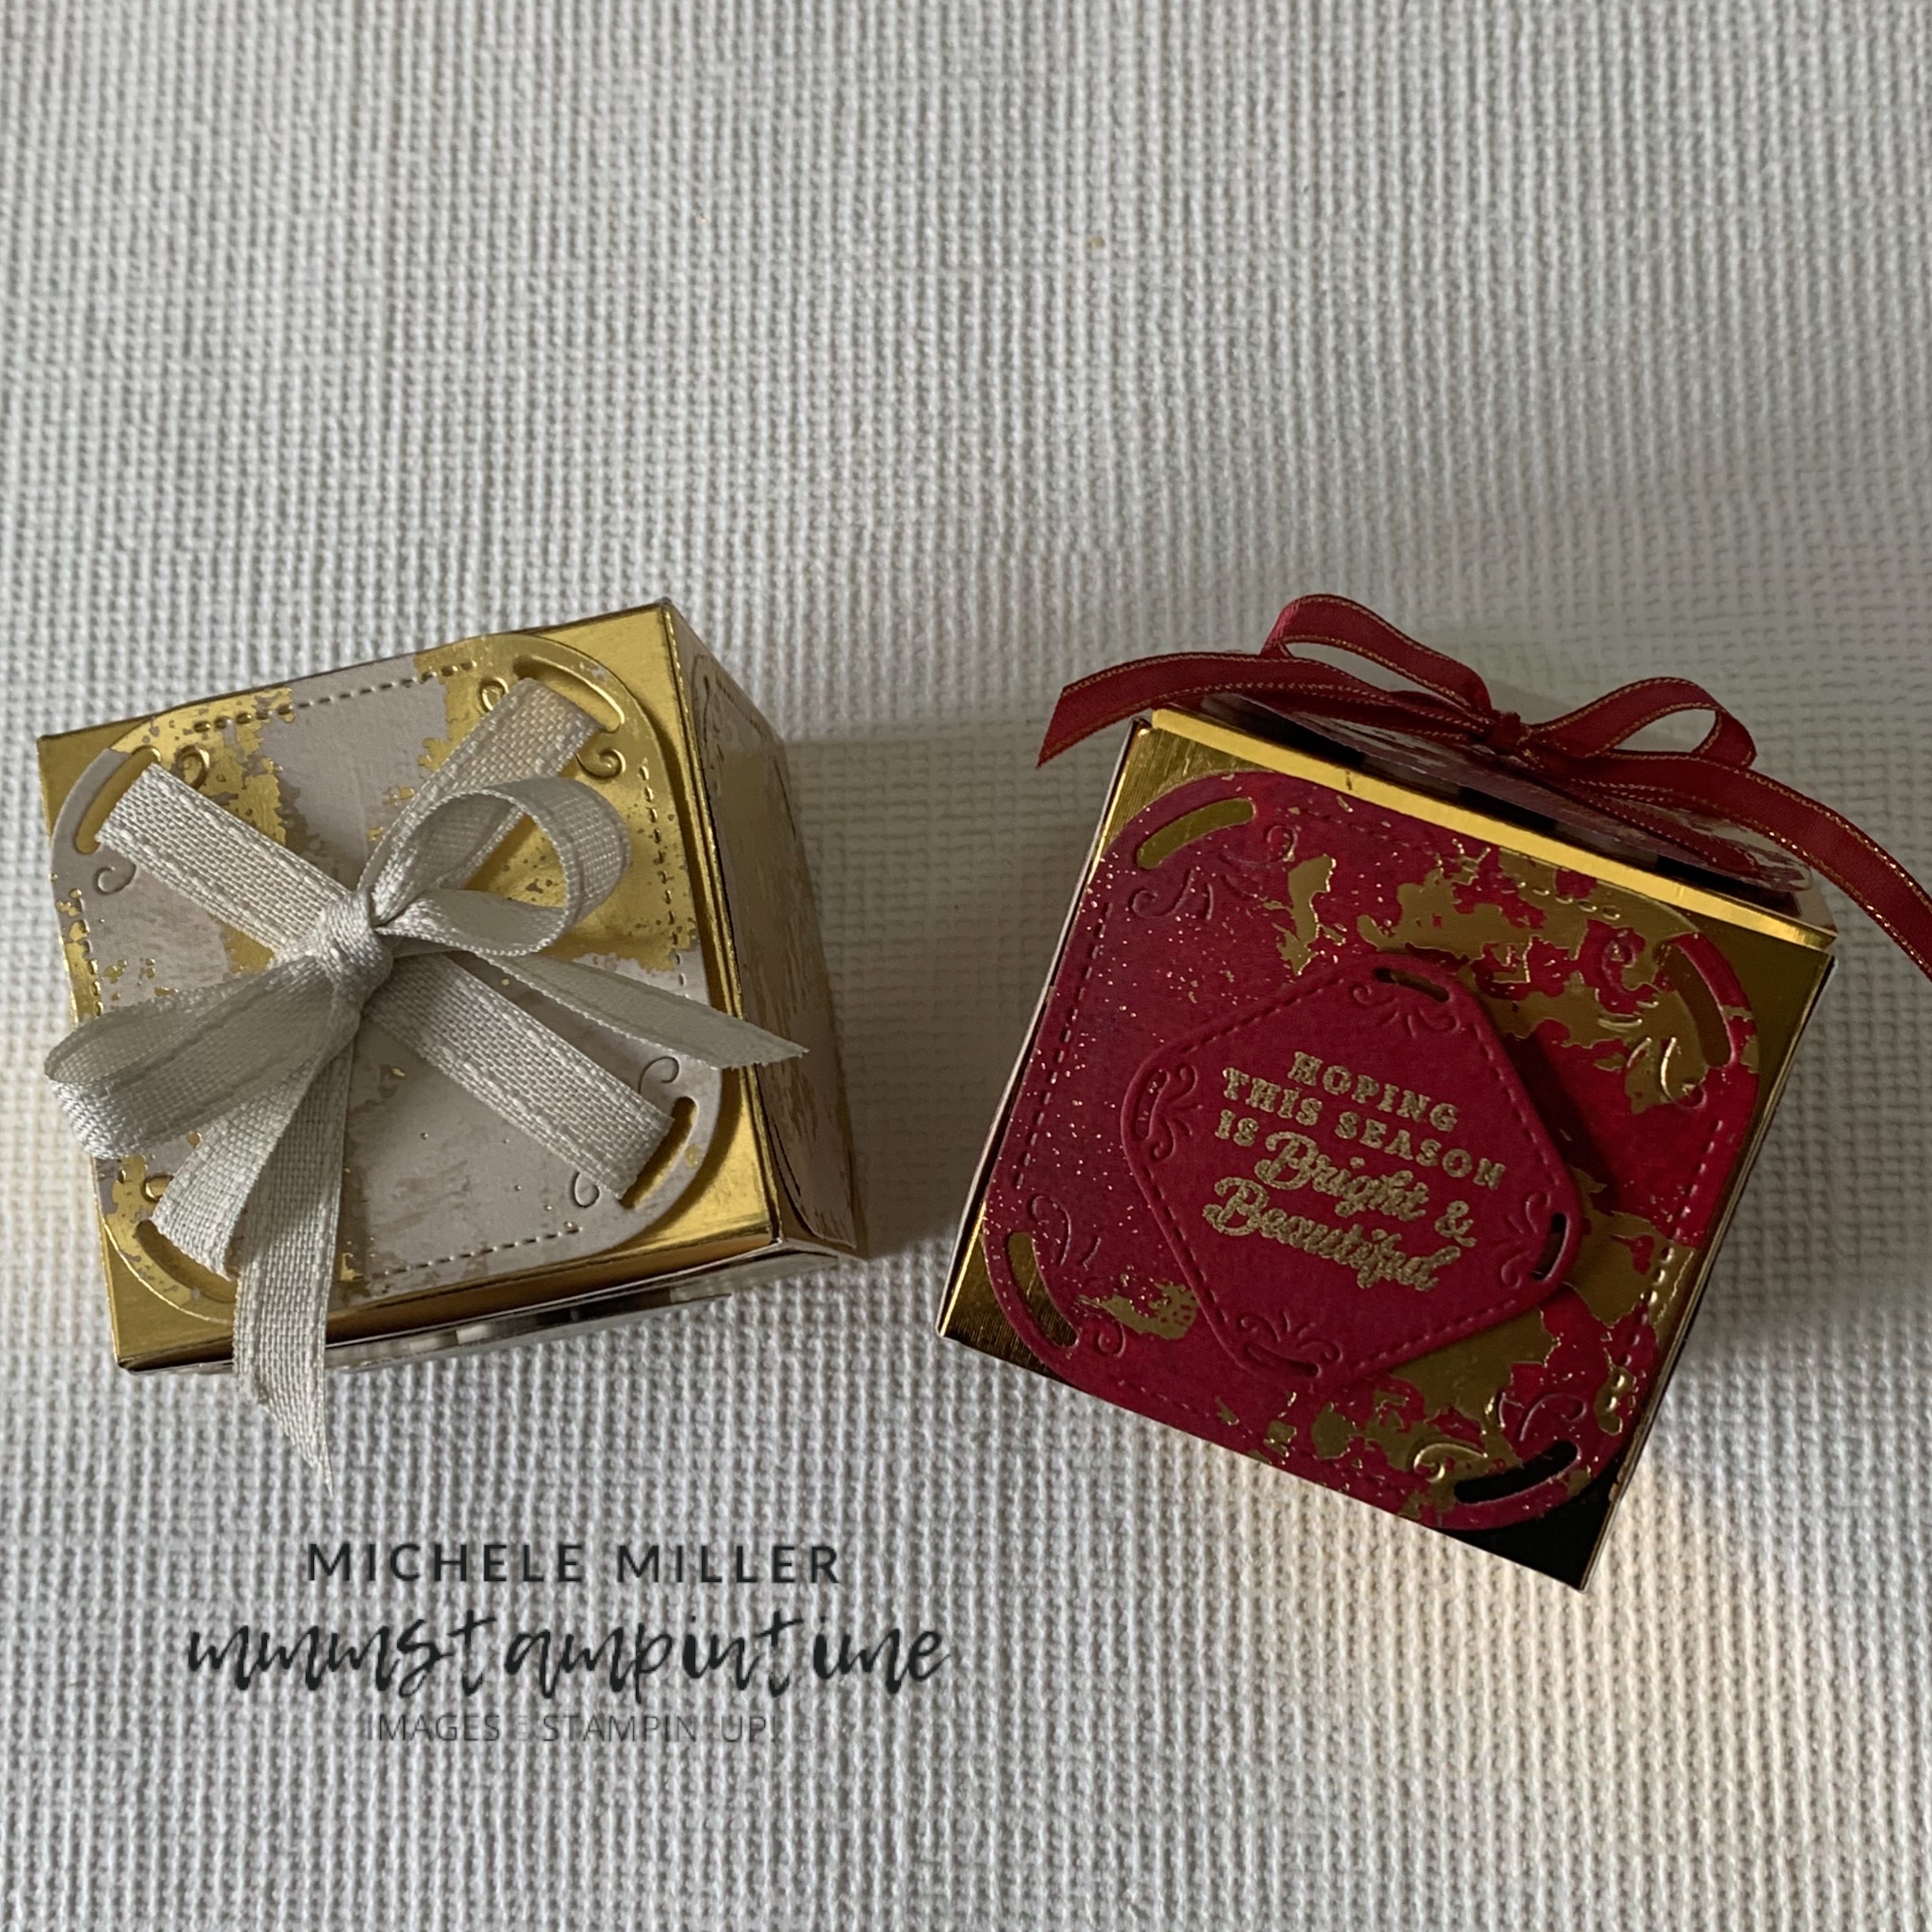
Today I have two cute 2 1/2″ x 2 1/2″ x 2 1/2″ gift boxes to share with you.

After seeing the larger of the rounded square dies, when I first explored the Peaceful Season Dies, I knew that I wanted to use it to create a 3D project.

The Season of Elegance 12″ x 12″ Designer Series Paper matches the Gold Foil and gold Textured Metallic Specialty Paper perfectly.

The first box uses the Gold Foil Specialty Paper and the Cherry Cobbler/Gold paper from the DSP.

I cut 5 of the large rounded squares and adhered four of them to the sides of the gift box.

For the lid, I threaded a length of the Cherry Cobbler/Gold Satin Ribbon through the fifth rounded square and tied a bow. This was then attached to the lid with Stampin’ Dimensionals.

The smaller, rounded square was stamped with the seasonal greeting and heat embossed in gold.

The second box uses the gold Textured Metallic Specialty Paper and the Basic Beige/Gold paper from the DSP.

I cut 5 of the large rounded squares and adhered four of them to the sides of the gift box.

For the lid, I threaded a length of the Basic Beige Bordered Ribbon through the fifth rounded square and tied a bow. This was then attached to the lid with Stampin’ Dimensionals.

The smaller, rounded square was stamped with the seasonal greeting and heat embossed in gold.

The new WOW Embossing Powder is amazing!

I was so pleased with the way the ribbon was easily threaded through the die cut rounded squares.

These gift boxes are great for storing Lindt chocolates!

I have another Christmas card to share with you tomorrow.

Until then, happy stamping.

If you live in Australia, you can order any of the products I used to make this card by going to my online store. Just click on any of the images below.

Product List
Heat Tool
[129056]
$56.00
Paper Snips
[103579]
$21.00