Today I want to share a custom 6″x 6″ birthday card and envelope.
It is made up of a number of layers, each featuring a different technique.
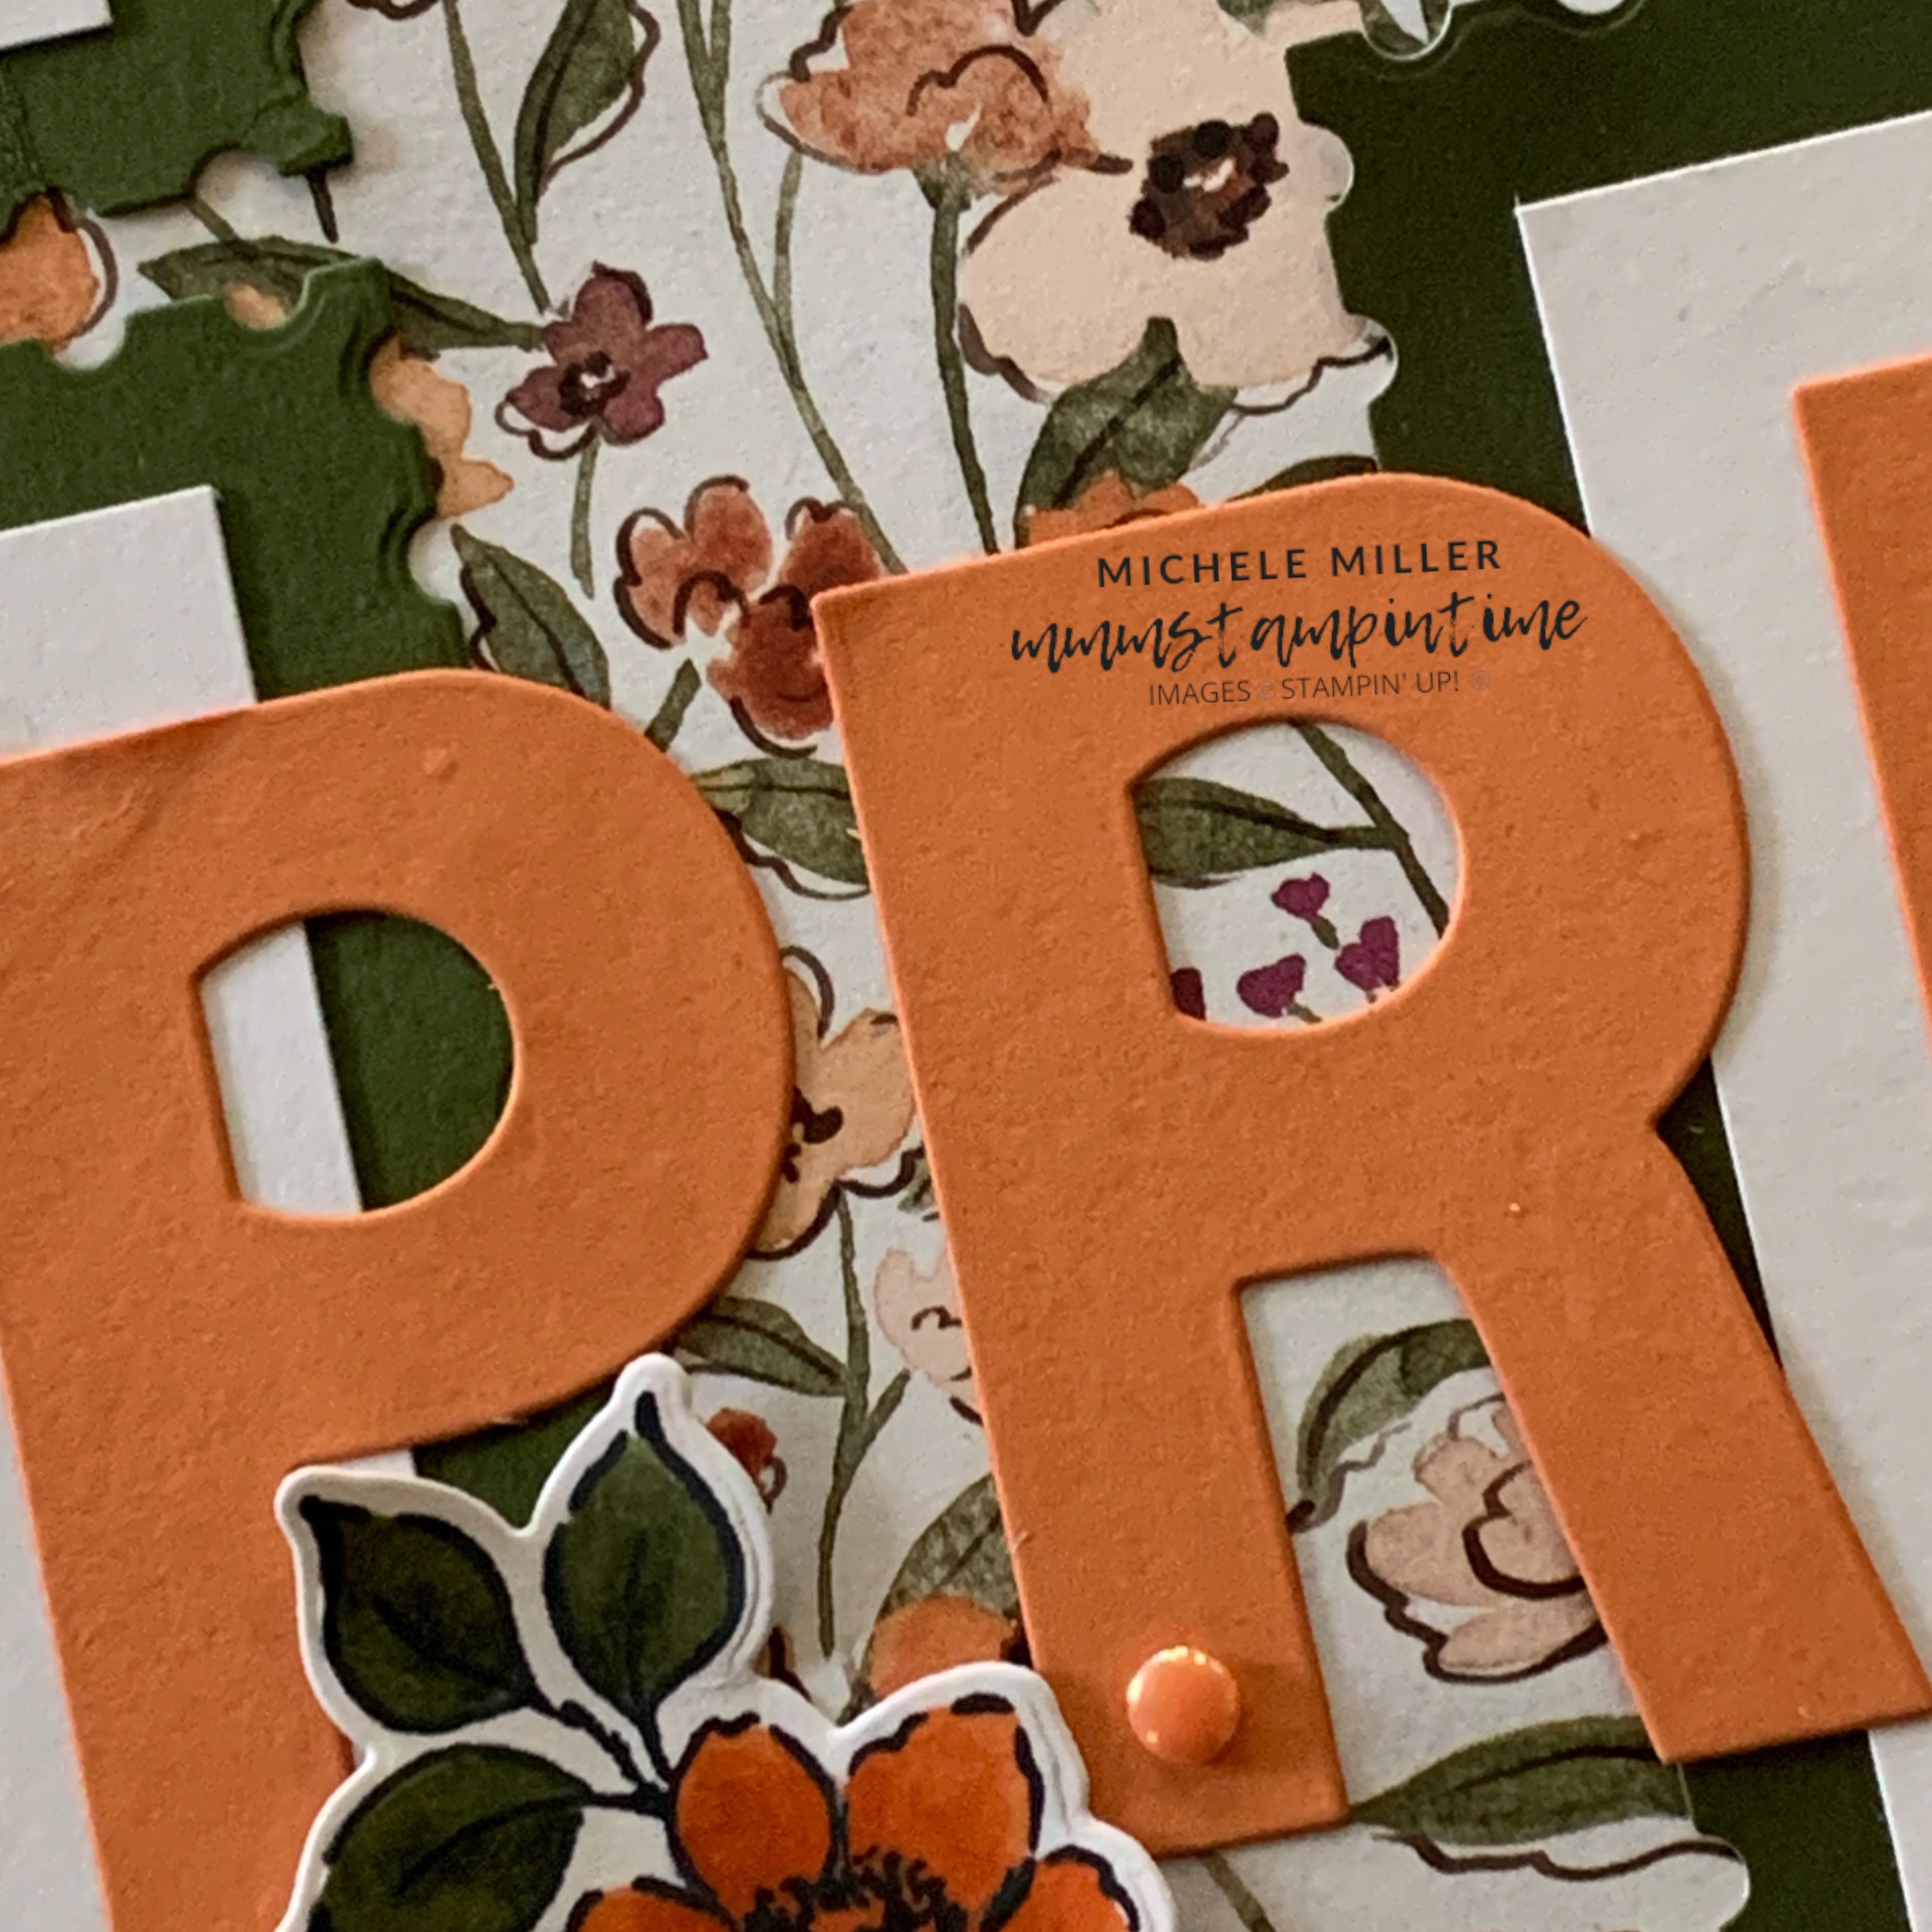
The Old Olive card base had a Floral Charm DSP panel adhered to it.
The next three layers have been die cut, dry embossed and Blends coloured embellishments.

The Basic White panel was die cut, using one of the Beautiful Motif Dies, in opposite corners to create a ‘holder’ for the dry embossed panel.
TIP: Take your time to position the dies so that you can achieve even outer borders.
TIP: When adhering the white panel to the card base pop a Mini Stampin’ Dimensional under the cut area to help lift it up.
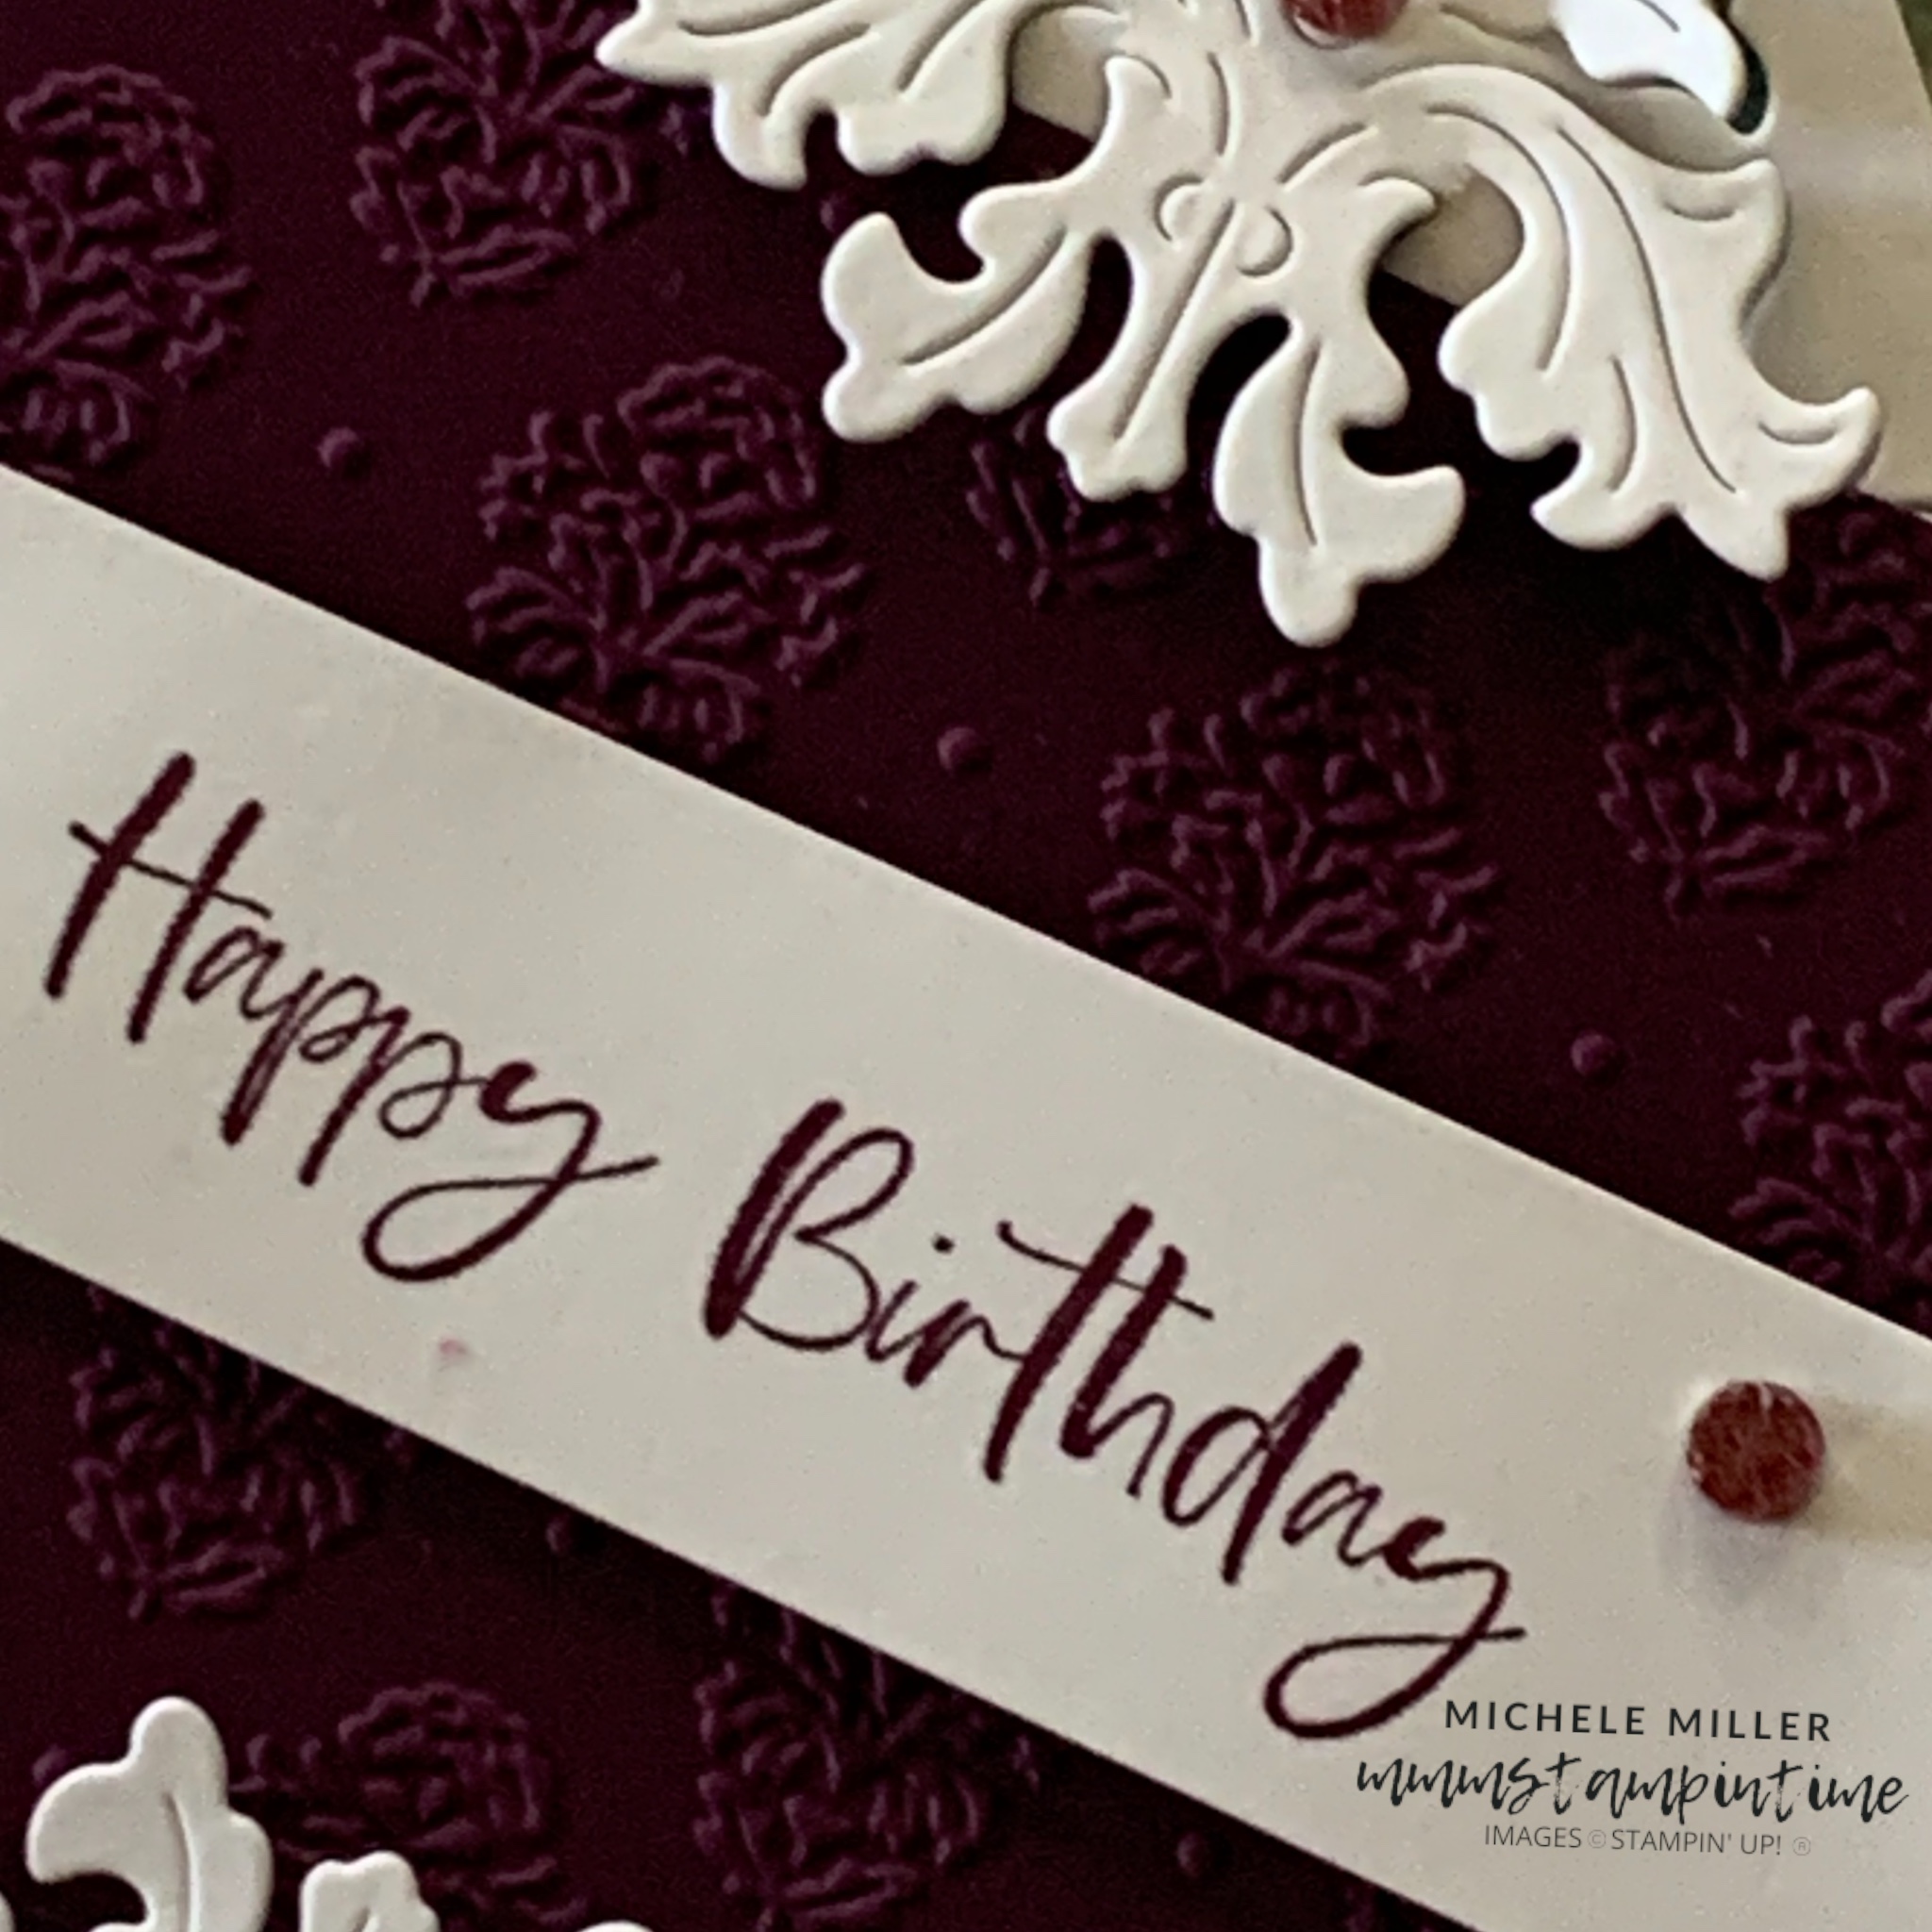
Then I took a panel of Rich Razzleberry card and embossed it with the Damask Designs Emobossing Folder.
TIP: You can give the card a light water spritz to help enhance the embossed texture.
After adding some Stampin’ Dimensionals behind the emvossed card, I positioned the panel on the card front ensuring it was ‘held’ in place with the die cut holders.

For the final layer, I took a panel of Basic White card and stamped the greeting.
TIP: If you don’t have the embellishments in the colour you want, you can use a Stampin’ Blends pen. The Blends pens are alcohol base and are perfect to customise embellishments to coordinate with your project.
TIP: As I have shared before, applying the ‘rule of 3’ is a great guide for aesthetically pleasing design.
Then I needed to create a custom envelope for the card.
I used the same DSP to finish the card insert and envelope.

Tomorrow I have another card to share with you.
Until then, happy stamping and scrapbooking.

If you live in Australia, you can order any of the products I used to make this card by going to my online store. Just click on any of the images below.

![Beautiful Motifs Dies [ 165205 ]](https://i0.wp.com/assets1.tamsnetwork.com/images/EC042017NF/165205s.jpg?w=140&ssl=1 "Beautiful Motifs Dies [ 165205 ]") | ![Damask Designs Embossing Folder [ 165214 ]](https://i0.wp.com/assets1.tamsnetwork.com/images/EC042017NF/165214s.jpg?w=140&ssl=1 "Damask Designs Embossing Folder [ 165214 ]") | ![Basic White A4 Cardstock [ 166781 ]](https://i0.wp.com/assets1.tamsnetwork.com/images/EC042017NF/166781s.jpg?w=140&ssl=1 "Basic White A4 Cardstock [ 166781 ]") | ![Blackberry Bliss A4 Cardstock [ 133682 ]](https://i0.wp.com/assets1.tamsnetwork.com/images/EC042017NF/133682s.jpg?w=140&ssl=1 "Blackberry Bliss A4 Cardstock [ 133682 ]") | |
![Multipurpose Liquid Glue [ 110755 ]](https://i0.wp.com/assets1.tamsnetwork.com/images/EC042017NF/110755s.jpg?w=140&ssl=1 "Multipurpose Liquid Glue [ 110755 ]") | ![Mini Stampin' Dimensionals [ 144108 ]](https://i0.wp.com/assets1.tamsnetwork.com/images/EC042017NF/144108s.jpg?w=140&ssl=1 "Mini Stampin' Dimensionals [ 144108 ]") | |||
![Stampin' Dimensionals [ 104430 ]](https://i0.wp.com/assets1.tamsnetwork.com/images/EC042017NF/104430s.jpg?w=140&ssl=1 "Stampin' Dimensionals [ 104430 ]") | ![Paper Trimmer [ 152392 ]](https://i0.wp.com/assets1.tamsnetwork.com/images/EC042017NF/152392s.jpg?w=140&ssl=1 "Paper Trimmer [ 152392 ]") | ![Stampin' Cut & Emboss Machine [ 149653 ]](https://i0.wp.com/assets1.tamsnetwork.com/images/EC042017NF/149653s.jpg?w=140&ssl=1 "Stampin' Cut & Emboss Machine [ 149653 ]") |
![Drusy Adhesive Backed Embellishments [ 164223 ]](https://i0.wp.com/assets1.tamsnetwork.com/images/EC042017NF/164223s.jpg?w=140&ssl=1 "Drusy Adhesive Backed Embellishments [ 164223 ]")
![Old Olive 12" X 12" (30.5 X 30.5 Cm) Two Tone Cardstock [ 166683 ]](https://i0.wp.com/assets1.tamsnetwork.com/images/EC042017NF/166683s.jpg?w=140&ssl=1 "Old Olive 12\" X 12\" (30.5 X 30.5 Cm) Two Tone Cardstock [ 166683 ]")
![Blackberry Bliss Classic Stampin' Pad [ 147092 ]](https://i0.wp.com/assets1.tamsnetwork.com/images/EC042017NF/147092s.jpg?w=140&ssl=1 "Blackberry Bliss Classic Stampin' Pad [ 147092 ]")
![Blackberry Bliss Stampin' Blends Combo Pack [ 154877 ]](https://i0.wp.com/assets1.tamsnetwork.com/images/EC042017NF/154877s.jpg?w=140&ssl=1 "Blackberry Bliss Stampin' Blends Combo Pack [ 154877 ]")


![Perennial Postage Dies [ 162607 ]](https://i0.wp.com/assets1.tamsnetwork.com/images/EC042017NF/162607s.jpg?w=140&ssl=1 "Perennial Postage Dies [ 162607 ]")
![Playful Alphabet Dies [ 152706 ]](https://i0.wp.com/assets1.tamsnetwork.com/images/EC042017NF/152706s.jpg?w=140&ssl=1 "Playful Alphabet Dies [ 152706 ]")
![2025–2027 In Color™ Flat Pearls [ 165192 ]](https://i0.wp.com/assets1.tamsnetwork.com/images/EC042017NF/165192s.jpg?w=140&ssl=1 "2025–2027 In Color™ Flat Pearls [ 165192 ]")
![Timid Tiger A4 Cardstock [ 165298 ]](https://i0.wp.com/assets1.tamsnetwork.com/images/EC042017NF/165298s.jpg?w=140&ssl=1 "Timid Tiger A4 Cardstock [ 165298 ]")
![Old Olive Stampin' Blends Combo Pack [ 154892 ]](https://i0.wp.com/assets1.tamsnetwork.com/images/EC042017NF/154892s.jpg?w=140&ssl=1 "Old Olive Stampin' Blends Combo Pack [ 154892 ]")
![Timid Tiger Stampin’ Blends Combo Pack [ 165291 ]](https://i0.wp.com/assets1.tamsnetwork.com/images/EC042017NF/165291s.jpg?w=140&ssl=1 "Timid Tiger Stampin’ Blends Combo Pack [ 165291 ]")
![Adhesive Sheets [ 152334 ]](https://i0.wp.com/assets1.tamsnetwork.com/images/EC042017NF/152334s.jpg?w=140&ssl=1 "Adhesive Sheets [ 152334 ]")


