
SAVE THE DATES – 17–19 July 2025, from 6:00 a.m.–2:30 p.m. (AEST)

Introducing the Virtual Album Retreat, a brand-new event that’s unlike anything Stampin’ Up! has ever done before!
During this three-day, virtual event, you’ll create 12 scrapbook spreads using the Month by Month Album Retreat 2025 kit, craft with customers and fellow demonstrators who love scrapbooking, learn new techniques, and connect on a personal level with fellow crafters and Stampin’ Up! staff. There will even be some fun giveaways!
To make the 12-spread album, you’ll want to purchase the Month by Month Album Retreat 2025 kit.
Everyone who purchases a kit will receive an email in early July with a link to the exclusive Facebook page where the live event will stream.
There are only have a limited number of kits, so make sure to order yours ASAP when the ordering period begins on 28 May!
Who: Crafters who love to scrapbook!
- We encourage you to invite customers and friends who love to scrapbook to join this unique event.
When: 17–19 July 2025, from 6:00 a.m.–2:30 p.m. (AEST)
Where: Private Facebook Group
Registration: There is no registration for this event! By purchasing the Month by Month Album Retreat 2025 kit, you’ll get access to an exclusive Facebook group where the live event will stream.
Price of Month by Month Album Retreat 2025 kit: $435 AUD | $525 NZD
Language of Event: This event will be presented in English only.
After the Event: You can access the recorded event videos on the Virtual Album Retreat Facebook group page.
Exclusive After the Event Get Together: For those crafters living in Australia, and ordering their Retreat Kit through me, and can be in Brisbane in the week following the Retreat Event will be invited to guests at my exclusive day long get together to finish your layouts, meet other crafters and have a creative time amongst like-minded people. (Date, time and venue to be advised).

The card I created for today used the die cut letters that were left after I made my scrapbooking layout.
I started with a landscape tentfold card using Misty Moonlight card.
A panel of the Designer Series Paper was added to the card front.
Then I attached Stampin’ Dimensionals to the back of the three Party Alphabet die cuts. Then they were added to the front of the card.

I used the hearts die, from the Fancy Borders Dies, to create a Night of Navy strip of hearts that I added to a wider strip of Misty Moonlight card.
This layered heart strip had dimensionals added to the back and was then positioned on the front of the card.
I added a DSP strip inside the card and also adhered three of the die cut hearts to both the card insert and back of the envelope.

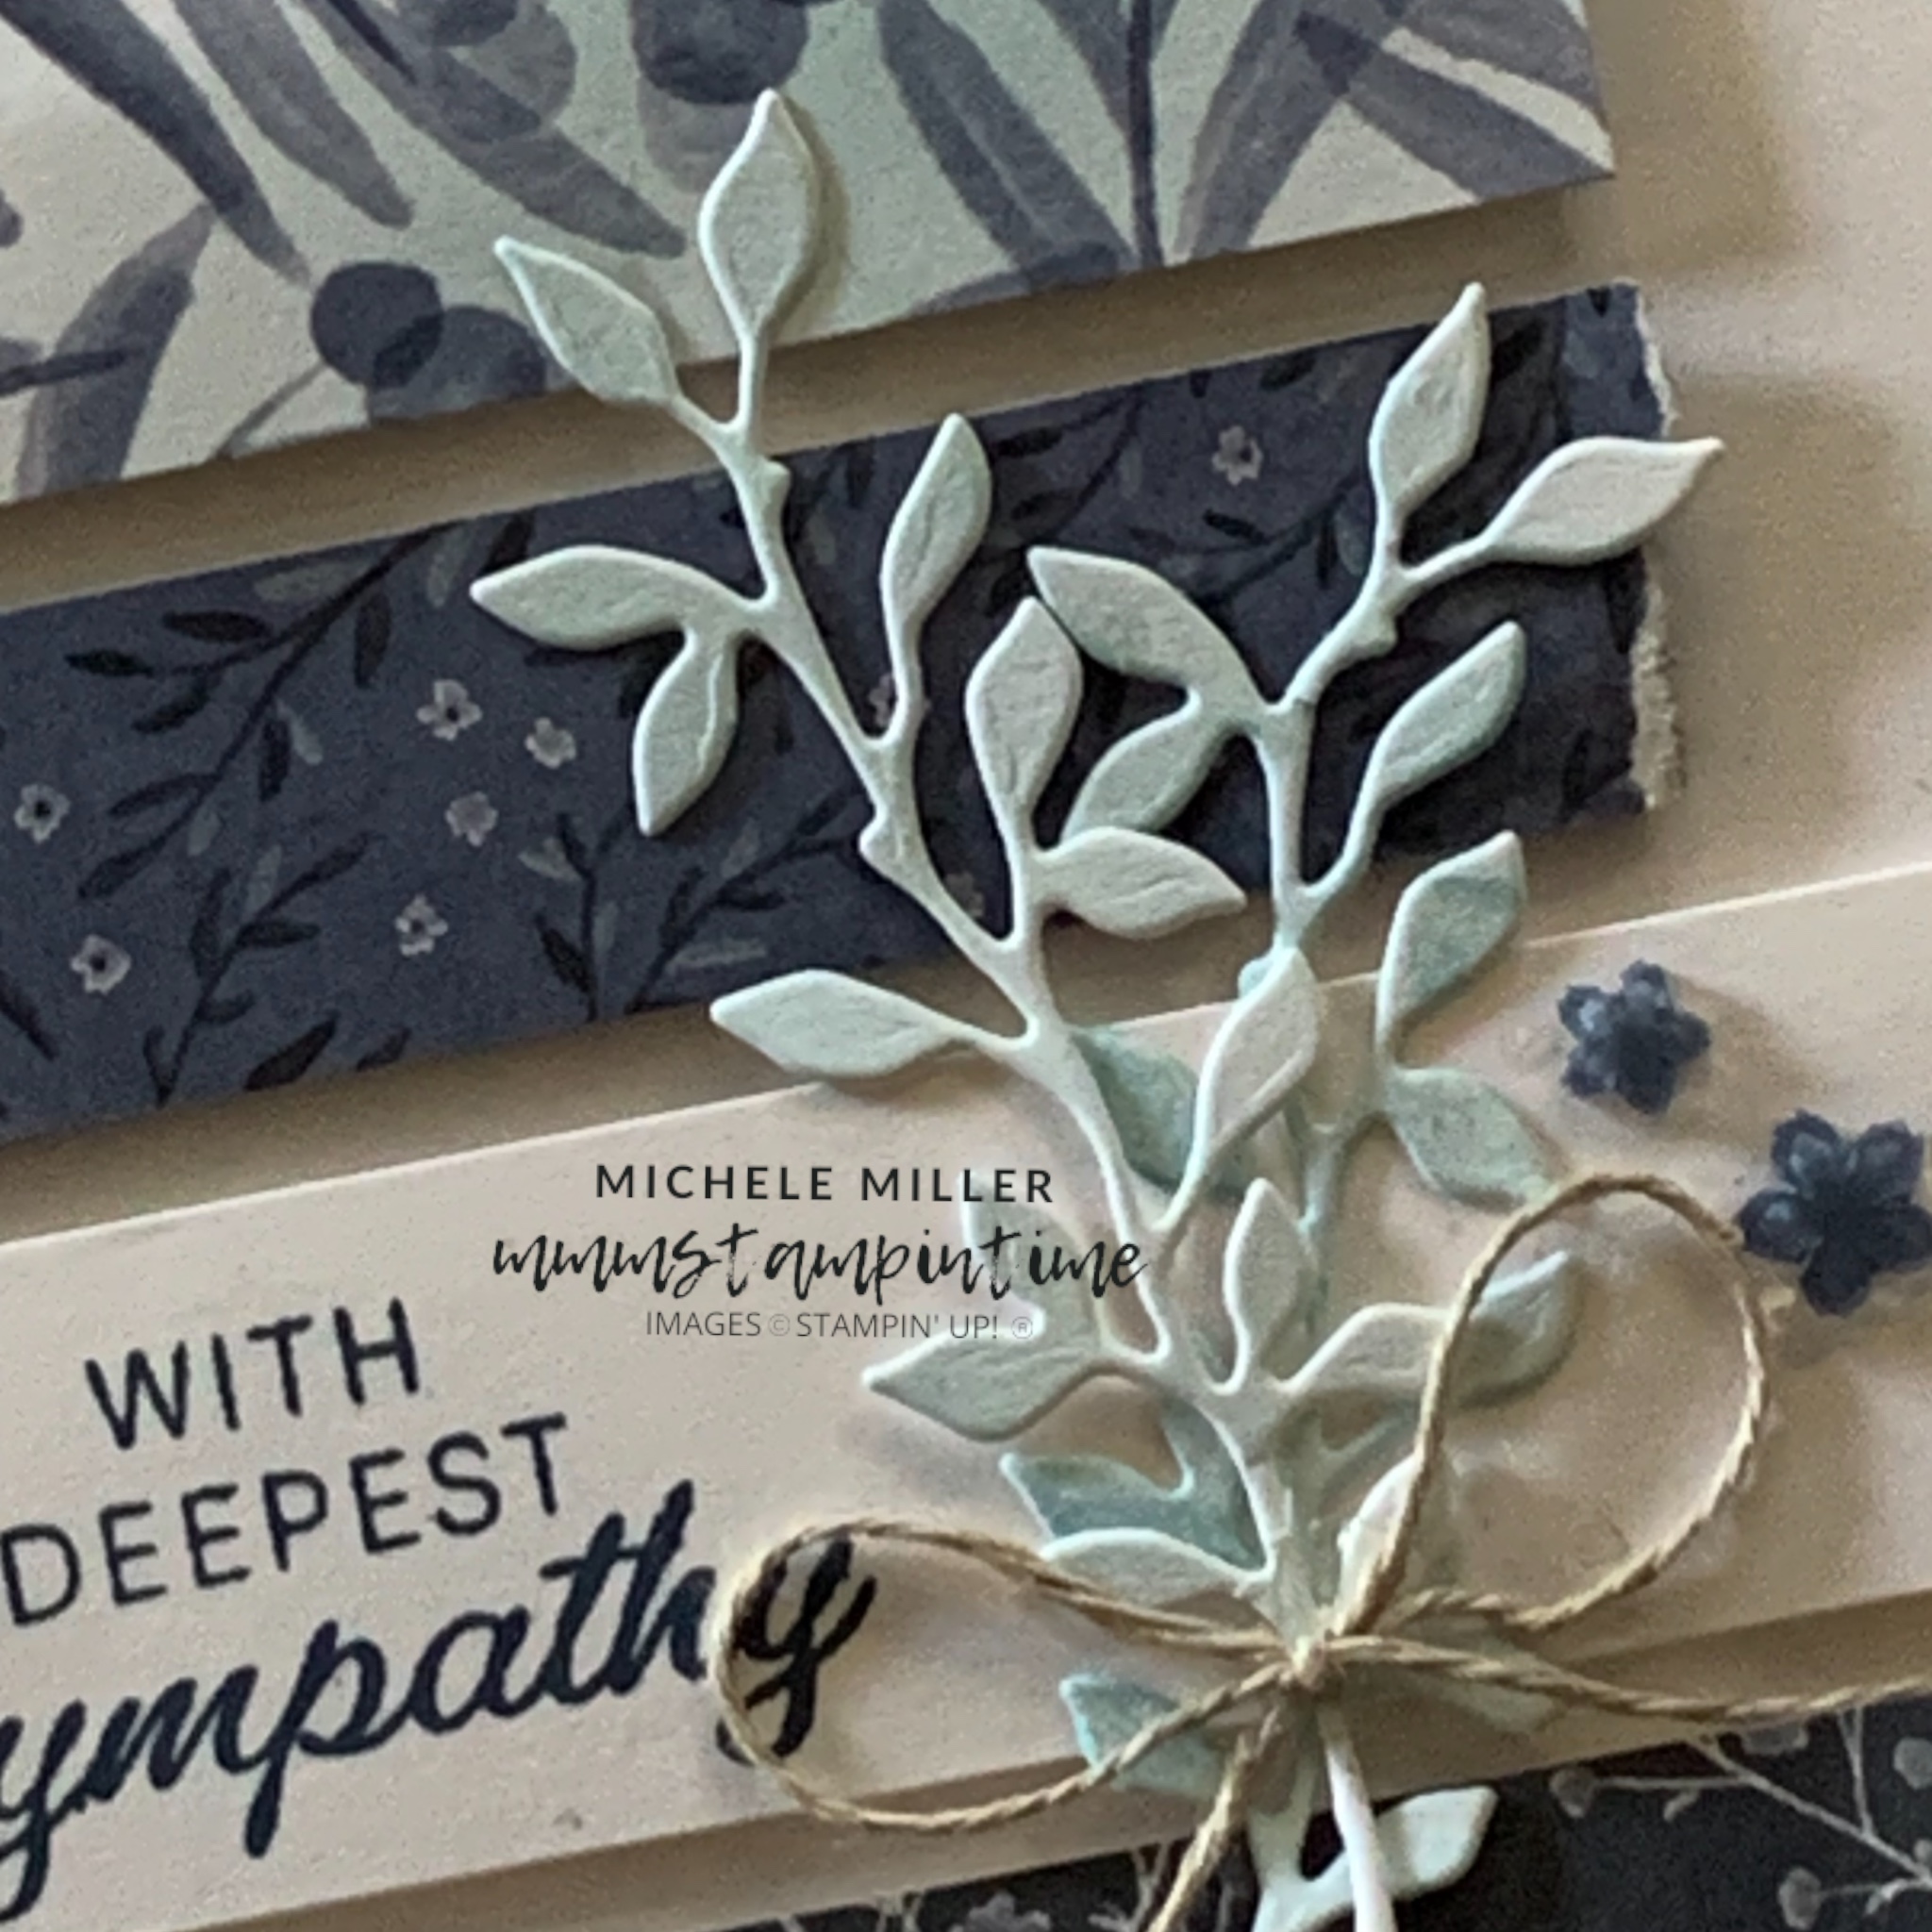
Finally, I added some of the white embellishments from the Hues of Blues Flowers to the card front.

Tomorrow I have two 3D projects to share with you.
Until then, happy stamping.

If you live in Australia, you can order any of the products I used to make this card by going to my online store. Just click on any of the images below. Some items I have used are not yet available to share with you in the shopping details.

![Party Alphabet Dies [ 165263 ]](https://i0.wp.com/assets1.tamsnetwork.com/images/EC042017NF/165263s.jpg?w=140&ssl=1 "Party Alphabet Dies [ 165263 ]") | ![Basic White A4 Thick Cardstock [ 159230 ]](https://i0.wp.com/assets1.tamsnetwork.com/images/EC042017NF/159230s.jpg?w=140&ssl=1 "Basic White A4 Thick Cardstock [ 159230 ]") | ![Misty Moonlight A4 Cardstock [ 153086 ]](https://i0.wp.com/assets1.tamsnetwork.com/images/EC042017NF/153086s.jpg?w=140&ssl=1 "Misty Moonlight A4 Cardstock [ 153086 ]") | ![Night Of Navy A4 Card Stock [ 106577 ]](https://i0.wp.com/assets1.tamsnetwork.com/images/EC042017NF/106577s.jpg?w=140&ssl=1 "Night Of Navy A4 Card Stock [ 106577 ]") |
![Multipurpose Liquid Glue [ 110755 ]](https://i0.wp.com/assets1.tamsnetwork.com/images/EC042017NF/110755s.jpg?w=140&ssl=1 "Multipurpose Liquid Glue [ 110755 ]") | ![Mini Glue Dots [ 103683 ]](https://i0.wp.com/assets1.tamsnetwork.com/images/EC042017NF/103683s.jpg?w=140&ssl=1 "Mini Glue Dots [ 103683 ]") | ![Stampin' Dimensionals [ 104430 ]](https://i0.wp.com/assets1.tamsnetwork.com/images/EC042017NF/104430s.jpg?w=140&ssl=1 "Stampin' Dimensionals [ 104430 ]") | ![Paper Snips [ 103579 ]](https://i0.wp.com/assets1.tamsnetwork.com/images/EC042017NF/103579s.jpg?w=140&ssl=1 "Paper Snips [ 103579 ]") |
![Paper Trimmer [ 152392 ]](https://i0.wp.com/assets1.tamsnetwork.com/images/EC042017NF/152392s.jpg?w=140&ssl=1 "Paper Trimmer [ 152392 ]") | ![Mini Stampin' Cut & Emboss Machine [ 150673 ]](https://i0.wp.com/assets1.tamsnetwork.com/images/EC042017NF/150673s.jpg?w=140&ssl=1 "Mini Stampin' Cut & Emboss Machine [ 150673 ]") | ![Basic White C6 Envelopes [ 159235 ]](https://i0.wp.com/assets1.tamsnetwork.com/images/EC042017NF/159235s.jpg?w=140&ssl=1 "Basic White C6 Envelopes [ 159235 ]") |



![Linen Thread [ 104199 ]](https://i0.wp.com/assets1.tamsnetwork.com/images/EC042017NF/104199s.jpg?w=140&ssl=1 "Linen Thread [ 104199 ]")
![Cloud Cover 12" X 12" (30.5 X 30.5 Cm) Two Tone Cardstock [ 166708 ]](https://i0.wp.com/assets1.tamsnetwork.com/images/EC042017NF/166708s.jpg?w=140&ssl=1 "Cloud Cover 12\" X 12\" (30.5 X 30.5 Cm) Two Tone Cardstock [ 166708 ]")
![White Willow 12" X 12" (30.5 X 30.5 Cm) Cardstock [ 166703 ]](https://i0.wp.com/assets1.tamsnetwork.com/images/EC042017NF/166703s.jpg?w=140&ssl=1 "White Willow 12\" X 12\" (30.5 X 30.5 Cm) Cardstock [ 166703 ]")
![Cloud Cover Classic Stampin' Ink Refill [ 165279 ]](https://i0.wp.com/assets1.tamsnetwork.com/images/EC042017NF/165279s.jpg?w=140&ssl=1 "Cloud Cover Classic Stampin' Ink Refill [ 165279 ]")
![Misty Moonlight Classic Stampin' Pad [ 153118 ]](https://i0.wp.com/assets1.tamsnetwork.com/images/EC042017NF/153118s.jpg?w=140&ssl=1 "Misty Moonlight Classic Stampin' Pad [ 153118 ]")



![Beautiful Butterflies Bundle (English) [ 164615 ]](https://i0.wp.com/assets1.tamsnetwork.com/images/EC042017NF/164615s.jpg?w=140&ssl=1 "Beautiful Butterflies Bundle (English) [ 164615 ]")
![Everyday Arches Dies [ 164629 ]](https://i0.wp.com/assets1.tamsnetwork.com/images/EC042017NF/164629s.jpg?w=140&ssl=1 "Everyday Arches Dies [ 164629 ]")
![Fancy Borders Dies [ 165380 ]](https://i0.wp.com/assets1.tamsnetwork.com/images/EC042017NF/165380s.jpg?w=140&ssl=1 "Fancy Borders Dies [ 165380 ]")
![Beautiful Bokeh 6" X 6" (15.2 X 15.2 Cm) Designer Series Paper [ 164607 ]](https://i0.wp.com/assets1.tamsnetwork.com/images/EC042017NF/164607s.jpg?w=140&ssl=1 "Beautiful Bokeh 6\" X 6\" (15.2 X 15.2 Cm) Designer Series Paper [ 164607 ]")
![Baker's Twine Essentials Pack [ 155475 ]](https://i0.wp.com/assets1.tamsnetwork.com/images/EC042017NF/155475s.jpg?w=140&ssl=1 "Baker's Twine Essentials Pack [ 155475 ]")
![Iridescent Faceted Gems [ 163368 ]](https://i0.wp.com/assets1.tamsnetwork.com/images/EC042017NF/163368s.jpg?w=140&ssl=1 "Iridescent Faceted Gems [ 163368 ]")
![Basic Black Stampin' Blends Combo Pack [ 154843 ]](https://i0.wp.com/assets1.tamsnetwork.com/images/EC042017NF/154843s.jpg?w=140&ssl=1 "Basic Black Stampin' Blends Combo Pack [ 154843 ]")
![Brights 12" X 12" (30.5 X 30.5 Cm) Cardstock [ 161716 ]](https://i0.wp.com/assets1.tamsnetwork.com/images/EC042017NF/161716s.jpg?w=140&ssl=1 "Brights 12\" X 12\" (30.5 X 30.5 Cm) Cardstock [ 161716 ]")
![Fluid 100 Watercolor Paper [ 149612 ]](https://i0.wp.com/assets1.tamsnetwork.com/images/EC042017NF/149612s.jpg?w=140&ssl=1 "Fluid 100 Watercolor Paper [ 149612 ]")
![Berry Burst Classic Stampin' Pad [ 147143 ]](https://i0.wp.com/assets1.tamsnetwork.com/images/EC042017NF/147143s.jpg?w=140&ssl=1 "Berry Burst Classic Stampin' Pad [ 147143 ]")
![Bubble Bath Classic Stampin' Pad [ 161664 ]](https://i0.wp.com/assets1.tamsnetwork.com/images/EC042017NF/161664s.jpg?w=140&ssl=1 "Bubble Bath Classic Stampin' Pad [ 161664 ]")
![Fresh Freesia Classic Stampin' Pad [ 155611 ]](https://i0.wp.com/assets1.tamsnetwork.com/images/EC042017NF/155611s.jpg?w=140&ssl=1 "Fresh Freesia Classic Stampin' Pad [ 155611 ]")
![Petunia Pop Classic Stampin Pad [ 163811 ]](https://i0.wp.com/assets1.tamsnetwork.com/images/EC042017NF/163811s.jpg?w=140&ssl=1 "Petunia Pop Classic Stampin Pad [ 163811 ]")
![Versamark Pad [ 102283 ]](https://i0.wp.com/assets1.tamsnetwork.com/images/EC042017NF/102283s.jpg?w=140&ssl=1 "Versamark Pad [ 102283 ]")
![Embossing Additions Tool Kit [ 159971 ]](https://i0.wp.com/assets1.tamsnetwork.com/images/EC042017NF/159971s.jpg?w=140&ssl=1 "Embossing Additions Tool Kit [ 159971 ]")
![Heat Tool [ 129056 ]](https://i0.wp.com/assets1.tamsnetwork.com/images/EC042017NF/129056s.jpg?w=140&ssl=1 "Heat Tool [ 129056 ]")
![Basics Wow! Embossing Powder [ 165679 ]](https://i0.wp.com/assets1.tamsnetwork.com/images/EC042017NF/165679s.jpg?w=140&ssl=1 "Basics Wow! Embossing Powder [ 165679 ]")
![Stampin' Cut & Emboss Machine [ 149653 ]](https://i0.wp.com/assets1.tamsnetwork.com/images/EC042017NF/149653s.jpg?w=140&ssl=1 "Stampin' Cut & Emboss Machine [ 149653 ]")




