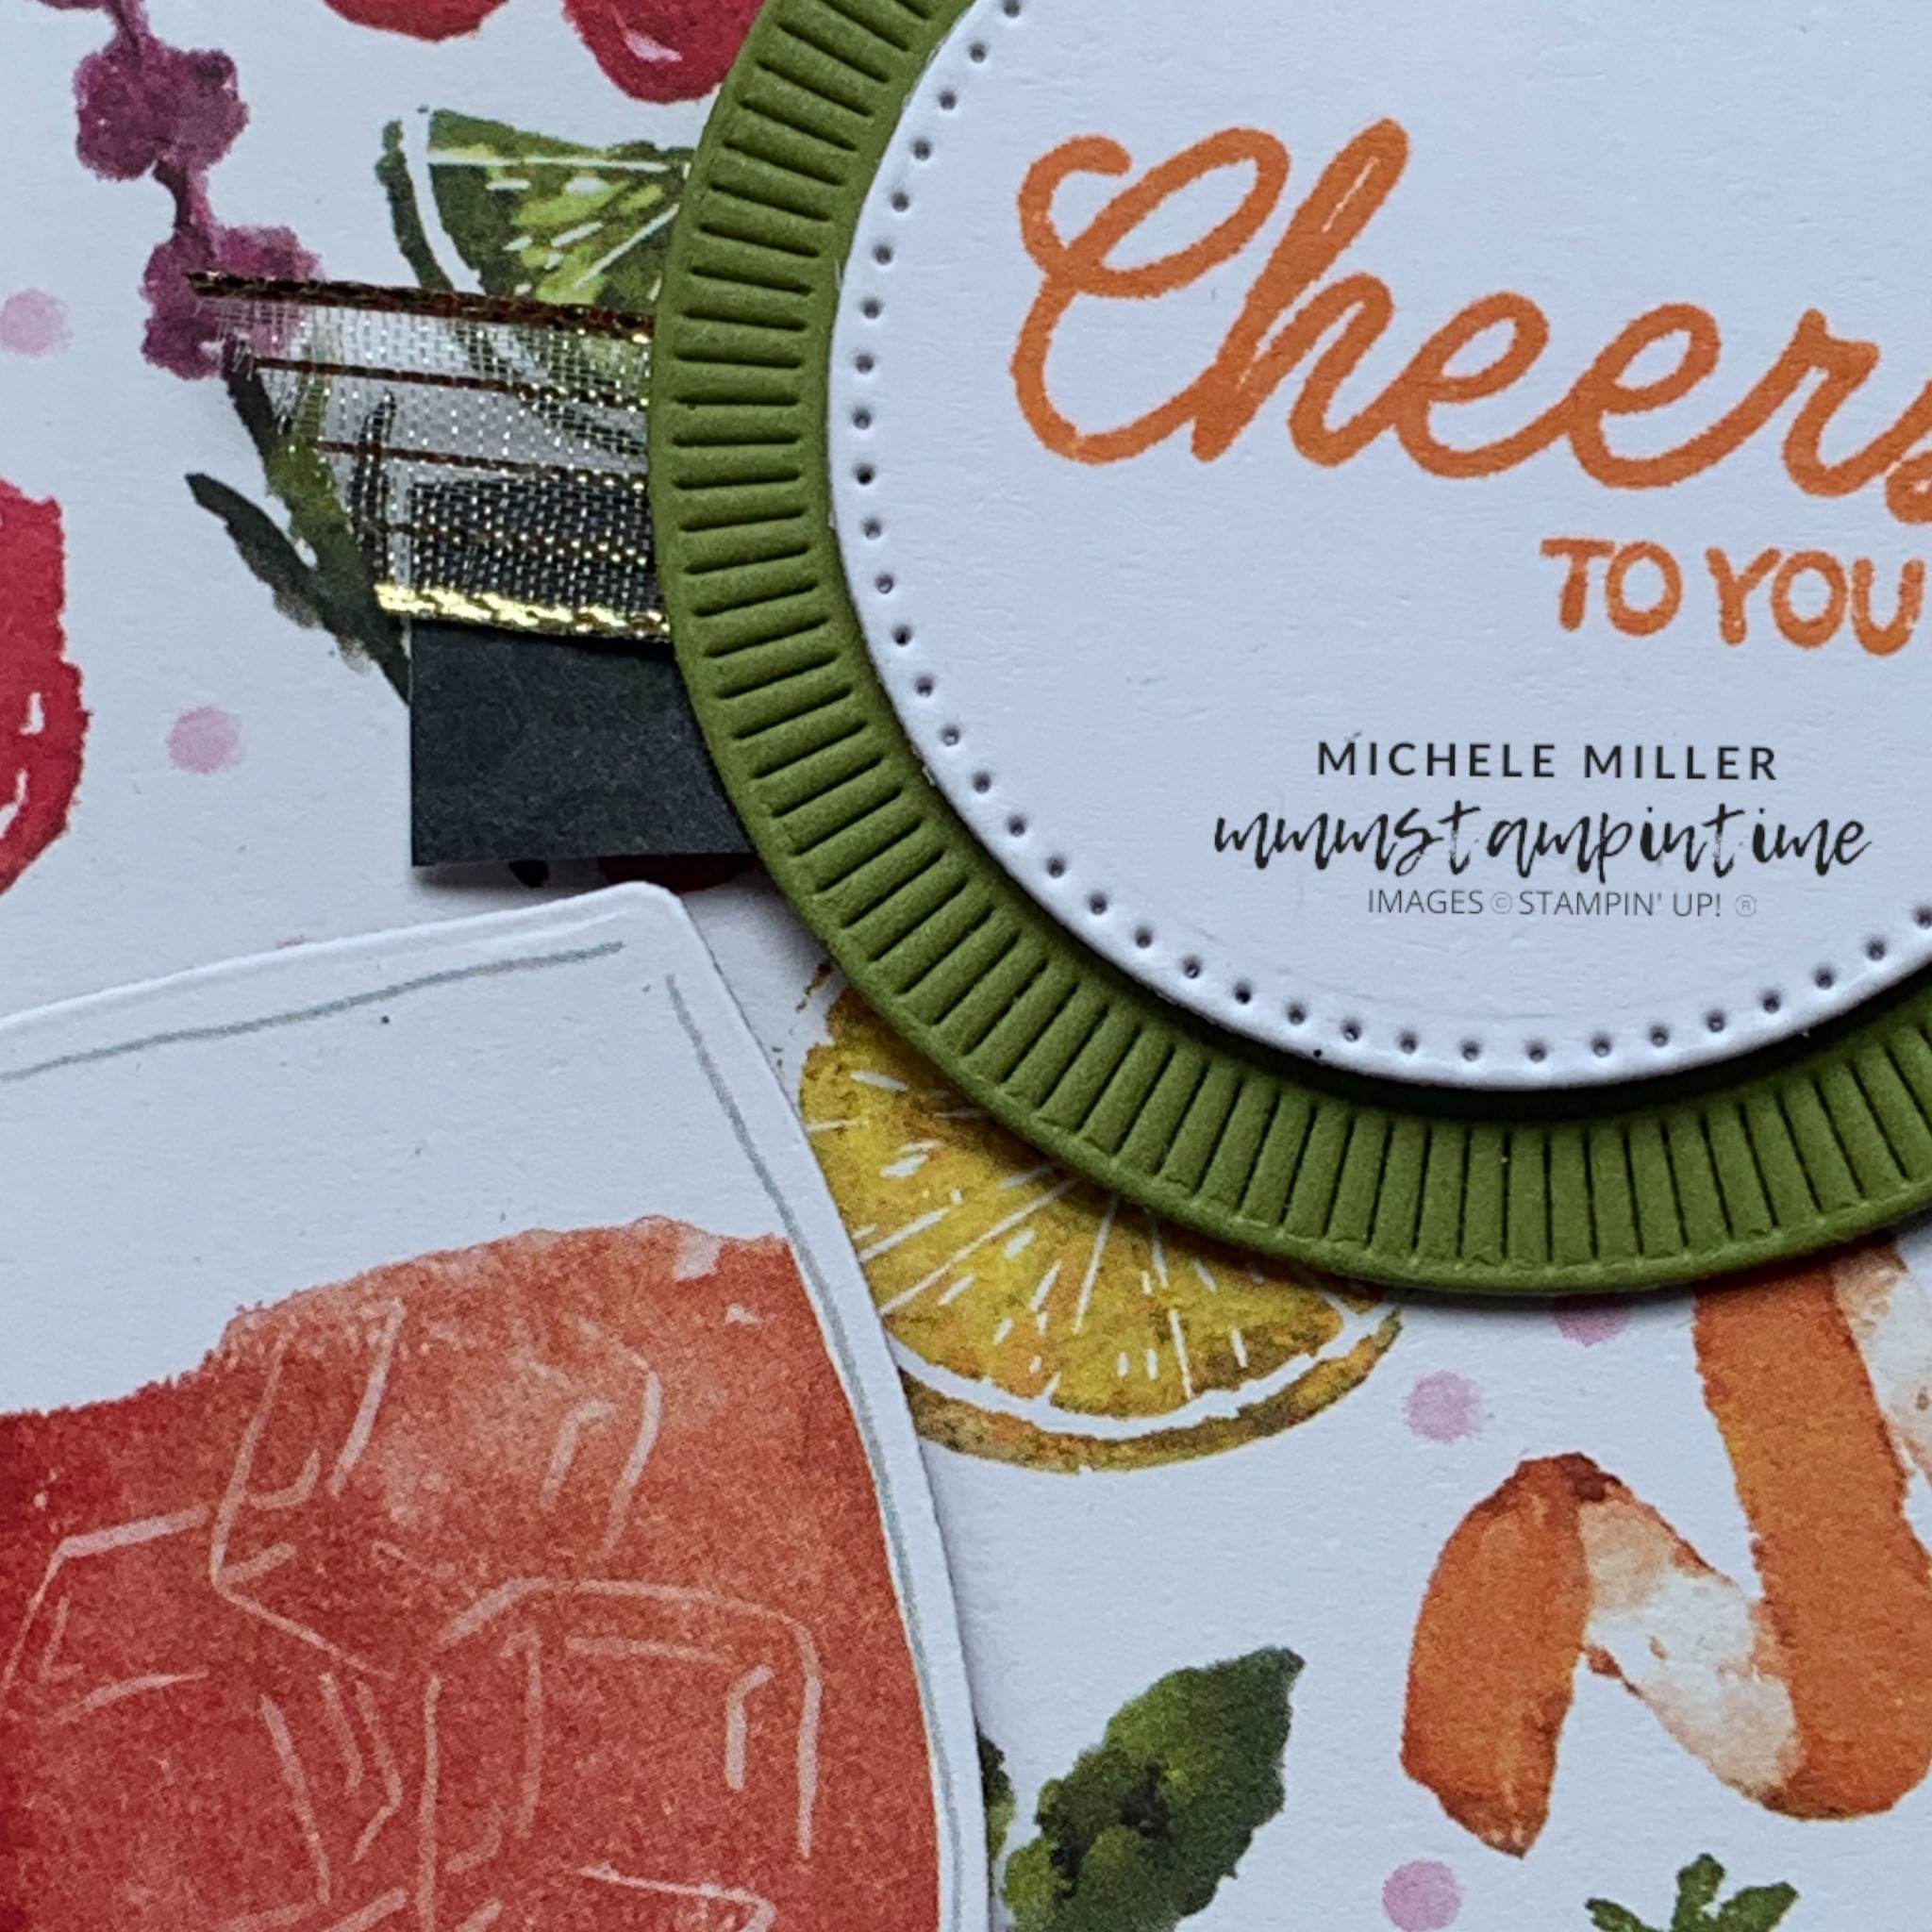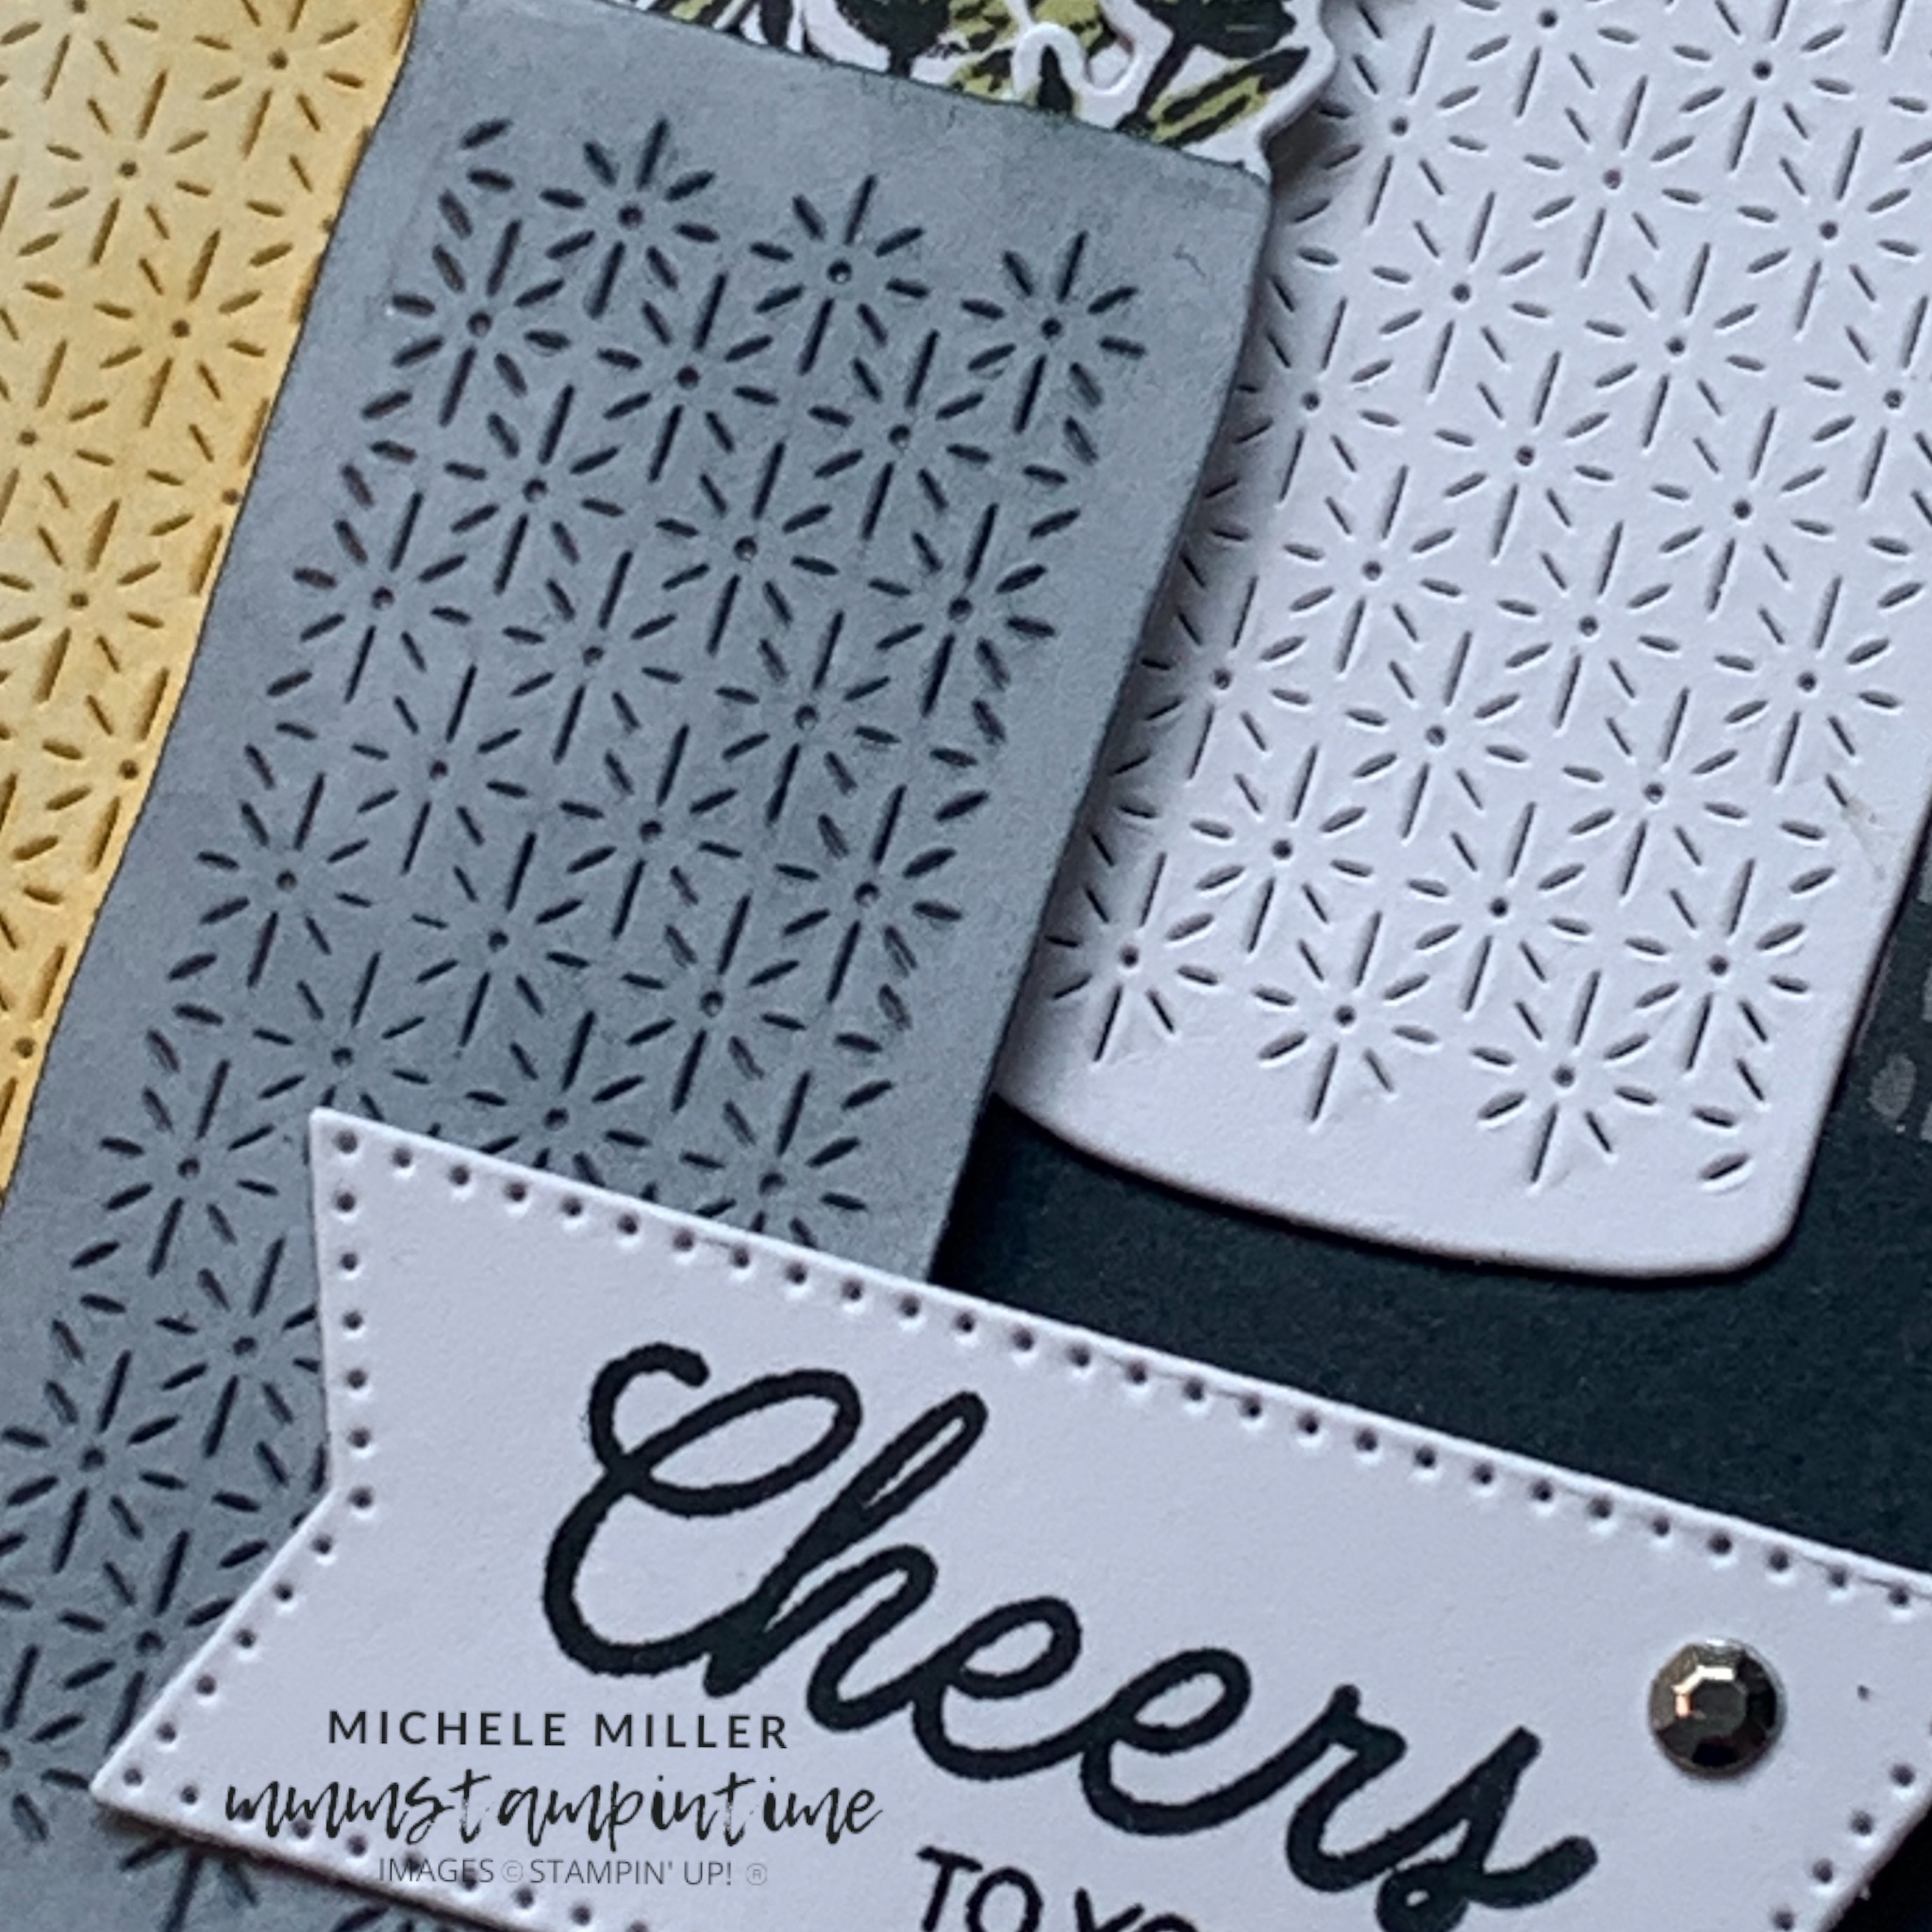
In the lead up to Mother’s Day, I thought I would focus on projects for this special day.
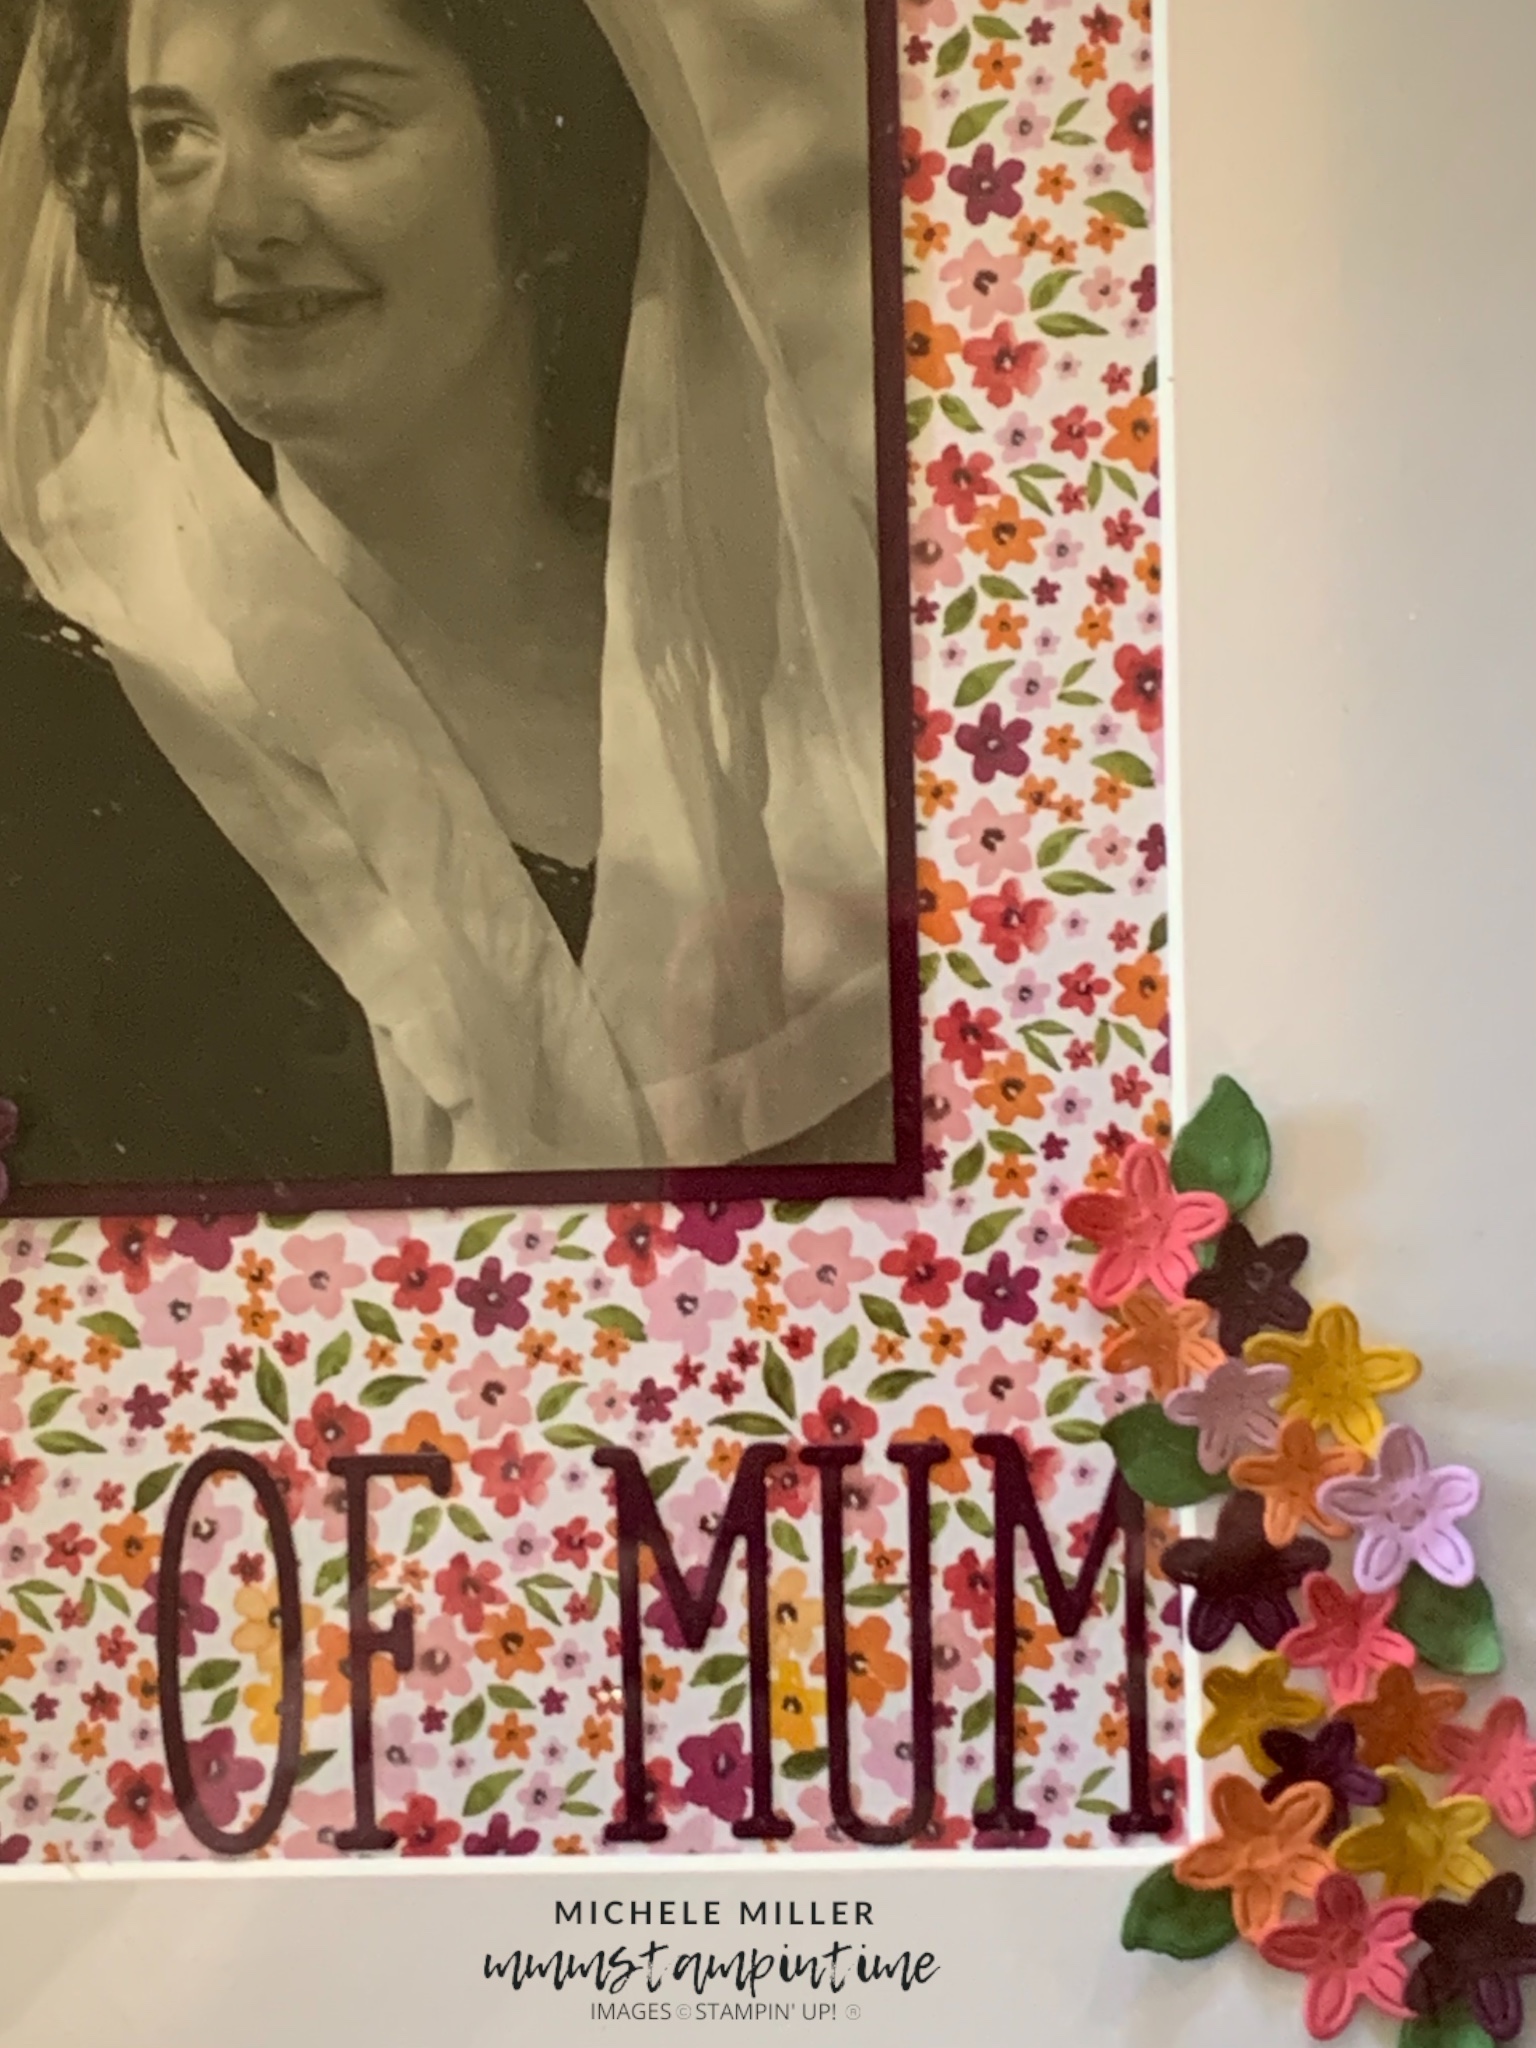
My first project is in memory of my mum. I created a scrapbook layout and popped it in a shadow box frame.

I used this floral paper from the Celebratory Sips 12″x 12″ Designer Series Paper pack.
The title was made by adding Adhesive Sheet to the back of some BLackberry Bliss card and then cutting the letters out using the Alphabet A La Mode Dies.
The three photos were mounted on Blackberry Bliss mattes and attached to the DSP.
Finally I cut lots and lots of flowers and leaves in the coordinating colours and attached them to the white matte to create cascading floral features.
The flower dies are from the Country Flowers Dies and the leaves from the Thankful Garden Dies.

The top left photo is mum in 1952 when she was 12. The larger photo is from 1962 when she was 22 and the last photo was from 1965 just after we returned from an overseas Air Force posting.

I love the idea of framing a scrapbook layout and having it out on display for the family to see.
My next post will be a Mother’s Day card.
Until them, happy stamping and scrapbooking.

I will be able to create a product list, with all the new products, from May 6th. In the meantime I will share a partial current product list.

![Alphabet à La Mode Dies [ 160750 ]](https://i0.wp.com/assets1.tamsnetwork.com/images/EC042017NF/160750s.jpg?w=140&ssl=1 "Alphabet à La Mode Dies [ 160750 ]") | ![Blackberry Bliss A4 Cardstock [ 133682 ]](https://i0.wp.com/assets1.tamsnetwork.com/images/EC042017NF/133682s.jpg?w=140&ssl=1 "Blackberry Bliss A4 Cardstock [ 133682 ]") | ![Card Stock A4 Crushed Curry [ 131288 ]](https://i0.wp.com/assets1.tamsnetwork.com/images/EC042017NF/131288s.jpg?w=140&ssl=1 "Card Stock A4 Crushed Curry [ 131288 ]") | ![Fresh Freesia A4 Cardstock [ 155614 ]](https://i0.wp.com/assets1.tamsnetwork.com/images/EC042017NF/155614s.jpg?w=140&ssl=1 "Fresh Freesia A4 Cardstock [ 155614 ]") | ![Garden Green A4 Card Stock [ 108605 ]](https://i0.wp.com/assets1.tamsnetwork.com/images/EC042017NF/108605s.jpg?w=140&ssl=1 "Garden Green A4 Card Stock [ 108605 ]") |
![Adhesive Sheets [ 152334 ]](https://i0.wp.com/assets1.tamsnetwork.com/images/EC042017NF/152334s.jpg?w=140&ssl=1 "Adhesive Sheets [ 152334 ]") | ![Stampin' Dimensionals [ 104430 ]](https://i0.wp.com/assets1.tamsnetwork.com/images/EC042017NF/104430s.jpg?w=140&ssl=1 "Stampin' Dimensionals [ 104430 ]") | ![Mini Glue Dots [ 103683 ]](https://i0.wp.com/assets1.tamsnetwork.com/images/EC042017NF/103683s.jpg?w=140&ssl=1 "Mini Glue Dots [ 103683 ]") | ![Paper Snips [ 103579 ]](https://i0.wp.com/assets1.tamsnetwork.com/images/EC042017NF/103579s.jpg?w=140&ssl=1 "Paper Snips [ 103579 ]") | ![Paper Trimmer [ 152392 ]](https://i0.wp.com/assets1.tamsnetwork.com/images/EC042017NF/152392s.jpg?w=140&ssl=1 "Paper Trimmer [ 152392 ]") |
![Mini Stampin' Cut & Emboss Machine [ 150673 ]](https://i0.wp.com/assets1.tamsnetwork.com/images/EC042017NF/150673s.jpg?w=140&ssl=1 "Mini Stampin' Cut & Emboss Machine [ 150673 ]") |