Posted on Leave a comment

TIME FOR THE LATEST COLOUR INKSPIRATION CHALLENGE

In our last Colour INKspiration Challenge, we farewelled the 2022-2024 In Colours. For this challenge, we are introducing two of the new 2024-2026 In Colours – Peach Pie and Shy Shamrock.

FOr my project I chose the Seaside Wishes Bundle and Hybrid Embossing Folder.

I started with with a Basic White card base and embossed the front of the card.

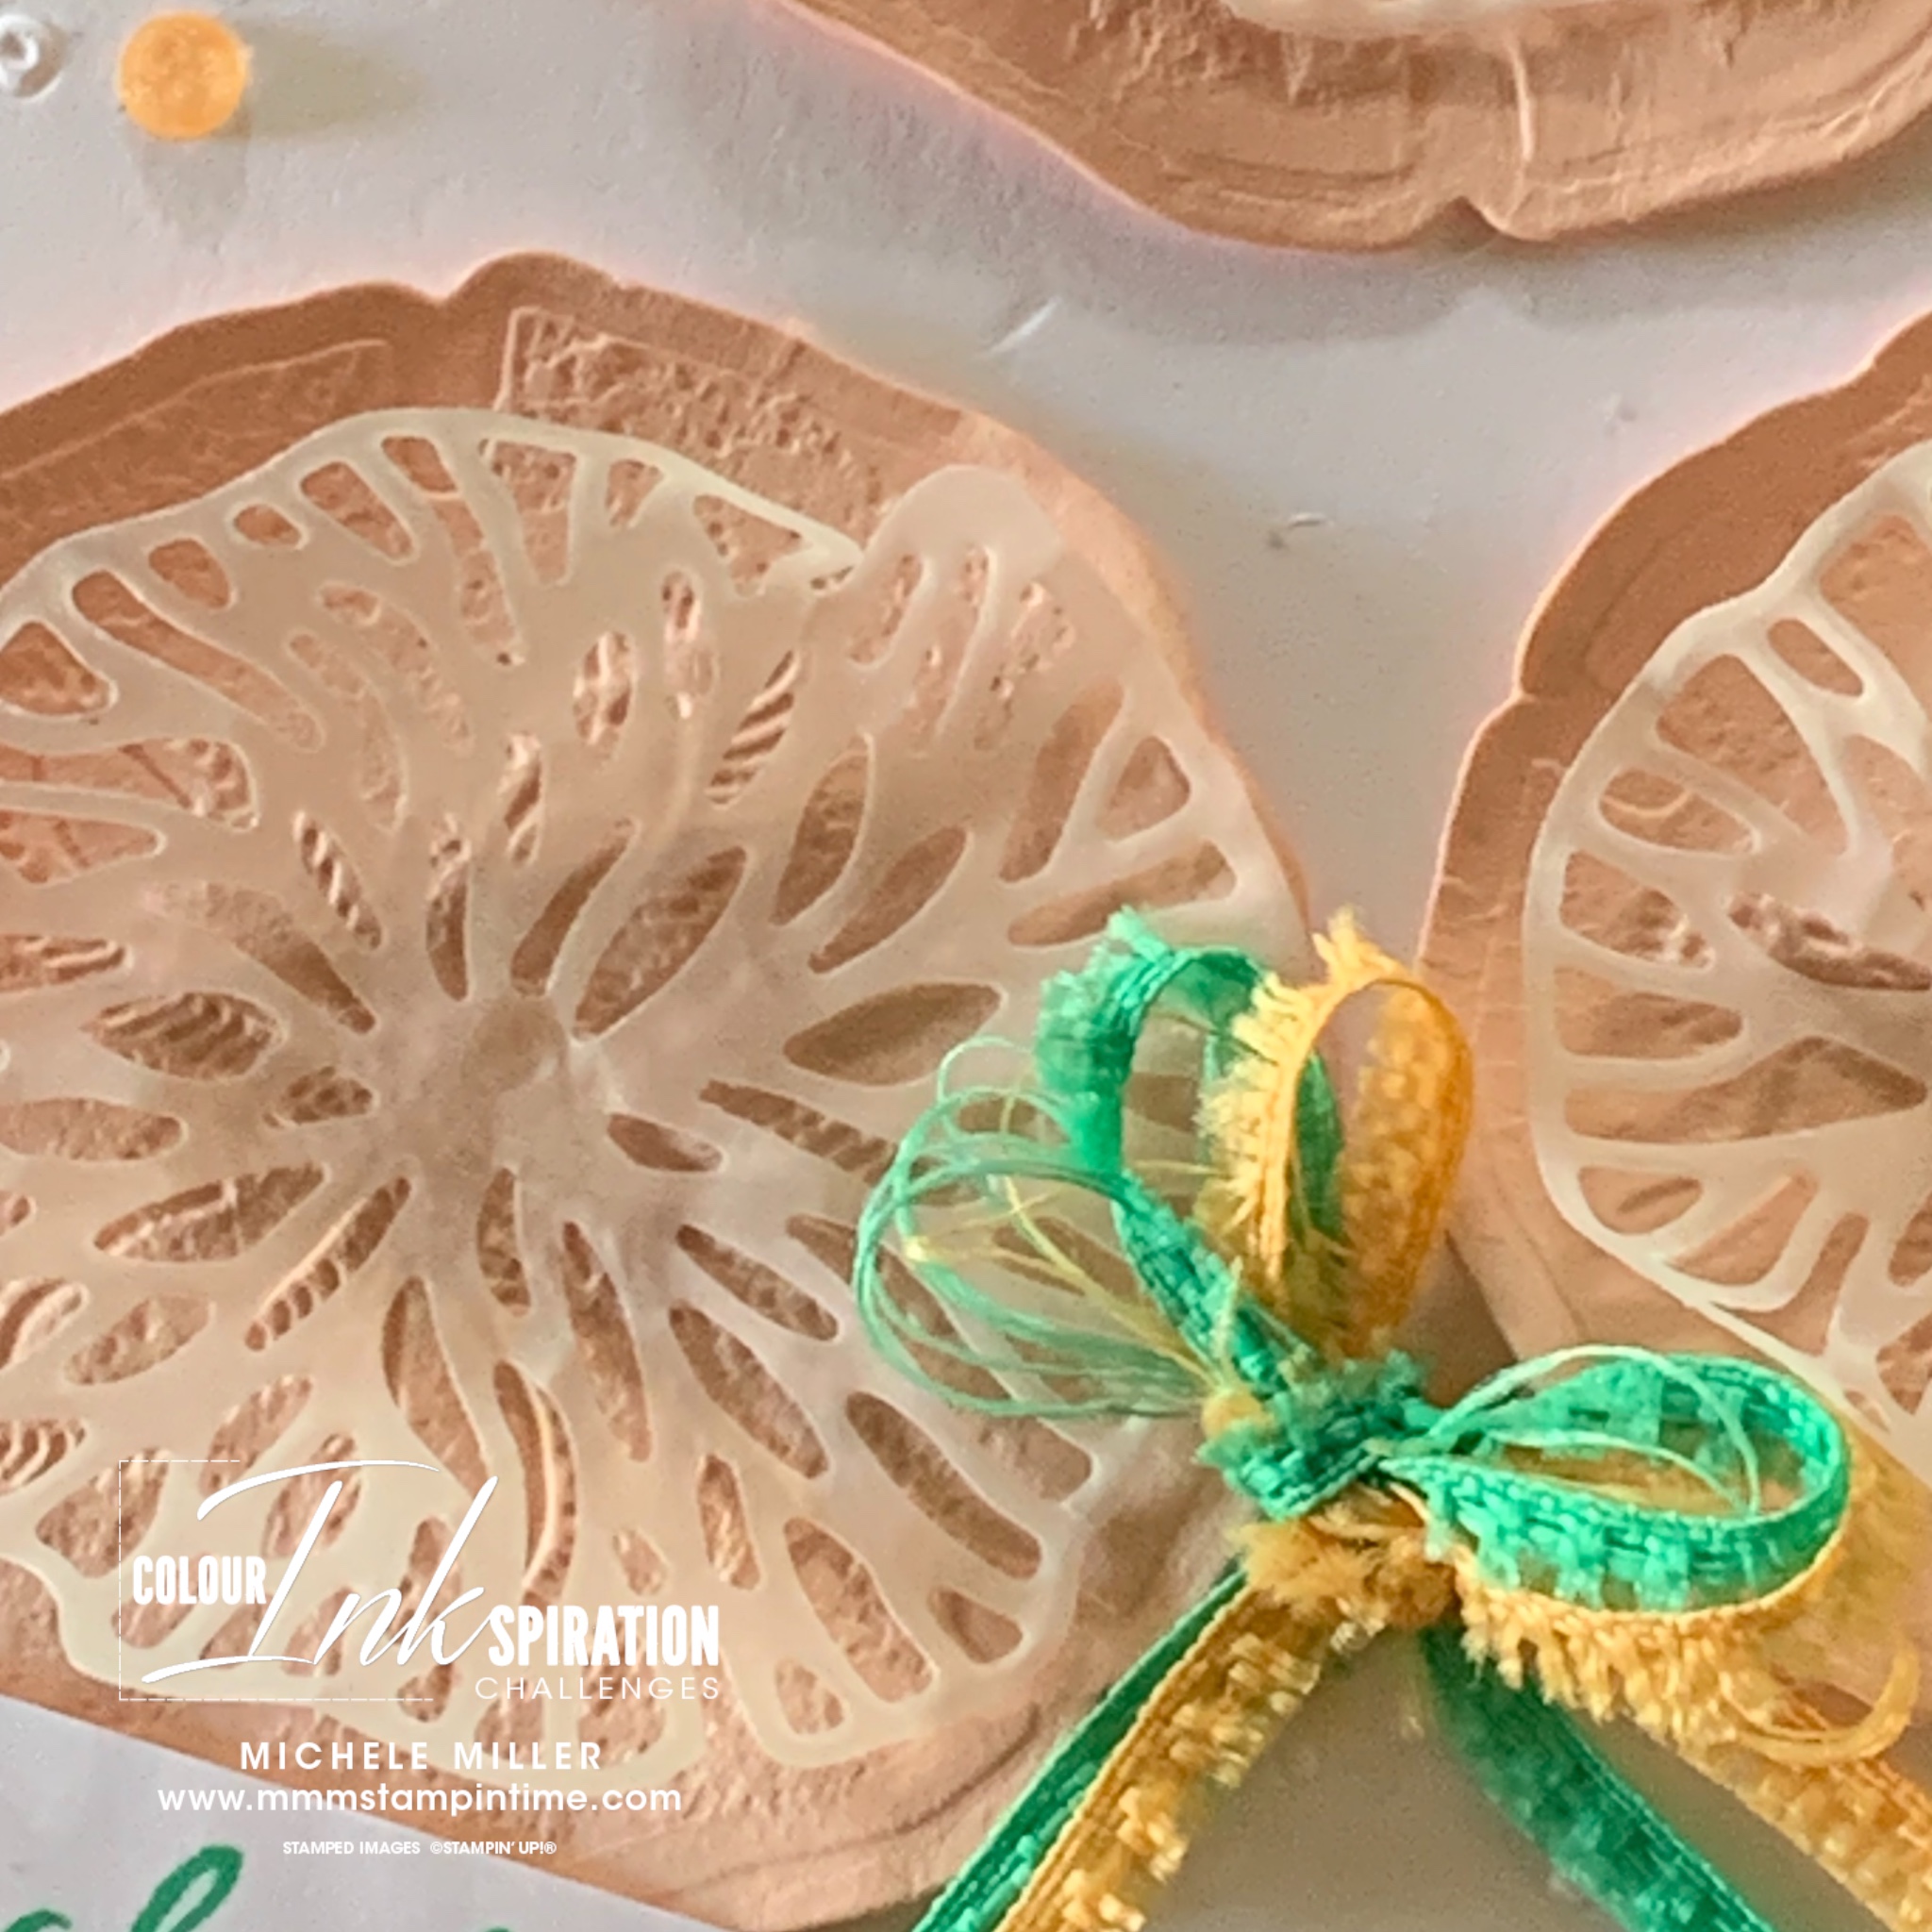
Then I took a Petal Pink panel and embossed and cut the sand dollars. I also cut some vellum ‘coral’ pieces.

After I gave each of these elements some texture by bending them with a bone folder, I attached them to the front of the card.

I added some Peach Pie and vellum star fish to the card as well.

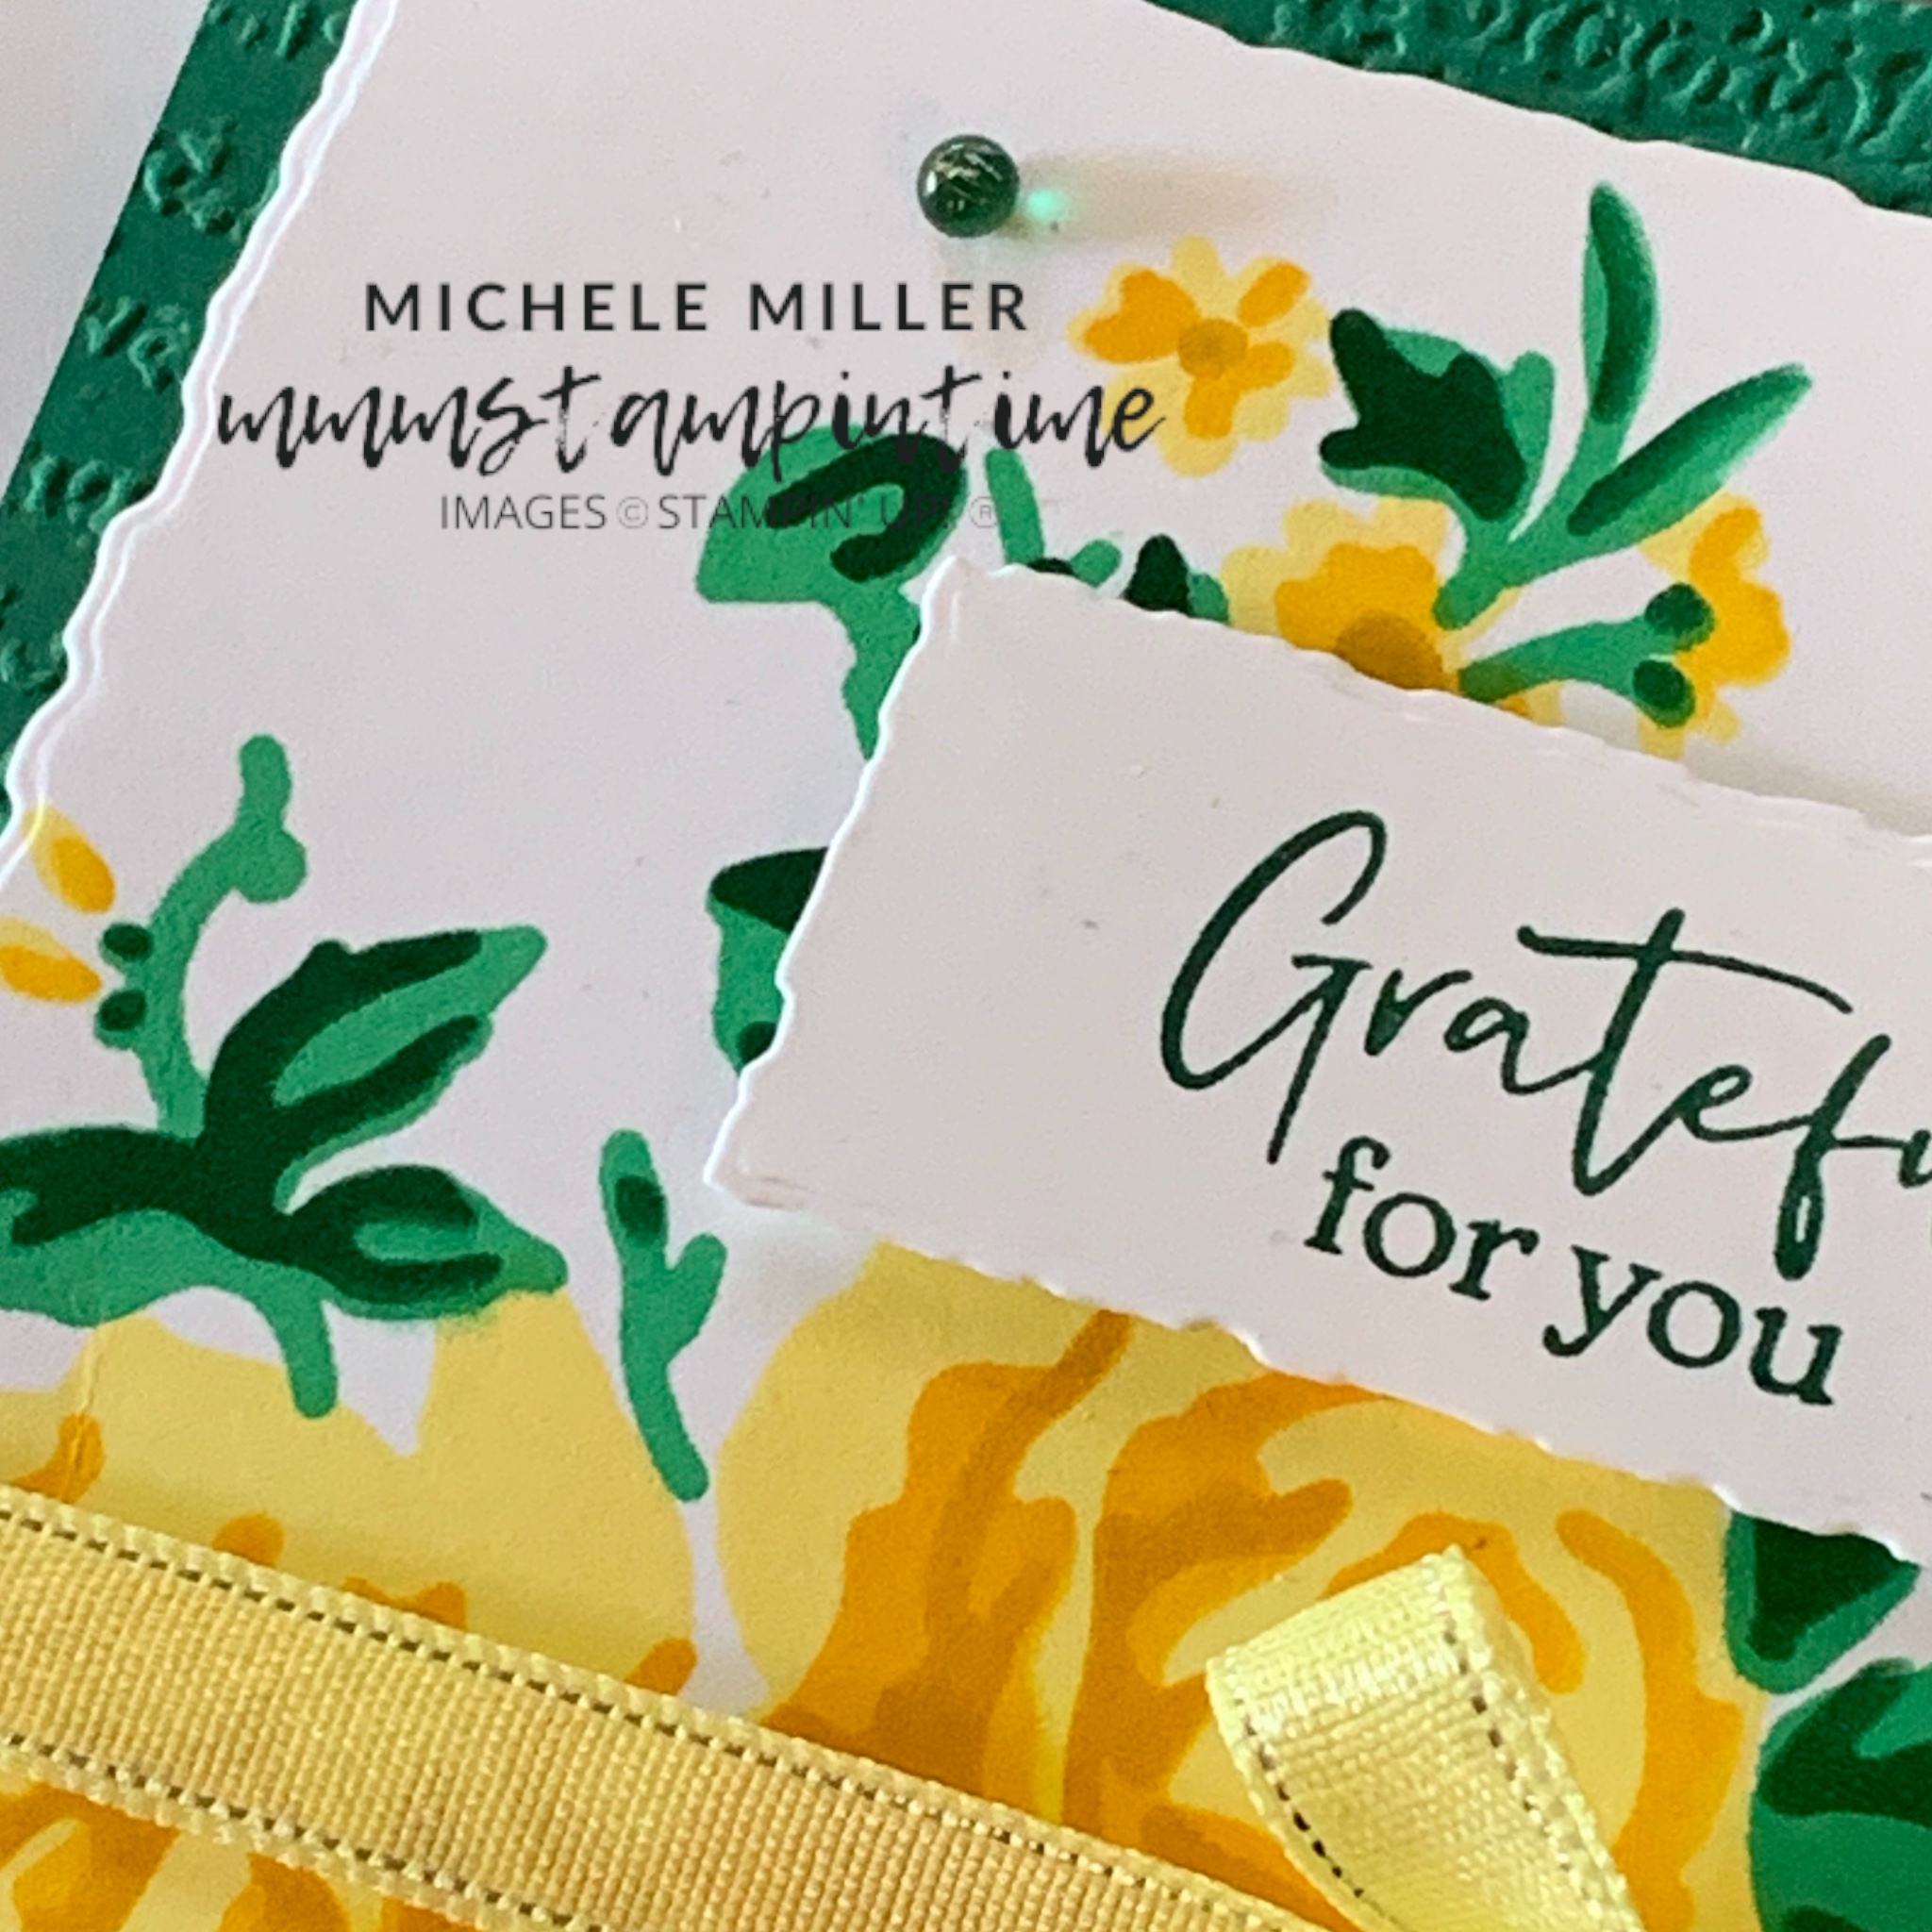
The greeting was stamped in Shy Shamrock and trimmed down and added to the card with Stampin’ Dimensionals.

I took a length each of Peach Pie and Shy Shamrock Bordered Ribbons and cut them in half, lengthways. After fraying the ribbon a little, I tied two bows and secured them to the card with Mini Glue Dots.

The card insert and envelope were stamped with Peach Pie star fish images.

Finally, I added a few of the 2024-2026 In Colour Shimmer Gems.

I will share my #CI166 project with you on May 24th.

Until then, happy stamping.

If you live in Australia, you can order any of the products I used to make this card by going to my online store. As you read through this post, you will see the products I used for this project. THe new items are available from May 1st.

Posted on Leave a comment

IT’S FRIDAY & TIME FOR SOME FEATURES AND A FUN FOLD CARD

The Layers of Beauty Bundle and Decorative Masks are wonderful for creating some gorgeous projects.

The Photopolymet Stamp Set has 9 stamps – 5 floral images and 4 greetings. The greetings combine two different fonts – a common feature of Stampin’ Up! greetings.

This stamp set was inspired by Million Slaes Achiever Shelly Godby.

The Layers of Beauty Dies have 11 dies in the set. Six of them coordinate with the images and the others will help you add extra elements to your projects.

The Layers of Beauty Decorative Masks have five masks in the set. The masks are made from a heavier ‘plastic’ than some earlier Stampin’ Up! masks. Each mask has a notched section in the top left hand corner to help align the masks to ensure clean and neat colouring.

Today’s project is an easel card with small Post-it Notes.

For this project I used Lemon Lolly, Daffodil Delight, Crushed Curry, Shy Shamrock and Shaded Spruce.

This panel was cut using a large Deckled Rectangle Die.

After preparing the easel card base, I cut the front flap and embossed it with the Timeworn 3D Embossing Folder.

I wrapped a length of Lemon Lolly Bordered Ribbon around the card front and tied a bow.

The greeting was stamped in

shaded Spruce and cut with the smallest of the Deckled REctangle Dies.

I added a panel of Lemon Lolly card stock and two small bundles of Post-it Notes.

I also added a Basic White panel and stamped the greeting.

The easel card fits inside a C6 envelope, ready to send to a frined.

I’m not sure if I will have anything to share with you tomorrow. By the time you read this post, I will be well on my way to San Francisco. I hope to have a project scheduled to share each week while I’m away.

Until I get home in 10 weeks time, happy stamping.

If you live in Australia, you can order any of the products I used to make this card by going to my online store. As you read through this post, you will see the products I used for this project. THe new items are available from May 1st.

Posted on Leave a comment

THURSDAY MEANS THAT IT IS TIME FOR A 3D PROJECT

Today I have a super easy matchbox style gift box that fits a very tasty Whittaker chocolate inside it.

After measuring the chocolate and working out the size that the gift box and slide on lid needed to be, I cut out some Garden Green cardstock and scored where scoring was needed.

Before assembling the box, I stamped the floral image over the lid cardstock.

Then I assembled the box and popped the chocolate inside.

To finish off the box, I wrapped a length of Black and White Gingham Ribbon around the box and tied a bow.

I masked a greeting to leave just ‘smile’ to stamp on a scrap of Basic White card. Then I used the small label die from the Layers of Beauty Dies. I also added some Black Baker’s Twine to attach to the label and then tied another bow.

Tomorrow I have an easel card to share with you.

Until then, happy stamping.

If you live in Australia, you can order any of the products I used to make this card by going to my online store. As you read through this post, you will see the products I used for this project. THe new items are available from May 1st.