Posted on Leave a comment

GROWING UP WITH TERRACOTTA POTS IN THE GARDEN

I have always loved terracotta pots and the colour of red clay.

For this project I needed to use Cajun Craze as my terracotta standby … and, it is a great colour substitute.

My plan was to create a card that incorporated lots of stacked pots with several of them having luscious plants growing in them.

The Copper Clay card base had a Basic White panel adhered to it.

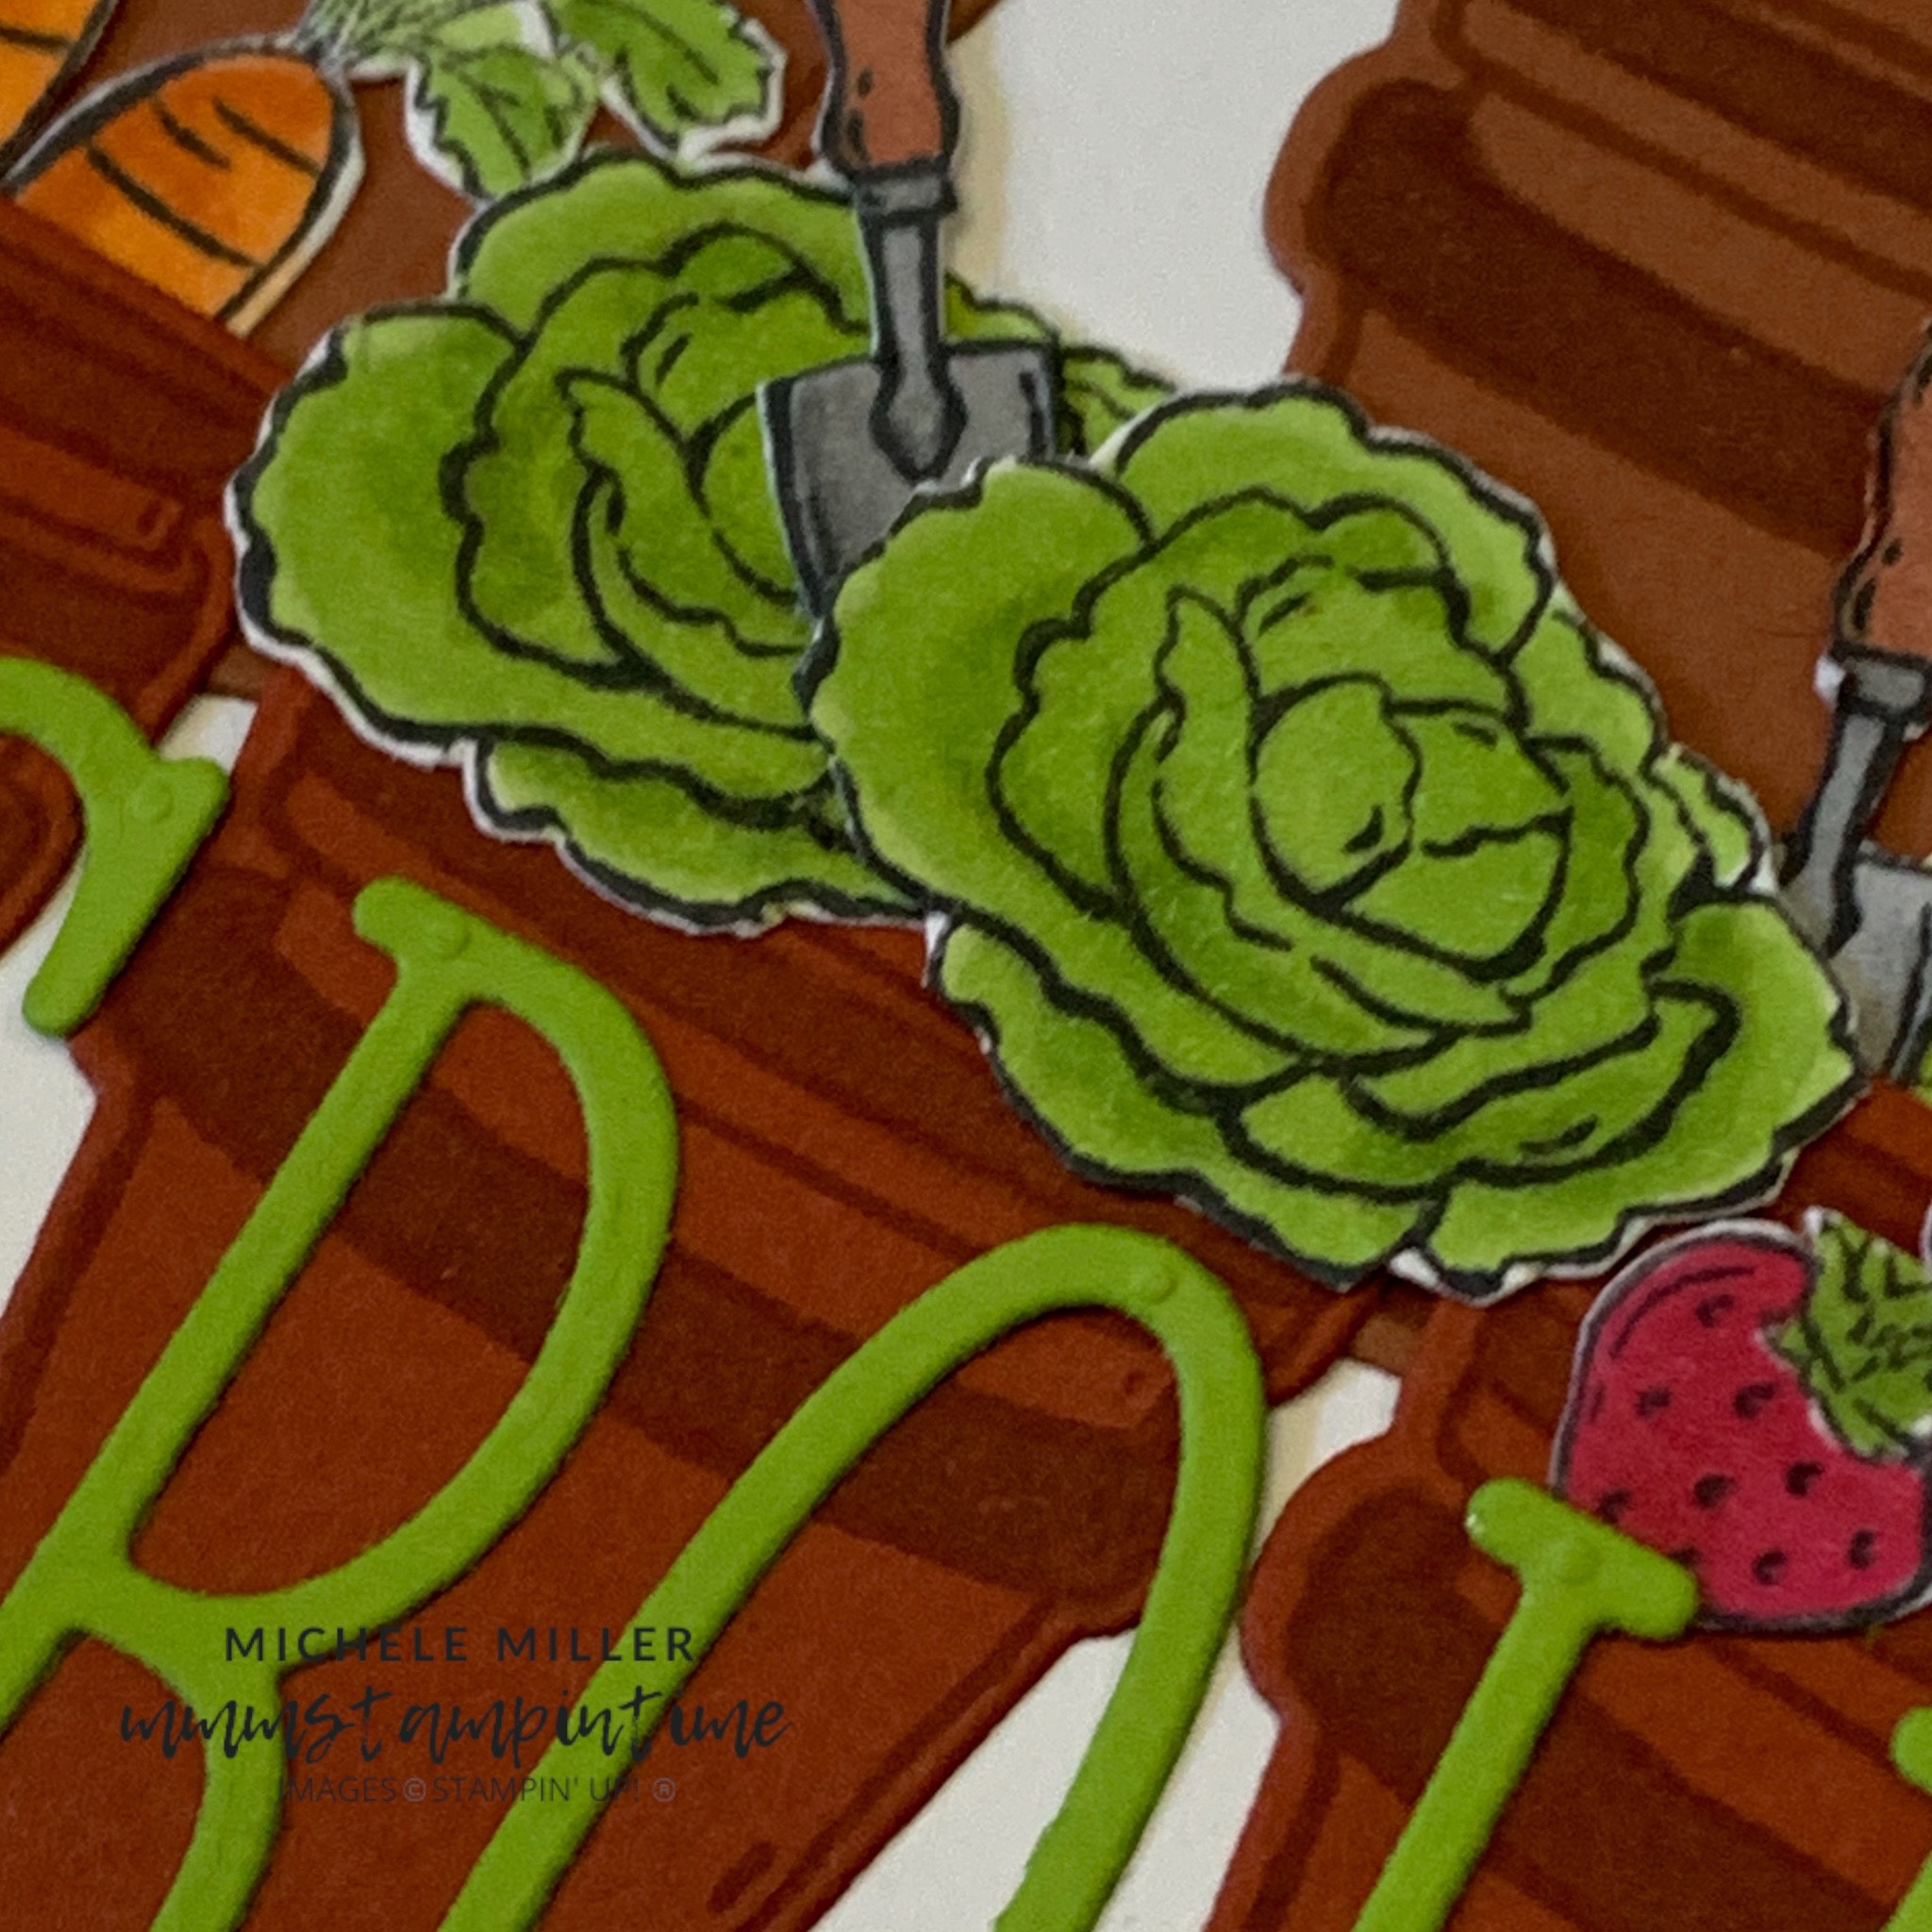
My next step was to stamp, colour and die cut the five stacks of pots.

I stamped, coloured and fussy cut the carrots, lettuces, strawberries and radishes; as well as the garden trowels.

After adhering the three background pots, I adhered the plants and gardening tools to the four pots that were then added to the front of the card. These four pots overlapped the three background pots.

I added Adhesive Sheets to the back of some Lemon Lime Twist card and used the Alphabet A La Mode Dies to cut the letters for ‘GROWING UP’.

‘Growing’ was added to the card front.

The card insert had a stamped pots image and the word ‘UP’ added.

The same pots were stamped on to the back of the envelope.

This card was so much fun to create.

Tomorrow I have a scrapbooking page to share.

Until then, happy stamping.

If you live in Australia, you can order any of the products I used to make this card by going to my online store. Just click on any of the images below.

Product List
Paper Snips
[103579]
$21.00
Posted on Leave a comment

NO FUN FOLD CARD TODAY BUT A VERY CUTE CARD INSTEAD

Today’s card features some of the precut images from the images die cut sheets included in the Storybook Moments 12″x 12″ Designer Series Paper pack.

I started with a Basic White card base.

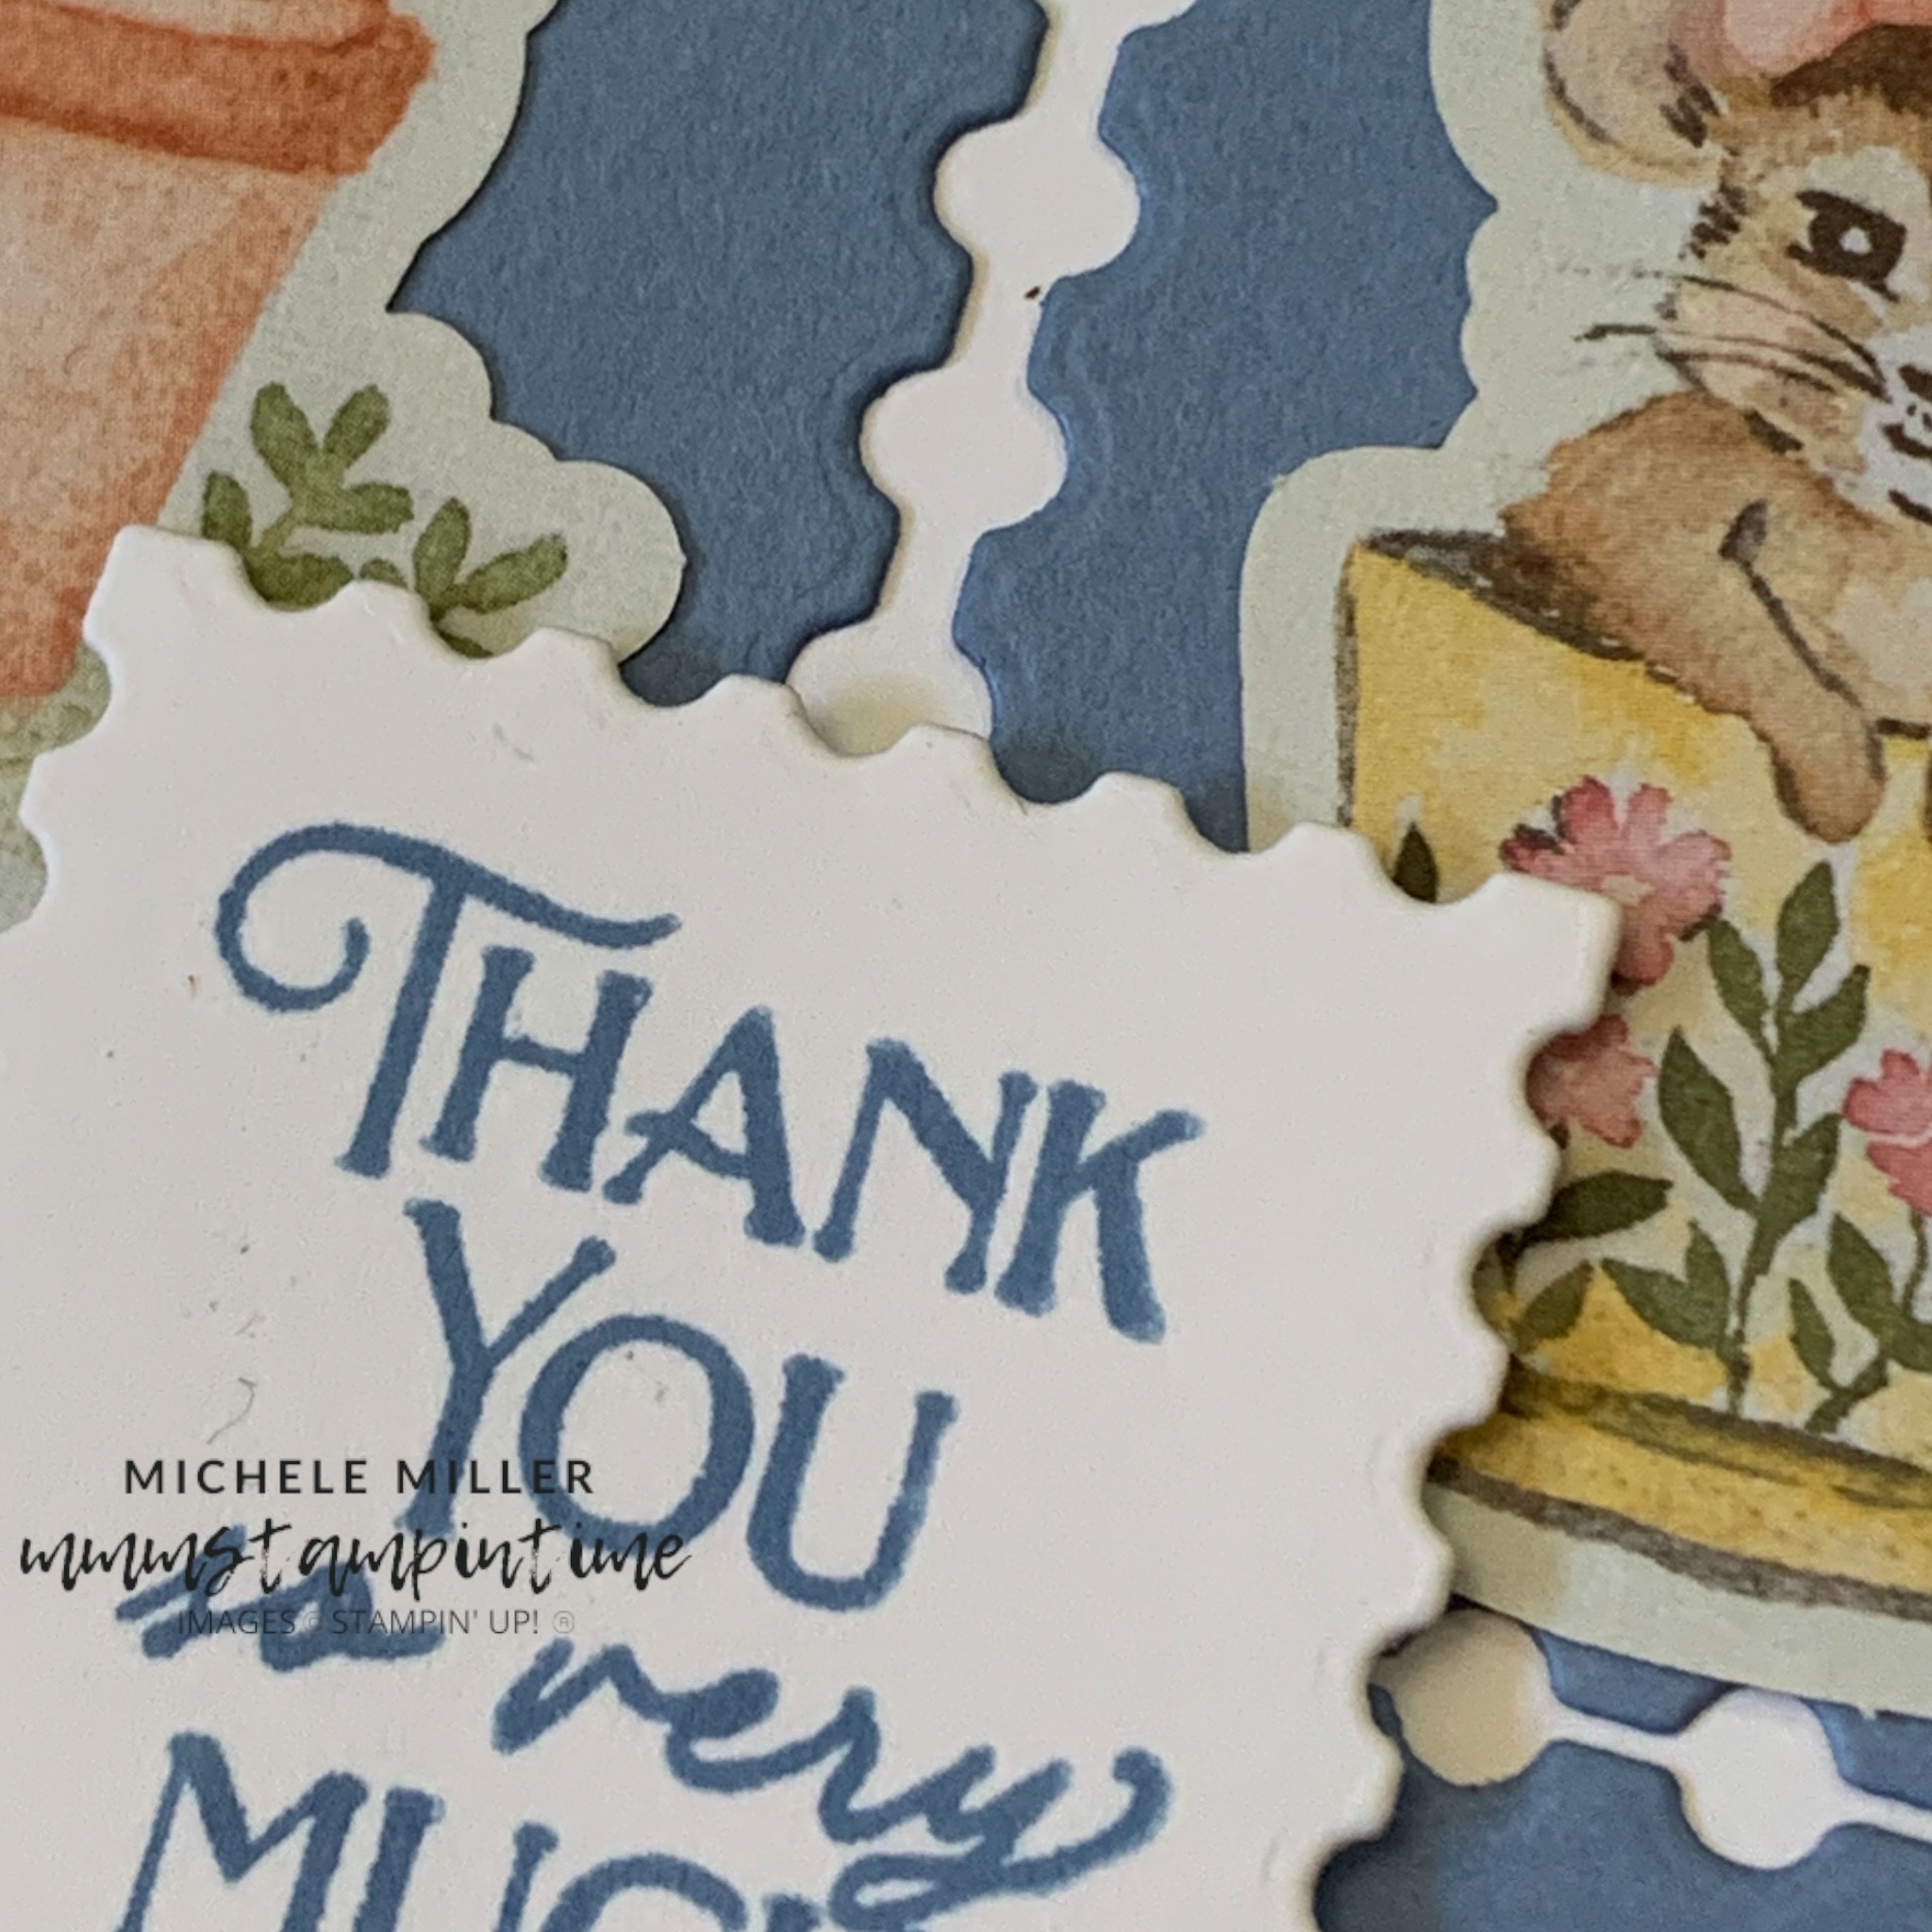
Using the largest square die, from the Perrenial Postage Dies, I cut 6 stamp shapes in Balmy Blue card.

The six stamp shapes were adhered to a panel of Basic White card.

This panel was then added to the front of the card base.

I looked through all of the precut images, from the die cut images sheets, and chose 6 images to attach to the blue die cut shapes.

The greeting, from the Storybook Friends Stamp Set,was stamped on to a scrap of white card using Boho Blue ink. Then it was cut using the smallest square Perennial Postage Die.

This square was attached to the card front using Stampin’ Dimensionals.

I chose two more precut images and added one to the card insert and the second to the back of the envelope.

This was such a super sweet and quick card to create.

It would be great for so many other events, especially a birthday.

Tomorrow I have another card featuring lots of Copper Clay pots.

Until then, happy stamping.

If you live in Australia, you can order any of the products I used to make this card by going to my online store. Just click on any of the images below.

Product List
Paper Snips
[103579]
$21.00
Posted on Leave a comment

TIME FOR SOME GARDENING

When I first saw the Storybook Moments 12″x 12″ Designer Series Paper I began remembering the wonderful times spent reading the Beatrix Potter books to my daughters.

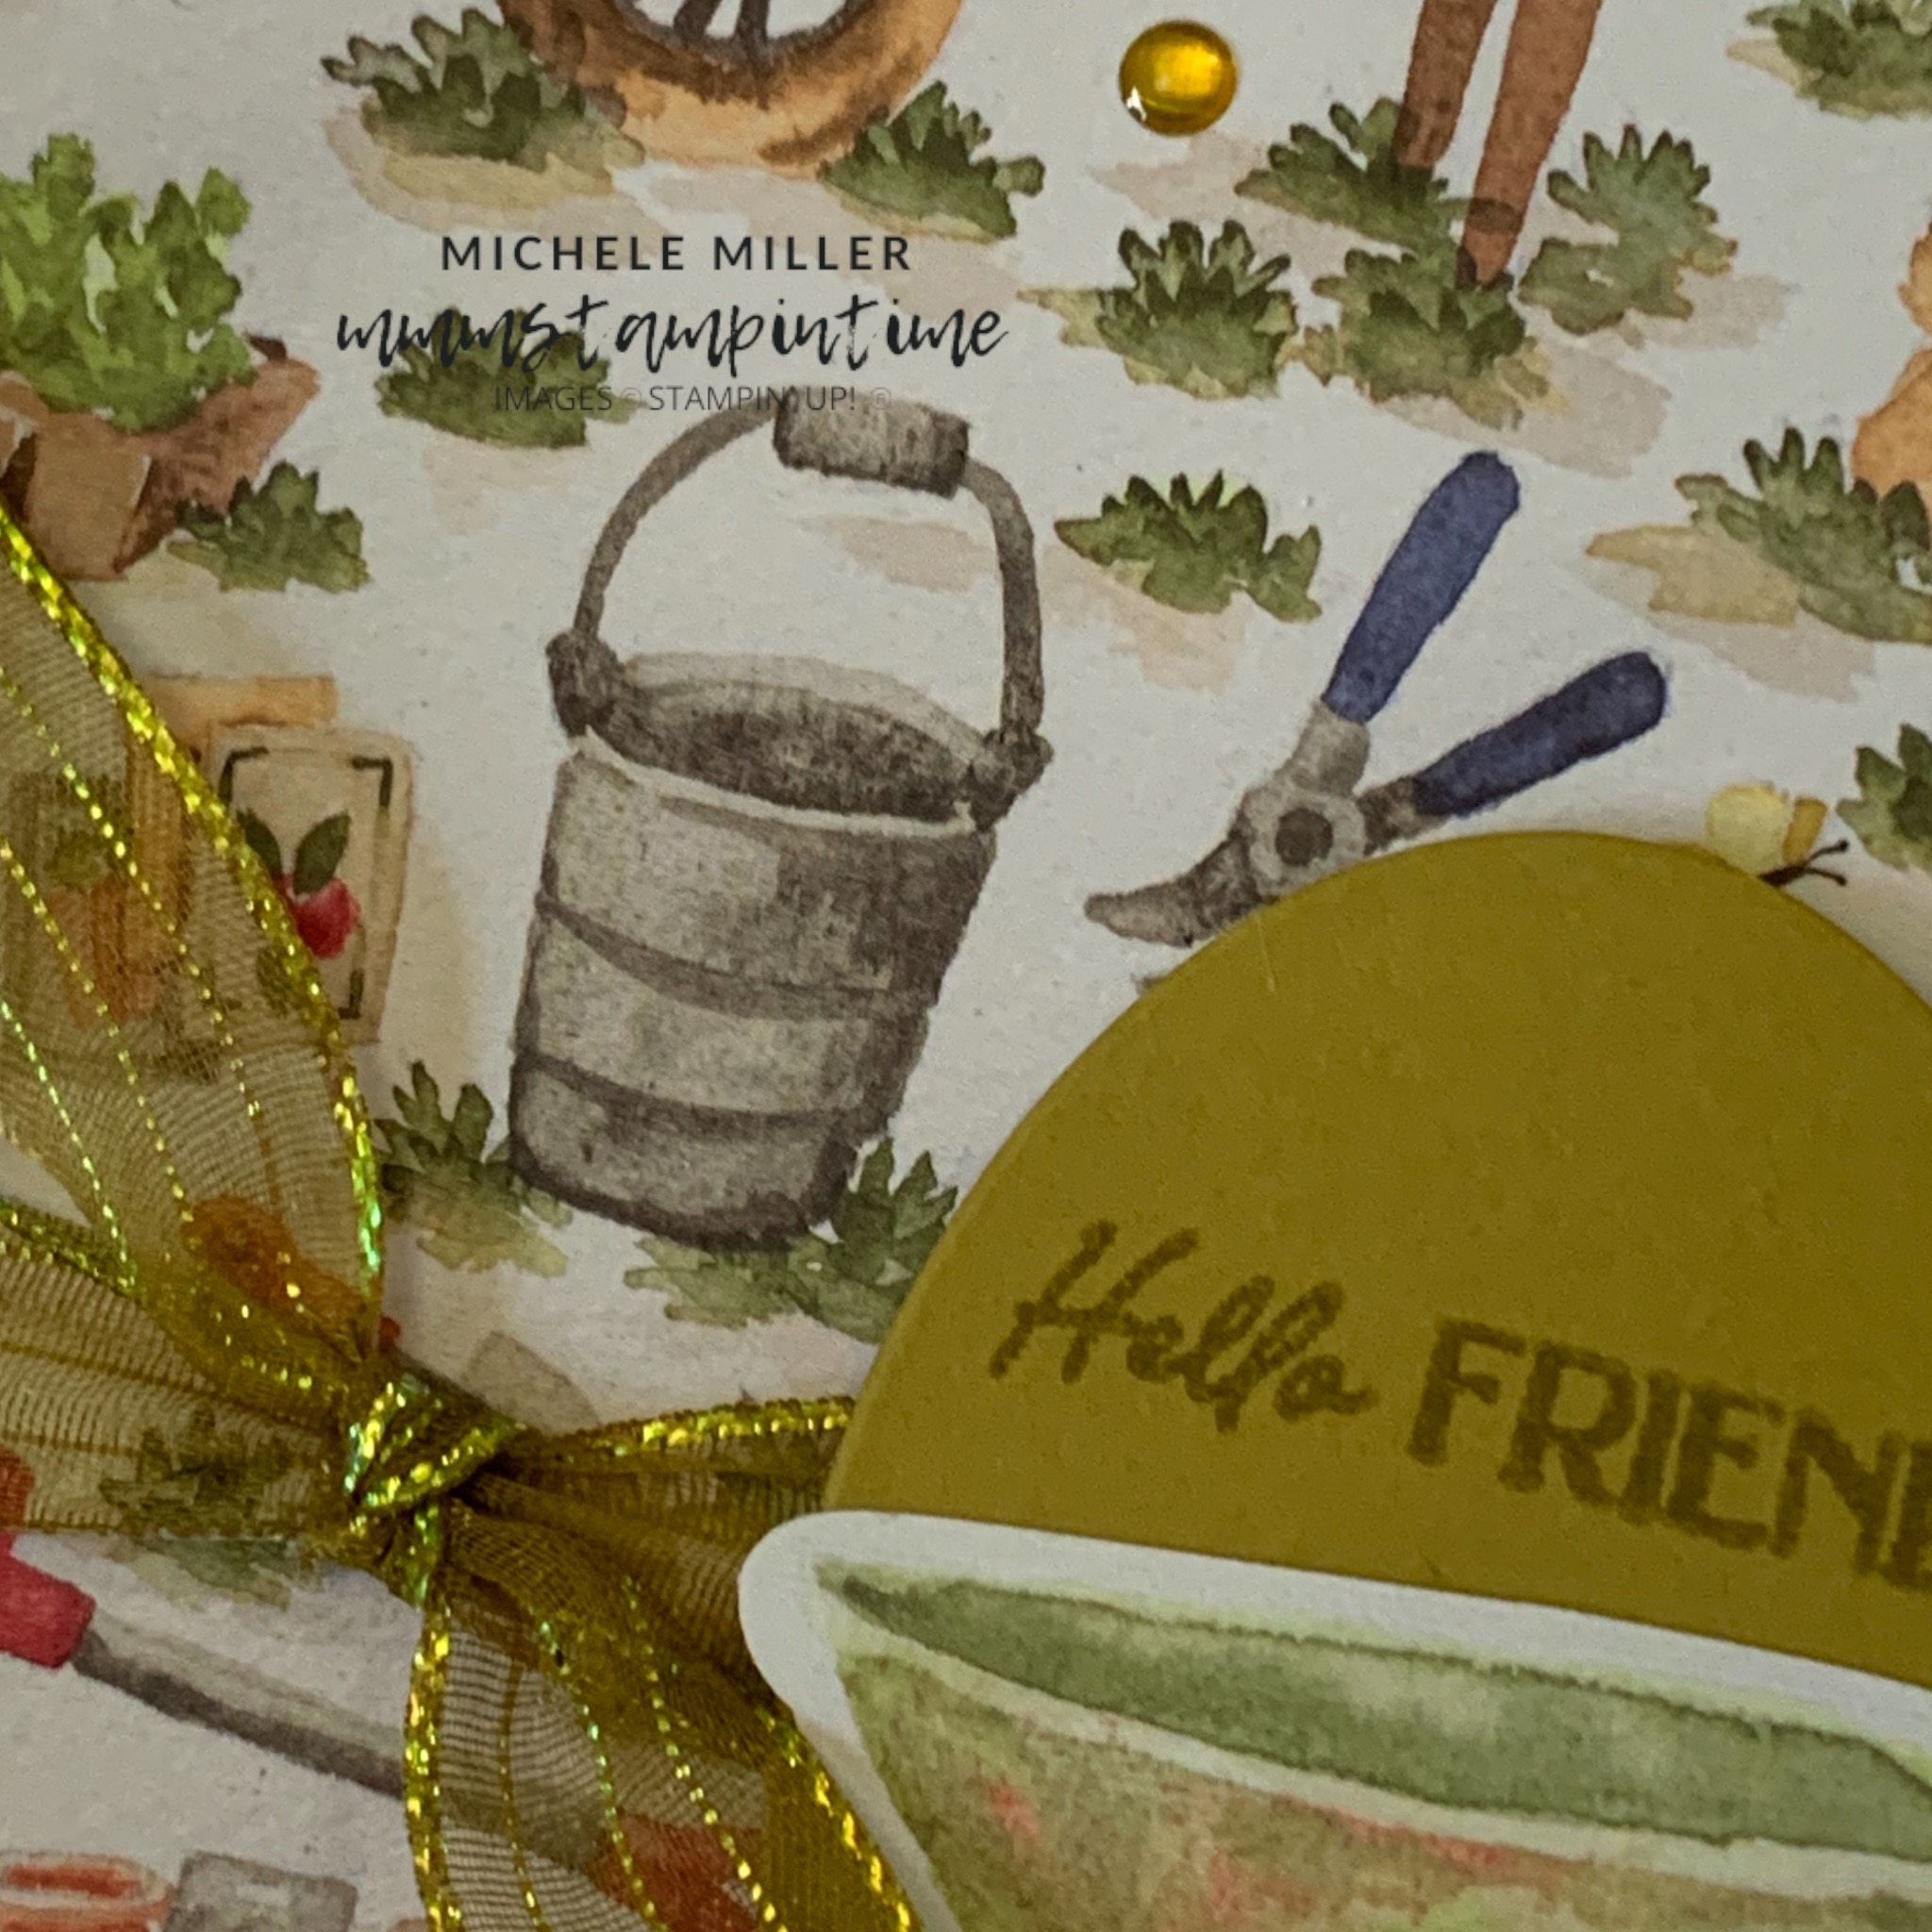
I could almost see Peter Rabbit peeking out from behind the pots, buckets and watering cans in this particular DSP design.

For this card I started with a Wild Wheat card base.

Then I adhered a panel of the DSP to a slightly larger layer of the DSP.

I took a length of Iridescent Striped Trim and coloured it with the Dark Wild Wheat Stampin’ Blends pen. Then it was wrapped around the DSP/card layers and secured on the back using doubled sided tape.

A shorter length of coloured trim was then tied around the wrapped ribbon.

I used the decorative oval die to cut the Wild Wheat oval shape used for the greeting.

The stamped oval was positioned over the coloured trim using Stampin’ Dimensionals.

Then I added the wheelbarrow from the sheet of die cut designs.

I added a strip of the DSP to the card insert and a larger panel to the back of the envelope.

Finally I added some of the Wild Wheat dots, from the 2023-2025 In Colour Dots, to give the card front a little bling.

Tomorrow’s card uses more of the images from the die cut sheets.

Until then, happy stamping.

If you live in Australia, you can order any of the products I used to make this card by going to my online store. Just click on any of the images below.

Product List
Paper Snips
[103579]
$21.00