Posted on Leave a comment

HOW TO USE A PUNCH TO CREATE A BACKGROUND FOR A CARD

This technique is so quick and easy. You can use just about any punch that you have in your collection.

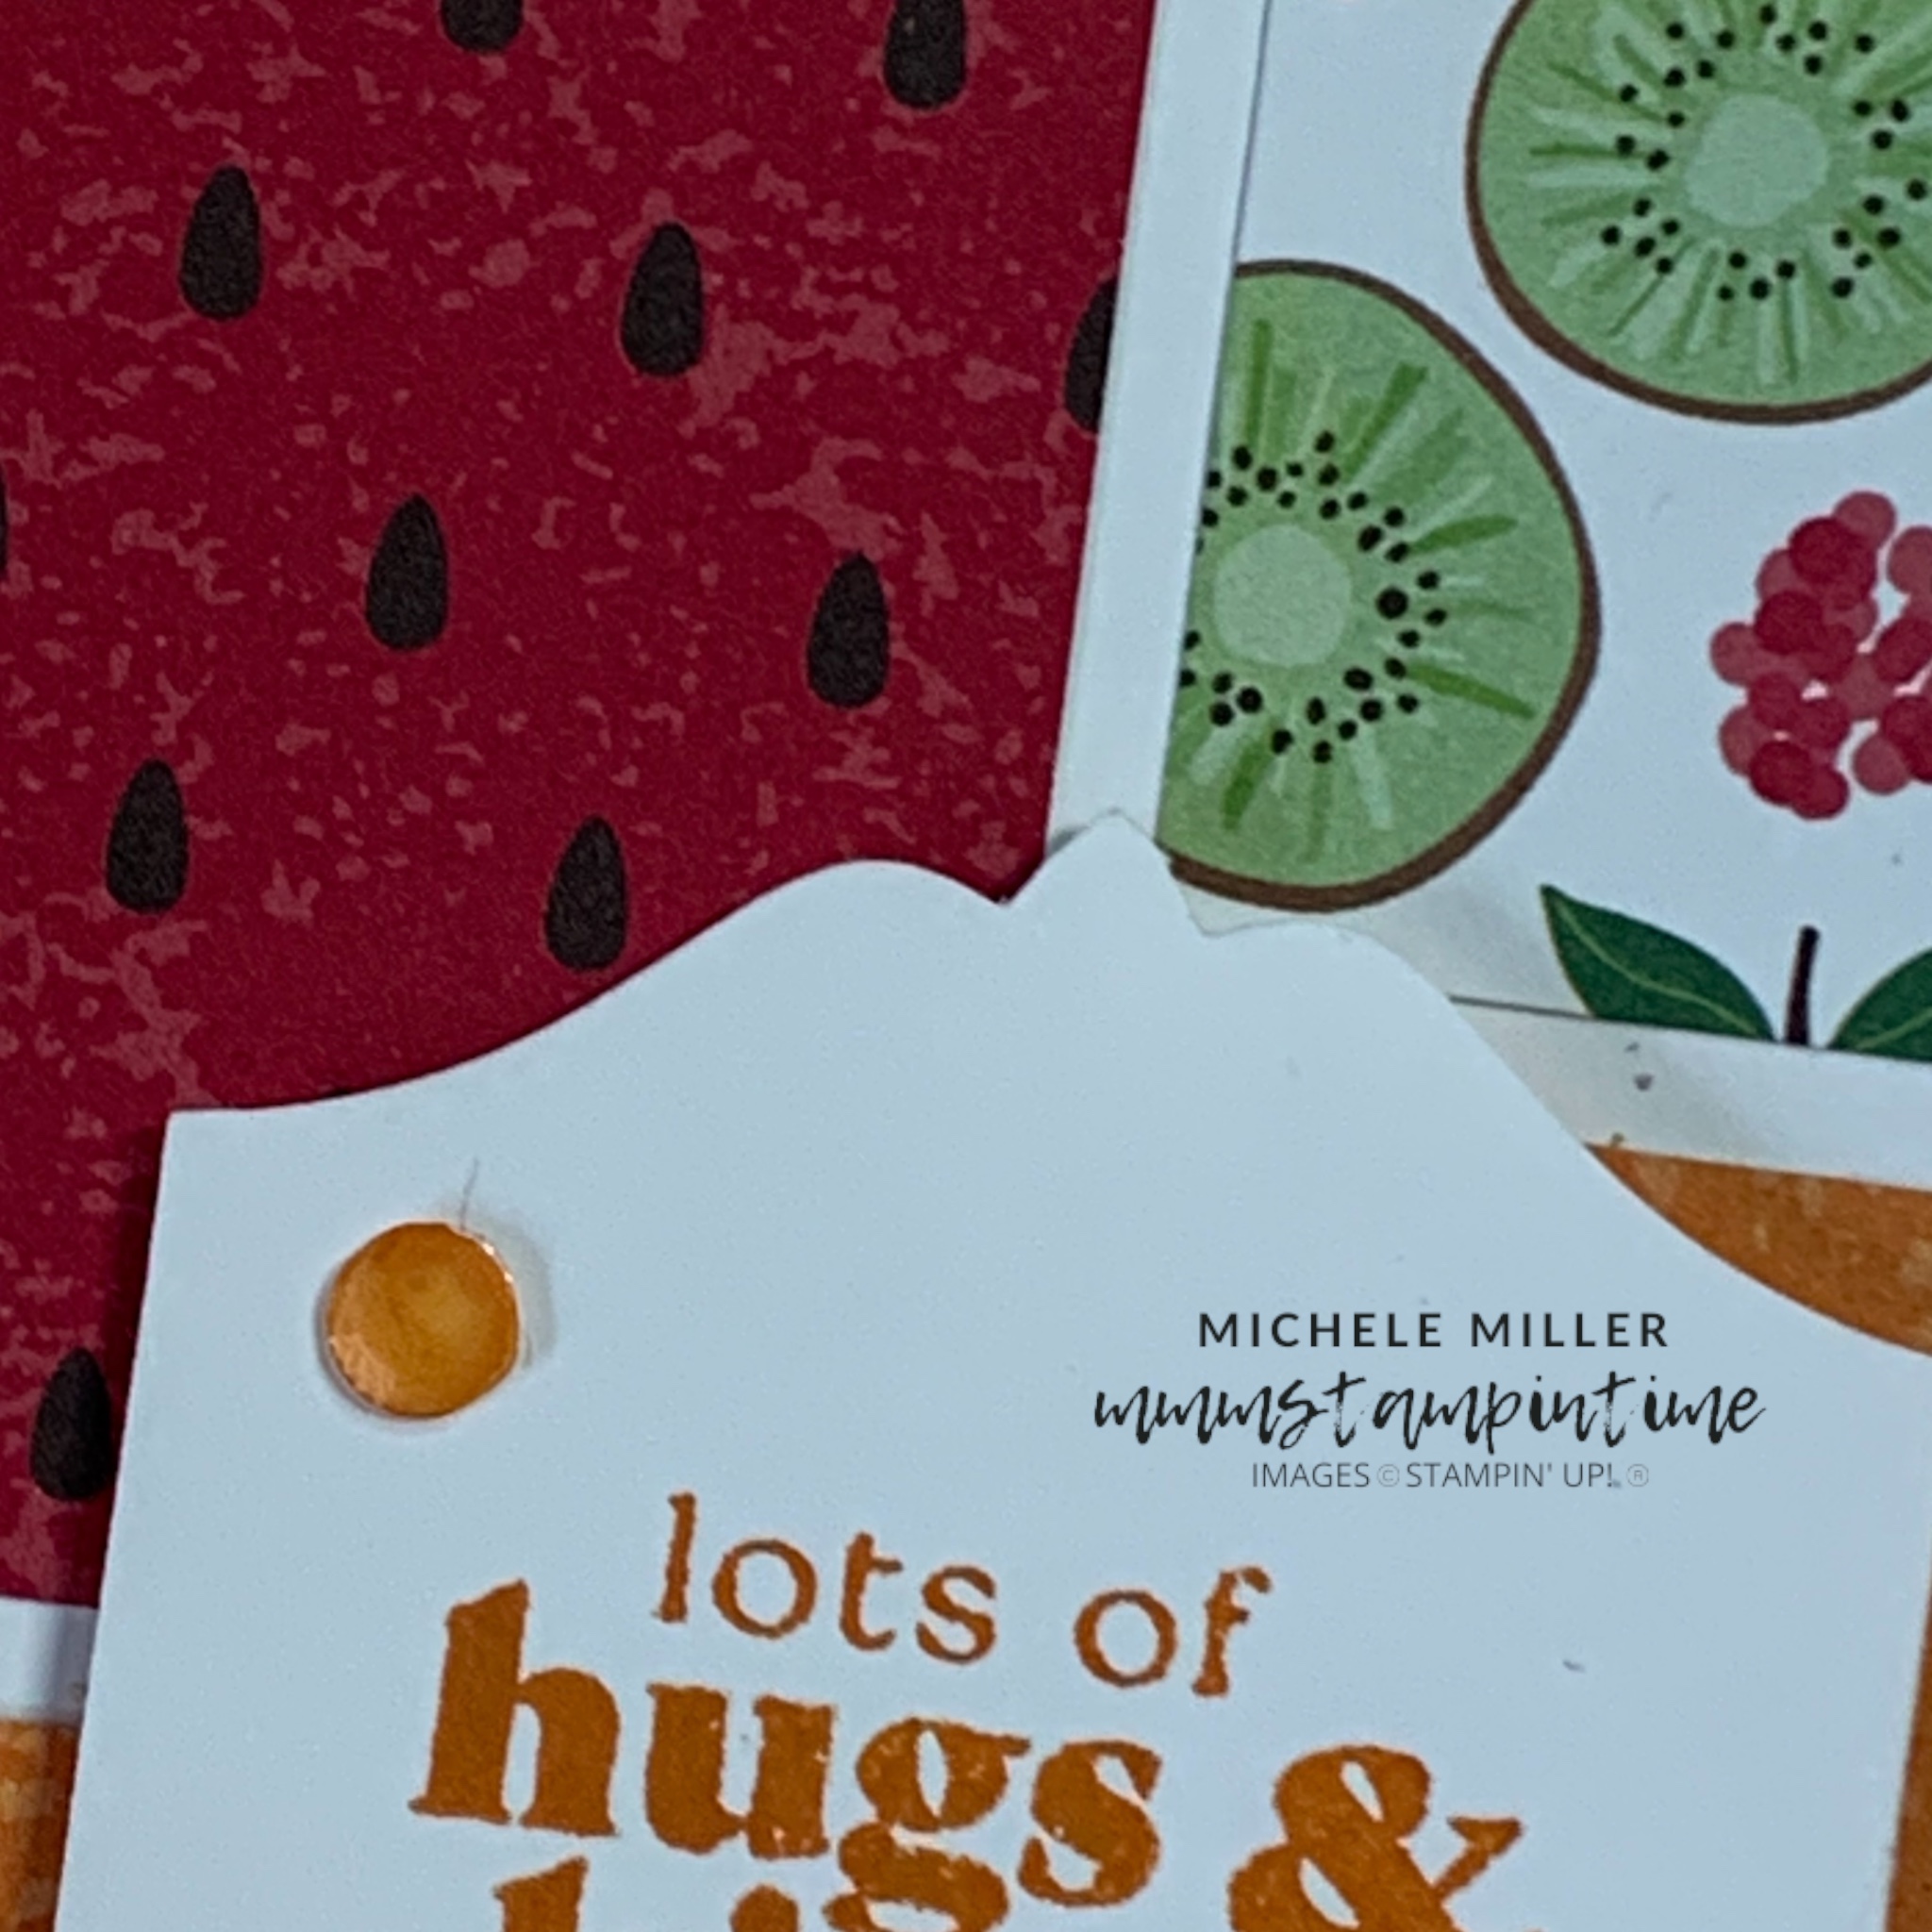
For this card, I am still featuring the Fruit Salad Designer Series Paper that you can earn for FREE with any $100 AUD product order.

I have used the same colours, as yesterday, but added Azure Afternoon for a second cool colour.

I used the To The Point Label Punch again and this time, used the Ice Cream Swirl Stamp Set.

The Pumpkin Pie card base was my starting point.

I took the Basic White layer and lightly pencilled it into quarters. This then became my reference for positioning the punched shapes.

The Pumpkin Pie punched shape was the first to be adhered in place. From here I played around with placements to vary the colours and create some even spacing between them.

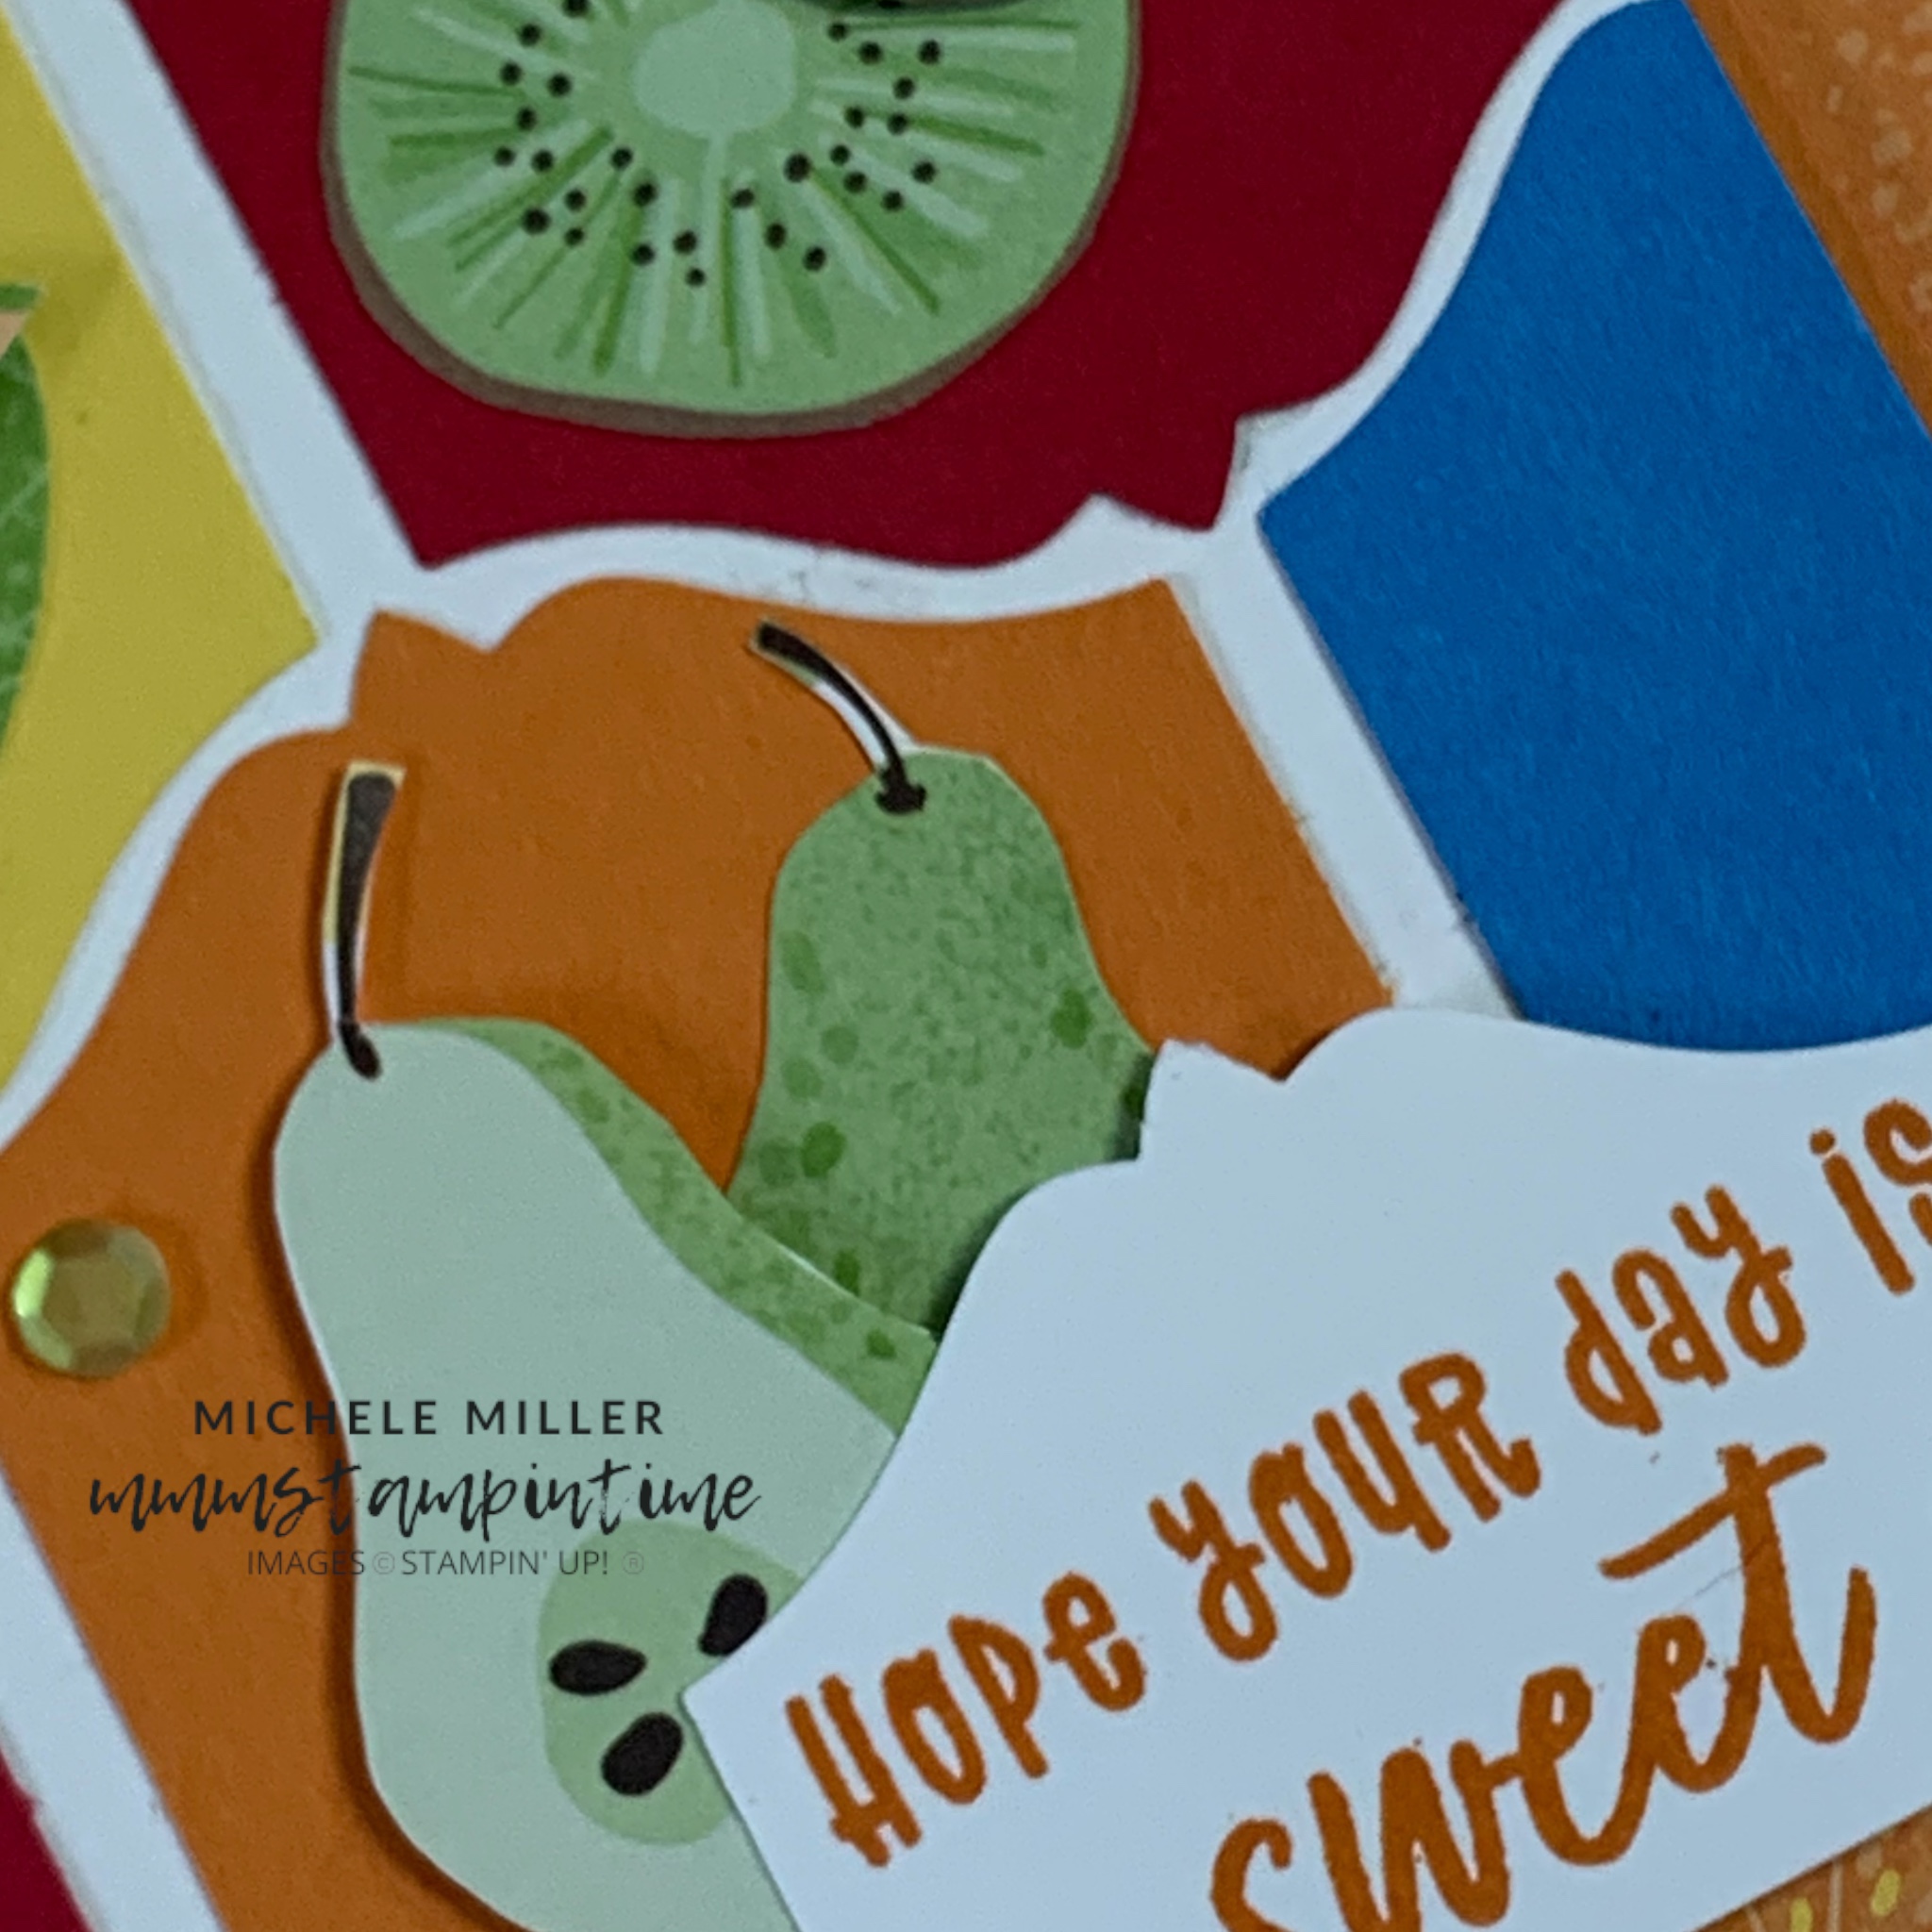
Then I spent some time fussy cutting the fruit images that I used on the card.

I added two fruit images to each of the five punched shapes.

The ‘sweet’ sentiment was perfect for this card. After stamping it in Pumpkin Pie ink I punched it and then trimmed it in half.

I added a strip of the Pumpkin Pie DSP to the card insert and larger piece to the back of the envelope.

Finally I coloured some of the clear sequins, using the dark Granny Apple Green Stampin’ Blends Pen, before attaching them to the card front.

Tomorrow I have a 3D project to share with you.

Until then, happy stamping.

If you live in Australia, you can order any of the products I used to make this card by going to my online store. Just click on any of the images below.

Product List
Paper Snips
[103579]
$21.00
Posted on Leave a comment

A NEW WEEK & A COLLECTION OF NEW PRODUCTS

This week I am focussing on the fabulous, FREE Fruit Salad 6″x 6″ Designer Series Paper.

If you live in Australia, you can earn this bundle of DSP if you order $100 of Stampin’ Up! products (excluding postage). This is available until the end of February unless stock runs out.

The colours in this DSP pack are so bright and vibrant.

For today’s projects I am also using the Hugs for Love Bundle. The stamp set and coordinating To the Point Label Punch work well with this project.

The cards I have made for today are inspired by some recent Patty Bennett creations. Thanks Patty!

I used four different colours for the card bases and then the same four paper designs in different layouts on the card front.

Each greeting was stamped in the same colour as the card base.

The clear sequins were coloured in the same colour as the card base also.

The card insert and back of the envelope each had some colour coordinated DSP added.

Tomorrow I have a fun and colourful card to share.

Until then, happy stamping.

If you live in Australia, you can order any of the products I used to make this card by going to my online store. Just click on any of the images below.

Product List
Paper Snips
[103579]
$21.00
Posted on Leave a comment

WHAT’S HAPPENING THIS WEDNESDAY?

So, the January – April 2025 Mini Catalgoue has been launched, and you live in Australia, and I have copies that I can send to you. Just reach out and let me know that you’re interested.

The Sale-a-bration 7 January – 28 February 2025 Brochure is also ‘live’. In this brochure there are 12 products that you can choose from for every $100 AUD order and 2 products you can choose from for every $200 order.

During Sale-a-bration there is an amazing opportunity for those of you who love creating to join Stampin’ Up! and receive greate benefits. If you live in Australia and would like to know more, please reach out and we can have a chat.

Today’s project started with a Peach Pie card base and a panel of DSP (Designer Series Paper) that has a lovely, small floral and leaf design.

I also used the same Pecan Pie DSP that were on both my Monday and Tuesday projects.

After preparing the card base and DSP layers, I began die cutting the floral and leaf elements.

The colours I used for the flowers and leaves were Peach Pie and Old Olive. The card had Adhesive Sheets attached to back to ensure an easier, and less sticky, way to join them.

To create the darker inserts, I coloured these two card colours using the same dark Stampin’ Blends Pens.

I attached the two branches on the card front before beginning to position and secure the flowers.

The birthday greeting was stamped, die cut and trimmed. Then I added a strip cut from a sheet of Stampin’ Dimensionals to add it to the front of the card.

I took a long length of Linen thread and tied a layered bow. After trimming the ends, I secured it to the card front using a mini Glue Dot.

A strip of DSP was added to the card insert and a larger piece was adhered to the back of the envelope.

Finally, I coloured some white Adhesive-backed Sequins, from the Trio Pack, using the dark Peach Pie Stampin’ Blends pen.

Tomorrow is Thursday and I have a 3D project to share with you.

Until then, happy stamping.

If you live in Australia, you can order any of the products I used to make this card by going to my online store. Just click on any of the images below.

Product List
Paper Snips
[103579]
$21.00