Posted on Leave a comment

CHRISTMAS GIFT BAG

Hello friends! Thanks for popping by to see my latest project.

I decided to make a gift bag to coordinate with a card I shared a couple of days ago.

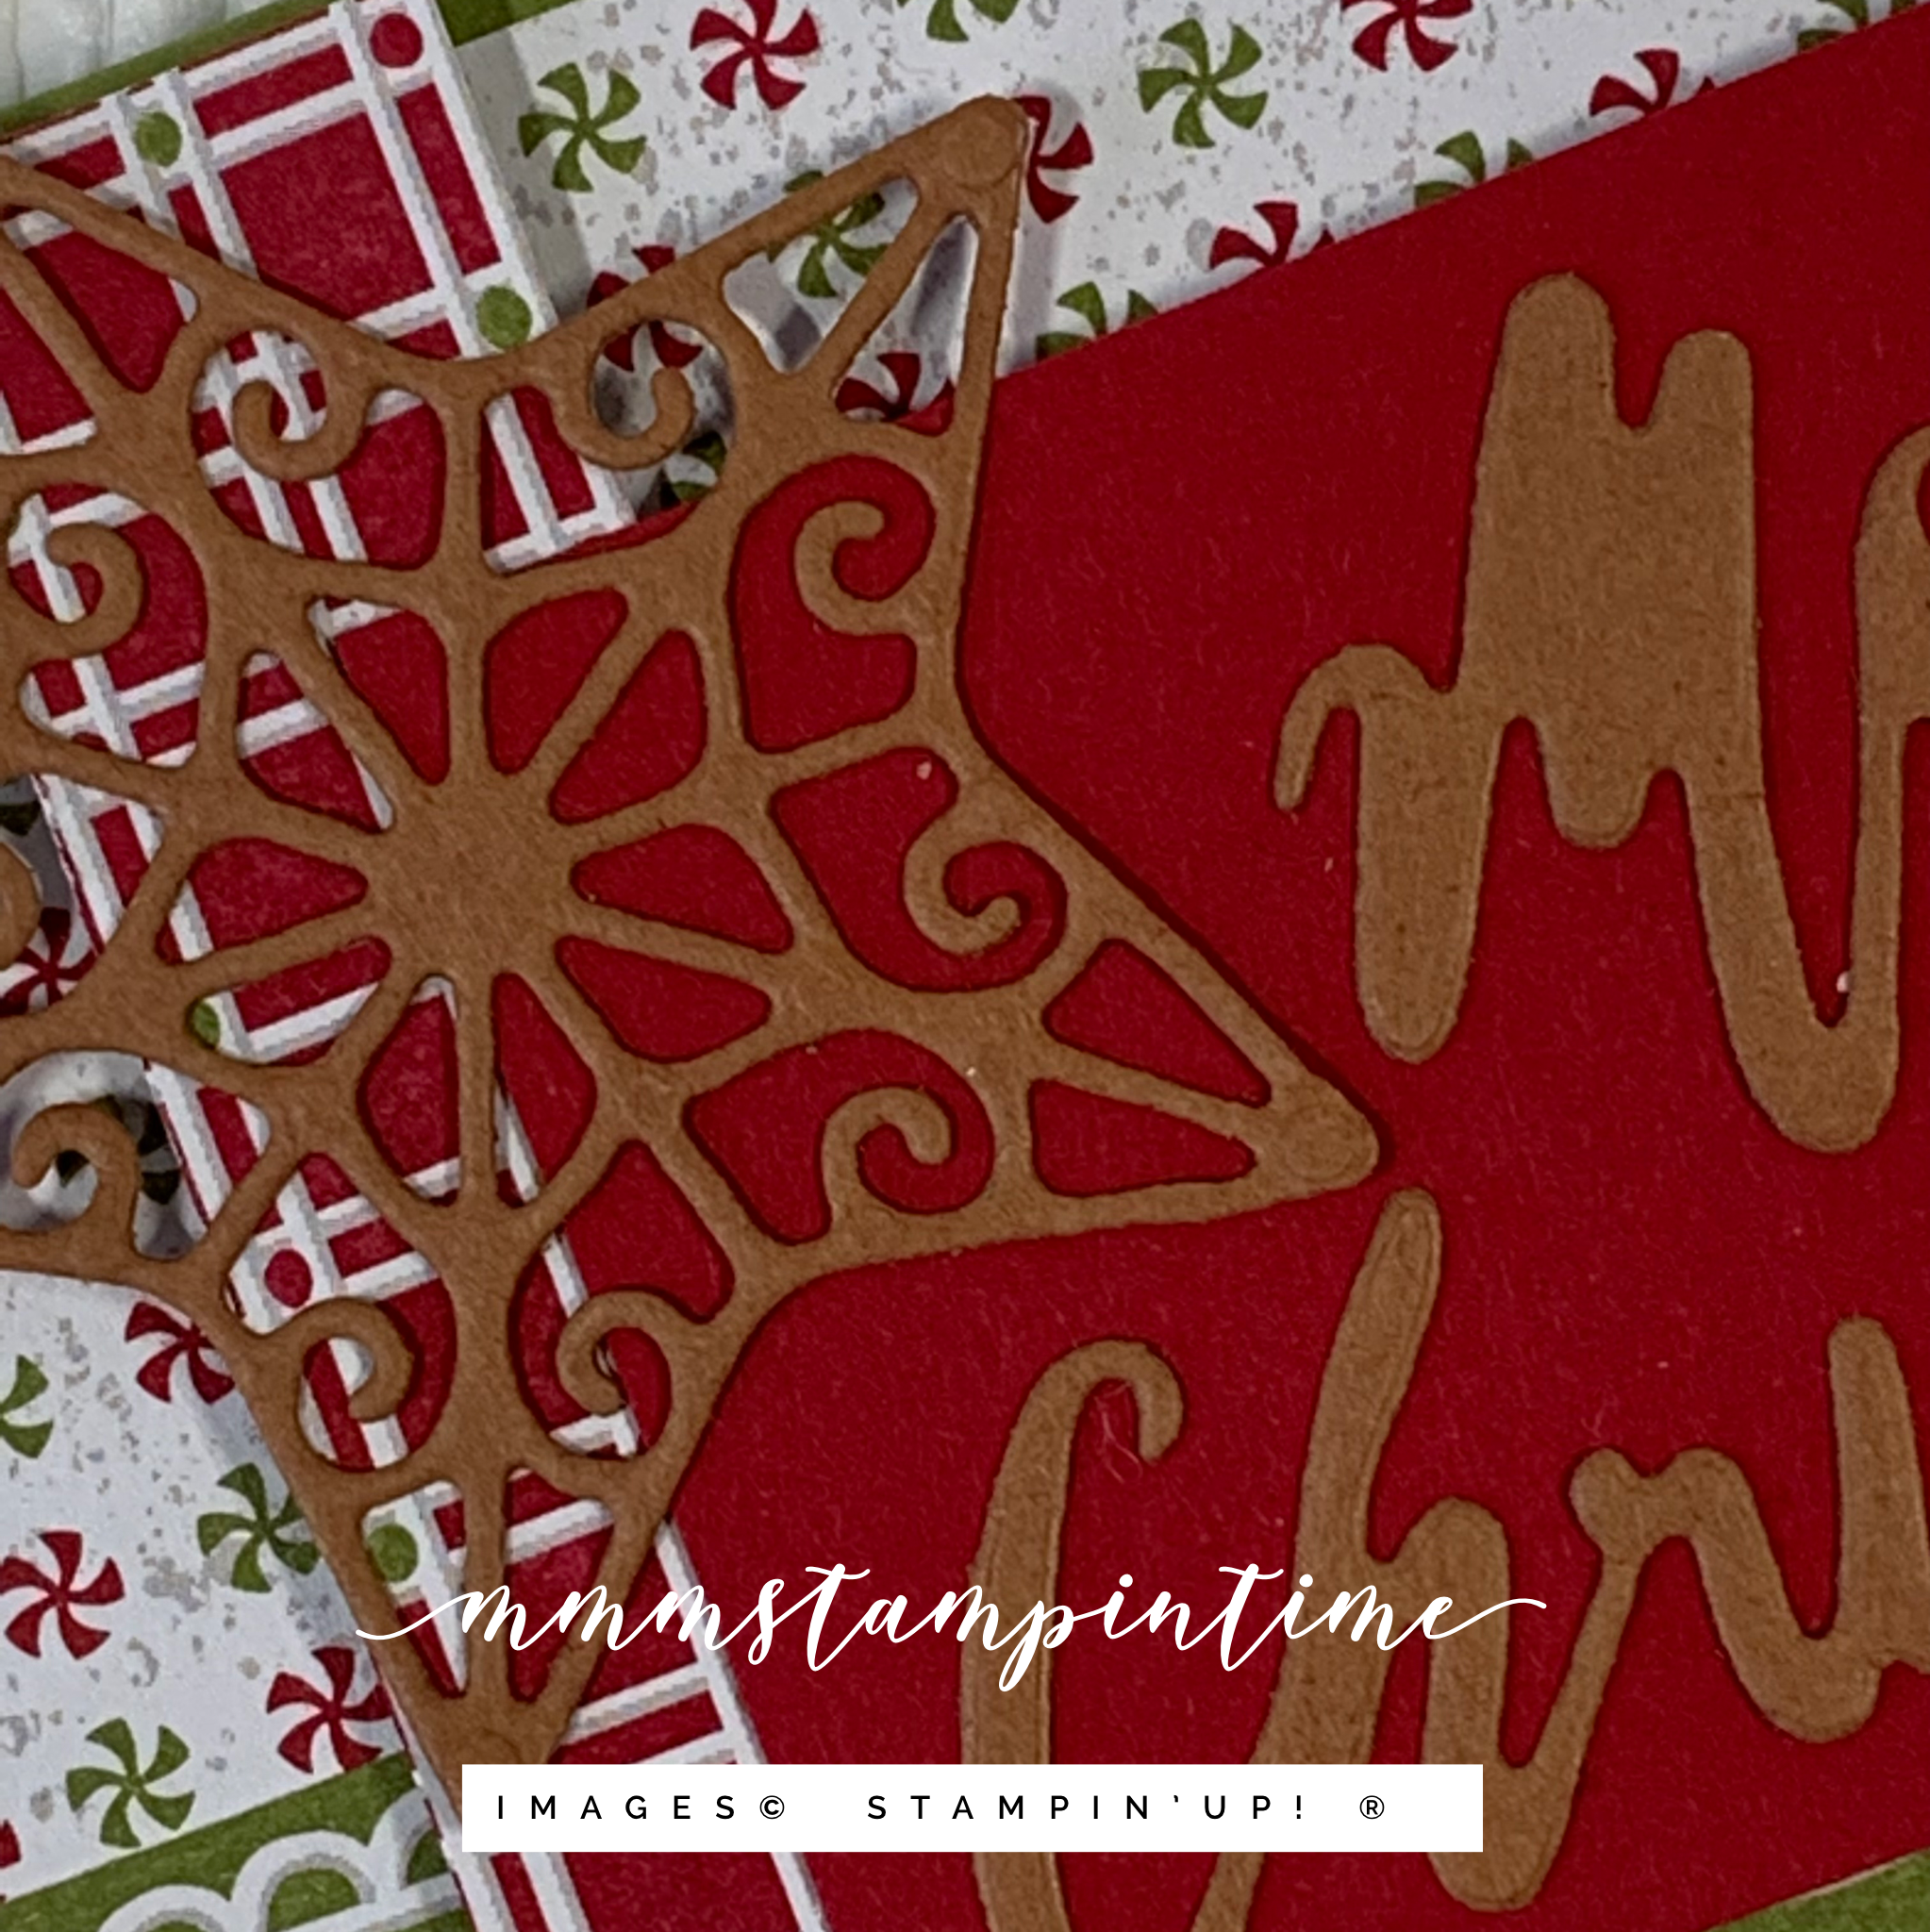
I used one of the Ombre Gift Bags, some of the Whimsy & Wonder Designer Series Paper and a few of the Wonderful Snowflakes.

I secured a length of the Soft Succulent Open Weave Ribbon to the back of the DSP layer and then adhered it to the front of the ombre bag.

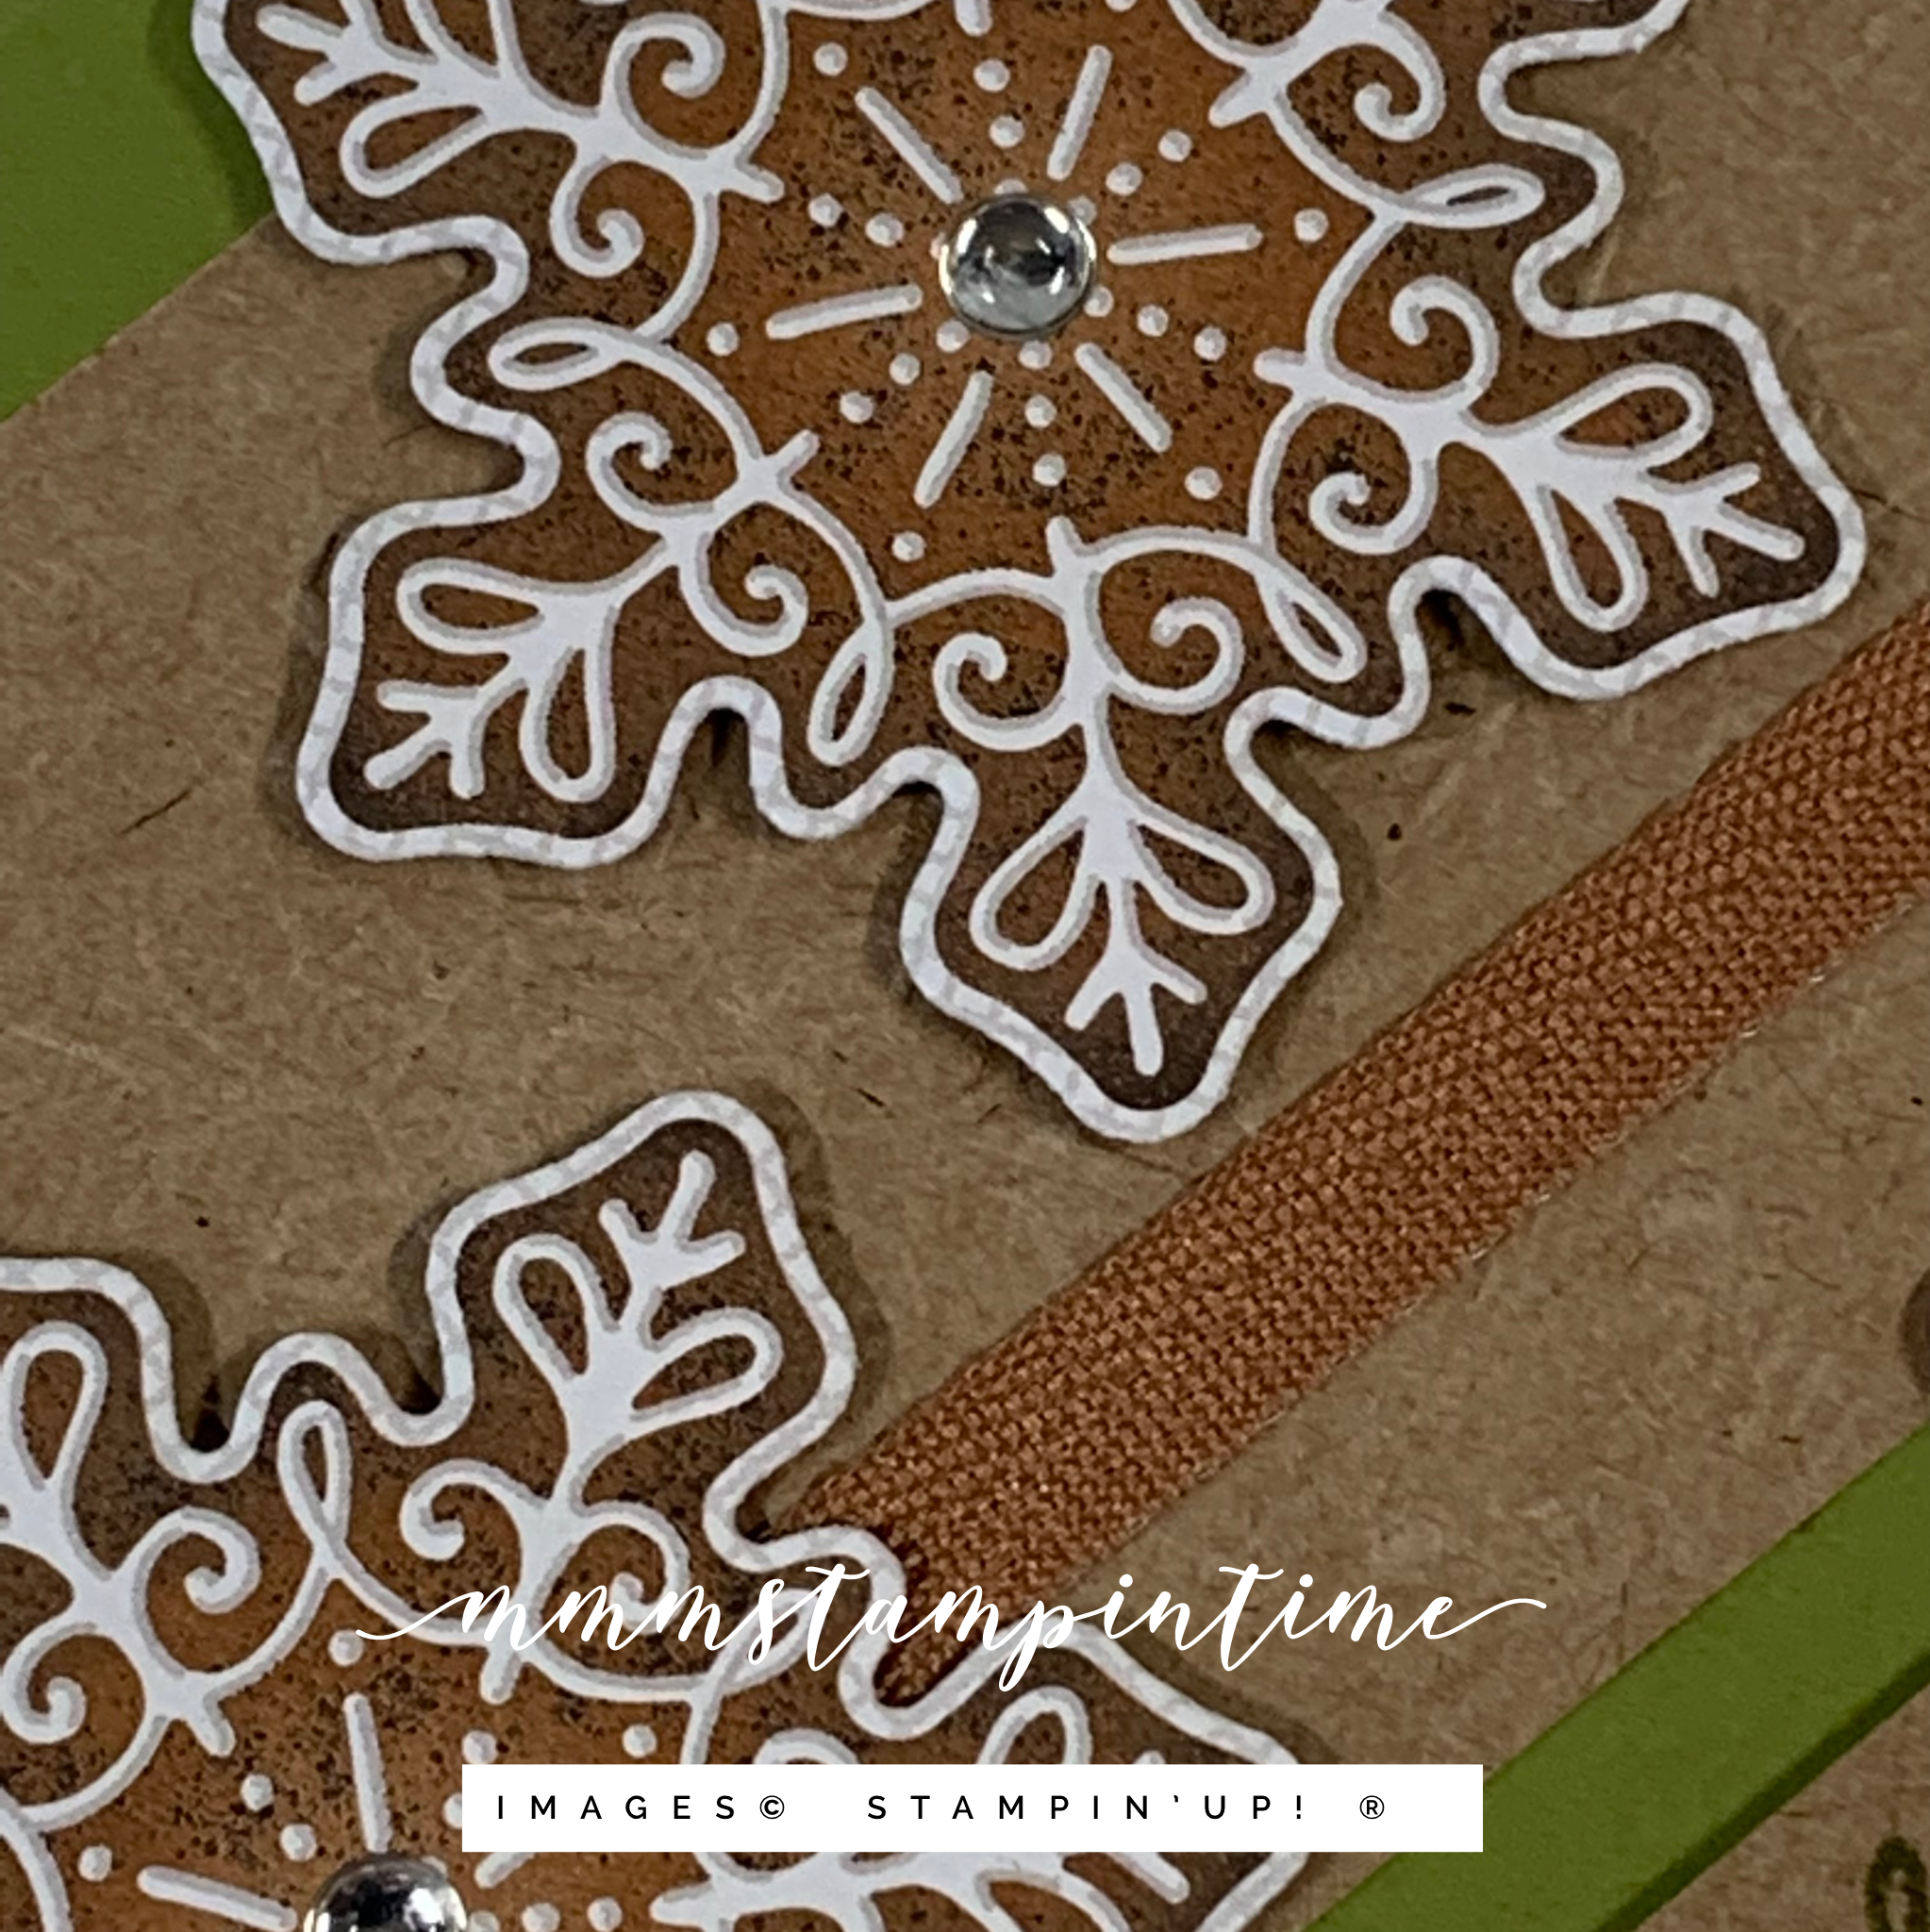
Three snowflakes were added to the bag using Stampin’ Dimensionals.

I cut four tags using the Tailor Made Tags Dies – two in Basic White and one each in Sift Succulent and DSP. One of the white tags was glued to the back of the DSP tag.

Using the Delivering Cheer Stamp Set, I stamped the greeting and trees to the Basic White tag. Then I stamped the ‘to’ and ‘from’ on the Soft Succulent tag.

I stamped, coloured and fussy cut the gift boxes. After I photographed the gift bag I carefully removed the gift boxes and repositioned them so they are now parallel with the bottom of the bag (and it looks much better).

The tags were overlapped and glued in place. Then I cut a length of White Faux Linen Ribbon in half, from the Flowers for Every Season Ribbon Combo Pack, and frayed it before combining it with White Baker’s Twine and Soft Succulent Open Weave Ribbon to finish the tags.

I added some CLear Wink of Stella to the Soft Succulent ‘ribbon’ on the gift boxes before popping some coordinating 2021-2023 In Colur Jewels.

What do you think of this little gift bag? I think that I will make a gift card holder to pop inside the bag.

Until next time, happy stamping.

If you live in Australia, you can order any of the products I used to make this card by going to my online store. Just click on any of the images below.

Product List
Paper Snips
[103579]
$17.00
Posted on Leave a comment

COLOUR INKSPIRATION #108

Hello to each and every one of you who take the time to pop by and see my latest project. I truly appreciate that you do!

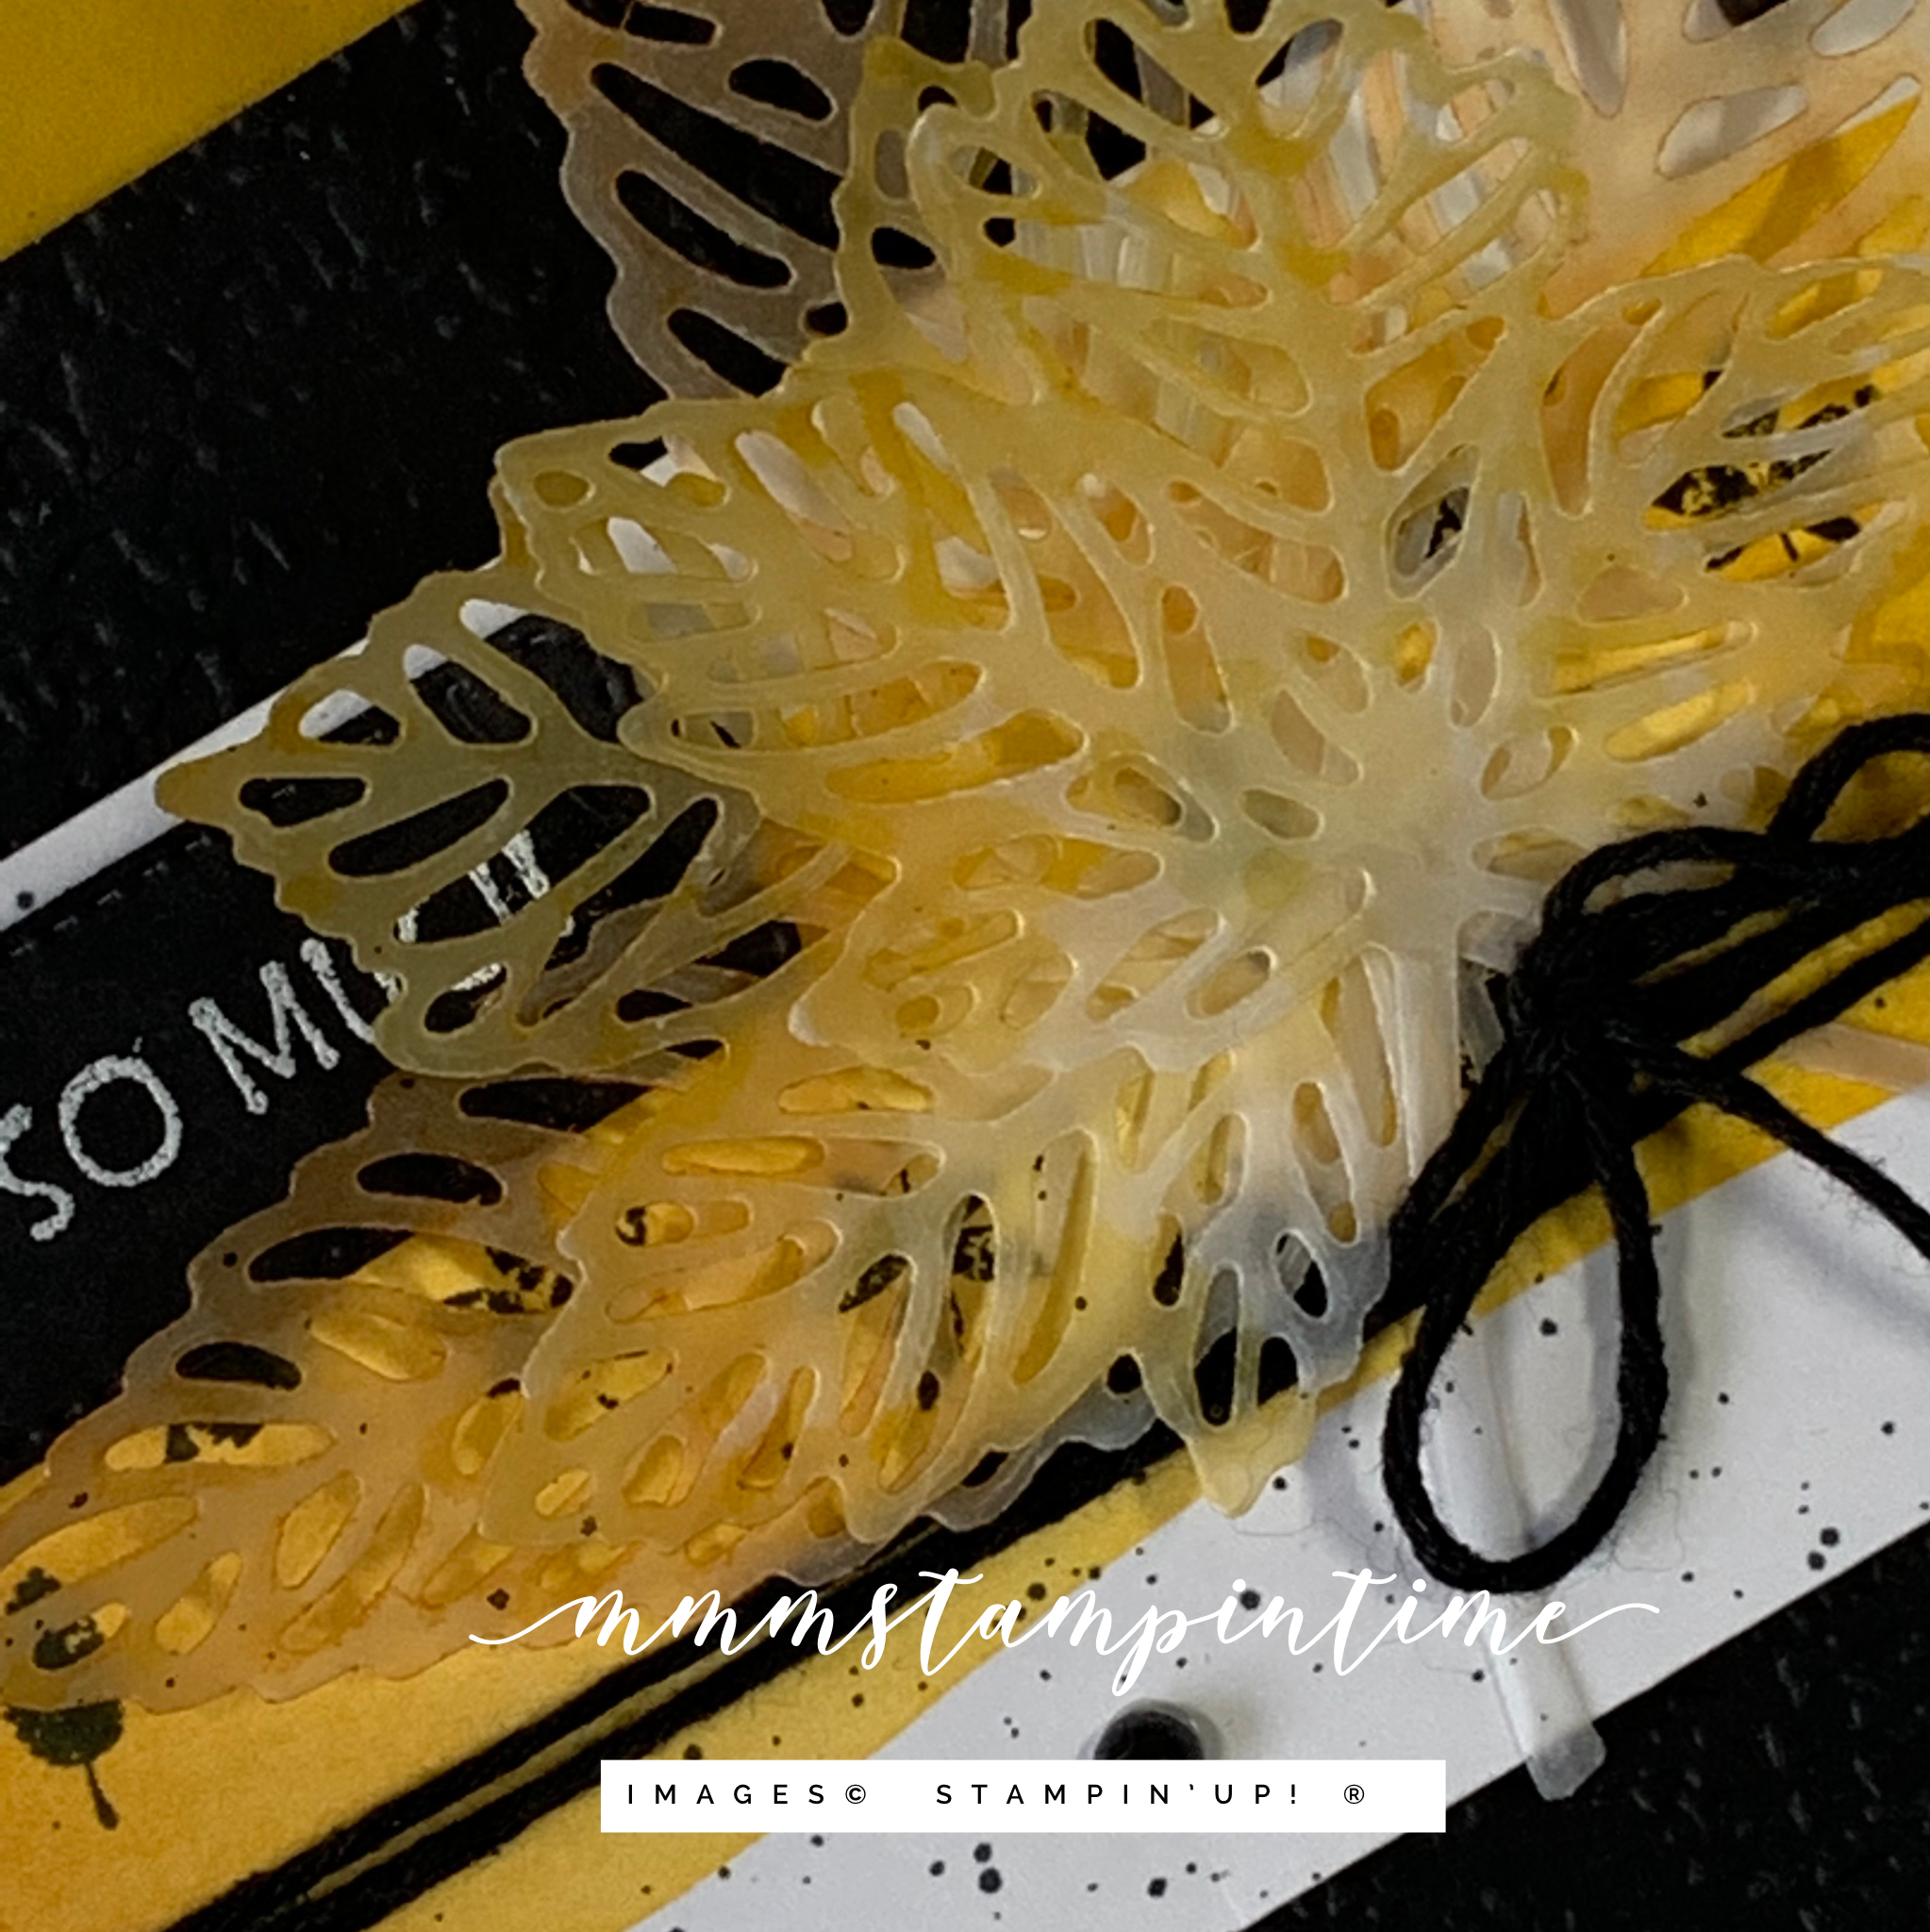
Today I have a card and coordinating gift box that I made for the #108 Colour INKspiration challenge. The colour palette for this challenge is so bright and bold.

May be an image of text that says 'Daffodil Delight #108 Polished Pink Fresh Freesia Balmy Blue Coastal Cabana COLOUR COLOUR AKSPIRATION SPIRATION CHALLENGES'

I decided to feature the FREE Sale-a-brationTextures & Frames Stamp Set and the Sweet Treats Stamp Set. Let me know if you think the project is bold enough!

I started by stamping the ‘block’ image from the Textures & Frames Stamp Set in the five colours from the challenge. Then I stamped the cupcake image, from the Sweets & Treats Stamp Set, using the Tuxedo Black Memento ink pad. I used my Stamparatus to stamp these colours and images to ensure everything is perfectly spaced. Then I trimmed down the Basic White card to the size you can see.

I cut a 1″ strip in each of the five challenge colours and then used the Banner Pick a Punch to create a banner end for each of them. Using my Gridpaper I positioned each of these banners and adhered them at an angle under the cupcake panel.

For the background panel, I used the ‘splotches’ image and all five colours to fill the Basic White space. When the stamping was finished I added texture to this panel by using the Tasteful Textile 3D Embossing Folder.

Once the embossed layer was adhered to the card base, the cupcake layer was popped up using Stampin’ Dimensionals.

I created a ribbon feature using Mini Glue Dots and Polished Pink Open Weave Ribbon.

The birthday greeting, also from the Sweets & Treats Stamp Set, was cut using one of the Seasonal Labels Dies.

I was inspired by a recent Paper Pixie (Julie Dimatteo) project – a tapered triangle gift box. This is the gift box I made to coordinate with my card – thank you Julie! If you haven’t discovered her amazing projects, especially her 3D ones, make sure that head over to her website.

These are many of the products I used to create this card and gift box. There will be a complete supply list at the end of this post.

What do you think? Do you love this vibrant colour scheme?

Until next time, happy stamping.

If you live in Australia, you can order any of the products I used to make this card by going to my online store. Just click on any of the images below.

Product List
Paper Snips
[103579]
$17.00
Posted on Leave a comment

DELIVERING CHRISTMAS CHEER

Hello and welcome to another project I want to share with you.

I made this card during my Facebook Live yesterday. Here is the link – https://www.facebook.com/mmmstampintime/videos/2599057596906237

It is another curtain fold card featuring the Delivering Cheer Stamp Set and Whimsy & Wonder 12″x 12″ Designer Series Paper.

I started by cutting, scoring and folding the DSP layer. Some Multipurpose Glue was used to glue the top end of the folds in place. As soon as it was dry I attached it to the front of the Polished Pink card base.

Then I stamped the skirt and legs image twice. For one of them I used Crumb Cake ink and stamped off twice before stamping on to a piece of Basic White card. The second was stamped, in Memento Tuxedo Black, on to a piece of the Soft Succulent DSP.

The gift boxes and arms were stamped, using Crumb Cake ink, that had been stamped off twice. I used Stampin’ Blends to colour the boxes. For the legs and arms I used the Ivory Stampin’ Blend and then used the Colour Lifter to lighten the colour slightly.

The greeting is from the Delivering Cheer Stamp Set and was cut using one of the Pretty Pillow Box Dies.

I stamped the gift boxes images on the card insert and envelope. The final step was to colour some Clear poxy Essentials using Stampin’ Blends.

As you can see, I used quite a few of the Stampin’ Blends colours for this card.

Until next time, happy stamping.

If you live in Australia, you can order any of the products I used to make this card by going to my online store. Just click on any of the images below.

Product List
Paper Snips
[103579]
$17.00