Posted on Leave a comment

OKTOBERFEST BIRTHDAY CELEBRATION

My youngest daughter asked me to make a card for her partner. He will be celebrating his 30th birthday on October 30. The celebration will be an Oktoberfest costume themed event.

For this request I knew that I wanted to make a lederhosen inspired card. The Suit & Ties Dies would be perfect.

Althought the Well Suited Designer Series Paper is retired, I chose one design to use for the ‘shirt’.

The ‘shirt’ was so easy to create. I cut a piece of the DSP and trimmed away a triangle at the centre top to accommodate the collar.The collar had Stampin’ Dimensionals placed on the underside so that it would sit up from the ‘shirt front’. I also popped a small piece of Basic White card behind the triangle.

I small strip of the same DSP was cut using one of the Suit & Ties Dies and glued down the centre to appear to be the placket for buttonholes and buttons. The buttons were die cut from Basic Black card that has Adhesive Sheet attached.

For the lederhosen suspenders and front panel, I thought Cinnamon Cider card would be the perfect colour. The suspenders were cut using the same die I used for the placket.

The suspender buckles were also cut using the Suit & Ties Dies.

I created the centre panel of the lederhosen suspenders using the Seasonal Layers Dies. This piece was then recut to make the shape smaller and more authentic looking.

An image from the Batik Boutique Stamp Set was used to add the floral flourish to the centre panel. It was stamped in Tuxedo BLack Memento ink.

Inside the card, I stamped a birthday greeting on the insert and also created a calendar panel to mark the date of his birthday – turning 30 on the 30th.

I sent photos of the card to my daughter and she is very happy with what I have made for her. And I am very pleased with the end result.

Although, I must confess, I’m reallt sure that I want to go in costume.

Until next time, happy stamping.

If you live in Australia, you can order any of the products I used to make this card by going to my online store. Just click on any of the images below.

Product List
Paper Snips
[103579]
$17.00
Posted on Leave a comment

COLOURFUL FLOWER MARKET

Earlier this week I posted a card I made for the Global Design Project Challenge – #GDP312. I was also working on a second card idea that I finished last night.

For my second card I used the Flower Market Die to cut out the gorgeous floral design. Then I placed pieces of Rainbow Glimmer Paper under the cut layer.

Then I cut more of the Rainbow Glimmer Paper from the Bermuda Bay and Blackberry Bliss side of the sheet.

The birthday greeting was stamped using my Stamparatus to ensure a strong and clear image. Then I trimmed and fussy cut the greeting. It was popped up on the card front using Stampin’ Dimensionals.

For the card insert and envelope, I cut a stencil using the Flower Market Die and then I used my Blending Brush to colour them.

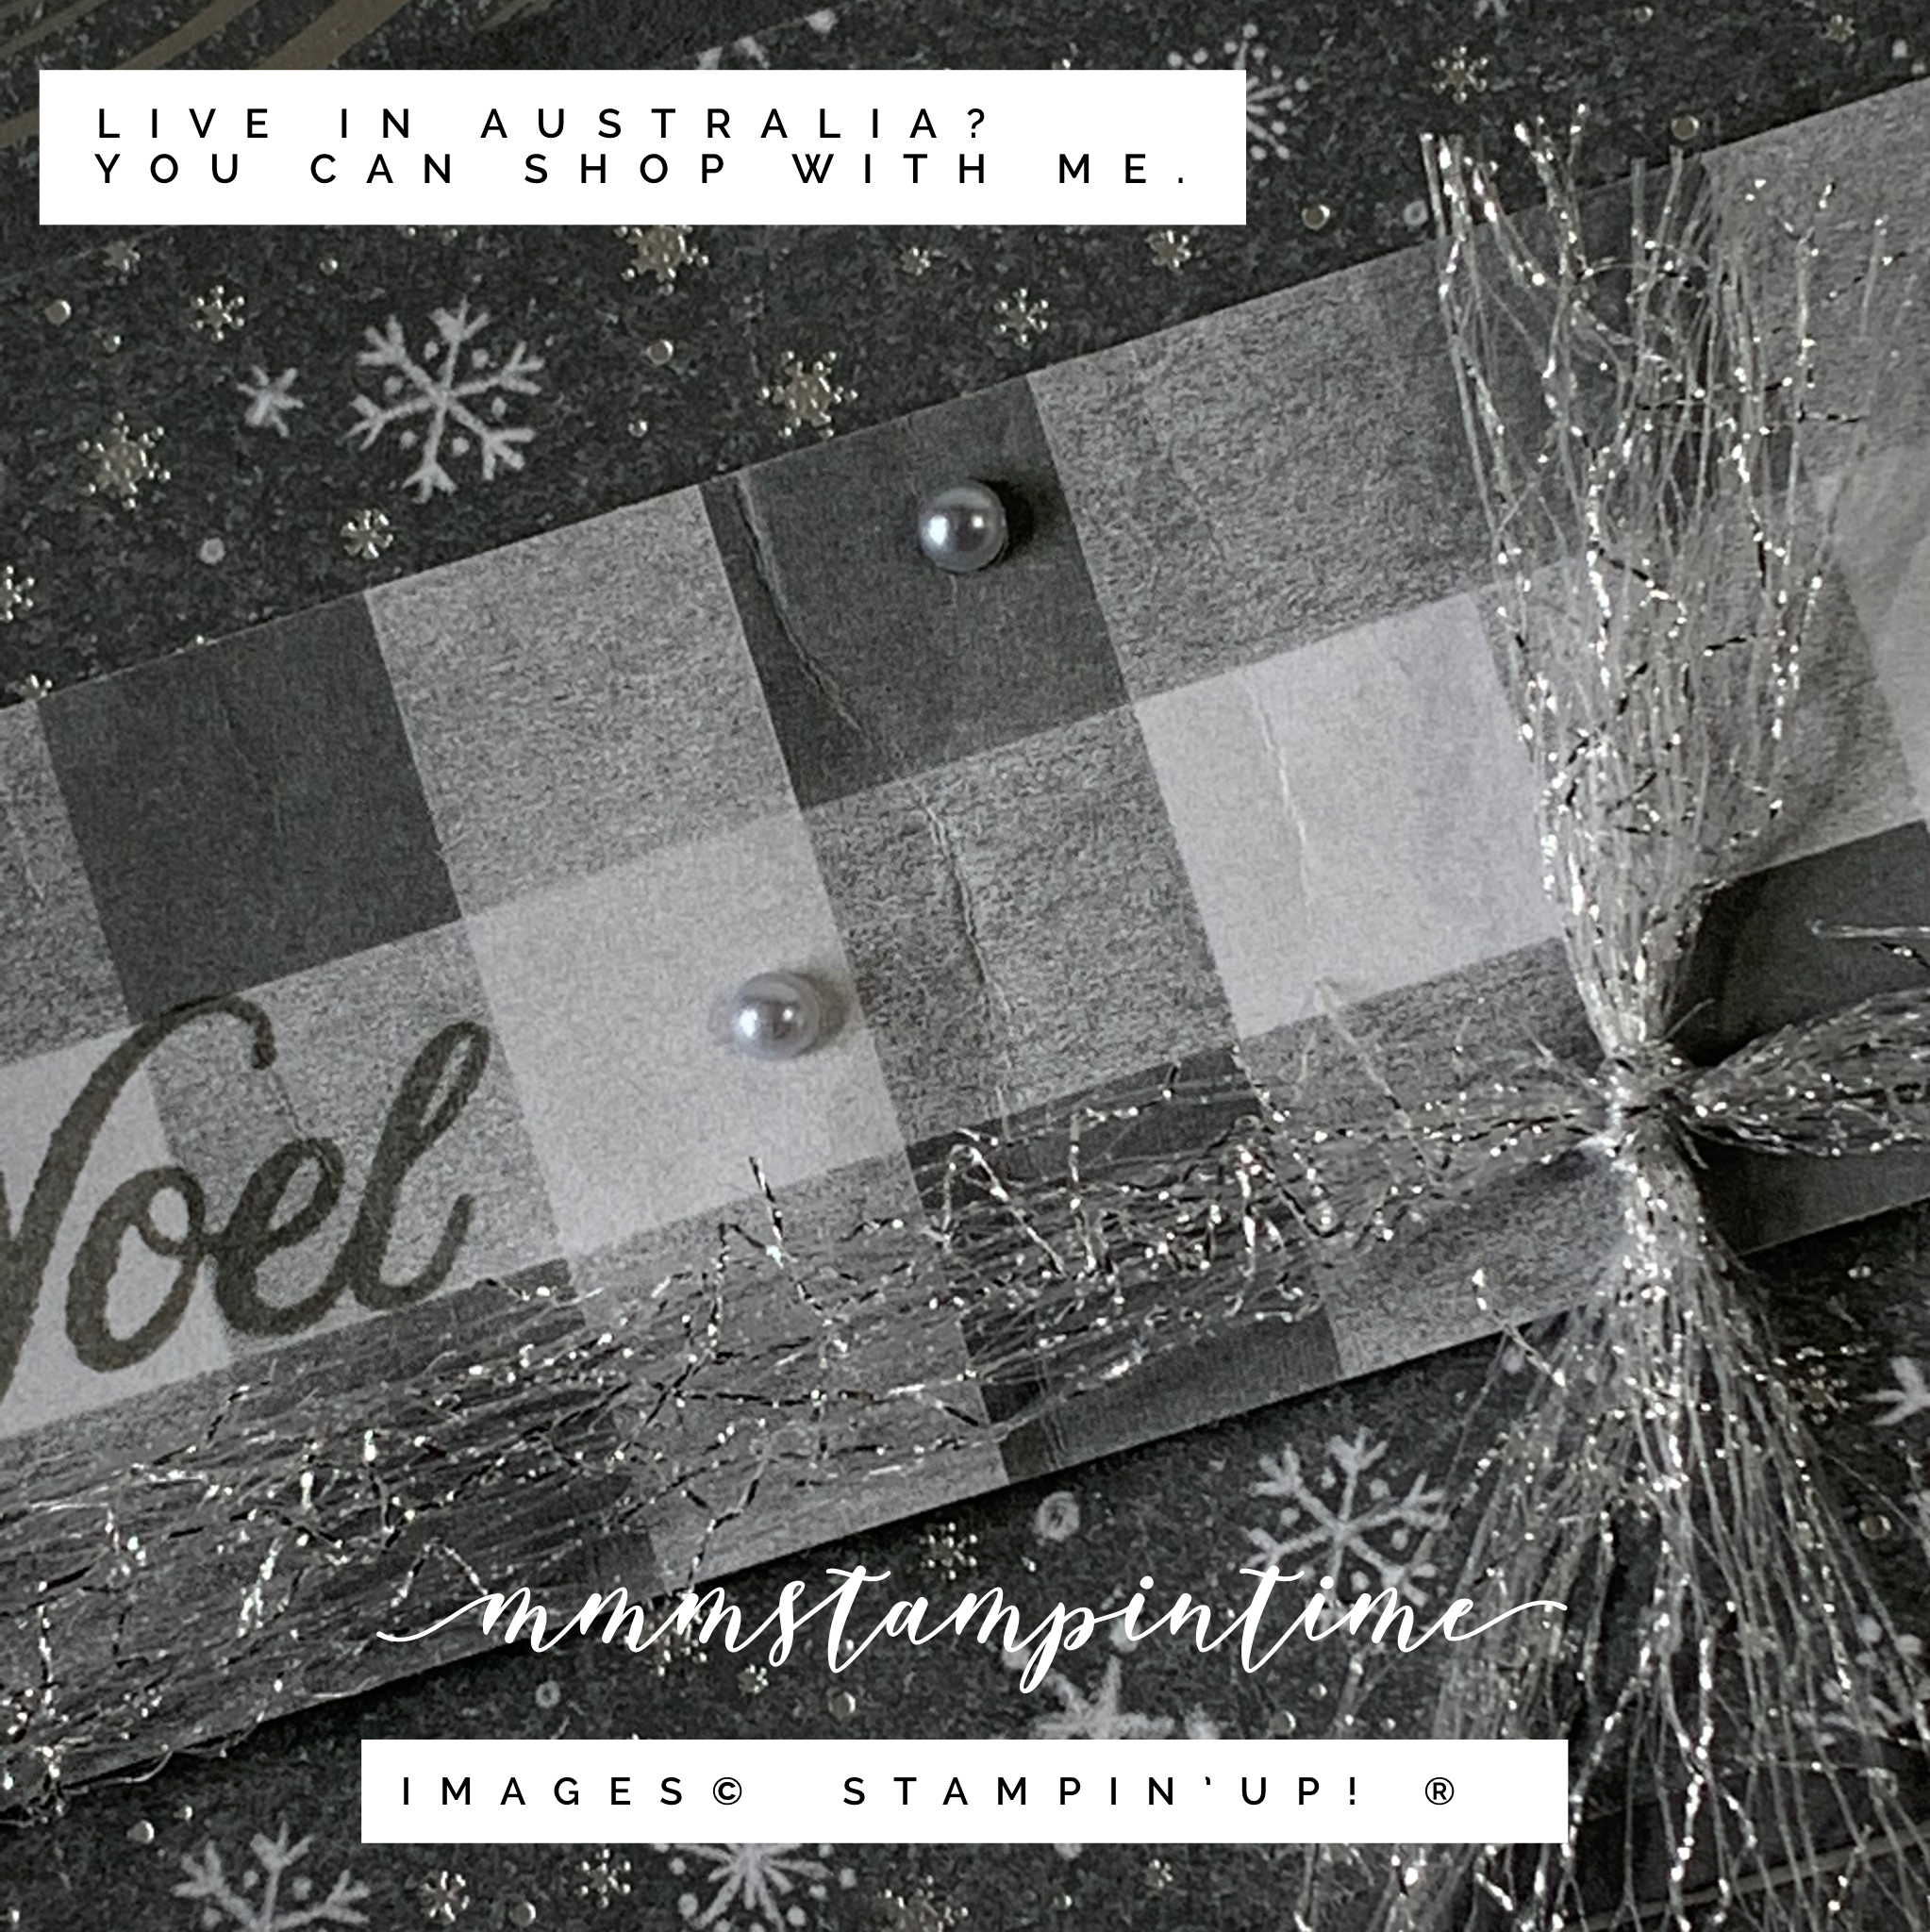
The triple bow was made using lengths of Whisper White Crinkled Seam Binding Ribbon, white Baker’s Twine and silver Simply Elegant Trim.

The final touch was to add some Artistry Blooms Sequins to the card front.

I am so delighted by the way this card turned out. What do you think? Shimmery and bling enough?

Until next time, happy stamping.

If you live in Australia, you can order any of the products I used to make this card by going to my online store. Just click on any of the images below.

Product List
Paper Snips
[103579]
$17.00
Posted on Leave a comment

A DAY LATE WITH THIS PROJECT!

I was having so much fun preparing this project for my Facebook Live that I completely forgot to photgraph and post it. So, I finished the Live this morning and have just taken these photos.

Thanks for popping by to see how cute this gift box is. It is filled with Christmas gift tags. I used the Be Jolly Stamp Set for this project.

The gift box uses Poppy Pararde and Shaded Spruce card, as well as a piece of Designer Series Paper from the Brights 6″x 6″ stack. The box base was cut to 5-3/4″x 4-1/4″ and then scored on all four sides at 1″. The lid was cut to 4-3/4″x 3-1/4″ and scored at ‘a hair’ less than 1/2″.

This Santa image was stamped using Memento Tuxedo Black ink and coloured using Stampin’ Blends – Black, Cinnamon Cider, Petal Pink and Poppy Parade. Santa was then fussy cut and popped up on the lid using Stampin’ Dimensionals.

The greeting, from the Be Jolly Stamp Set, was stamped with Shaded Spruce.

When the lid comes off 12 gift tags are revealed. I used one of the Seasonal Labels Dies to make this tag.

There are four different tags – two Santas, a Christmas tree and Santa’s sleigh. These were all coloured using Stampin’ Blends before being fussy cut. Santa’s beards have Clear Wink of Stella brushed across them.

Some of them have been embossed using the snowflakes Wintry 3D Embossing Folder. The others were stamped with ‘be jolly’ using the Stamparatus to hinge-step stamp the greeting evenly along the tag.

Each coloured tag has a white tag adhered to its back. This piece was stamped with ‘to’ and ‘from’.

Now all I need to do is decide who to give this gift box of tags to.

Until next time, happy stamping.

If you live in Australia, you can order any of the products I used to make this card by going to my online store. Just click on any of the images below.

Product List
Paper Snips
[103579]
$17.00
Stamparatus
[148187]
$85.00