Posted on Leave a comment

STEP IT UP SUNDAY

Welcome to my Sunday post. Sunday is the day to take the cards I shared yesterday and step them up – using more products, more tools, more layers.

This week I am featuring the Rainbow of Happiness Bundle and the FREE Sale-a-bration Sunshine & Rainbows 6″x 6″ Designer Series Paper.

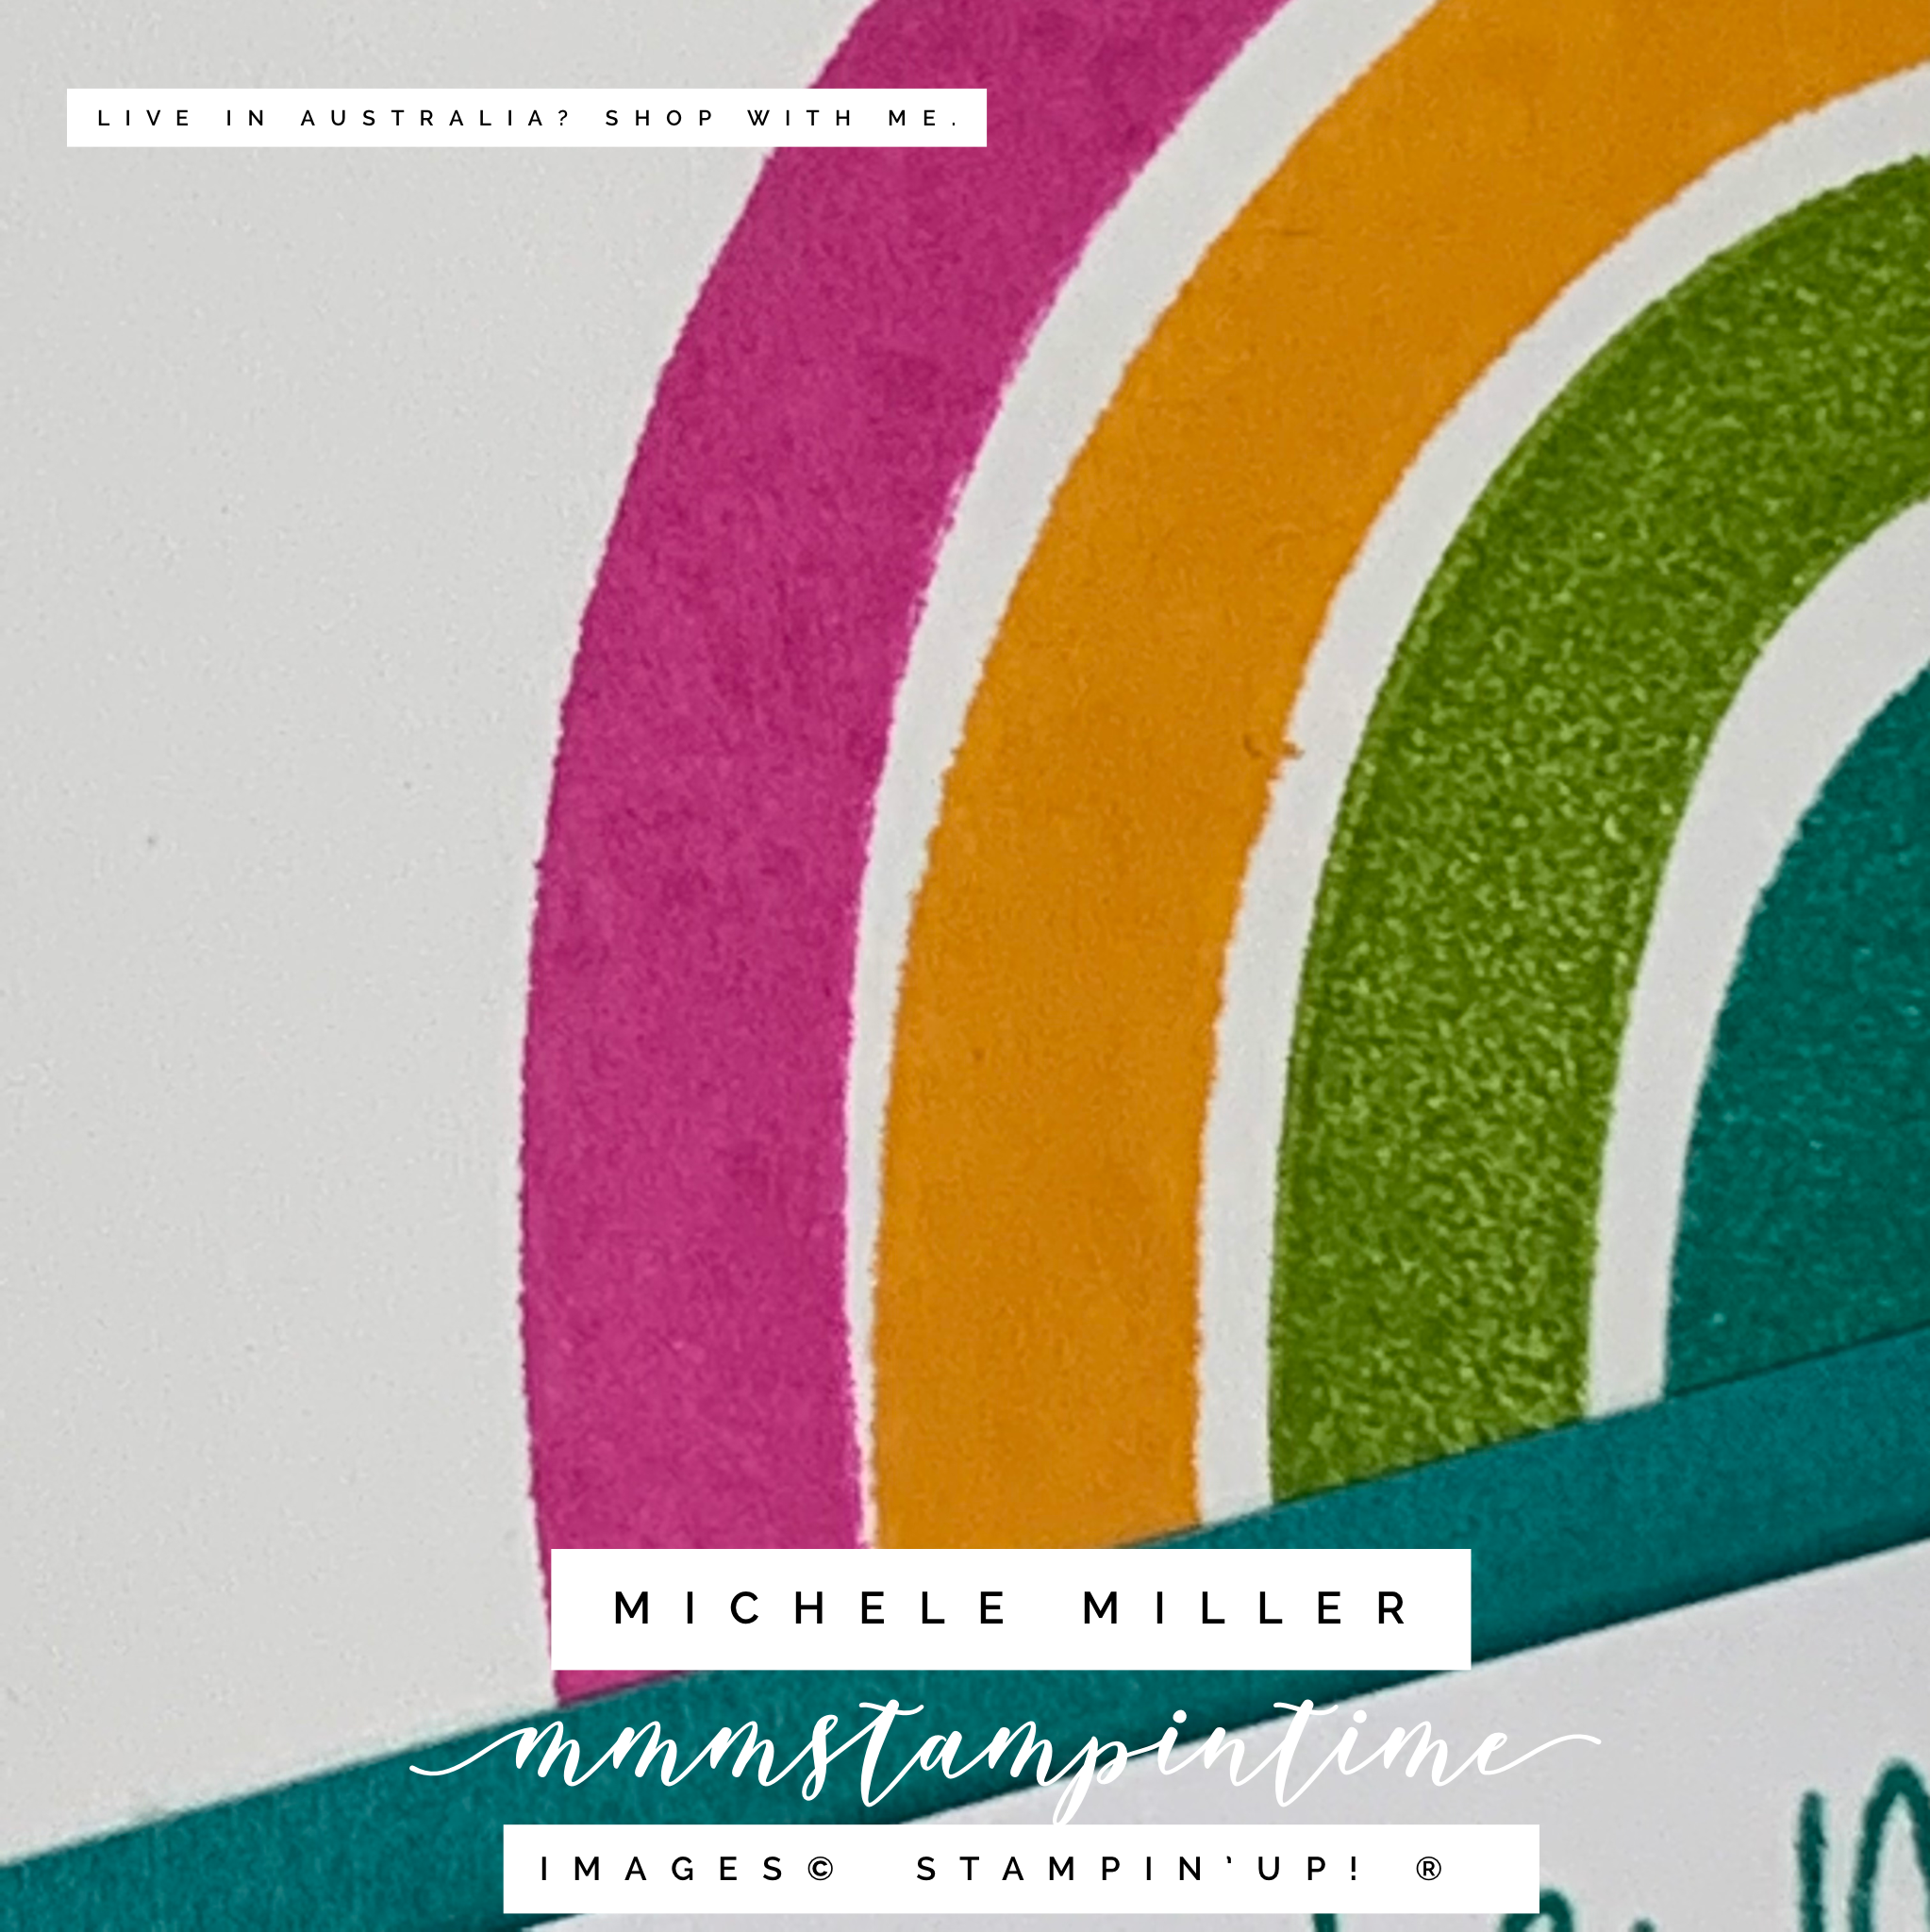
The rainbow was stamped directly onto the front of the Notecard.

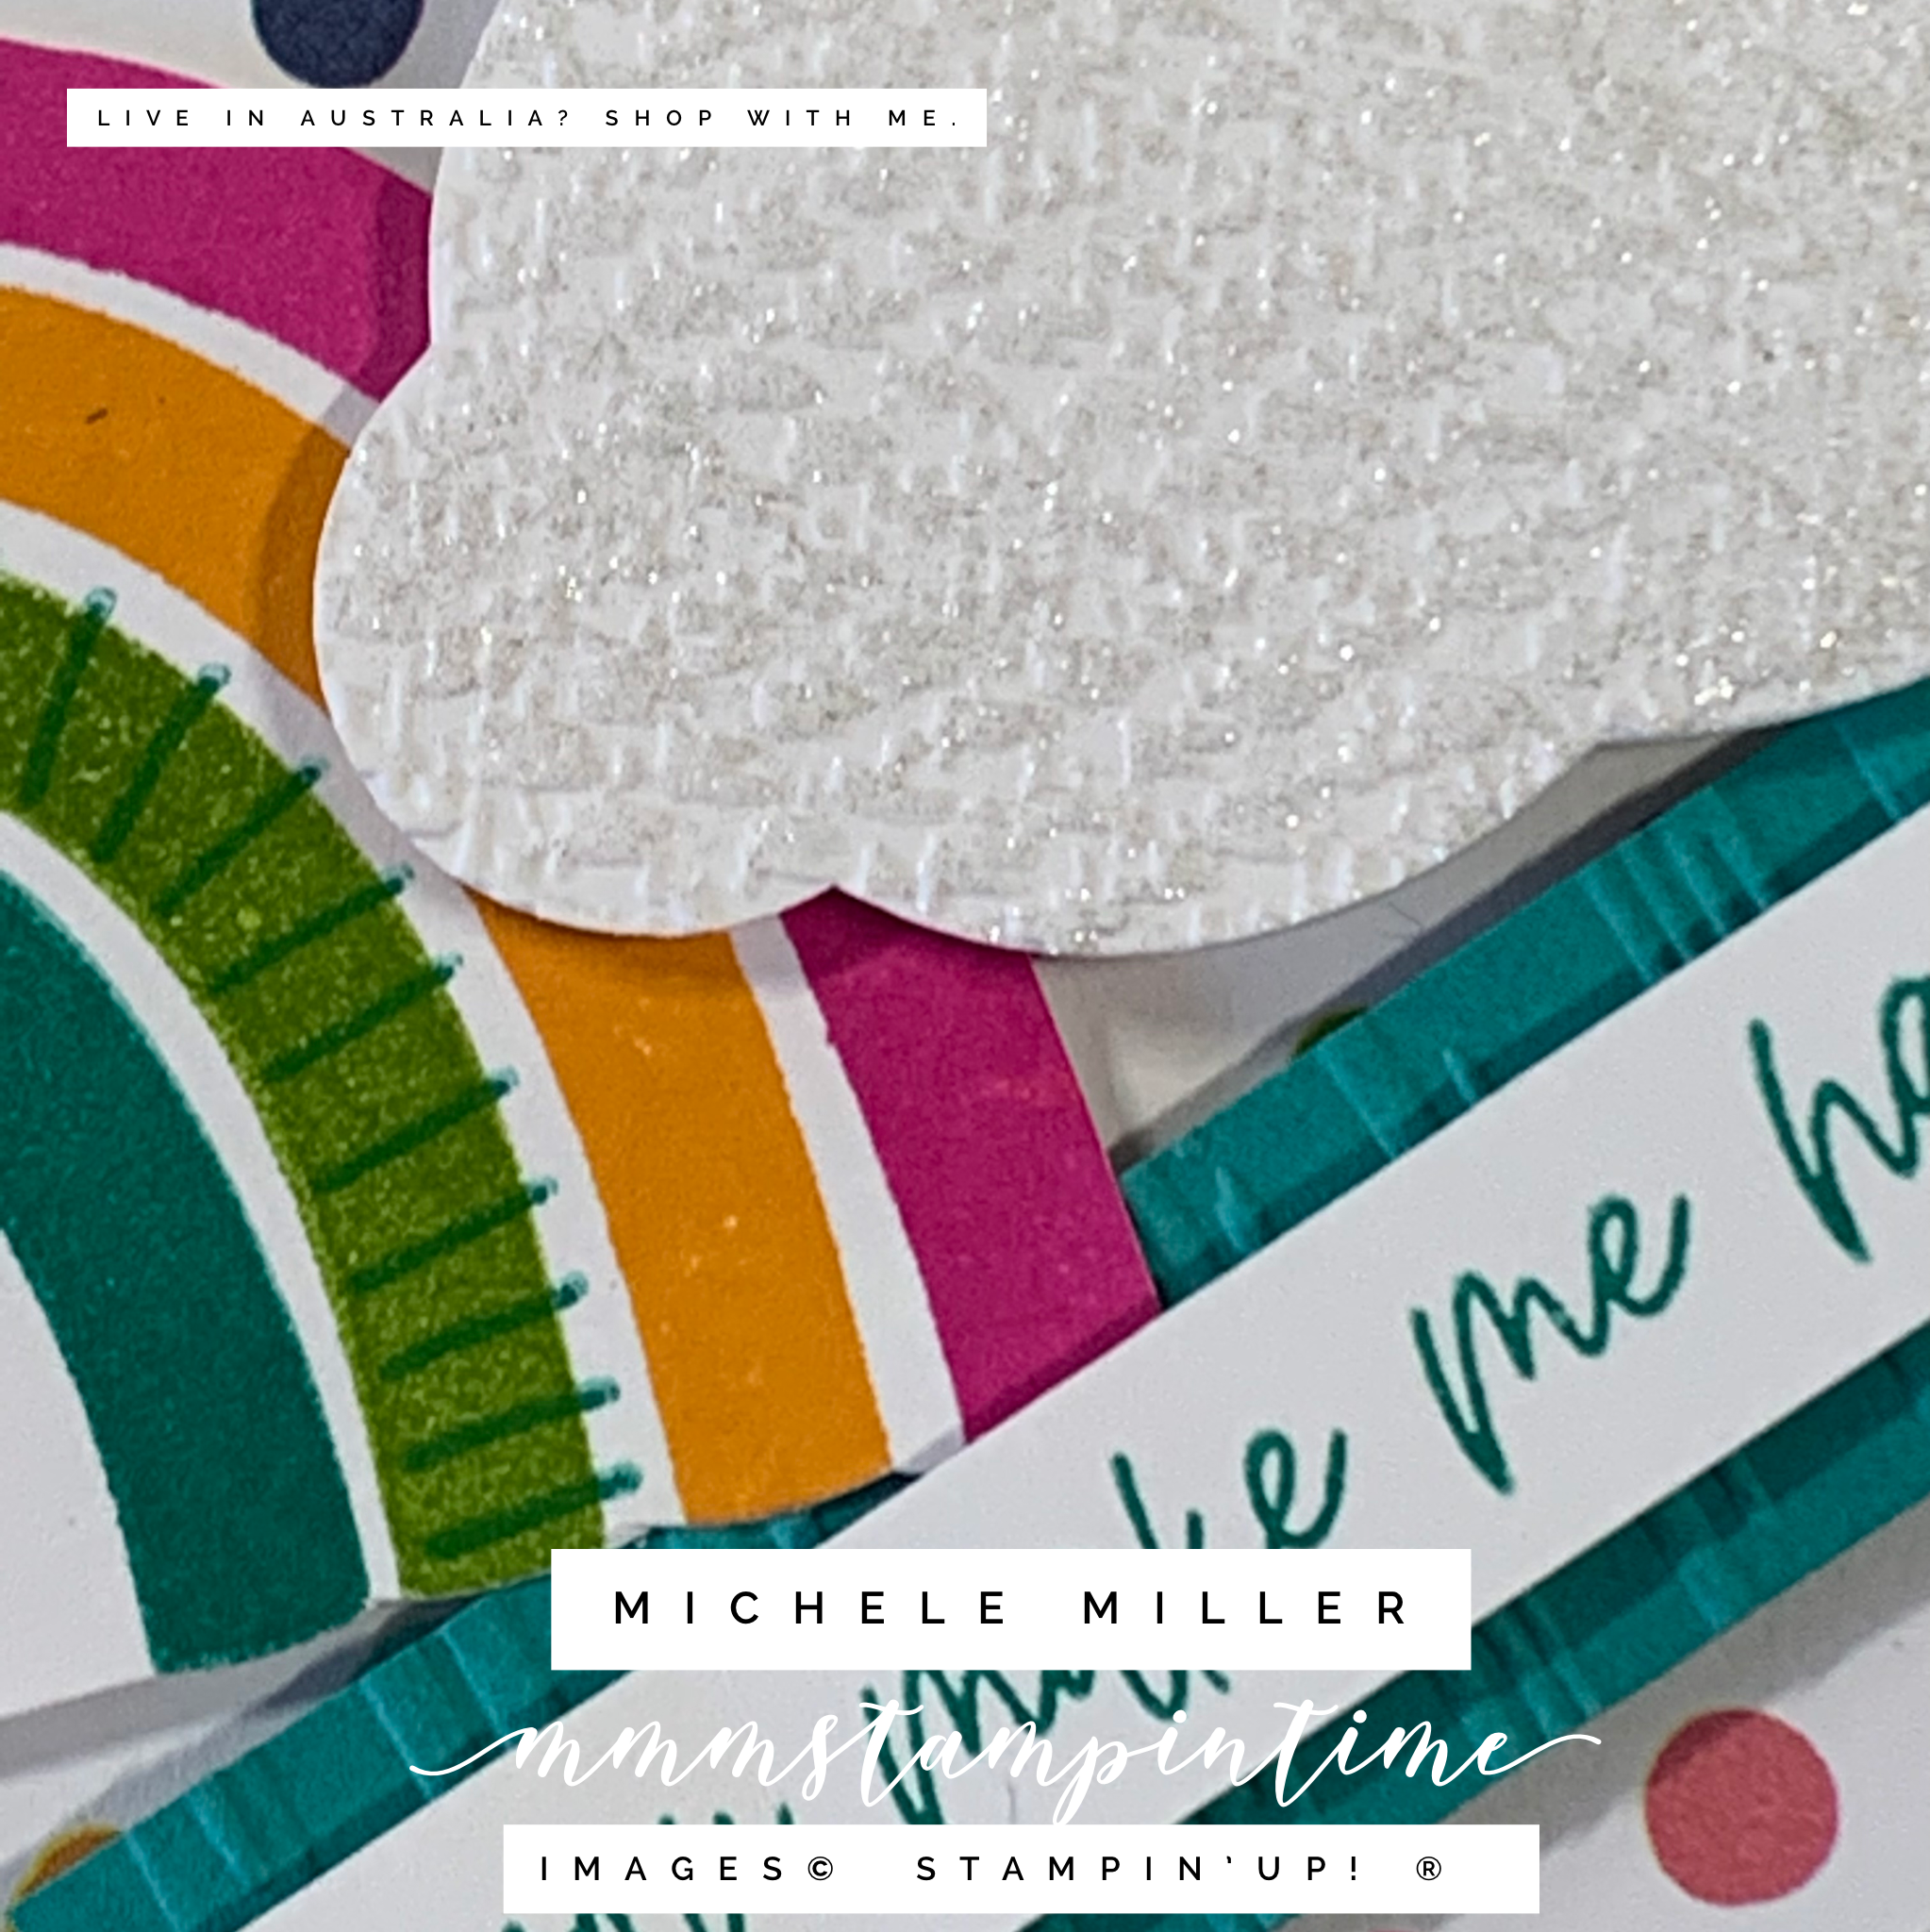
For this card, I stamped the sentiment onto a strip of Basic White cardstock before securing it to a piece of Bermuda Bay cardstock. This cardstock was embossed using the splatters folder from the Strips & Splatters 3D Embossing Folders set.

Before I placed the sentiment on the card front used the new Cloud Punch to cut three clouds. Then I used a Blending Brush to lightly colour them with Bermuda Bay. The clouds were postioned using Stampin’ Dimensionals.

Finally, the sentiment panel had dimensionals added to the back and popped in place.

For my second stepped up card I stamped the same rainbow onto Basic White cardstock and fussy cut it so that it could be layered up.

I used the same sentiment and cardstock but added a thin strip of the Design Series Paper.

The card also has three lightly coloured clouds.

To assemble the card I positioned the sentiment panel first and then added the rainbow, using Stampin’ Dimensionals to pop it up to add height to the card.

Then I stamped the cluster of three small hearts, across the card front, using Magenta Madness.

Finally, I attached the clouds on the card using adhesive and dimensionals.

For the final stepped up card I have used a larger piece of the Sunshine & Rainbow DSP to adher an angled base layer on the card base.

I stamped and fussy cut the rainbow and used dimensionals to popped it up.

The sentiment was stamped and placed on top of an embossed piece of cardstock. I used the stripes embossing folder from the Stripes & Splatters 3D Embossing Folders set.

I took a length of Whisper White Crinkled Seam Binding Ribbon and coloured it using the Dark Bermuda Bay Stampin’ Blends. Then it was wrapped under the panel and secured with Stampin’ Seal+.

I used the angle of the DSP layer to position the sentiment panel.

The final three clouds were not coloured for this card. Instead they were embossed with the Tasteful Textile 3D Embossing Folder and painted them with Clear Wink of Stella.

All of my cards, from yesterday and today, have the trio of hearts stamped inside and on the front of the envelope.

Now that these stepped up cards are done and shared, it’s time to think about what I will scrapbook tomorrow for Memories on Monday.

Until then, happy stamping.

If you live in Australia, you can order any of the products I used to make this card by going to my online store. Just click on any of the images below.

Product List
Paper Snips
[103579]
$17.00
Posted on Leave a comment

SATURDAY IS DESIGNATED AS #SIMPLESTAMPING DAY

Each Saturday, during 2022, my posts will introduce the Stampin’ Up!© product suite or bundle that I will feature for the rest of the week. This week is all about the RAINBOW OF HAPPINESS BUNDLE and the FREE coordinating SUNSHINE & RAINBOWS 6″x 6″ DESIGNER SERIES PAPER that you can select after placing a minimum $90 order.

In Australia, the Rainbow of Happiness Bundle is $77.25 and a set of Notecards & Envelopes (159232) is $12.25. This order would not, quite, qualify for the FREE DSP.

With some experience in ordering Stampin’ Up! supplies, you can develop some very strategic approaches to maximising your orders.

Let me share today’s projects before I share some ordering tips.

Today is #simplestamping day and I have two cards to share with you.

I do not usually use so many colours in my #simplestamping cards but a rainbow needs more than one or two colours.

For this rainbow I used Bermuda Bay, Granny Apple Green, Magenta Madness and Mango Madness.

The sentiment was stamped using Bermuda Bay.

The rainbow and sentiment were stamped directly onto the notecard.

My second card has just a few extra features.

I stamped the rainbow, using the same colours, in approximately the same place.

Then I stamped the same sentiment onto a piece of Basic White cardstock. I took a slightly larger piece of Bermuda Bay cardstock and punched a banner end in the right handside. The sentiment was then adhered to banner piece using Stampin’ Dimensionals. This layered piece was then placed over the bottom of the rainbow using some more Stampin’ Dimensionals.

The inside of the card and envelope were stamped using the small triple heart image.

I must admit that I still find creating #simplestamping cards challenging. When I first started my cardmaking journey these were the only type of cards I could make – I had so few tools and products and even less knowledge of techniques.

Almost a decade on and I have been making so many more projects with more products, tools and techniques. Tomorrow I will show you some cards that suit crafters wanting to make more ‘complex’ cards. These crafters have access to more products and tools. These craftes also have more experience with a wider range of techniques. I will share some stepped up cards tomorrow.

Until then, happy stamping.

If you live in Australia, you can order any of the products I used to make this card by going to my online store. Just click on any of the images below.

Product List
Posted on Leave a comment

FUN FOLD FRIDAY IS HERE AGAIN!

Today’s fun fold card is a CENTRE STEP CARD. I have adapted the measurements I found on the internet to use a piece of cardstock measuring 11-1/2″x 4-1/8″ (29.3cm x 10.5cm).

I am also continuing to use some of the product Artfully Composed Suite.

Here is a diagram of my template.

I started with an Evening Evergreen cardbase and prepared it using the instructions above. Then I cut the two vertical lines that are 3/4″ in from the left and right hand sides. The cut started 1″ above the bottom of the cardbase and stopped 5″ from the top.

The three shorter horizontal lines were scored so that they can bend to create the steps.

Another horizontal was scored in the centre panel at the halfway point – 5-3/4″.

Then I cut the Designer Series Paper panels to adhere tp the front of the card. The paper for the centre panel measures 5-3/8″x 2-1/2″. The two narrow side pieces each measure 4-5/8″x 5/8″. The two small rectangles in the bottom corners measure 7/8″x 5/8″.

For the leaf embellishments I started by stamping a piece of Basic White cardstock with Calypso Coral, Just Jade and Pear Pizzazz. Then I cut out the solid leaf using one of the Tropical Layers Dies. I also cut one of the leaf shapes from a piece of Calypso Coral cardstock. Both of these shapes were then given added texture using the stripes folder from the Stripes & Splatters 3D Embossing Folders.

Then I cut a third leaf using a piece of Evening Evergreen cardstock. The leaves were overlapped and glued together before adding it to the front of the card.

I added a Basic White insert inside the card. It measures 4-7/8″x 4″ and it has a 1/2″ strip of the Calypso Coral DSP attached. A second strip was added to the front of the envelope.

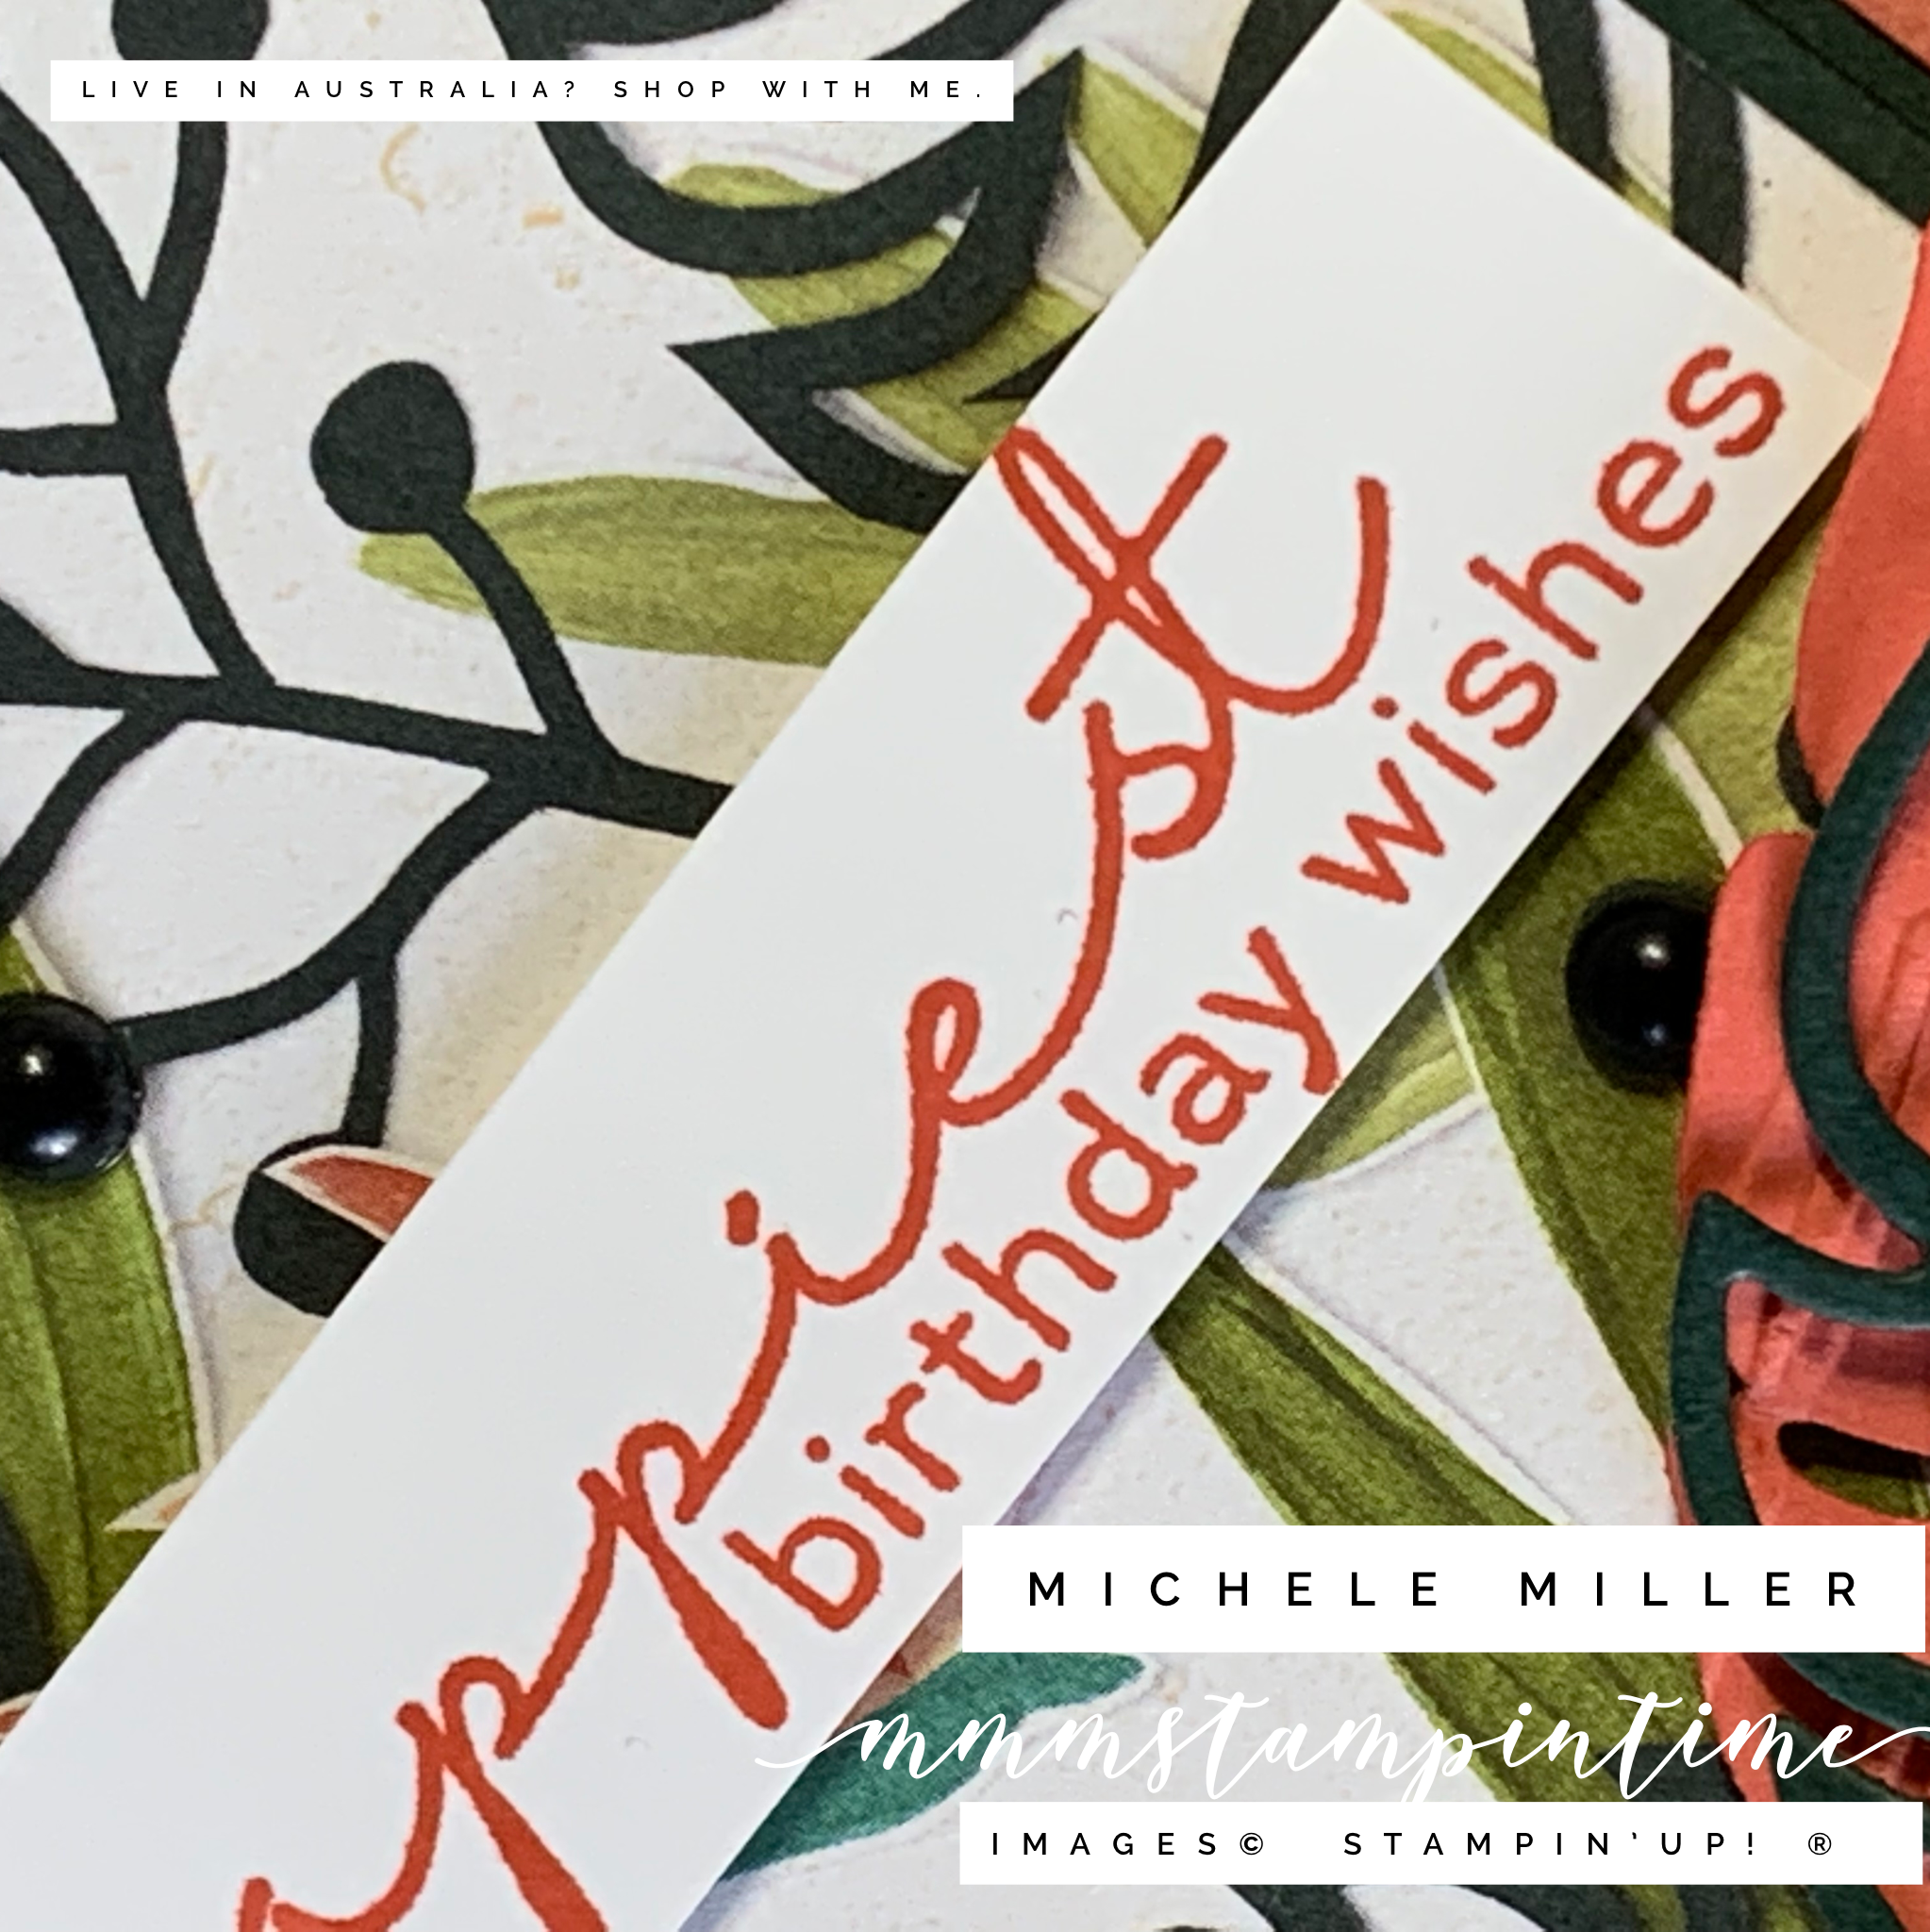
The birthday greeting, from the Artfully Layered Stamp Set, was stamped and trimmed down to add to the card front.

To finish off the card I added some Matte Black Dots across the front of the card.

I wonder if you have noticed that I have some new background sheets that I am using in my photos. What do you think of them?

This week I featured the Artfully Composed Suite and from tomorrow, I will showcase another suite.

Until tomorrow, happy stamping.

If you live in Australia, you can order any of the products I used to make this card by going to my online store. Just click on any of the images below.

Product List
Paper Snips
[103579]
$17.00