Posted on Leave a comment

SO WE KNOW THAT SATURDAY IS #SIMPLE STAMPING DAY

Welcome to #simplestamping Saturday. Today is all about STAMPS-INK-PAPER.

This is also the day I introduce the amazing new Flowering Fields Suite Collection from Stampin’ Up!©.

FLOWERING FIELDS SUITE COLLECTION (ENGLISH)

Today I have two very ‘simple’ cards for any stamper to make. These are great for totally new stampers yet super quick and easy for more experienced stampers.

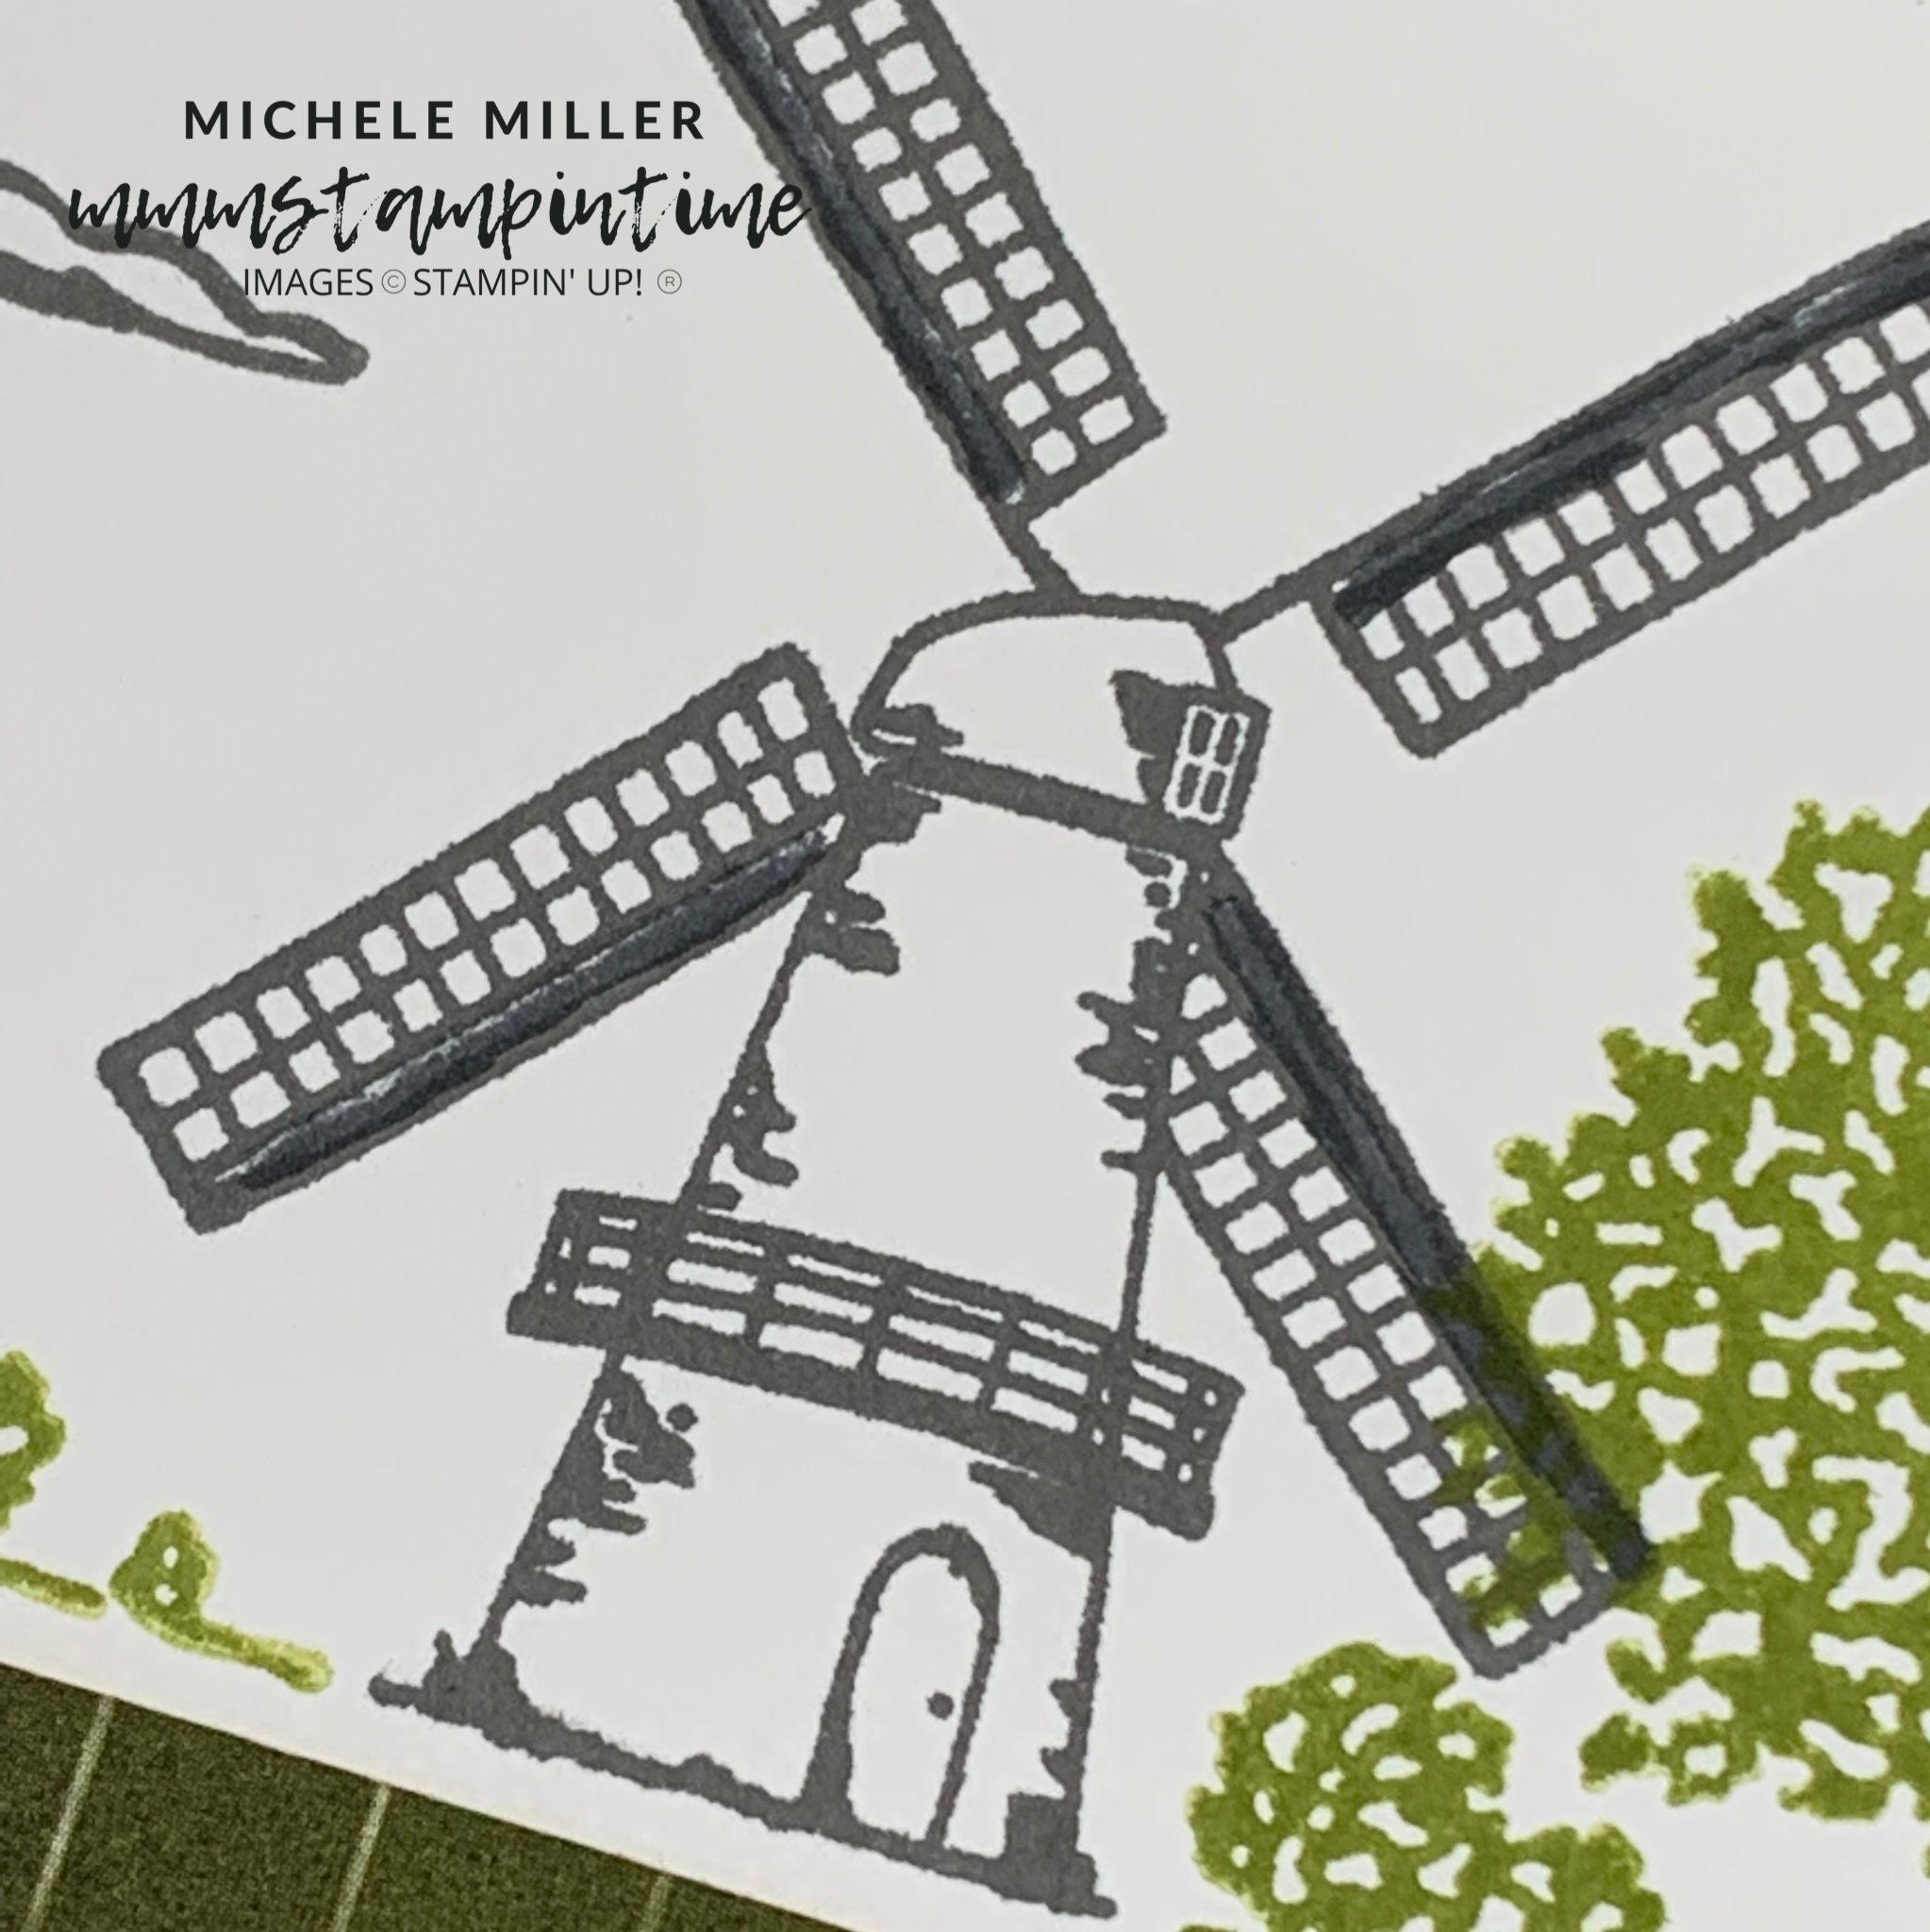
This card was created using the Tulip Fields and Special Moments Stamp Sets. The inkpad colours used were Basic Gray and Pear Pizzazz. The four large blades of the windmill were coloured using the Basic Gray Stampin’ Write Marker™. The clouds were inked using Basic Gray and then stamped off to reduce the intensity of the colour for the colours.

The sentiment is from the 2022 Sale-a-bration Special Moments Stamp Set.

The next card shares many of the features from the first card.

For my second #simplestampincard I followed the layout from my first card. Then I added a strip of Designer Series Paper that was adhered to the bottom of the card frod front.

I stamped the windmill , tree and shrubs in the same way as my first card. The sentiment was stamped in the same way. The clouds were stamped without being stamped off.

These two cards are my Saturday #simplestamping projects. I hope that you like them.

Tomorrow is Sunday and I will step up these cards using more products and techniques.

Until tomorrow, happy stamping.

If you live in Australia, you can order any of the products I used to make this card by going to my online store. Just click on any of the images below.

Product List
Posted on Leave a comment

FOR FRIDAY IT’S TIME FOR ANOTHER FUN FOLD CARD

It seems as if the year is trying to race toward the finish already. We are only a few short days away from the end of January, as this week draws to a close.

So it’s time for me to share a Fun Fold card with you. I think this one is called a Triangle Fun Fold card.

This is the last project featuring the Rainbow of Happiness Bundle and the Sunshine & Rainbows 6″x 6″ DPS.

Let me show you the structure of the card before I describe how I used the products.

After I trimmed the cardstock down to 11-1/2″ in length, I cut it diagonally in half. Then I scored the folds at 4-1/4″ and 5-3/4″. Then I used my bone folder to burnish the folds crisply.

I took some of the Sunshine & Rainbows DSP and cut the triangle pieces to add to the card front.

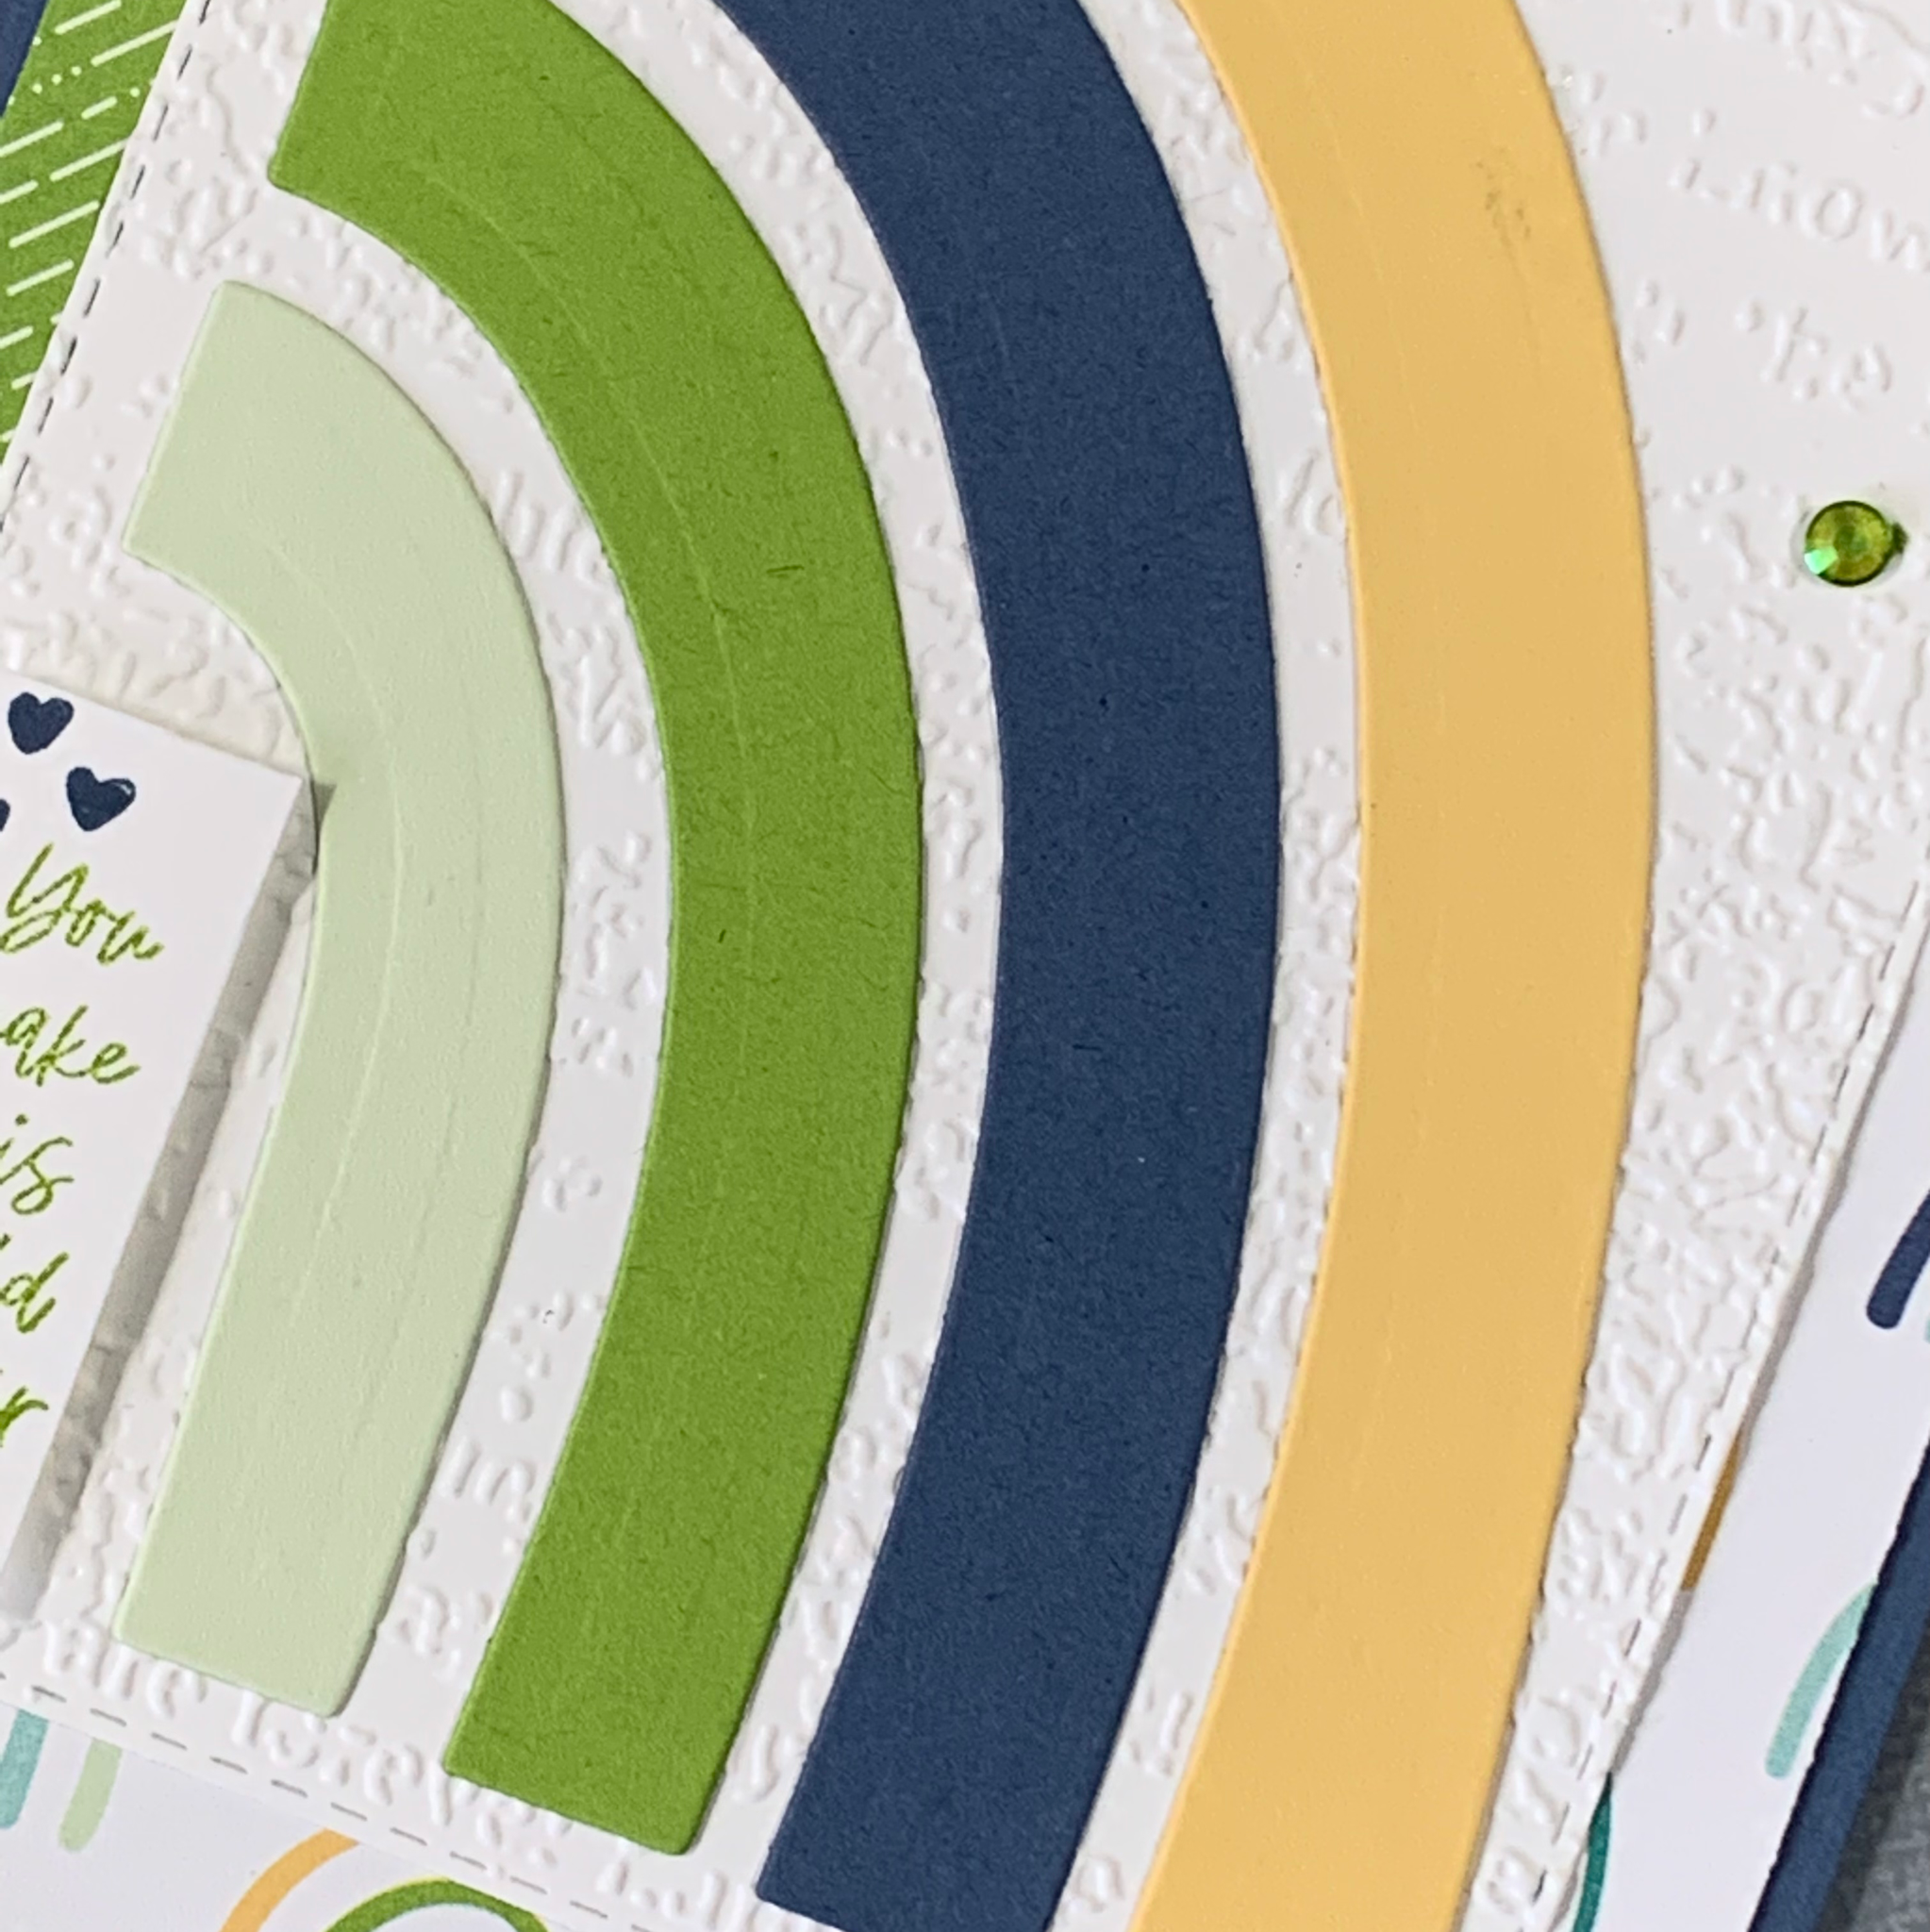
Then I used the second largest Stitched Rectangle Die to cut a piece of Basic White cardstock before embossing it. I used the Timeworn Type 3D Embossing Folder.

I cut the half rainbow from some Granny Apple Green, Misty Mooklight, So Saffron and Soft Sea Foam cardstock.

The sentiment and hearts were stamped onto a small piece of Basic White card and was then cut down to this small size. It was popped up using Stampin’ Dimensionals.

I drew a live on the back of the embossed white piece and used Multipurpose Glue to attach it to the upper left hand side panel.

To finish off the card I stamped the card insert and envelope. Then I coloured some Iridescent Rhinestones using the Dark Granny Apple Green Stampin’ Blend.

Let me know what you think of my latest card.

Now it’s time to decide what to use for this week’s project posts, starting with Simply Saturday tomorrow.

Until then, happy stamping.

If you live in Australia, you can order any of the products I used to make this card by going to my online store. Just click on any of the images below.

Product List
Paper Snips
[103579]
$17.00
Posted on Leave a comment

3D THURSDAY – IT’S TIME FOR A NEW GIFT BOX DESIGN

Thanks for joining me for today’s 3D Thursday project. I will be making this on my Facebook Live today and will add a video tutorial to my Youtube channel soon.

Let me know what you think of this project.

The gift box is 6″ long and each side is 3″ wide. Here are some instructions that may help.

I used a 12″x 12″ piece of Mango Melody cardstock and cut and scored the box using the instructions above.

Then I cut some of the Sunshine & Rainbows DSP for the panels and triangular ends.

I used the Detailed Trio Punch to round off the corners of the front flap.

To assemble the triangle I used Stampin’ Seal + on the flaps that are on the triangles. Then I wrapped the sides up and pressed the edges together. A bone folder made it easier to secure the adhesive in place.

I used super strong magnets to help hold the box flap in place. Mini Glue dots were used to secure them in place.

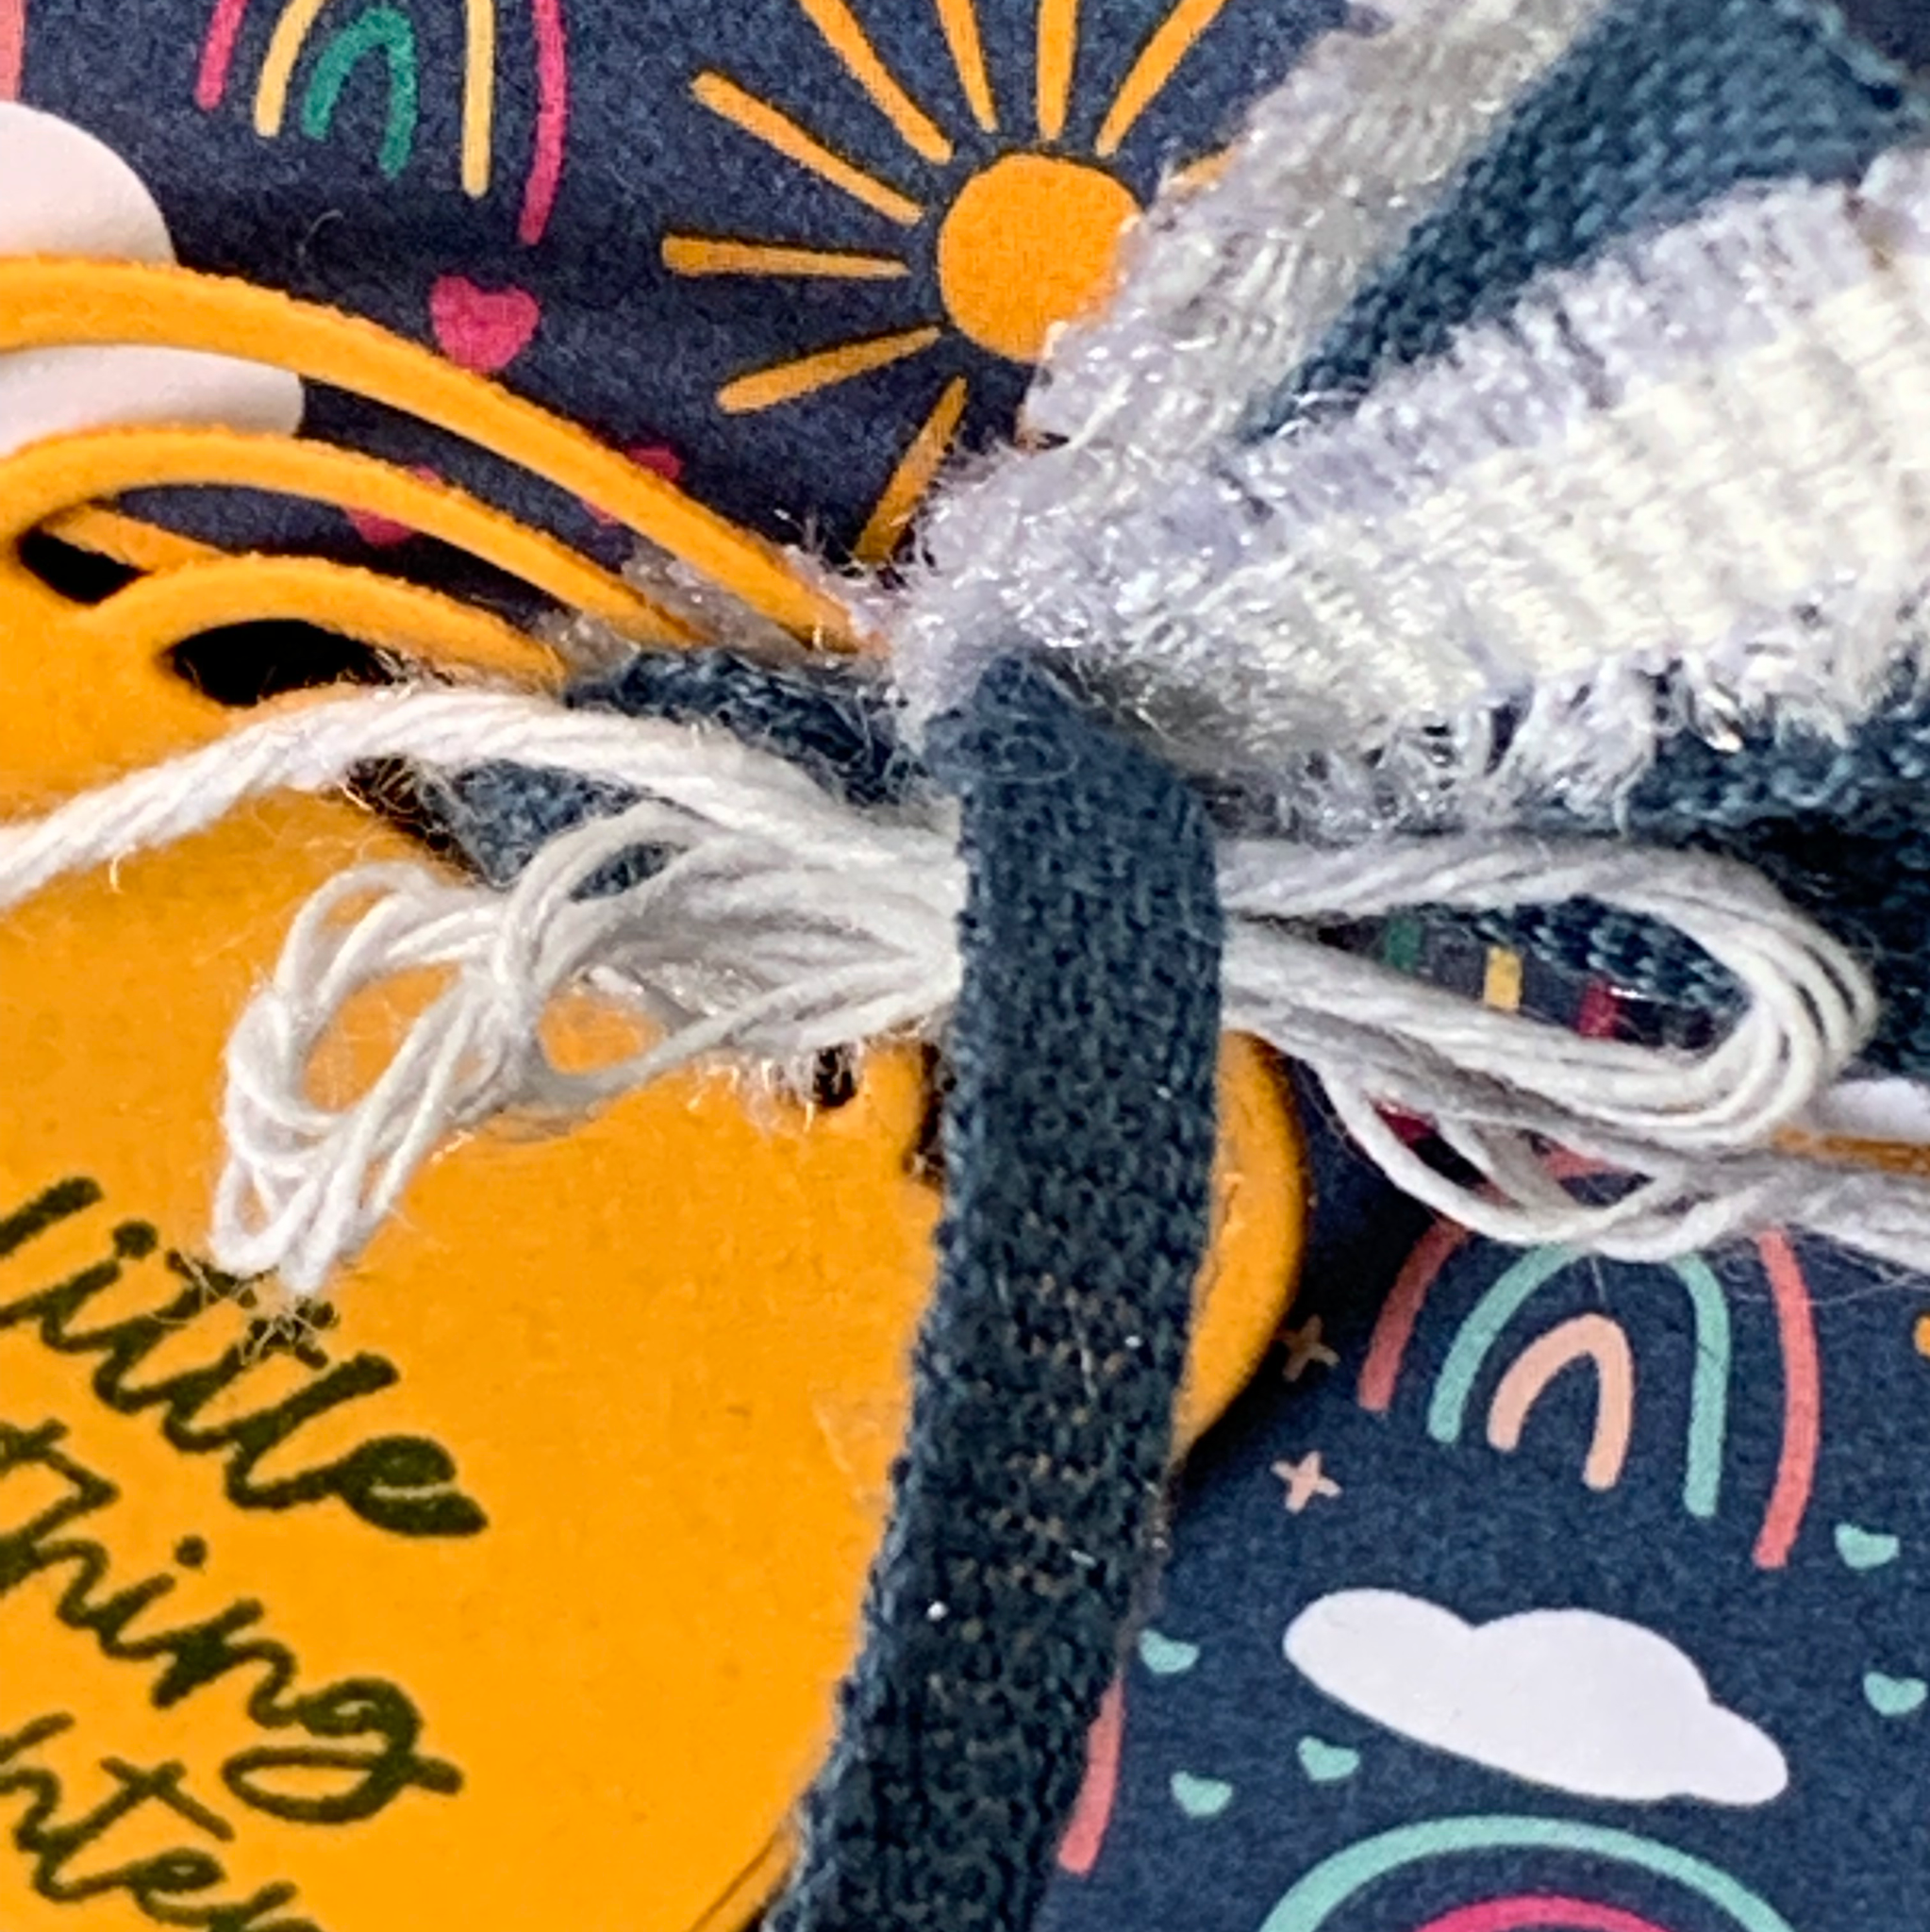
To finish the gift box I used one of the Brilliant Rainbow Dies to cut the gift tag. I stamped the greeting on this tag and then added some ribbons through the rainbow cut aways. They were gathered up and tied with a piece of white Baker’s Twine from the Essentials Pack. The tag was then attached to the front of the box using Stampin’ Dimensionals.

I’ll come back and add a link to the Youtube video tutorial once I have uploaded it.

Tomorrow is Fun Fold Friday and I have a card ready to share with you.

Until then, happy stamping.

If you live in Australia, you can order any of the products I used to make this card by going to my online store. Just click on any of the images below.

Product List
Paper Snips
[103579]
$17.00