Posted on Leave a comment

WHAT’S HAPPENING THIS WEDNESDAY? #2

Each Wednesday, I will share what I have made for blog hops and challenges. This is my second project for today and it is for the Freshly Brewed Projects blog hop and this week’s theme is NOTECARDS PROJECTS.

May be an image of coffee cup and text that says 'Freshly Brewed PROJEGTS'

I could have made a gift set or just one or maybe even 2 cards to show how you can make super quick and easy projects with them. I could have teamed them up any of the current Memories & More packs. However, I decided to create a 3D project to share with you.

This week, I am featuring the Hey Sports Fan Suite Collection and decided to make something to keep sporting event memorabilia, especially ticket stubs, in.

I created a mini expanding file using five notecards.

Each notecard has two 3″x 2″ panels attached at each end. These pieces were scored at 1/2″, 1″ and 1-1/2″.

When these inserts were secure, I glued the notecards together. This gave me a five pocket, mini expanding file.

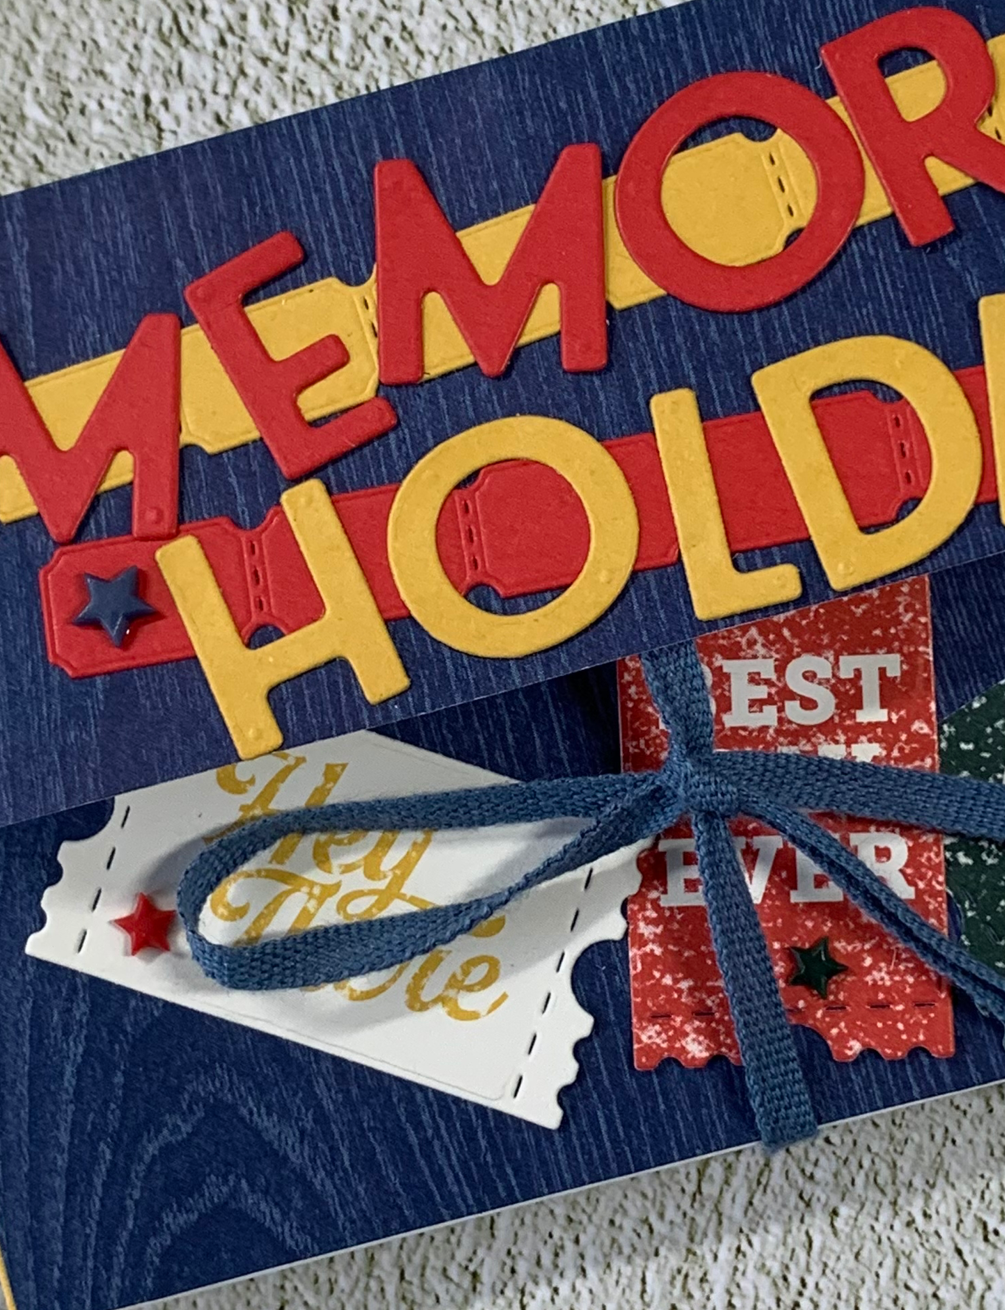
I used one more notecard to create the front flap and back panel. Before adhering it in place, I secured a length of Misty Moonlight ribbon from the Cotton Ribbon Combo Pack.

The Detailed Trio Punch was used to round the corners of the front flap.

I cut a 6″x 5″ piece of Night of Navy wood grain piece of DSP to adhere to the outside of the mini file.

I die cut some of the tickets from one of the DSP sheets and added them to the front of the file.

For inside the file, I cut five large ticket shapes using Basic White cardstock. I also cut the joined tickets in Bumblebee, Night of Navy and Poppy Parade several times. For the file inserts, I tore two of the tickets so that I could fold this segment in half and staple it to the top of the Basic White ticket. These five tickets can be used for journaling.

I used a Bumblebee and Poppy Parade ticket strip, on the front flap of the expanding file, to give the file a name – ‘Memory Holder’. The title was created by adding Adhesive Sheet to the back of the two featured colours and cutting the letters using the Playful Alphabet Dies.

I finished the project by adding some of the Resin Stars Embellishments.

This is a project that I am SOOOOO happy with. Everything turned out the way I hoped it would. What do you think? I would love your feedback. I am already thinking of some other ways to use notecards this way.

Make sure that you hop along and see what the rest of the team have created.

Tomorrow is 3D Thursday – time to start thinking about what to create.

Until then, happy stamping.

If you live in Australia, you can order any of the products I used to make this card by going to my online store. Just click on any of the images below.

Product List
Paper Snips
[103579]
$17.00
Bone Folder
[102300]
$12.00
Posted on Leave a comment

GLOBAL DESIGN PROJECT #330

This week’s challenge is a SKETCH CHALLENGE and I have made a card that follows the design closely.

My card doesn’t feature the hearts because I am featuring the Hey Sports Fan Suite Collection in all my projects this week.

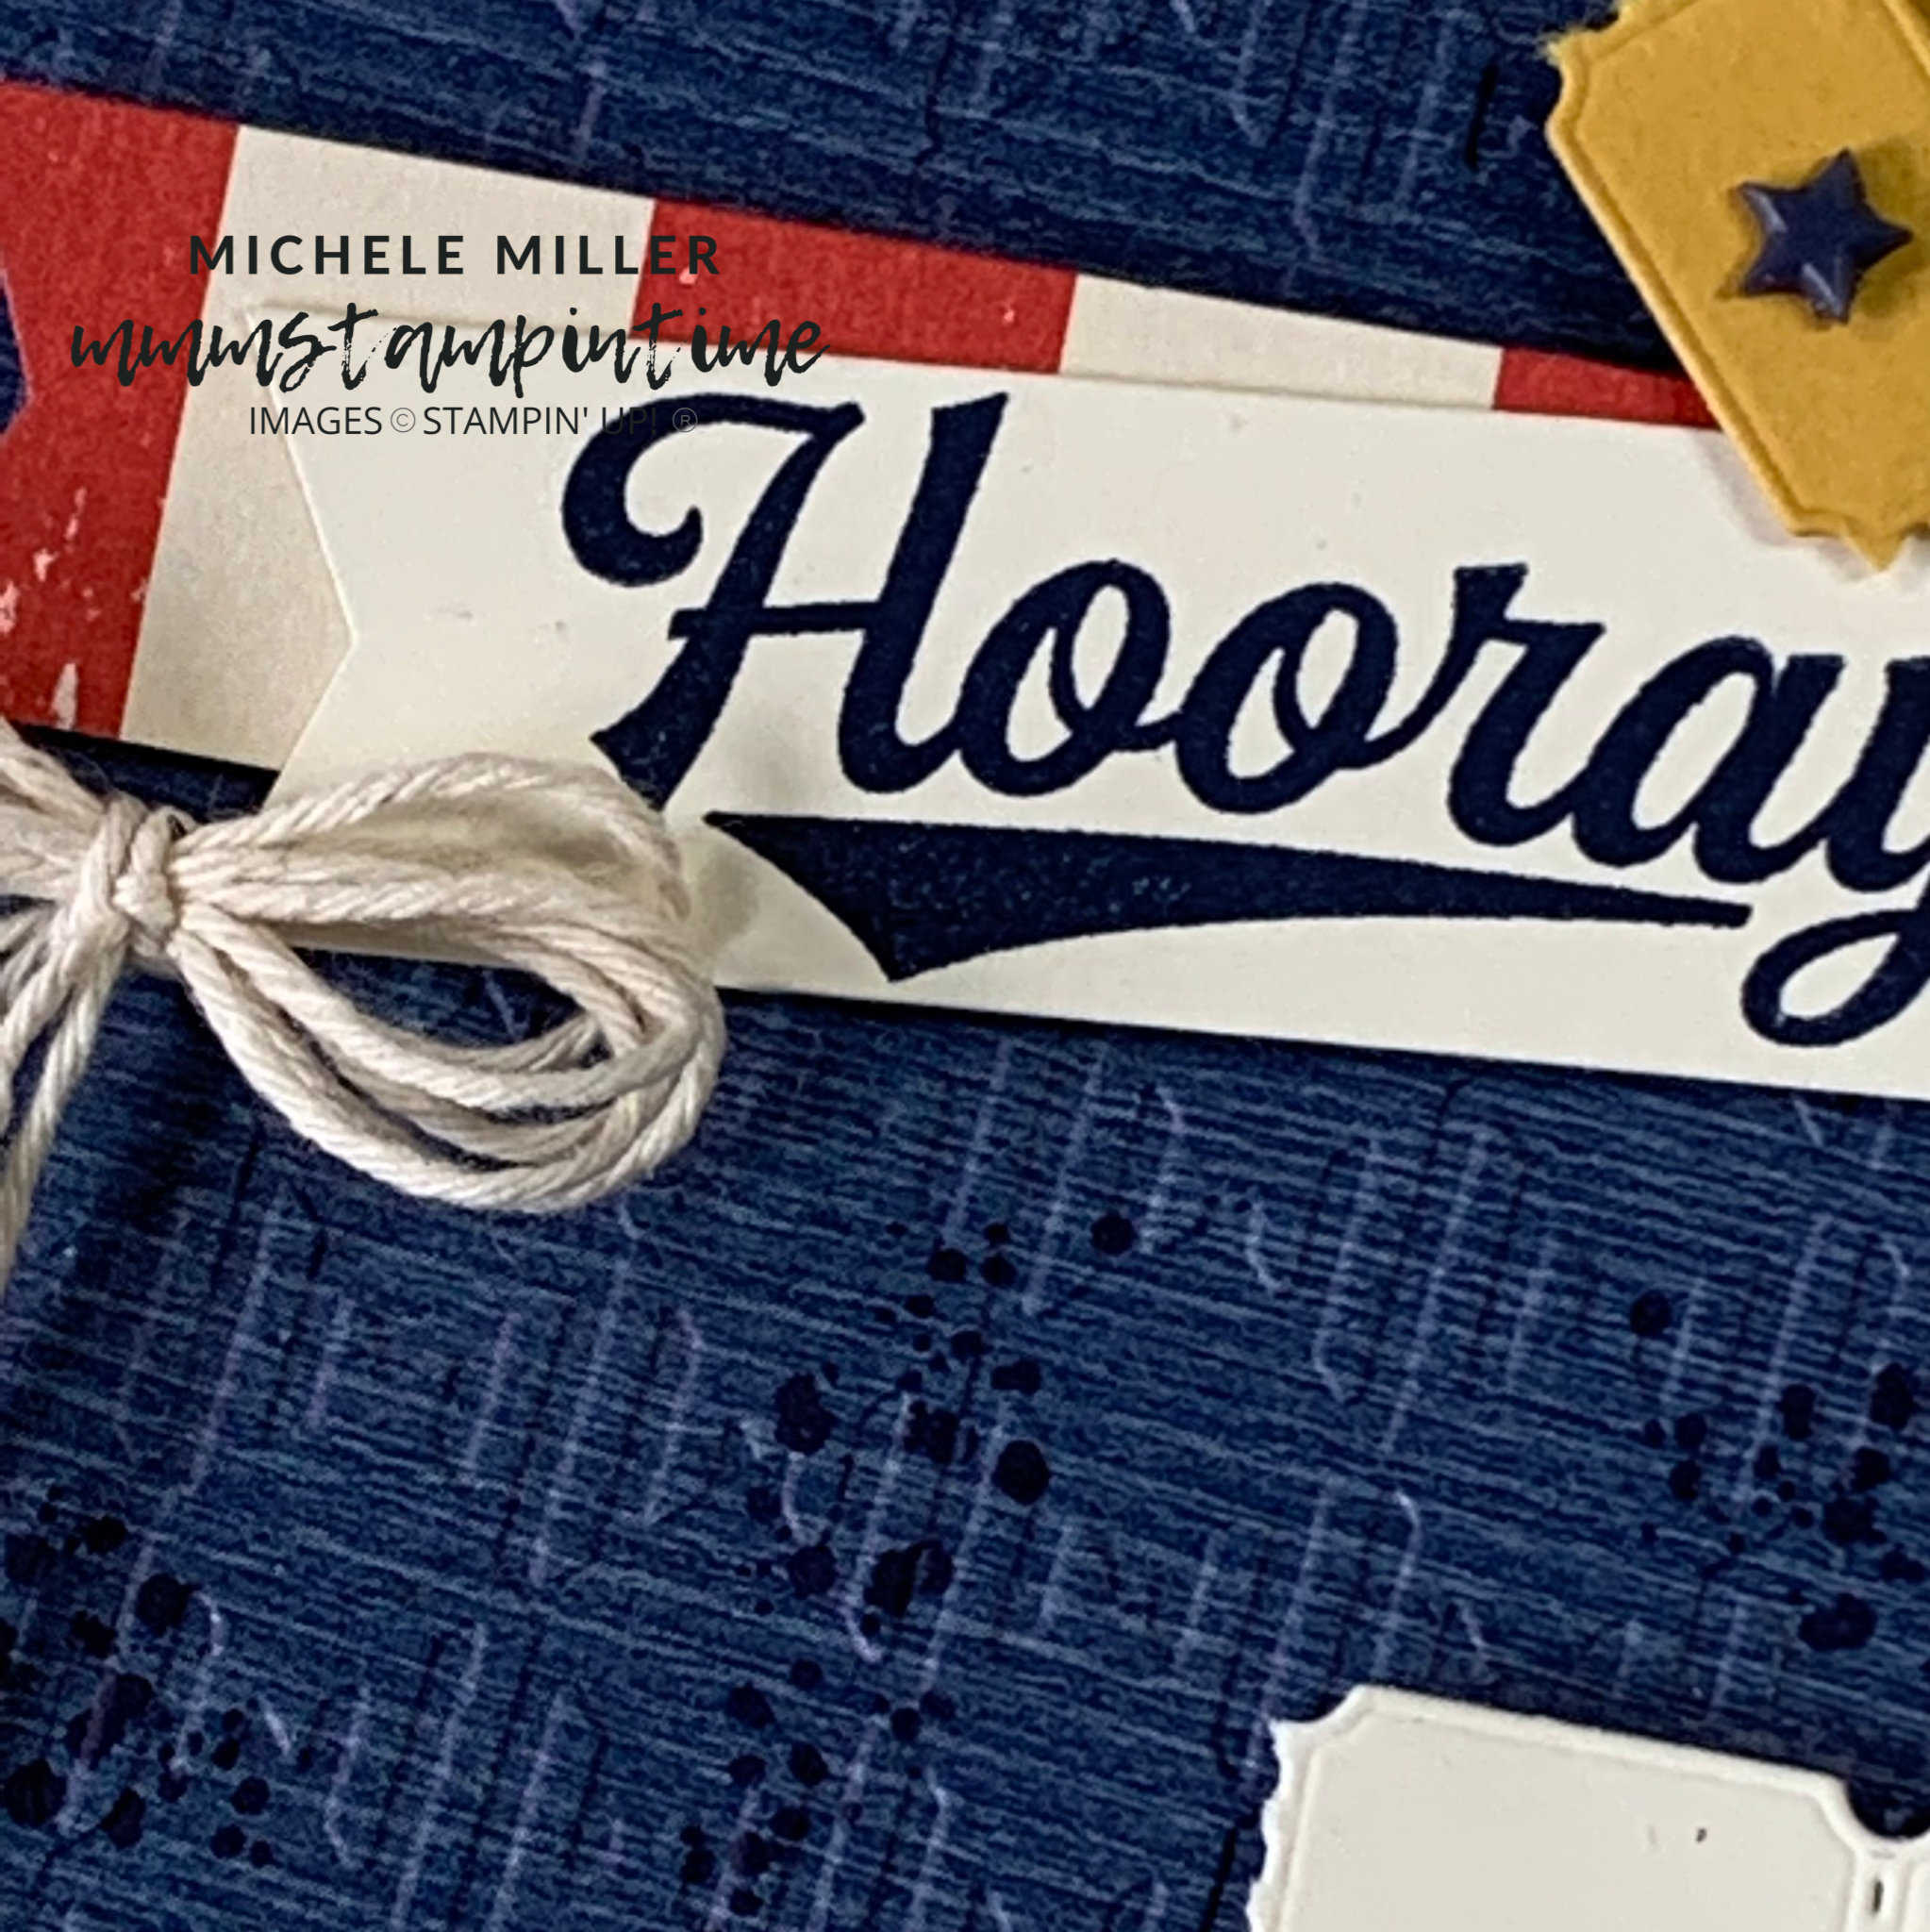
After I prepared the Very Vanilla card base, I cut a piece of the Designer Series Paper and stamped it with the splatter image from the Your Biggest Fan Stamp Set. Then I used the Gingham Embossing Folder to emboss this layer.

It was then adhered to the card base.

After stamping the greeting on a 3/4″ strip of cardstock, I used the Banner Pick a Punch to have one end as a banner. I cut a piece of DSP to the same dimensions as the greeting and punched it in the same way. The two pieces were then glued together and placed on the front of the card with Stampin’ Dimensionals.

I used the long, mini tickets die to cut strips in three colours. They were torn, as you can see, and popped up with dimensionals. A Resin Stars Embellishment was added to each single ticket.

A multiple bow was tied using the Very Vanilla twine from the Baker’s Twine Essentials Pack. It was attached using a Mini Glue Dot.

The splatter image was stamped inside the card.

I am surprised at how much tidier my crafting space is, now that I am featuring one collection of products each week.

Tomorrow is 3D Thursday and I have a gift box for you that I made using one og the Tag Topper punches.

UNtil then, happy stamping.

If you live in Australia, you can order any of the products I used to make this card by going to my online store. Just click on any of the images below.

Product List
Paper Snips
[103579]
$17.00
Bone Folder
[102300]
$12.00
Posted on Leave a comment

TIME TO TRY A NEW TECHNIQUE TODAY

For today’s Technique Tuesday project I have a version of an Iris Fold Card to share with you. Unlike the traditional technique, I have used strips of Designer Series Paper and cardstock not folded strips.

Iris folding is done by arranging and layering strips of paper in a spiral pattern that resembles the iris of a camera lens. This technique can be used for almost any shape.

I started by creating a ‘tempate’ for the shape. The central opening is 1-1/2″x 1-1/2″ and each layer was 1/4″ larger on all sides.

I placed a small piece of Glad Press ‘n’ Seal over the template (sticky side up) and taped it down onto my Silicon Craft Sheet. Starting from the outside, I placed 1/4″ strips of Hey Sports Fan 12″x 12″ DSP and cardstock on the Glad following the pattern. Each strip was held down with small pieces of Sticky Note. I used small drops of Multipurpose Glue to hold each strip in position.

This technique is perfect for those of you who aren’t afraid to get your fingers sticky!

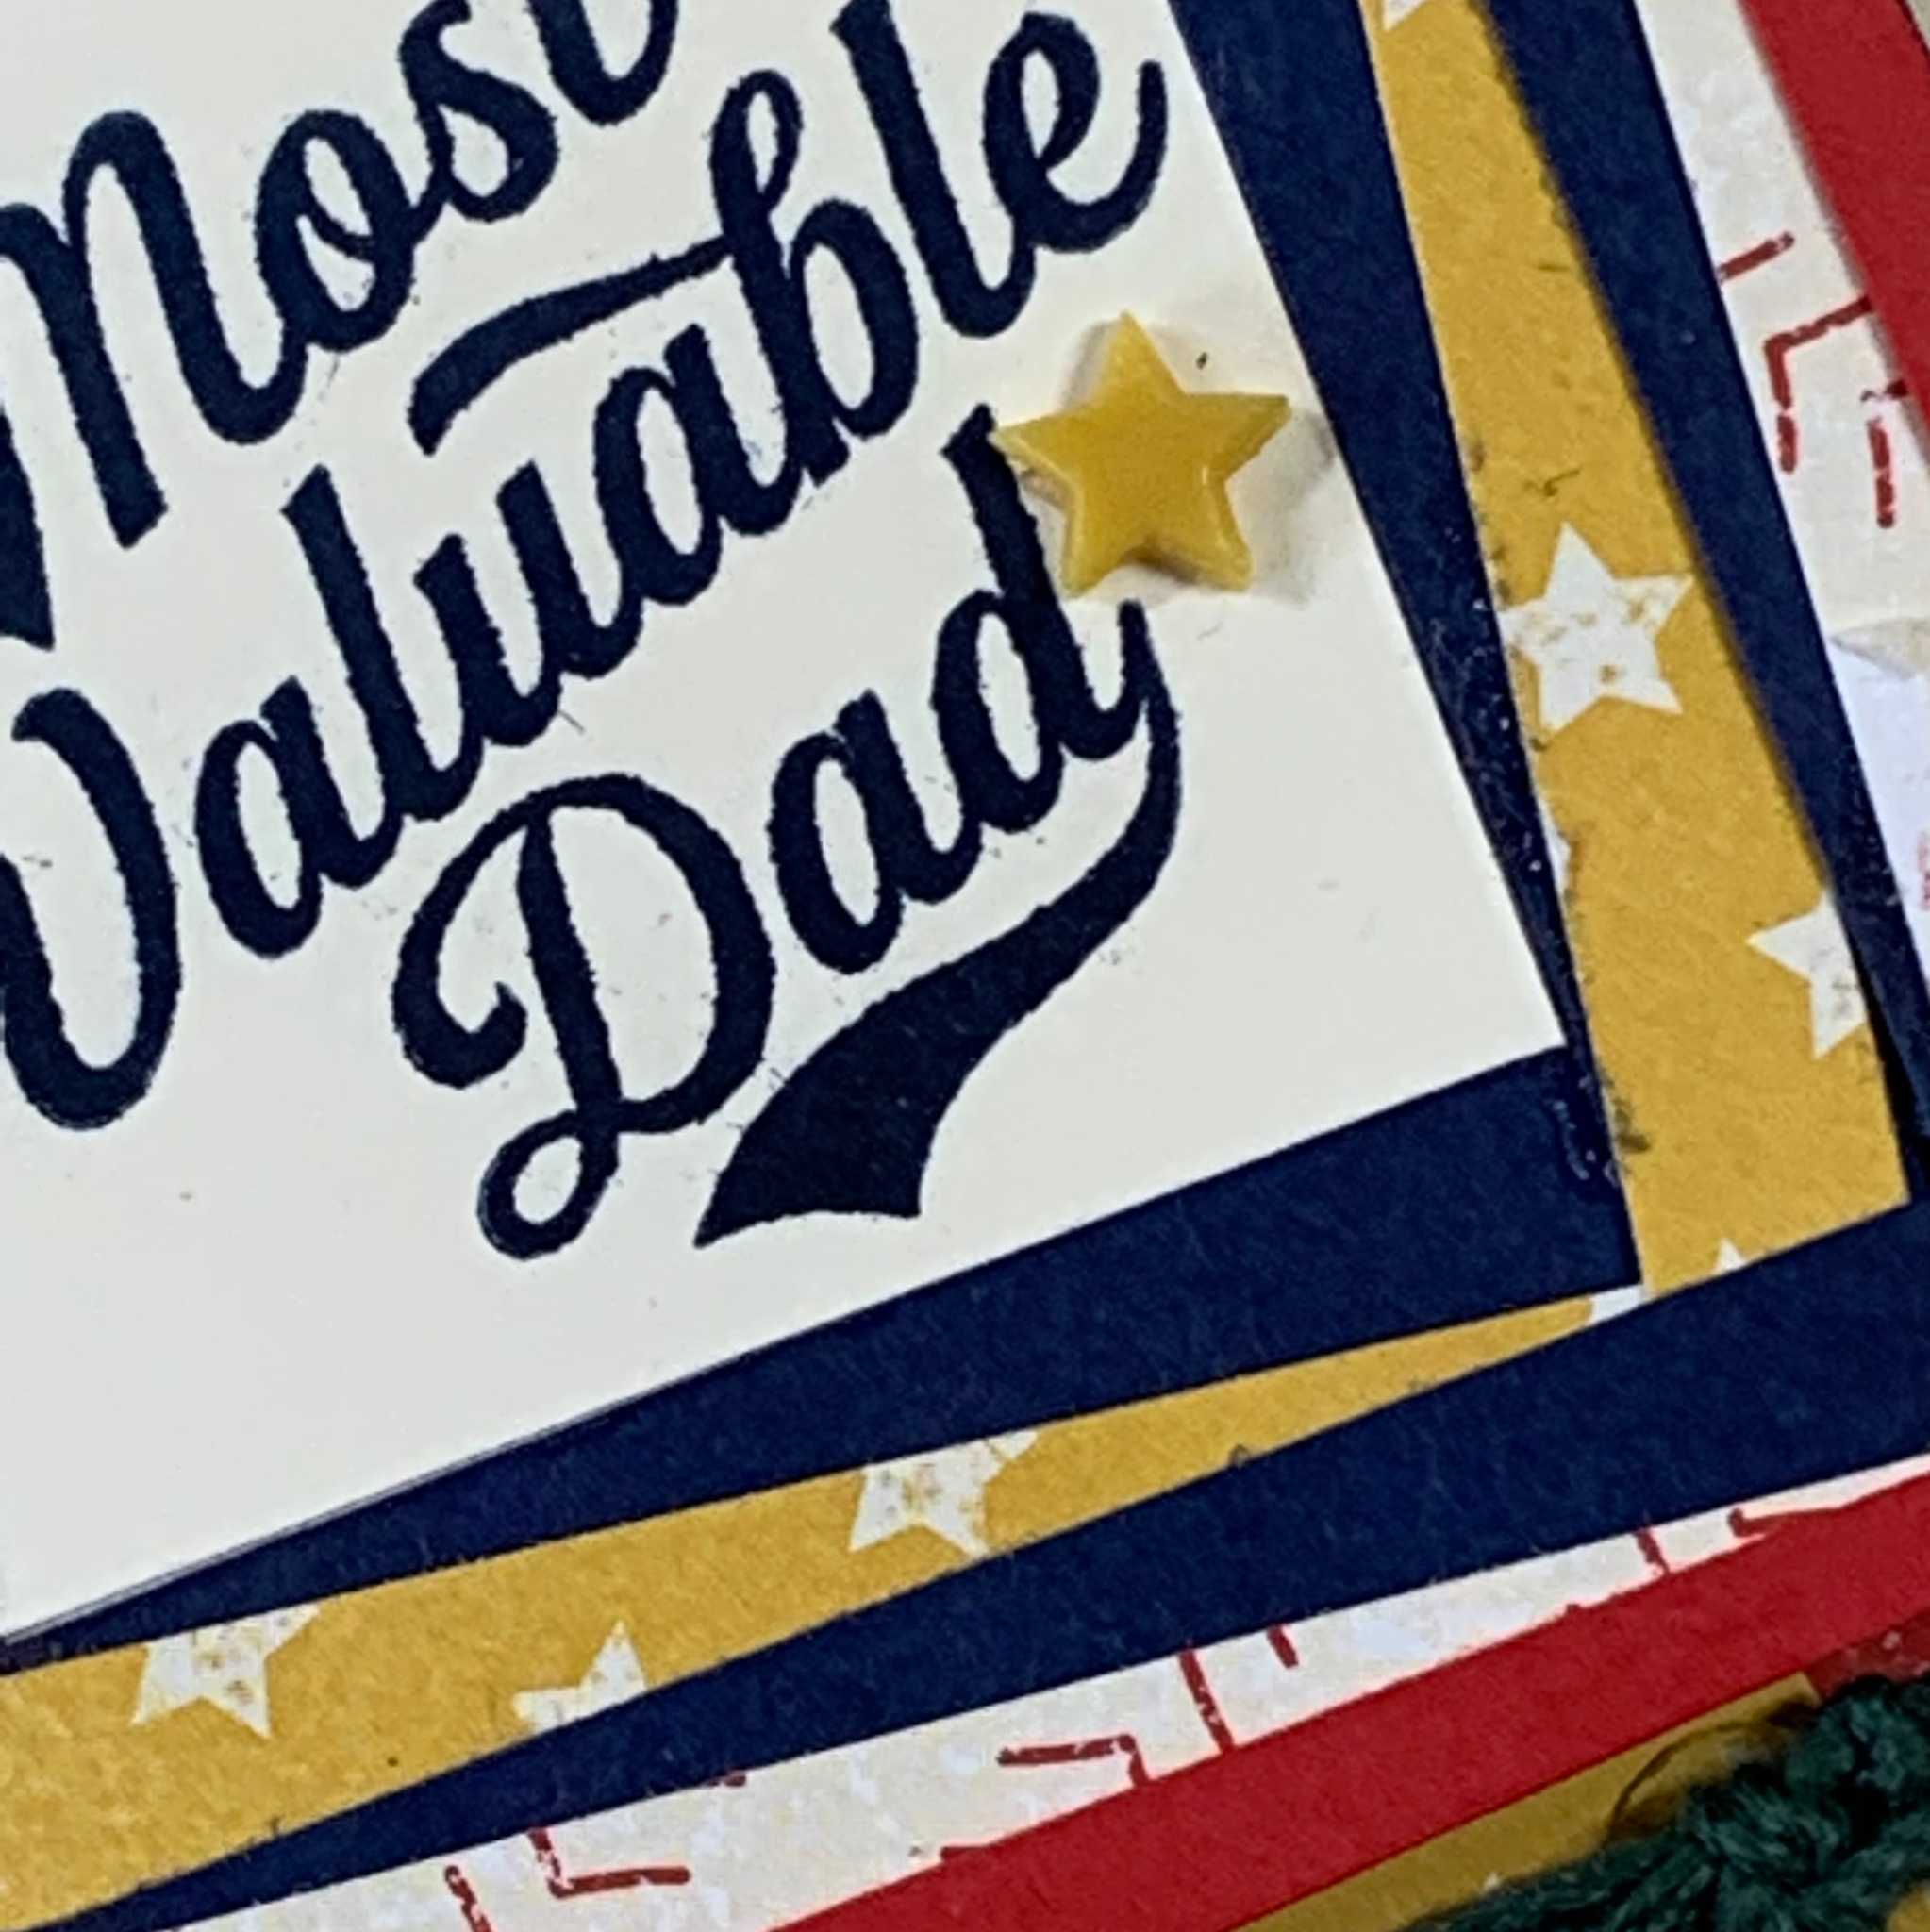
When I had finished the iris frame, I adhered it a piece of Very Vanilla cardstock that was stamped with a sentiment from the Your Biggest Fan stamp set.

I cut three 1″ strips of DSP and Night of Navy cardstock and used the Banner Pick a Punch to create the banners at each end.

The 5-5/8″x 4″ piece of striped DSP was embossed with the Brick & Mortar 3D Embossing Folder. Before attaching it to the Night of Navy card base, I wrapped Evening Evergreen twine, from the Fan Baker’s Twine pack, several times around the DSP and tied it in a double knot. I added two more, shorter, pieces of twine and tied them over the first knot.

To assemble the card, I first adhered the embossed and twine wrapped DSP to the card base. Then I overlapped, angled and attached the banner strips on the embossed DSP.

I added several Stampin’ Dimensionals to the back of the iris layer and popped it up just above the twine.

The #1 was cut using one of the Sports Event Dies. I added it to the front of the card and on the card insert. (And, when my Very Vanilla envelopes arrive, I will also attach one to the front of it.)

I didn’t add anything shiny to the masculine card but the REsin Stars Embellishments were perfect to finish it.

I am always delighted when I can introduce amazing, new products to existing goodies on my shelves. The punch and embossing folder were a perfect match for this project.

Tomorrow I will have two projects to share with you. One is my contribution to the Freshly Brewed Project Team blog hop and the other will be my ‘entry’ for the Global Design Project weekly challenge. I hope that you will pop by and see what I have posted.

Until then, happy stamping.

If you live in Australia, you can order any of the products I used to make this card by going to my online store. Just click on any of the images below.

Product List
Paper Snips
[103579]
$17.00
Bone Folder
[102300]
$12.00