Posted on Leave a comment

AN EXTRA PROJECT TODAY

I’m not sure how I managed to forget this project! It is for the #116 Colour INKspiration Challenge that I needed to have ready a few days ago.

May be an image of flower and text that says "အene / COLOUR CHALLENGES 116 Highland Heather Blackberry Bliss Mint Macaron Smoky Slate"

I decided to use the Ranunculus Romance Bundle for this project because I couldn’t figure out a way to use the New Horizons Suite with this colour combination.

I started with a piece of Blackberry Bliss and one of the designs from the New Horizons 6″x 6″ Designer Series Paper.

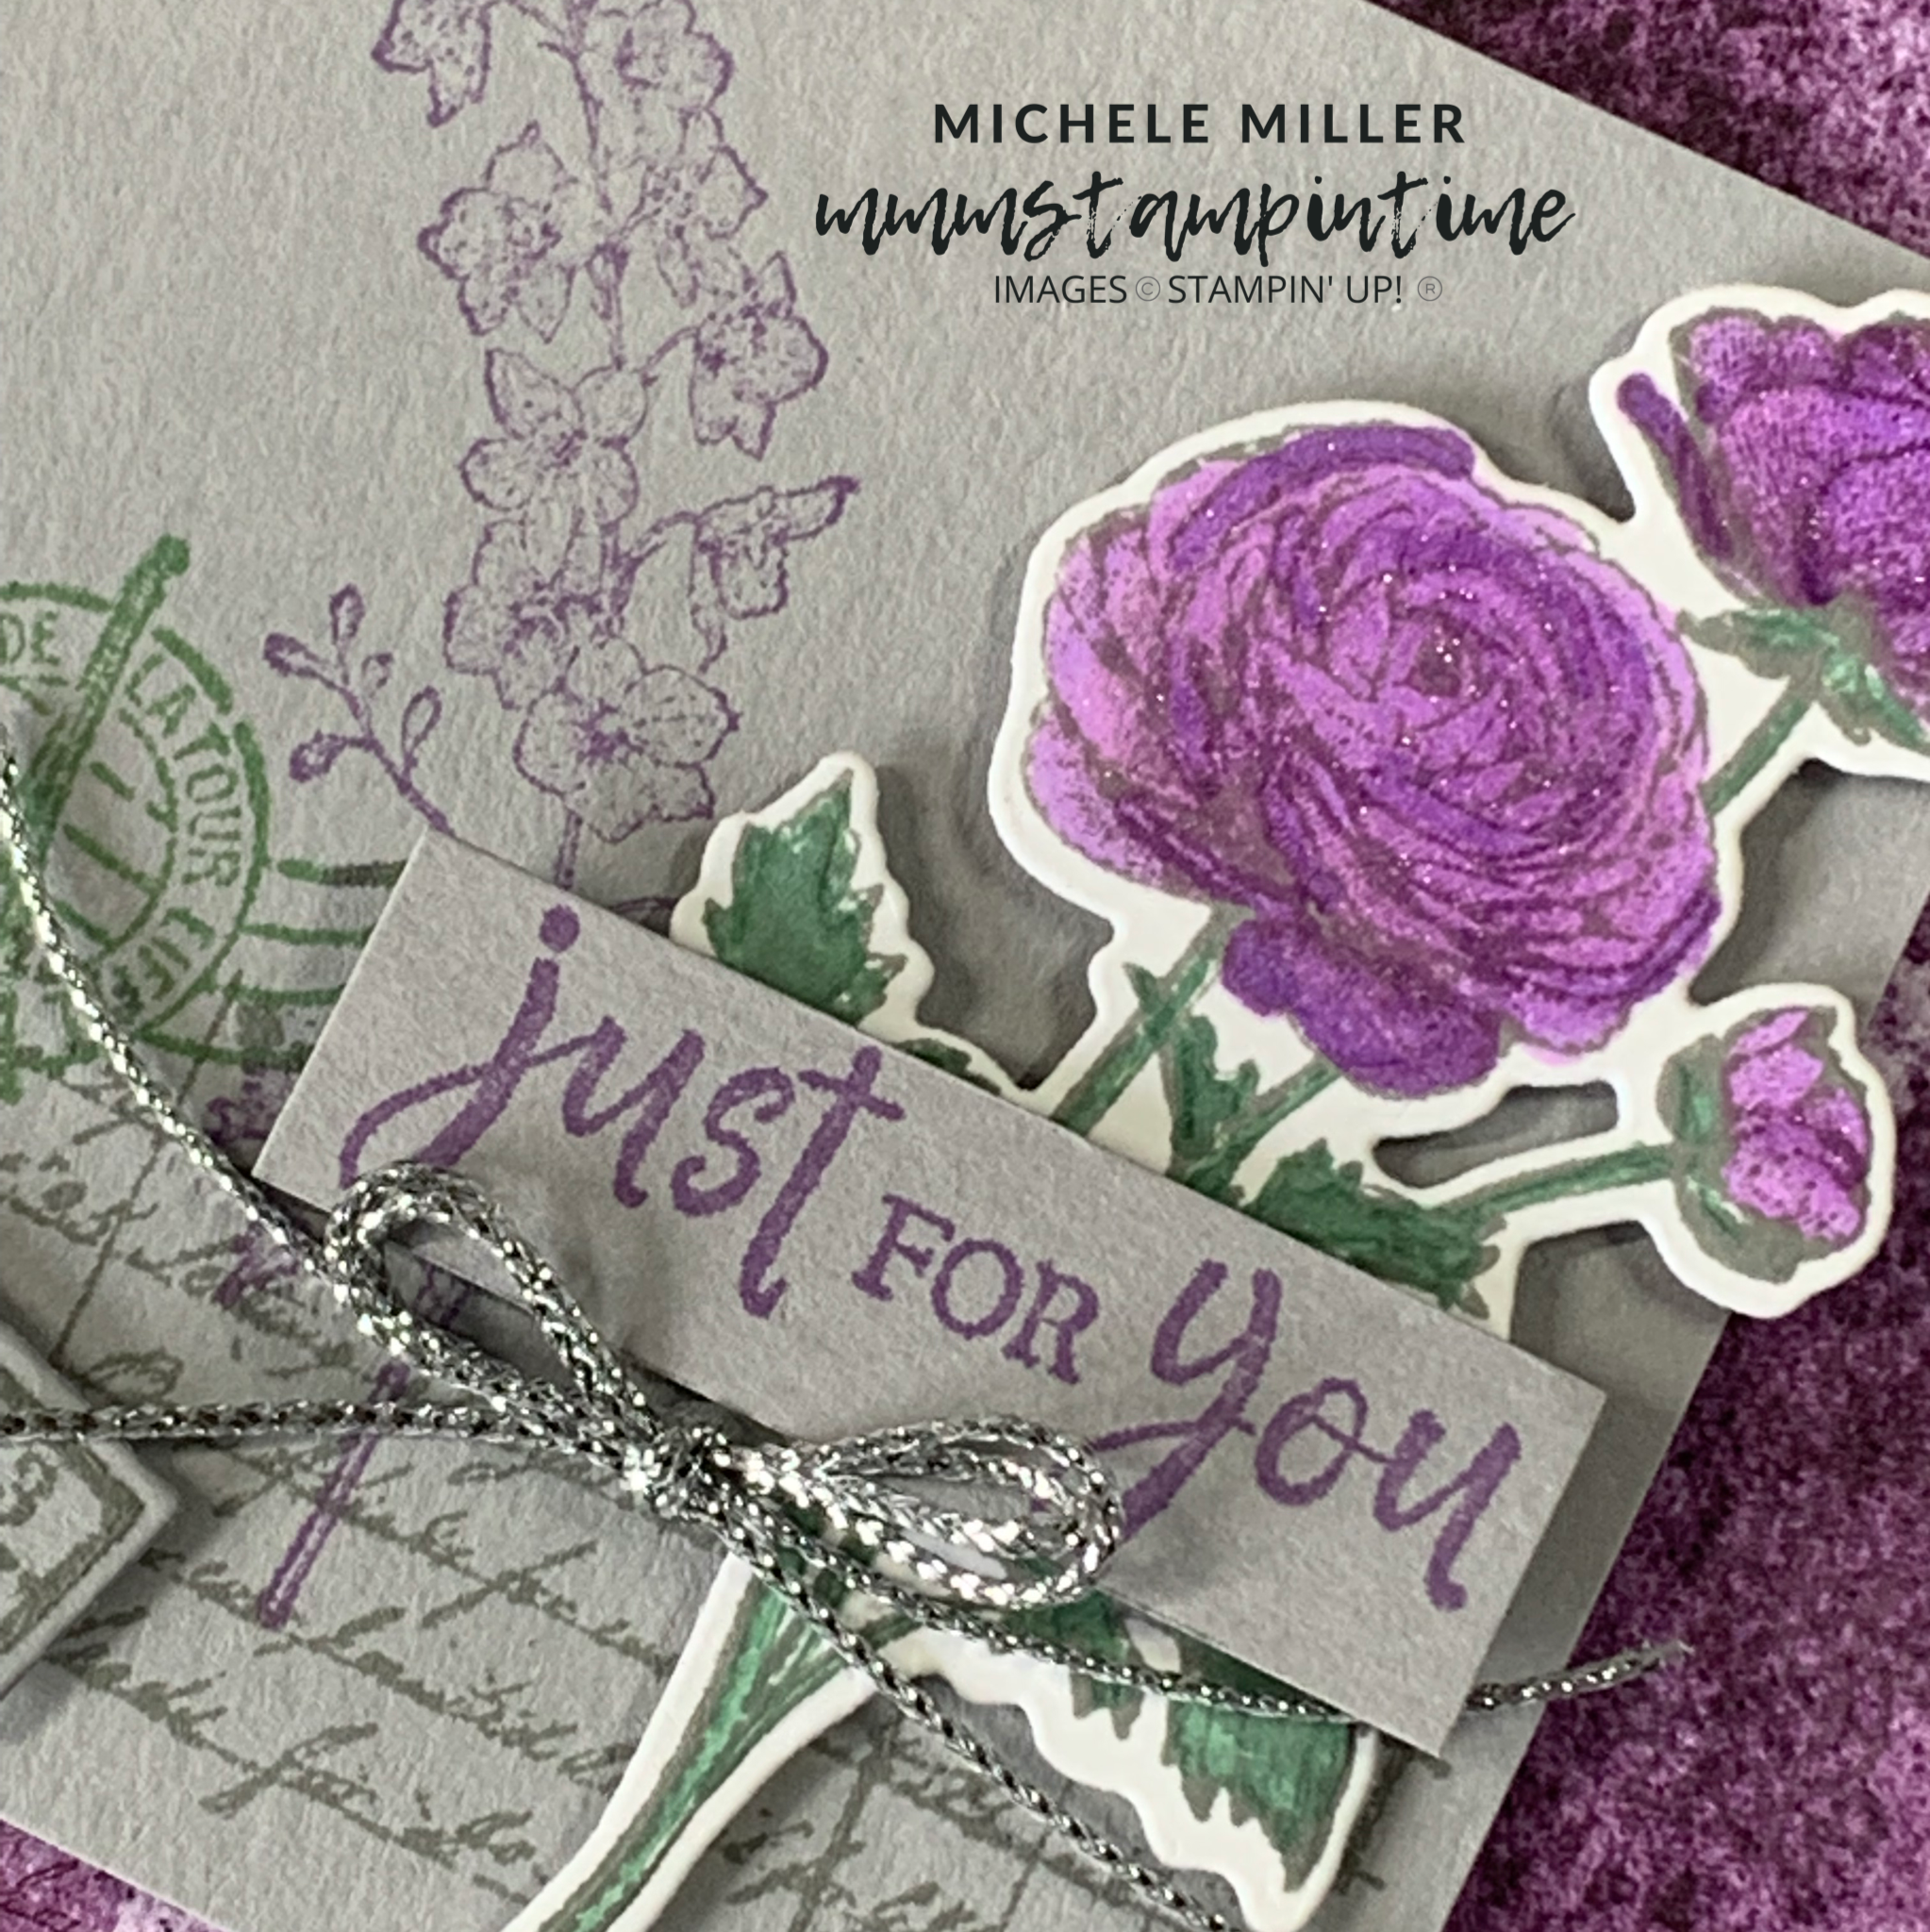
After I cut the DSP for the front panel I stamped some of the images from the Ranunculus Romance Stamp Set using Smoky Slate ink. This panel was then attached to the card base.

I stamped, die cut and coloured one of the floral images from the stamp set.

Then I stamped more of the images on a piece of Smoky Slate cardstock. This was then added to the front of the card with Stampin’ Dimensionals to give some height to the card.

The die card flower was also added to the card with dimensionals. I painted some Clear Wink of Stella across the flowers.

I took two lengths of silver trim, from the Simply Elegant Trim pack, and tied a double bow. The bows were attached with a Mini Glue Dot.

The Eiffel Tower image was stamped on the card insert and envelope.

I haven’t added any other embellishments yet. I’m not sure – what do you think?

I hope everyone joins in with this colour challenge and enjoys seeing all the projects made by the Colour INKspiration Crew.

Until tomorrow, happy stamping.

If you live in Australia, you can order any of the products I used to make this card by going to my online store. Just click on any of the images below.

Product List
Paper Snips
[103579]
$17.00
Posted on Leave a comment

IT’S THURSDAY & TIME FOR ANOTHER 3D PROJECT

I may have mentioned once or twice (or maybe more often) how much I enjoy creating 3D projects.

Some are insired by others and some I create myself. I came across this gift bag on the internet and created my own template to make it.

I will be making it during my Facebook Live today – at the same time this post goes live. There will be a Video Tutorial on my Youtube Channel soon.

The New Horizons Suite Collection is used for this project.

The bag is 5″ across the base and 3-3/4″ at the opening. I used the Layering Circles Dies to help create the shape for the bag base.

I used two of this design from the New Horizons 6″x 6″ Designer Series Paper for the front and back panels of the bag.

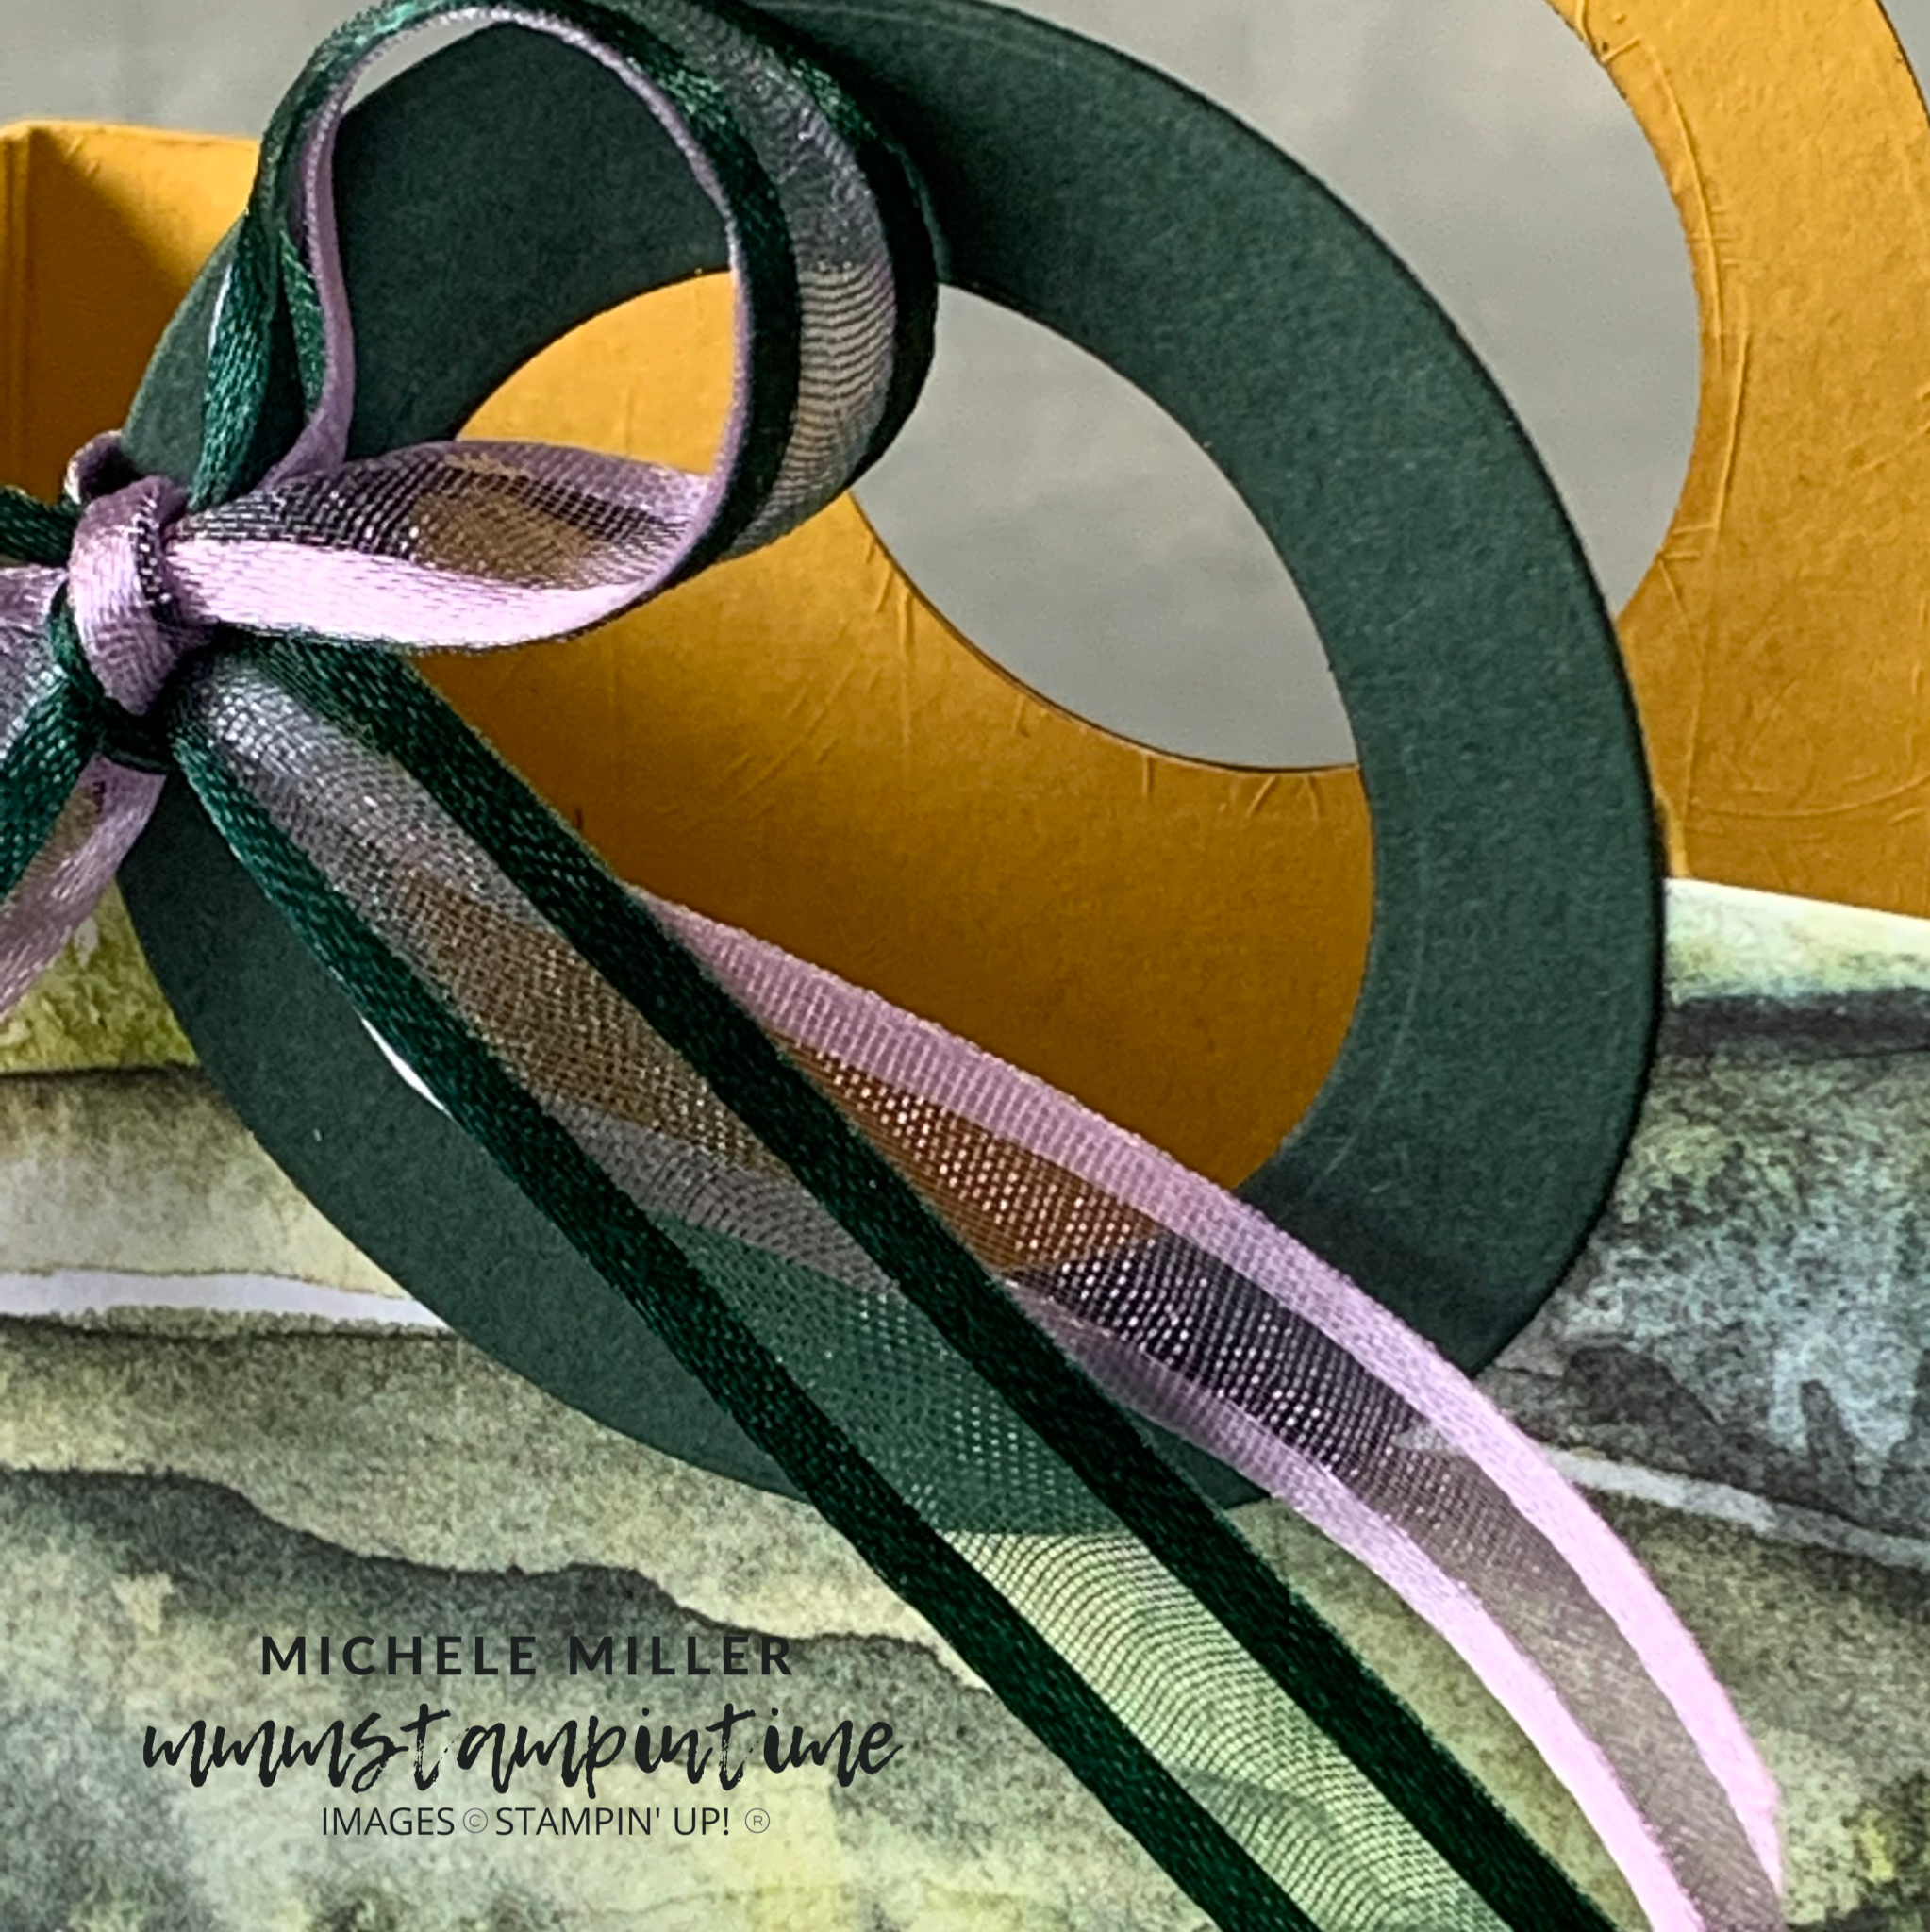
Then I used two of the circle dies to cut the Evening Evergreen handles.

I cut lengths of the Evening Evergreen and Fresh Freesia Open Weave Ribbon to pass through the bag handle and tie a double bow.

When I have uploaded a video to Youtube, I will come back and add a link here.

Tomorrow is Fun Fold Friday and I have a Pop-up Gift Bag Fun Fold Card for you.

Until then, happy stamping.

If you live in Australia, you can order any of the products I used to make this card by going to my online store. Just click on any of the images below.

Product List
Paper Snips
[103579]
$17.00
Posted on Leave a comment

WONDERFUL WEDNESDAY & MY GLOBAL DESIGN PROJECT CREATION

This week’s Global Design Project theme challenge is Dots & Circles and the team has made lots of projects that feature circles. Make sure you click on the diagram below to go to the site to see what they have created.

As I have mentioned over the last few Wednesday’s, any projects I share on Wednesdays will continue to use the products that I feature during each week. This week it is the New Horizons Suite Collection.

I chose two designs from the New Horizons 6″x 6″ Designer Series Paper to coordinate with the Blackberry Bliss card base.

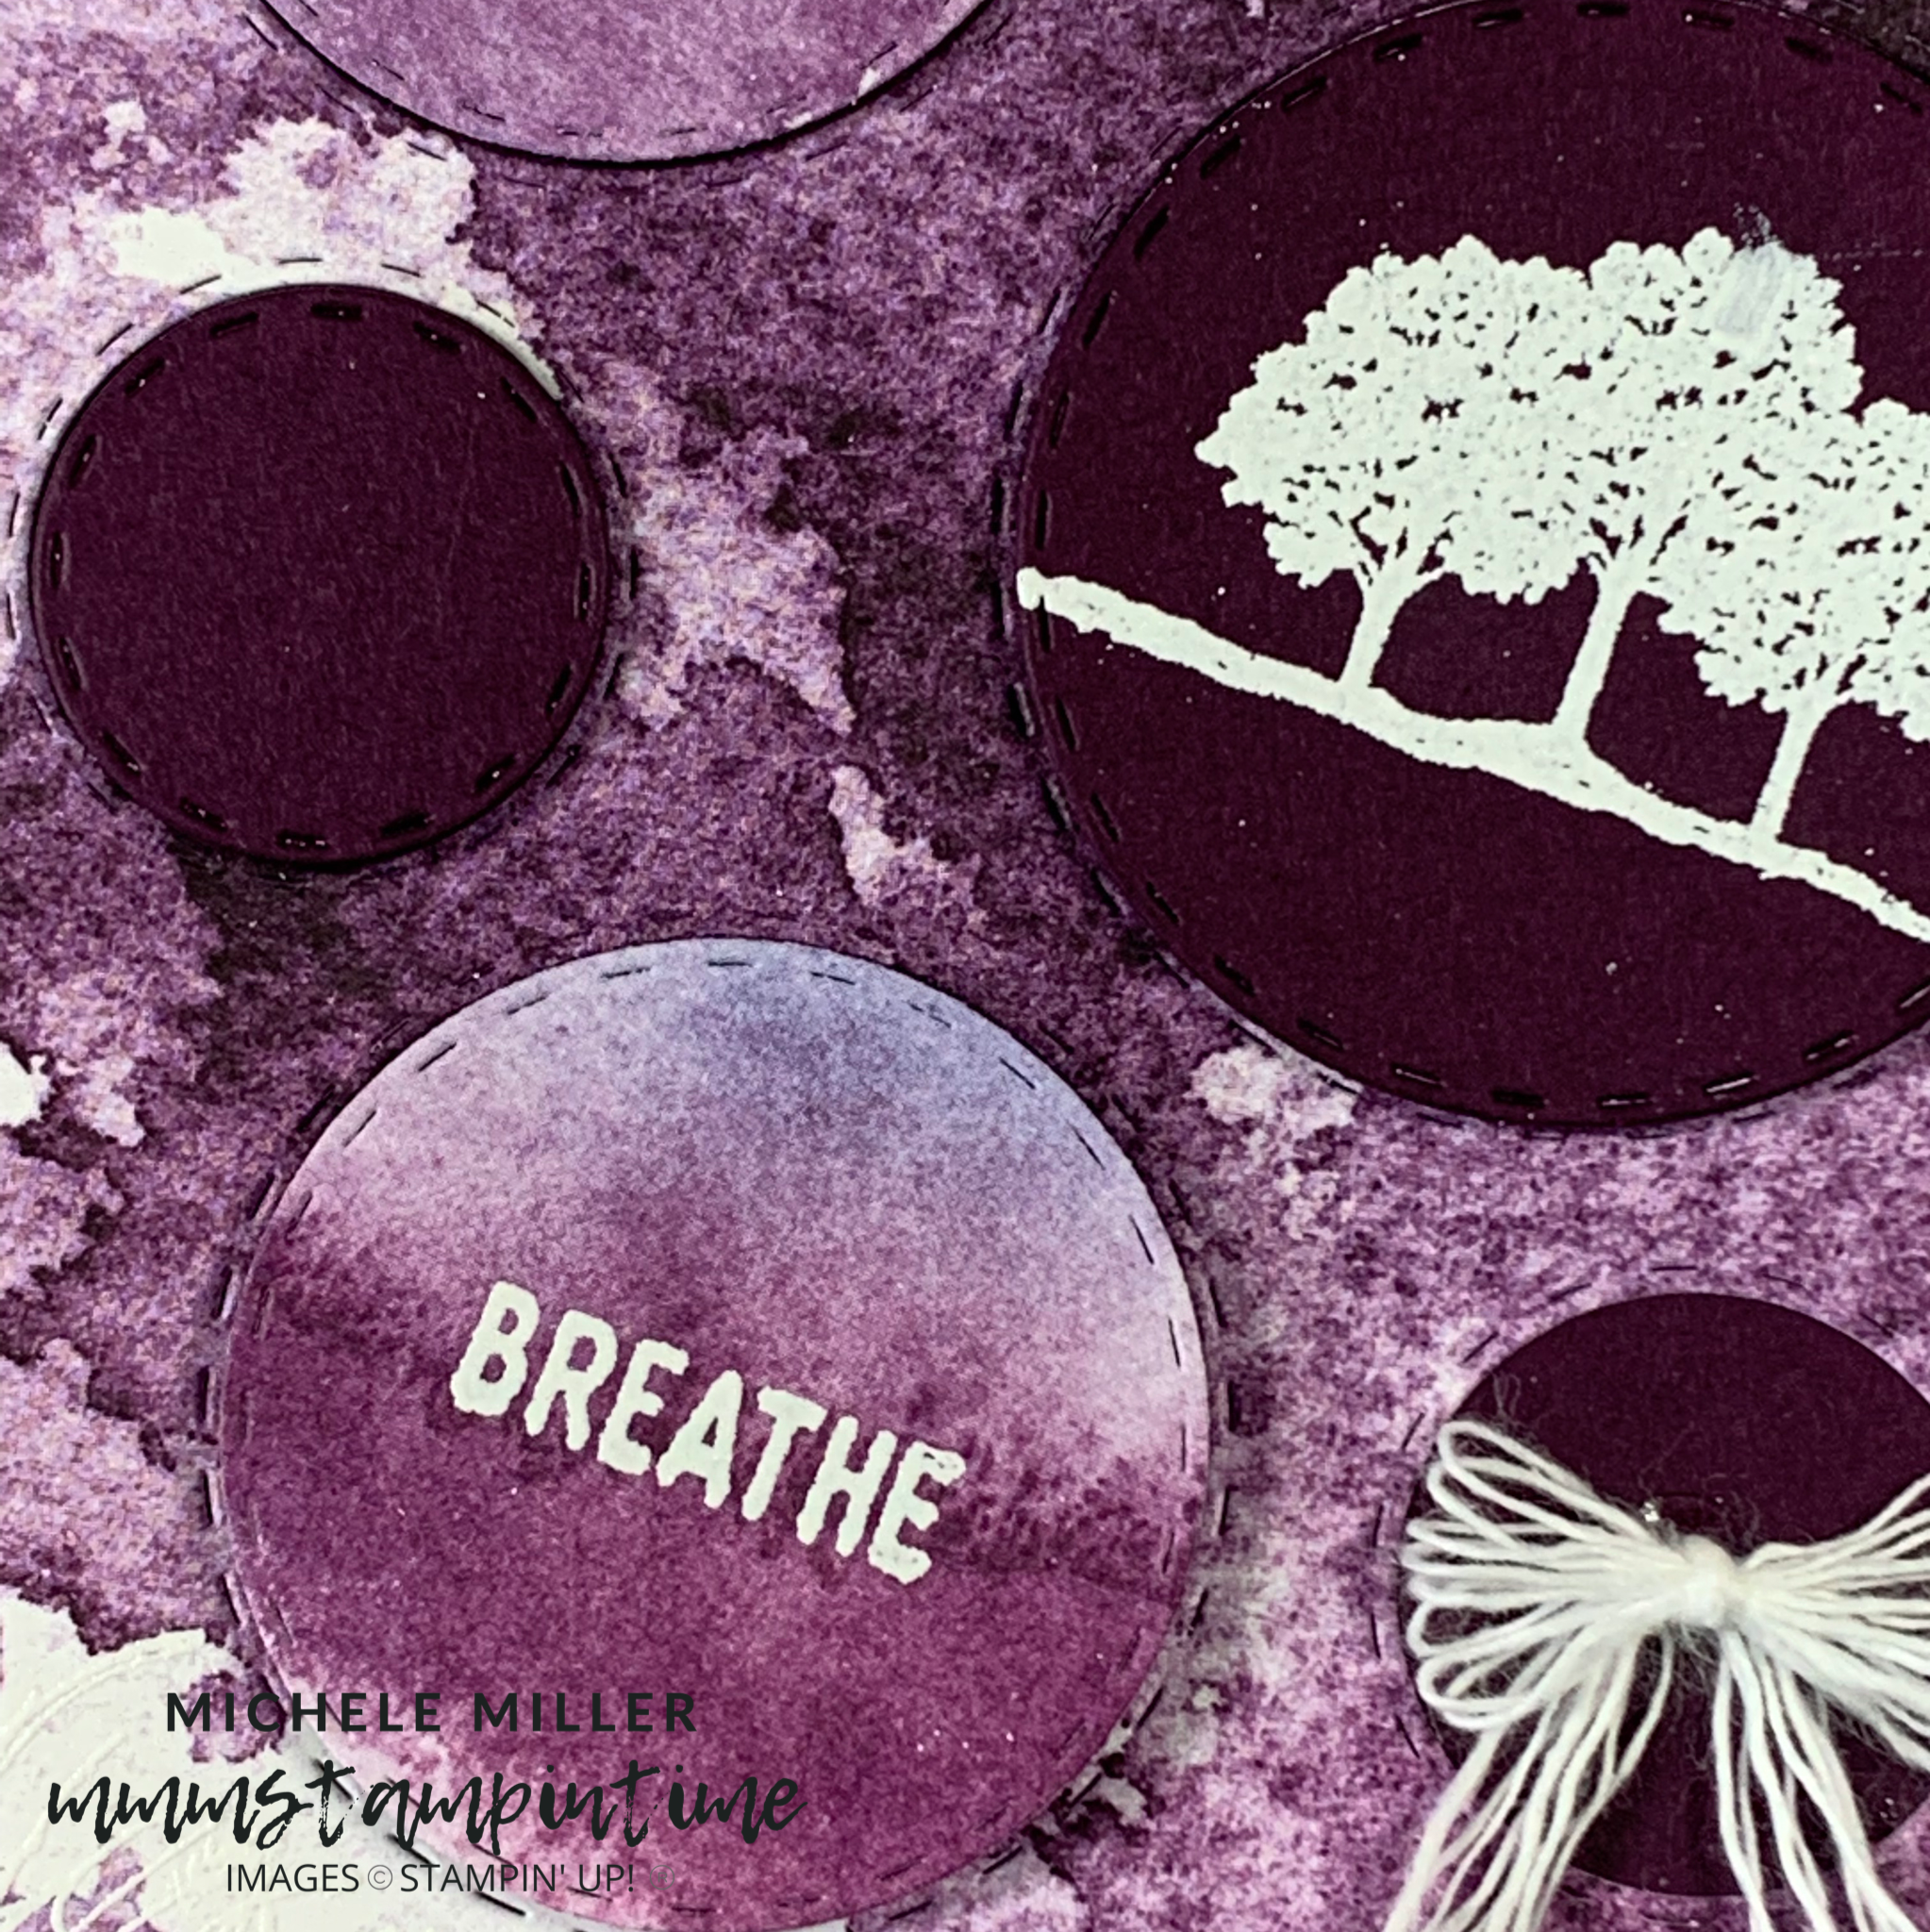
For the 5-5/8″x 4″ DSP layer, I cut the circles using the Picture This Dies. I also used this die to cut circles from the lighter piece of DSP and a strip of Blackberry Bliss cardstock.

I used Versamark and white embossing powder to stamp and heat emboss the images on the DSP panel and circles. Then Iadhered the DSP panel to the card base and the circles were added to the spaces using Stampin’ Dimensionals.

A length of white twine, from the Fan Baker’s Twine, was separated into single strands. Then I tied it into a multiple bow and secured it in place using a Mini Glue Dot.

I used just a few products for this project yet it looks more complex.

It is 3D Thursday tomorrow and I have no idea what I am going to create for you yet. So it’s off to do some thinking and planning.

Until then, happy stamping.

If you live in Australia, you can order any of the products I used to make this card by going to my online store. Just click on any of the images below.

Product List
Heat Tool
[129056]
$50.00
Paper Snips
[103579]
$17.00